Managing webhooks
Last updated: November 9, 2026
Webhooks are automated messages that are sent from one online system to another. They are sent when specific events occur.
Using webhooks, you can synchronize information and actions between ComplyAdvantage Mesh and your internal applications, without requiring manual updates or checks.
Here's an example: When a case is closed in Mesh, Mesh could send a webhook to your internal customer relationship management (CRM) system. Your CRM system would receive this webhook and could then trigger its own automated process. This could update your internal customer record to say that the case has been resolved.
Mesh can send a webhook for each of the following events. Each item gives the name shown in the Event field, then the event type the API uses.
Case creation (CASE_CREATED): a case is created.
Case stage updated (CASE_TRANSITIONED): a case moves to another stage, for example from Not started to In progress.
Case alert list updated (CASE_ALERT_LIST_UPDATED): the alerts on a case change, for example when a new alert is added to it.
Workflow completed (WORKFLOW_COMPLETED): a customer onboarding workflow is completed.
Held transaction decision (TRANSACTION_REVIEWED): a held transaction is released or rejected.
TRANSACTION_MONITORING_ASYNC_COMPLETED: an asynchronous Transaction Monitoring evaluation has completed.
Risk score changed (CUSTOMER_RISK_SCORE_CHANGED): the value of a customer's risk score changes.
Risk level increased (CUSTOMER_RISK_LEVEL_INCREASED) and Risk level decreased (CUSTOMER_RISK_LEVEL_DECREASED): a customer's risk level rises or falls, for example from Medium to High.
Customer labels changed (CUSTOMER_LABELS_CHANGED): labels are added to or removed from a customer.
The two transaction events are available only to accounts with Transaction Monitoring or Payment Screening.
With alert grouping enabled, a new alert that joins an open case sends Case alert list updated and no Case creation. A new case sends both. Grouping alerts into existing open cases explains alert grouping.
In this article, you'll see how to manage webhooks using the Mesh web application.
It is also possible to manage webhooks using an application programming interface (API).
Creating a webhook using the Mesh web application
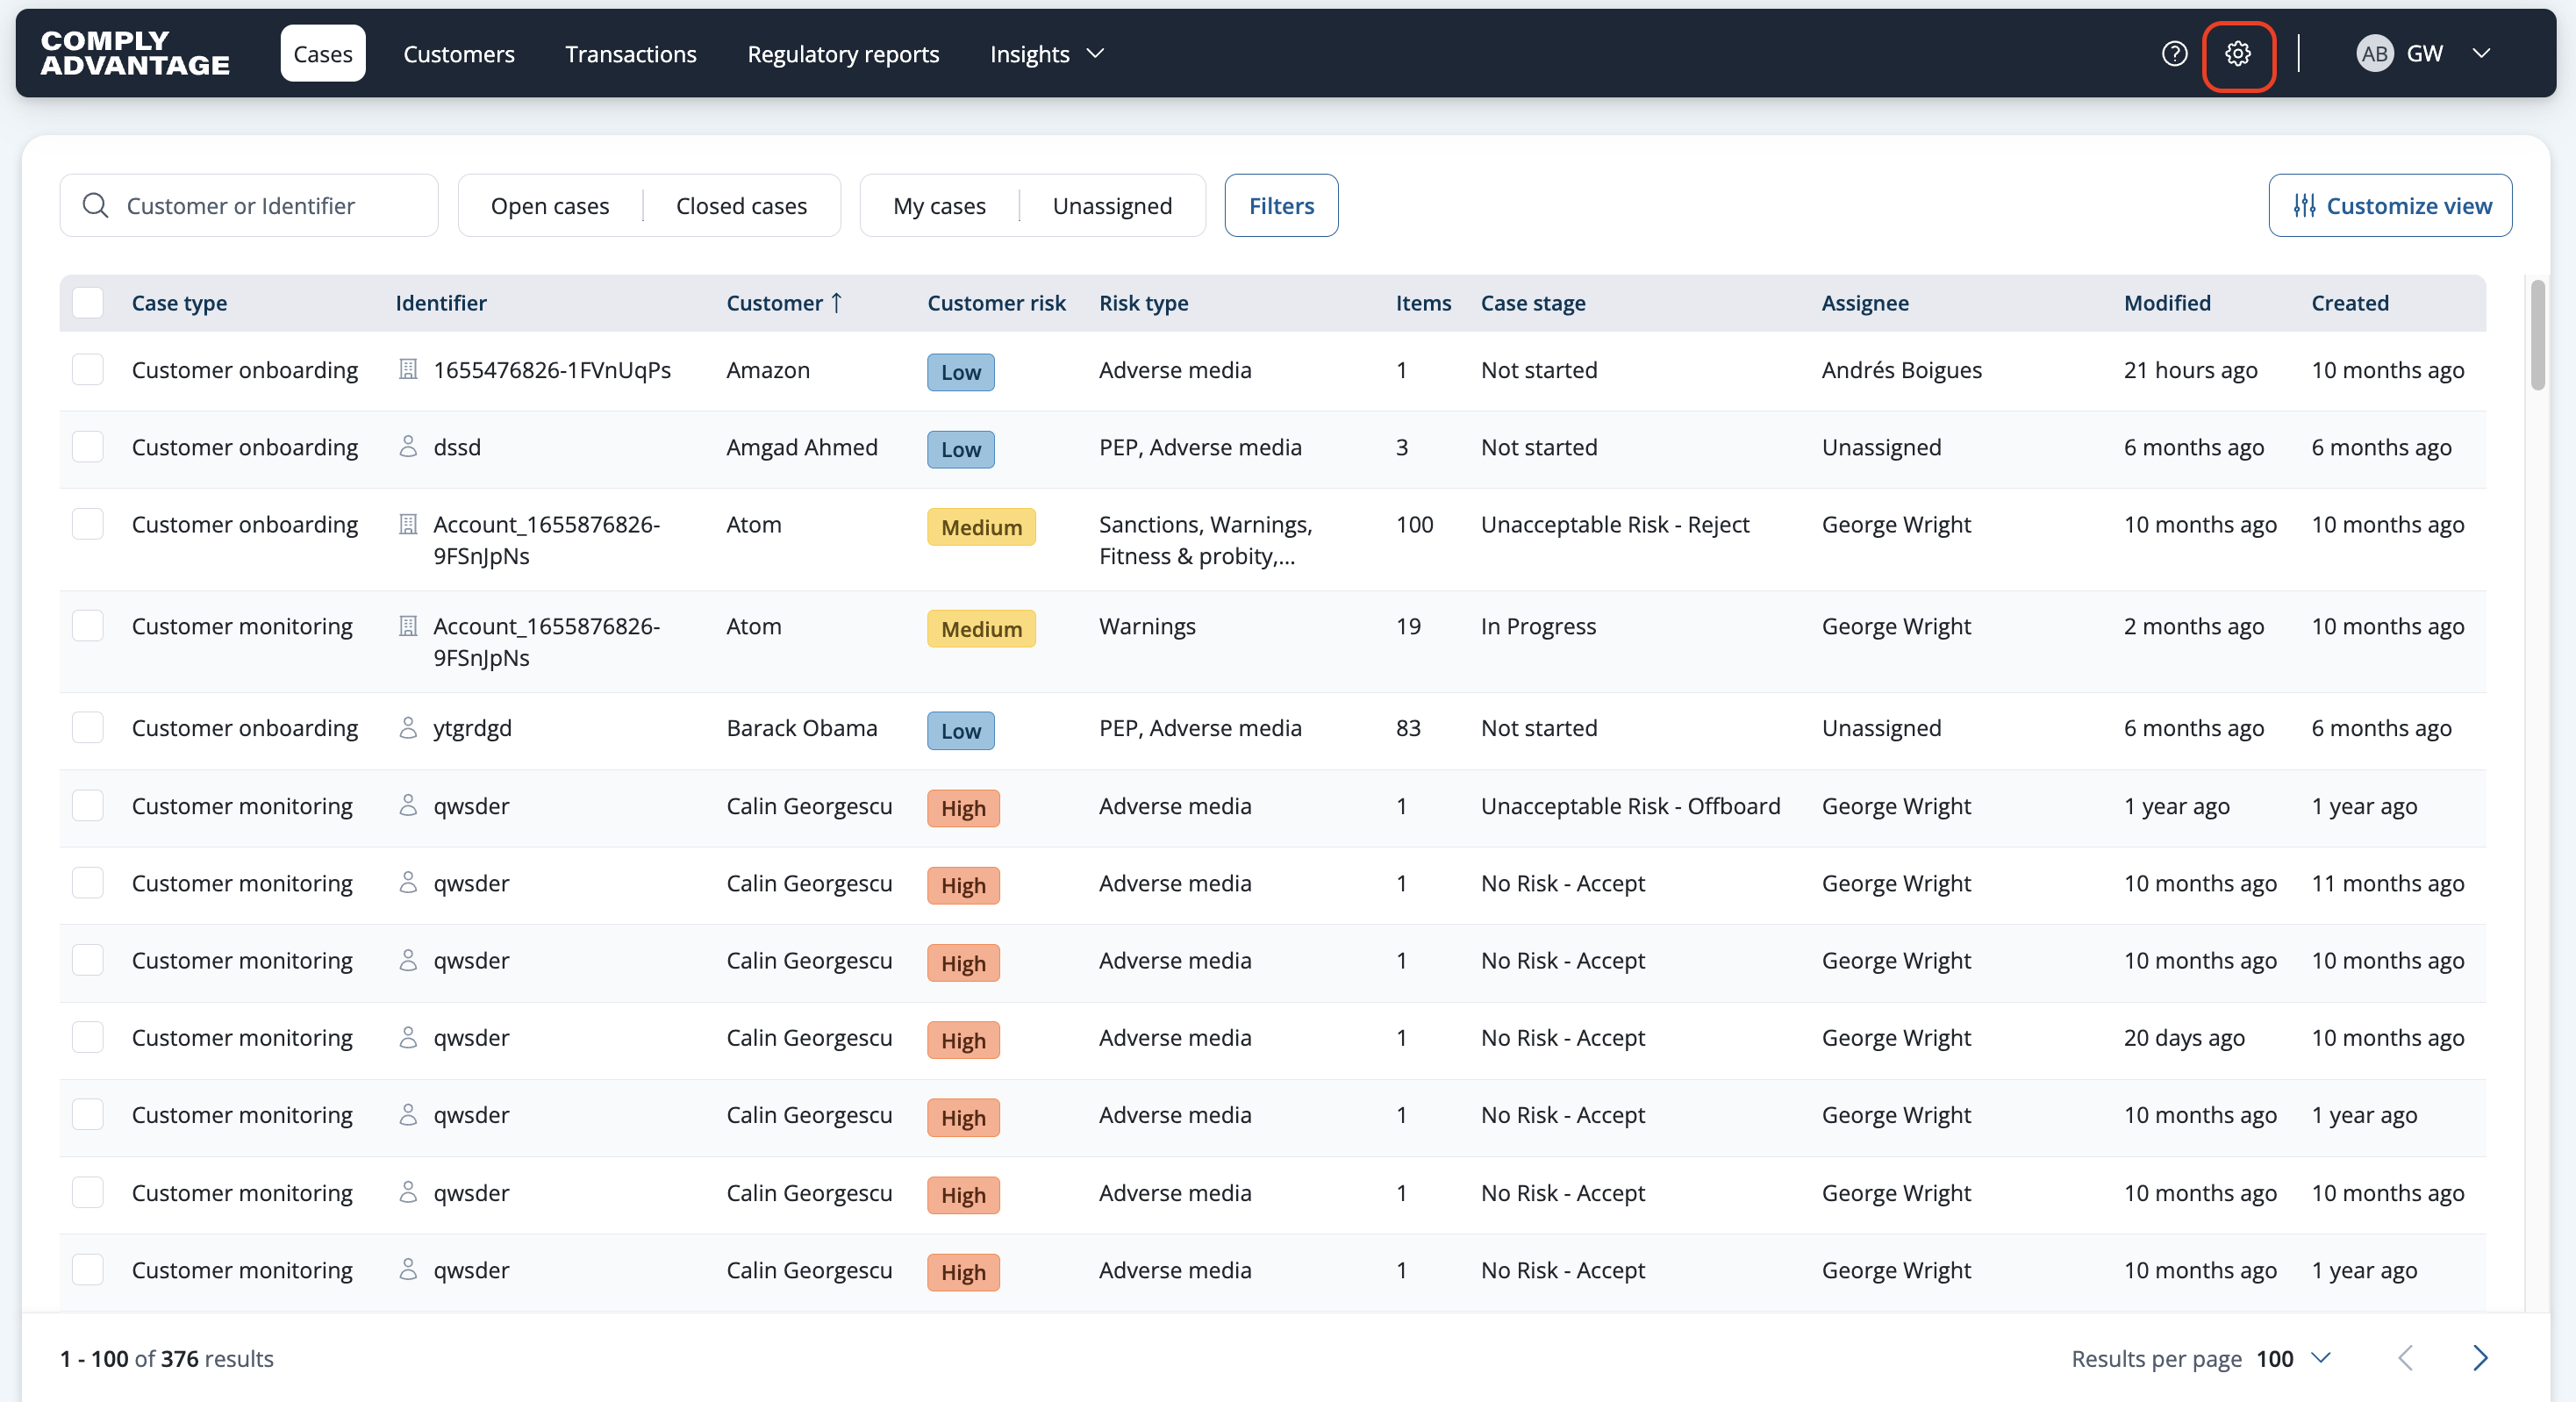
Select the Settings button in the top right of the screen.
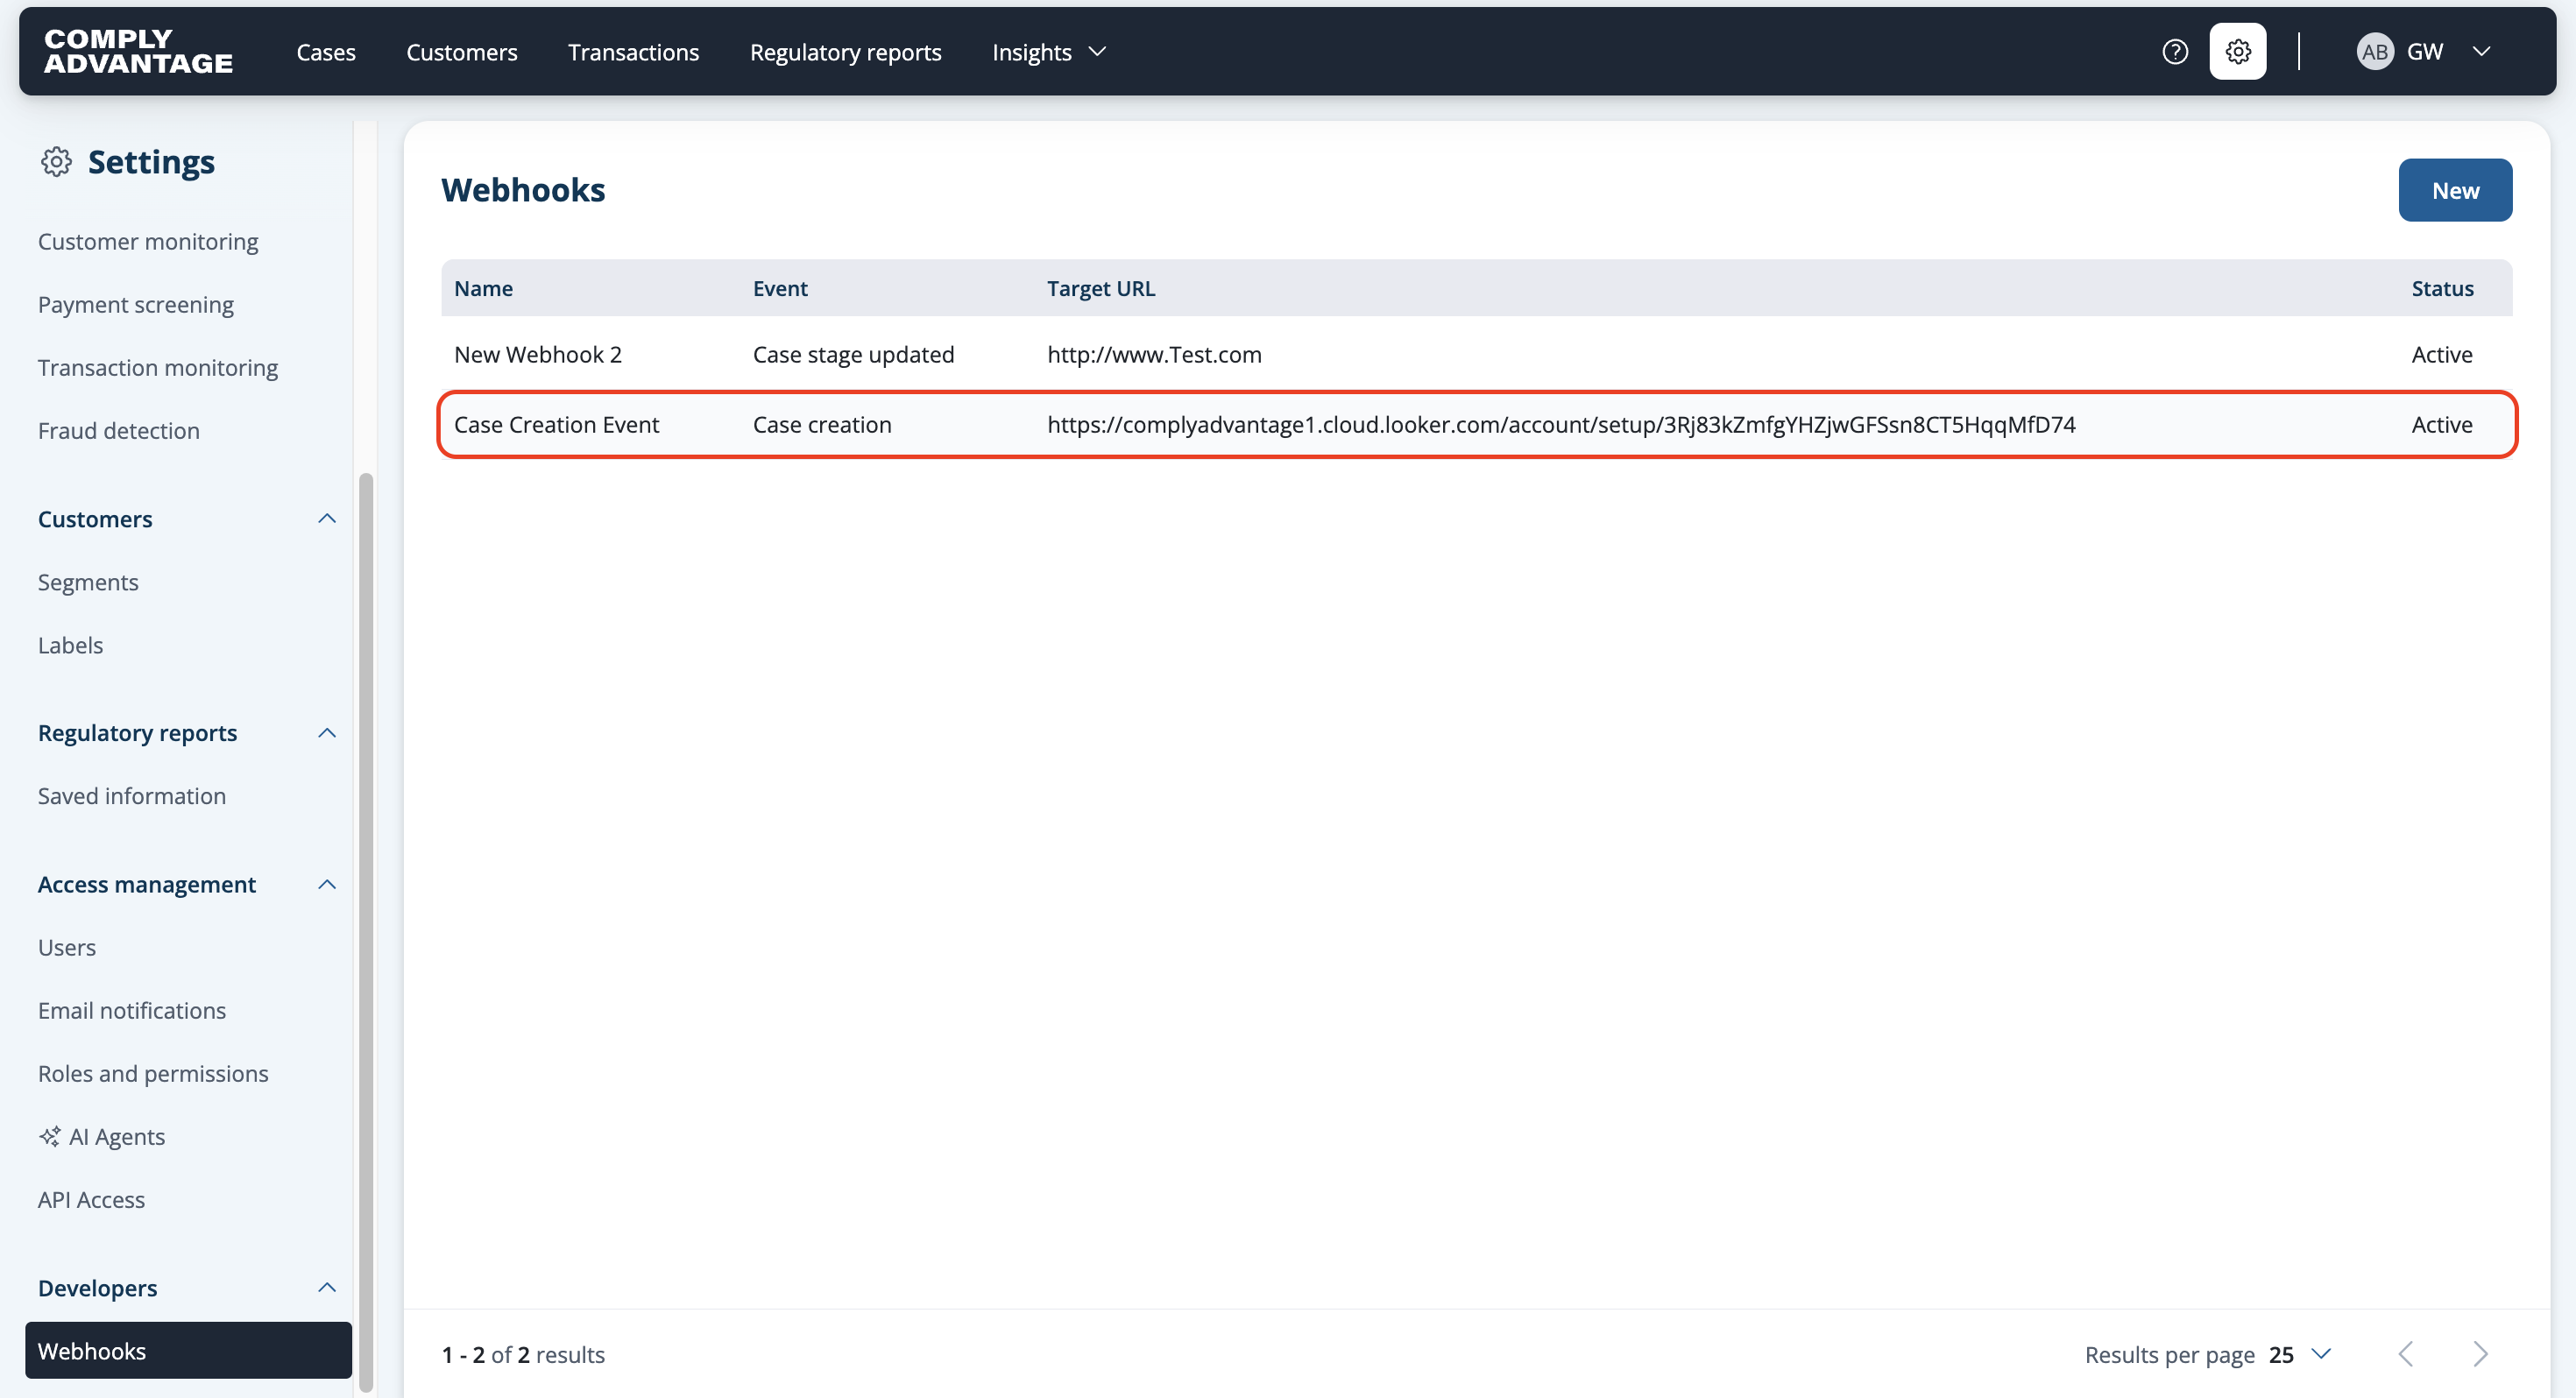
On the left-hand side, scroll down until you see Webhooks in the menu
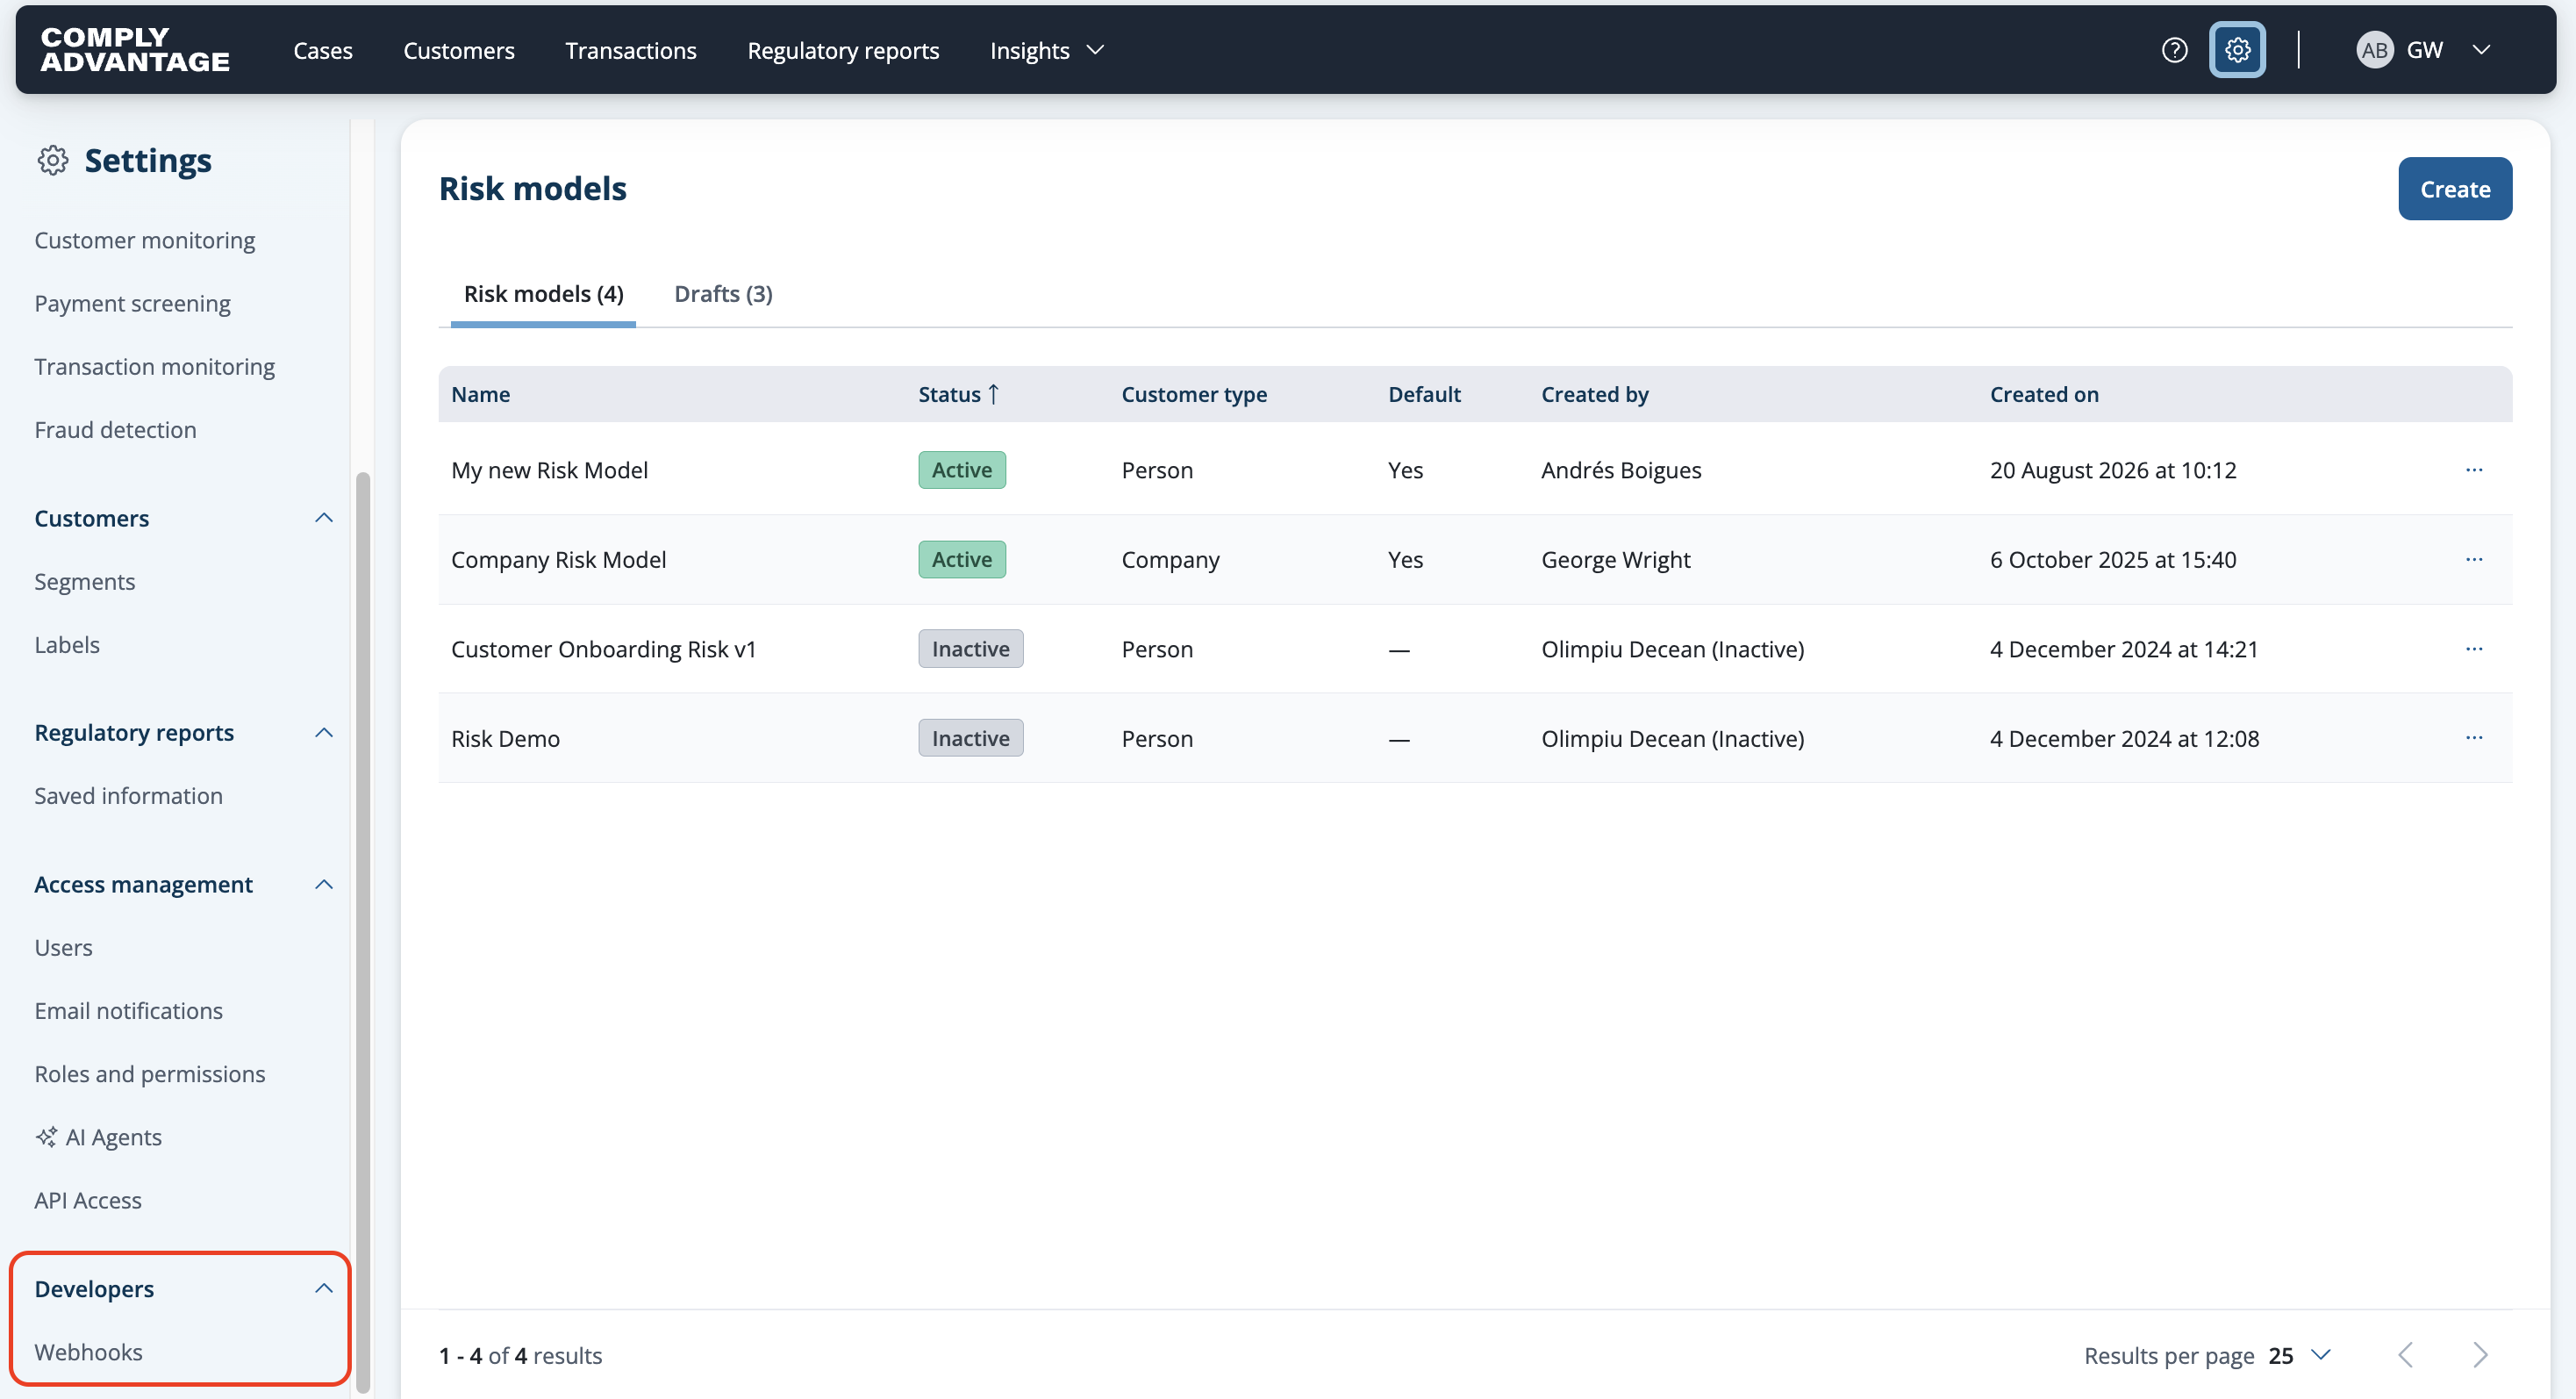
Here you'll be able to see the Webhooks that have been created.

To create a new Webhook, select the New button in the top right.
Enter the webhook parameters.
The webhook name is only for your own reference.
Also, choose the event that you want to trigger, and the URL where your application will receive the message.
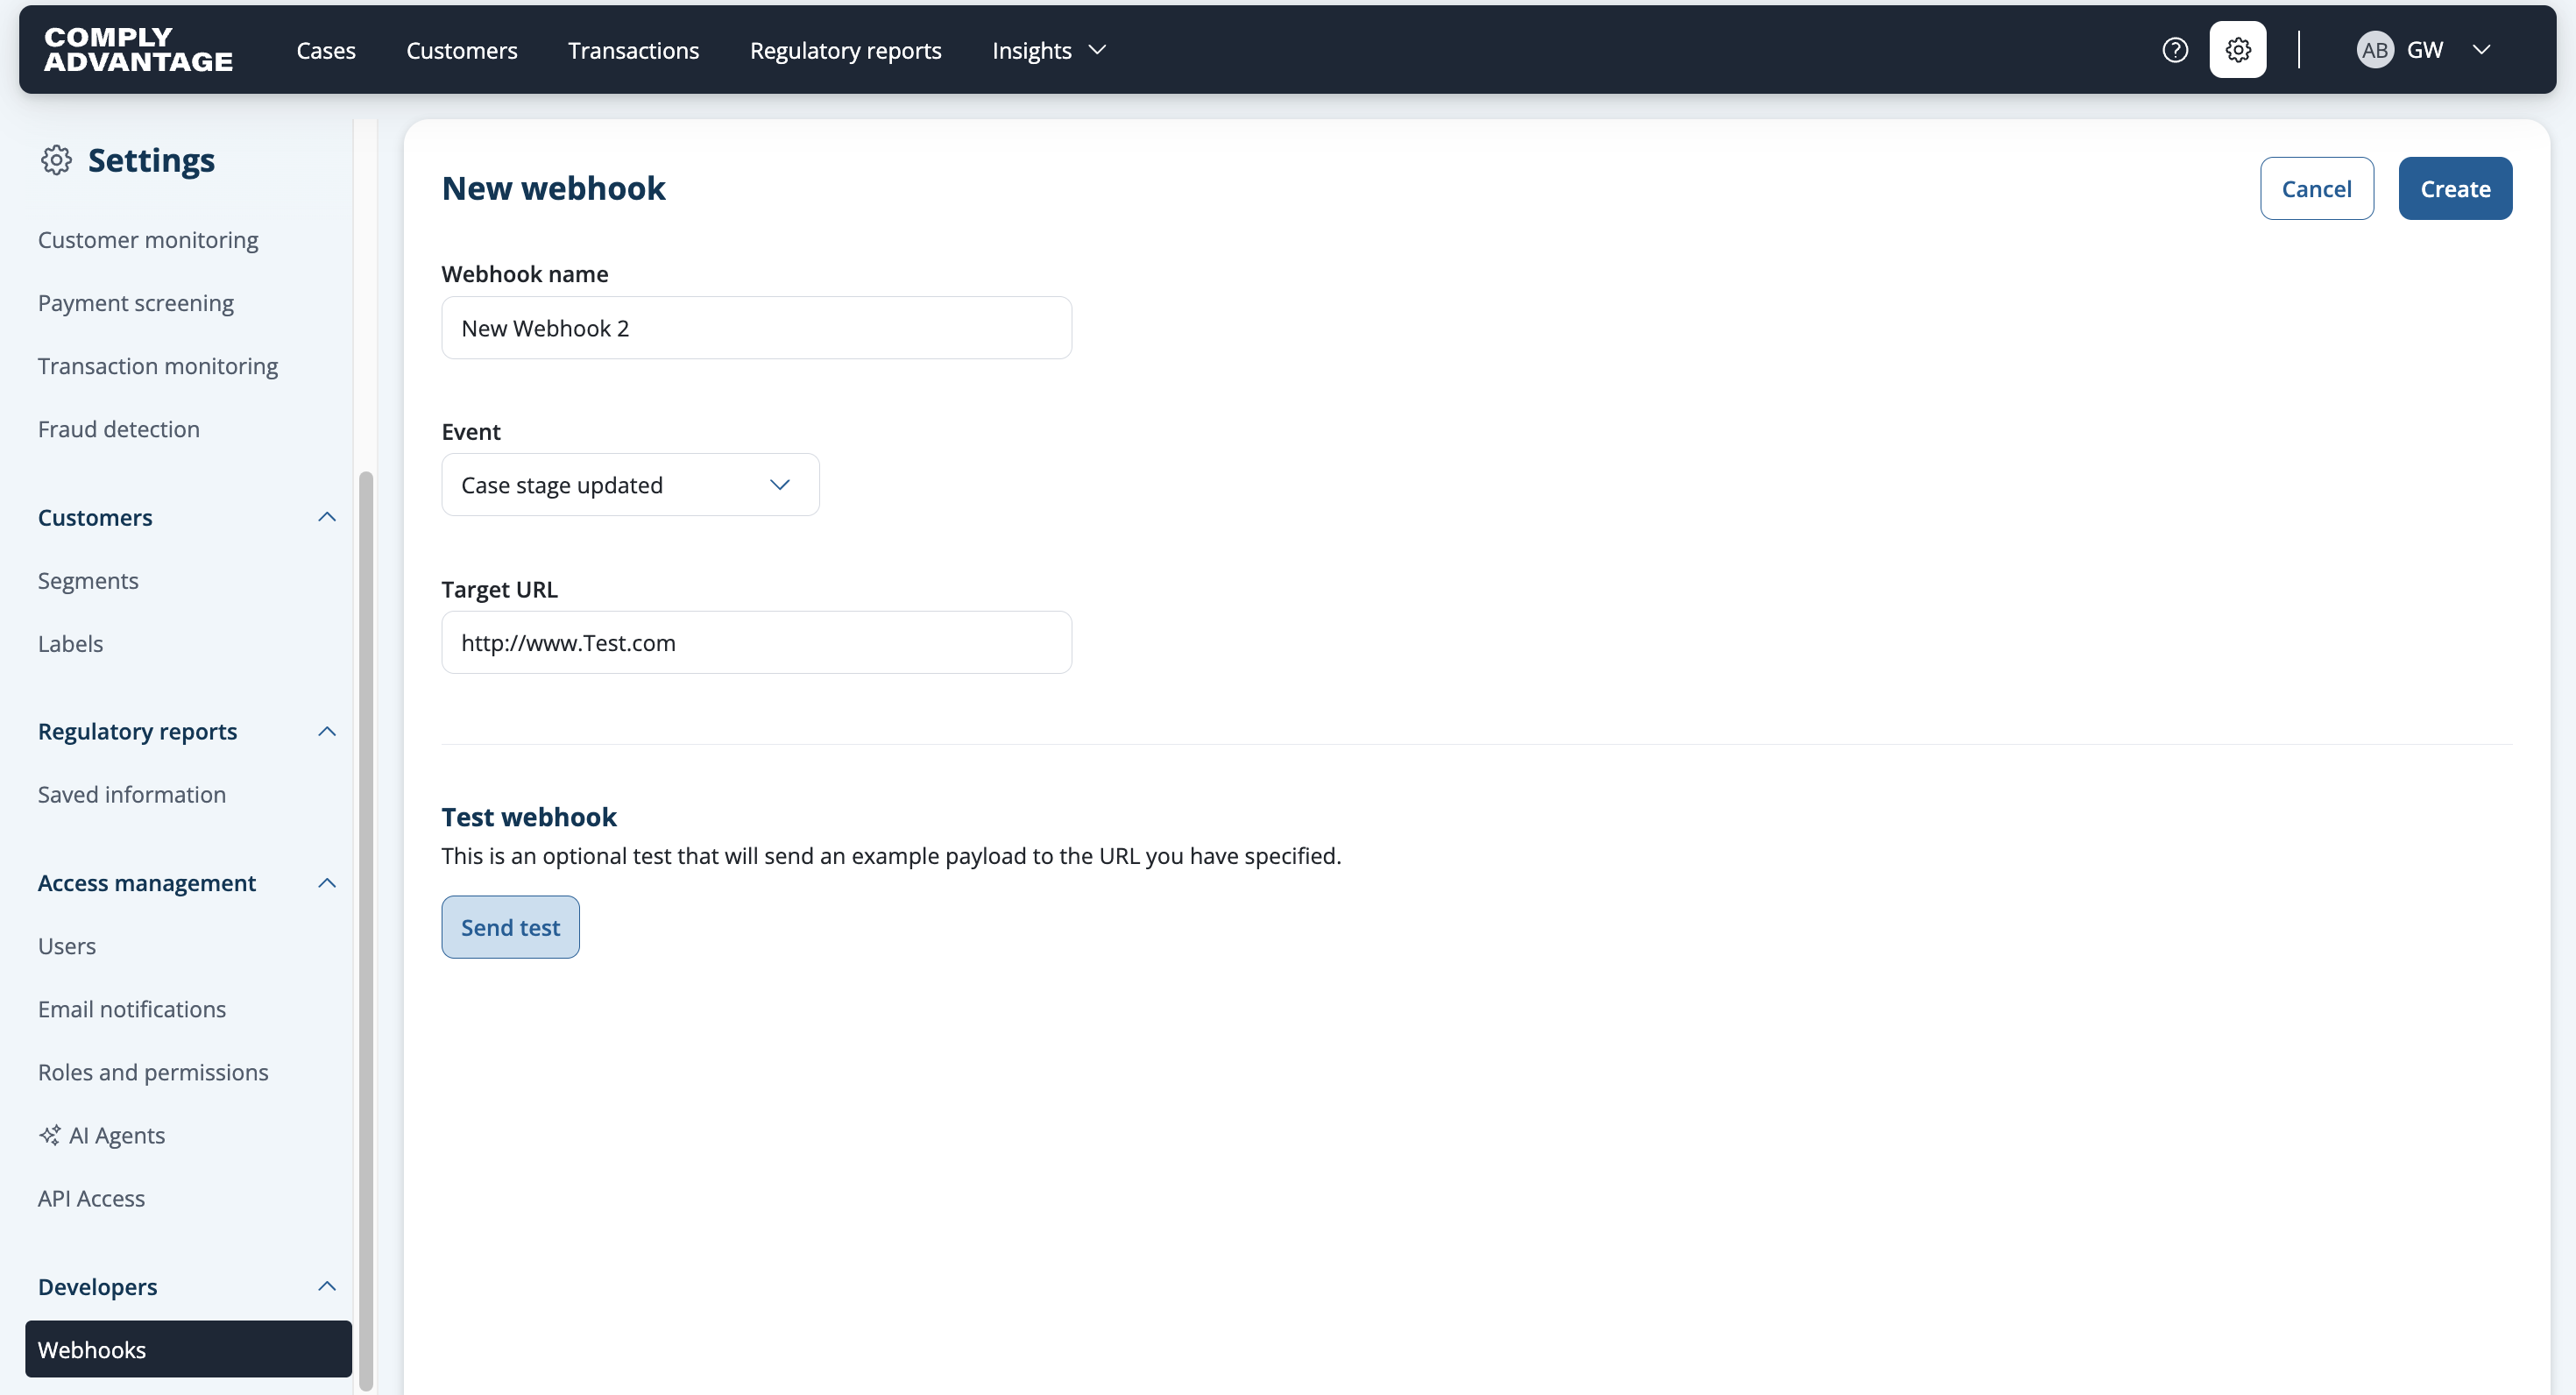
When you complete all the form fields, the Send test button is enabled. Click the button to send an example payload to the URL you have specified. This test is optional.
Click the Create button.
You see a success notification.

Your new webhook has an Active status in the webhooks list.

Changing a webhook’s status using the Mesh web application
Select the Settings button in the top right of the screen.
On the left-hand side, scroll down until you see Webhooks in the menu
Here you'll be able to see the Webhooks that have been created.
Click the webhook you want to change the state of.
Change the State to either Active or Inactive.

Click Save in the top right.
You see a success notification.

Use the arrow next to the webhook name to return to the webhooks list.
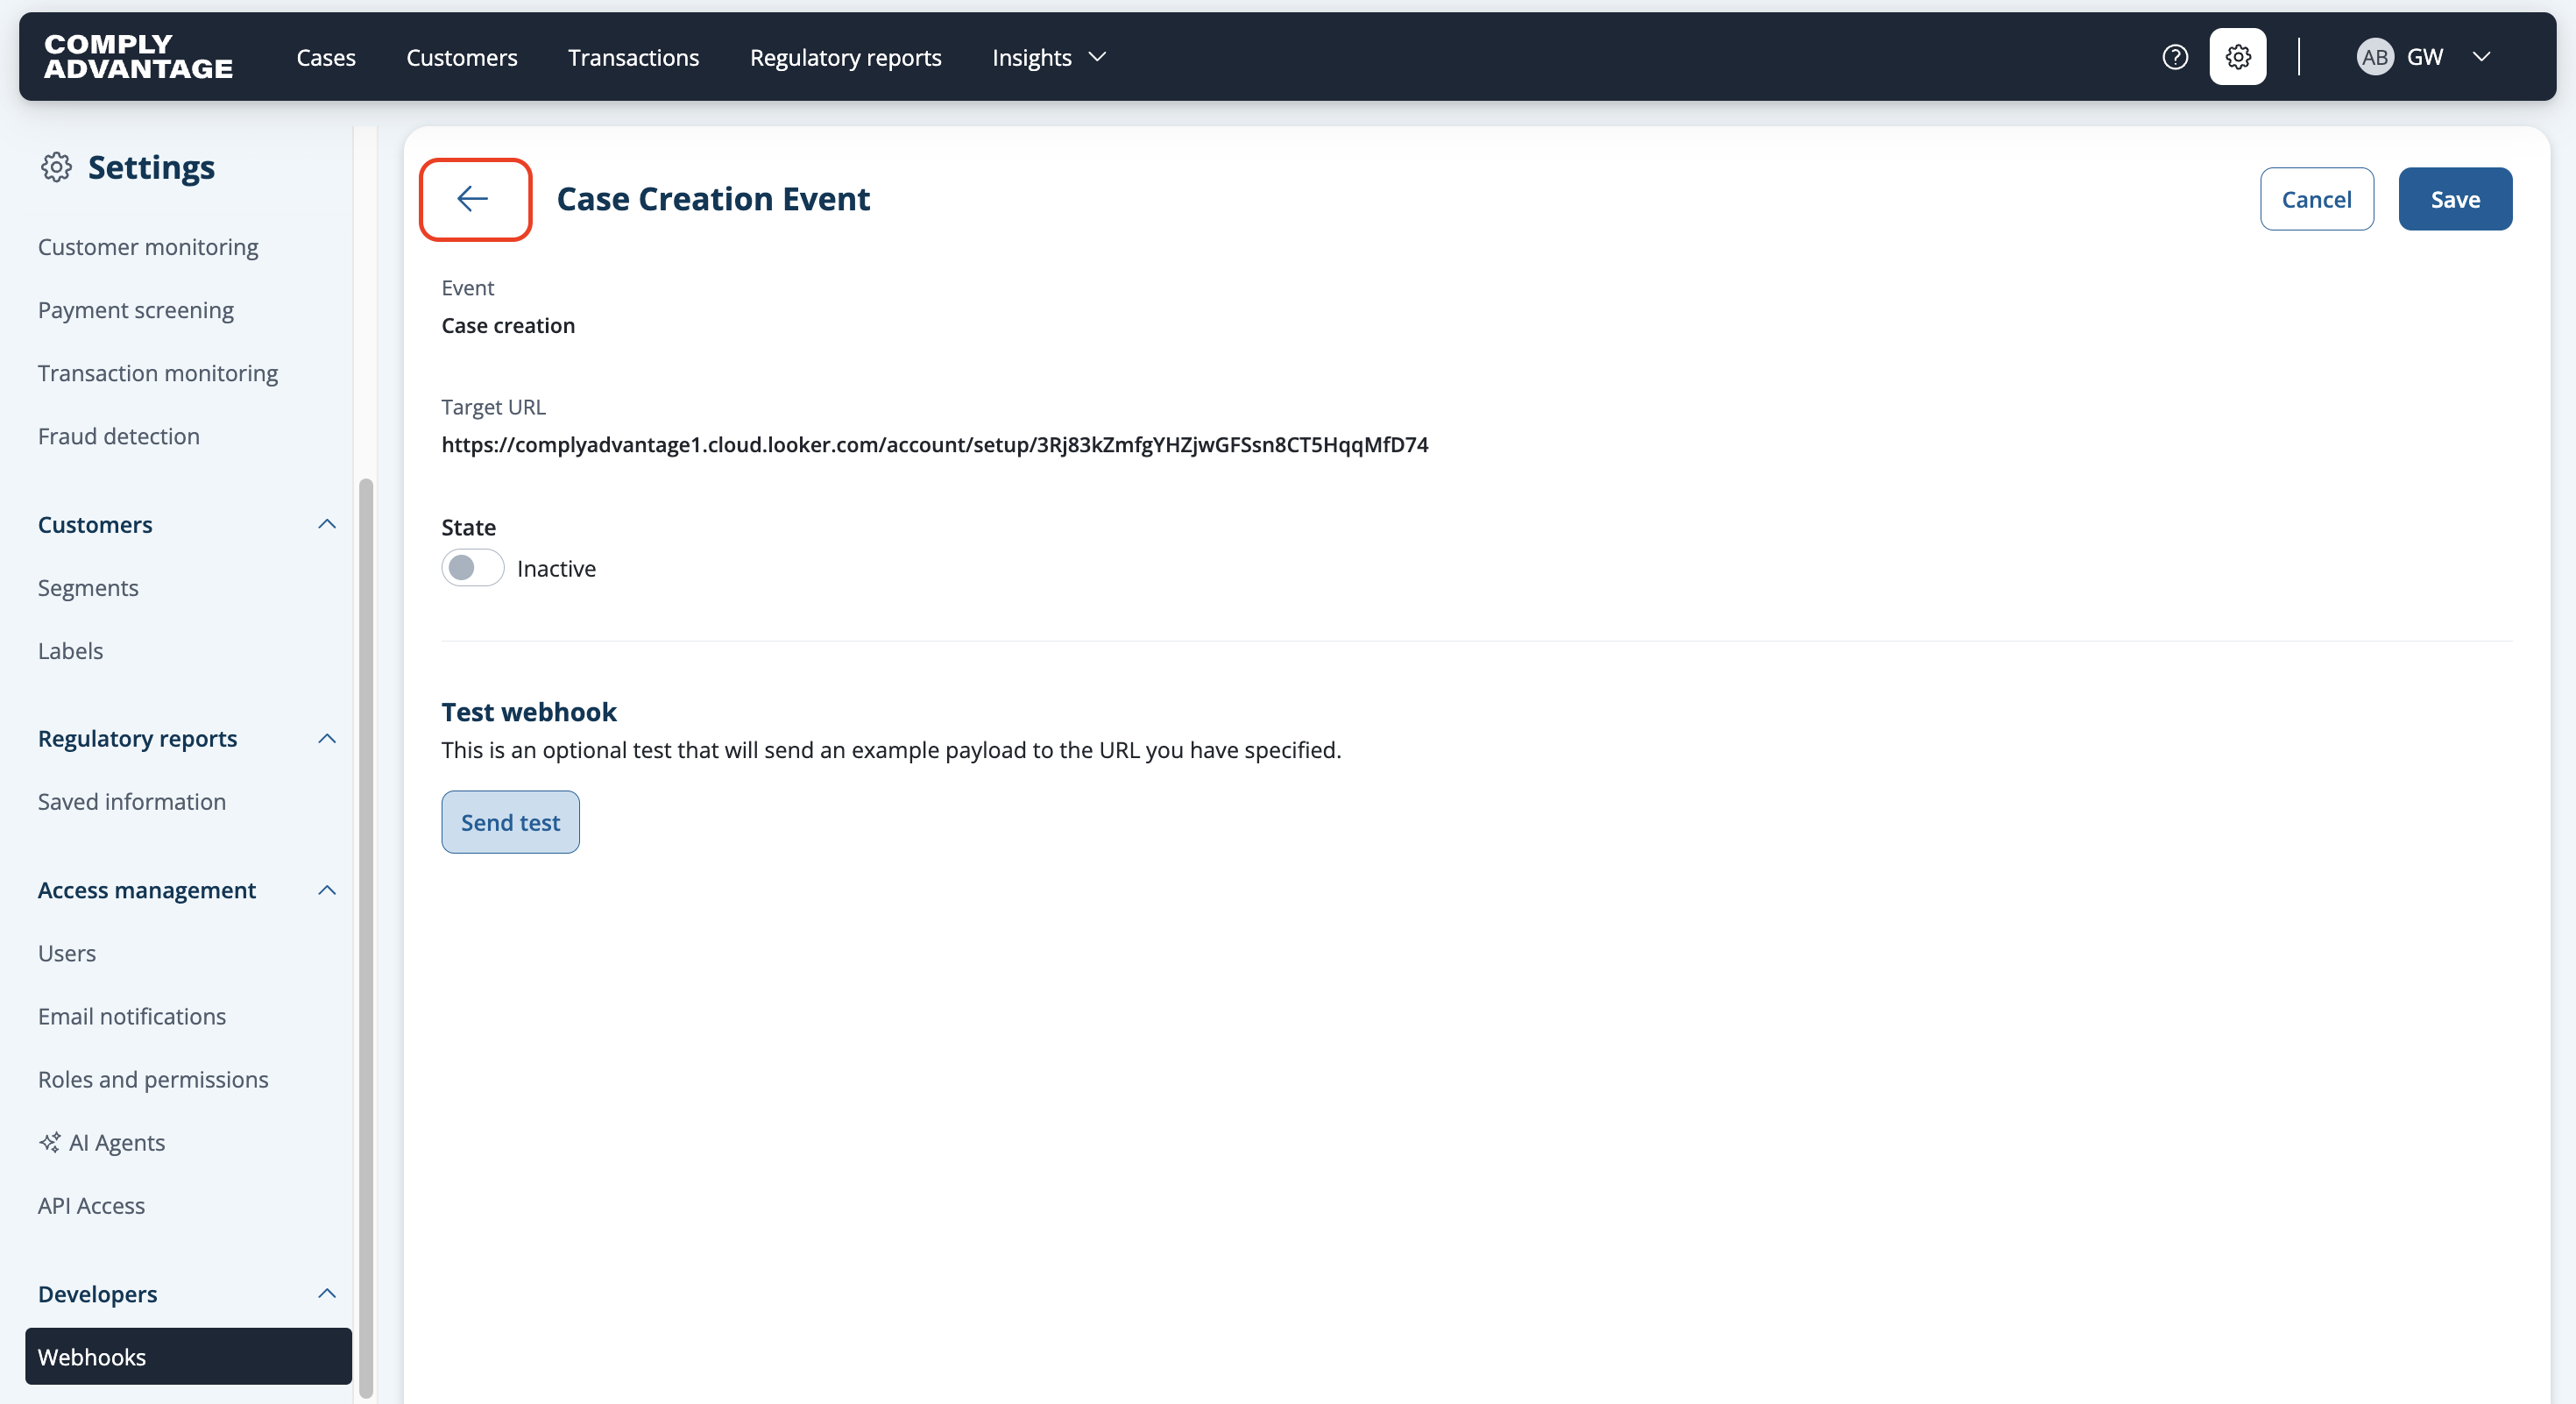
Your webhook shows the updated state.
How Mesh delivers webhooks
Mesh sends each webhook as a POST request to your URL and waits up to five seconds for a response. A 2xx status means the webhook is delivered.
Mesh retries when your endpoint returns a 5xx, 408 or 429 status, times out, or cannot be reached. It makes up to four more attempts, the last three after waits of 1, 5 and 10 seconds.
After the last attempt, Mesh does not send the webhook again on its own. We recommend reconciling through the API, for example by listing recent cases, so that a missed event is still found.
Delivery is at least once, so the same webhook can arrive more than once, for example when your endpoint responds after five seconds. Every attempt carries the same webhook-id header.
We recommend using webhook-id as your deduplication key and skipping any webhook whose id you have already handled.
Webhooks are not delivered in a fixed order, so events for the same case or customer can arrive out of sequence. We recommend handling each event on its own rather than relying on arrival order.
Allowing webhooks through your firewall
Mesh sends webhooks from a fixed set of IP addresses for each hosting region. The current addresses are listed under Source IP addresses on the Webhooks page of the Mesh developer documentation.
If you do not know which region hosts your account, contact support.
Signing adds a second check that a webhook came from ComplyAdvantage and was not changed in transit. Webhook signatures in Mesh explains how to enable it.