Video: How to create a Screening Configuration with Source Collections
Last updated: April 7, 2026
In this guide, you will learn how to create a screening configuration with source collections in Mesh.
When logging in to your account, please ensure you select the correct region, which will be one of the following:
Australia: https://au.mesh.complyadvantage.com/
You can find the link to your region in the onboarding email you received (look for the "Welcome to ComplyAdvantage" email).
If you can’t find the email, don't worry! You can always contact our support team at [email protected].
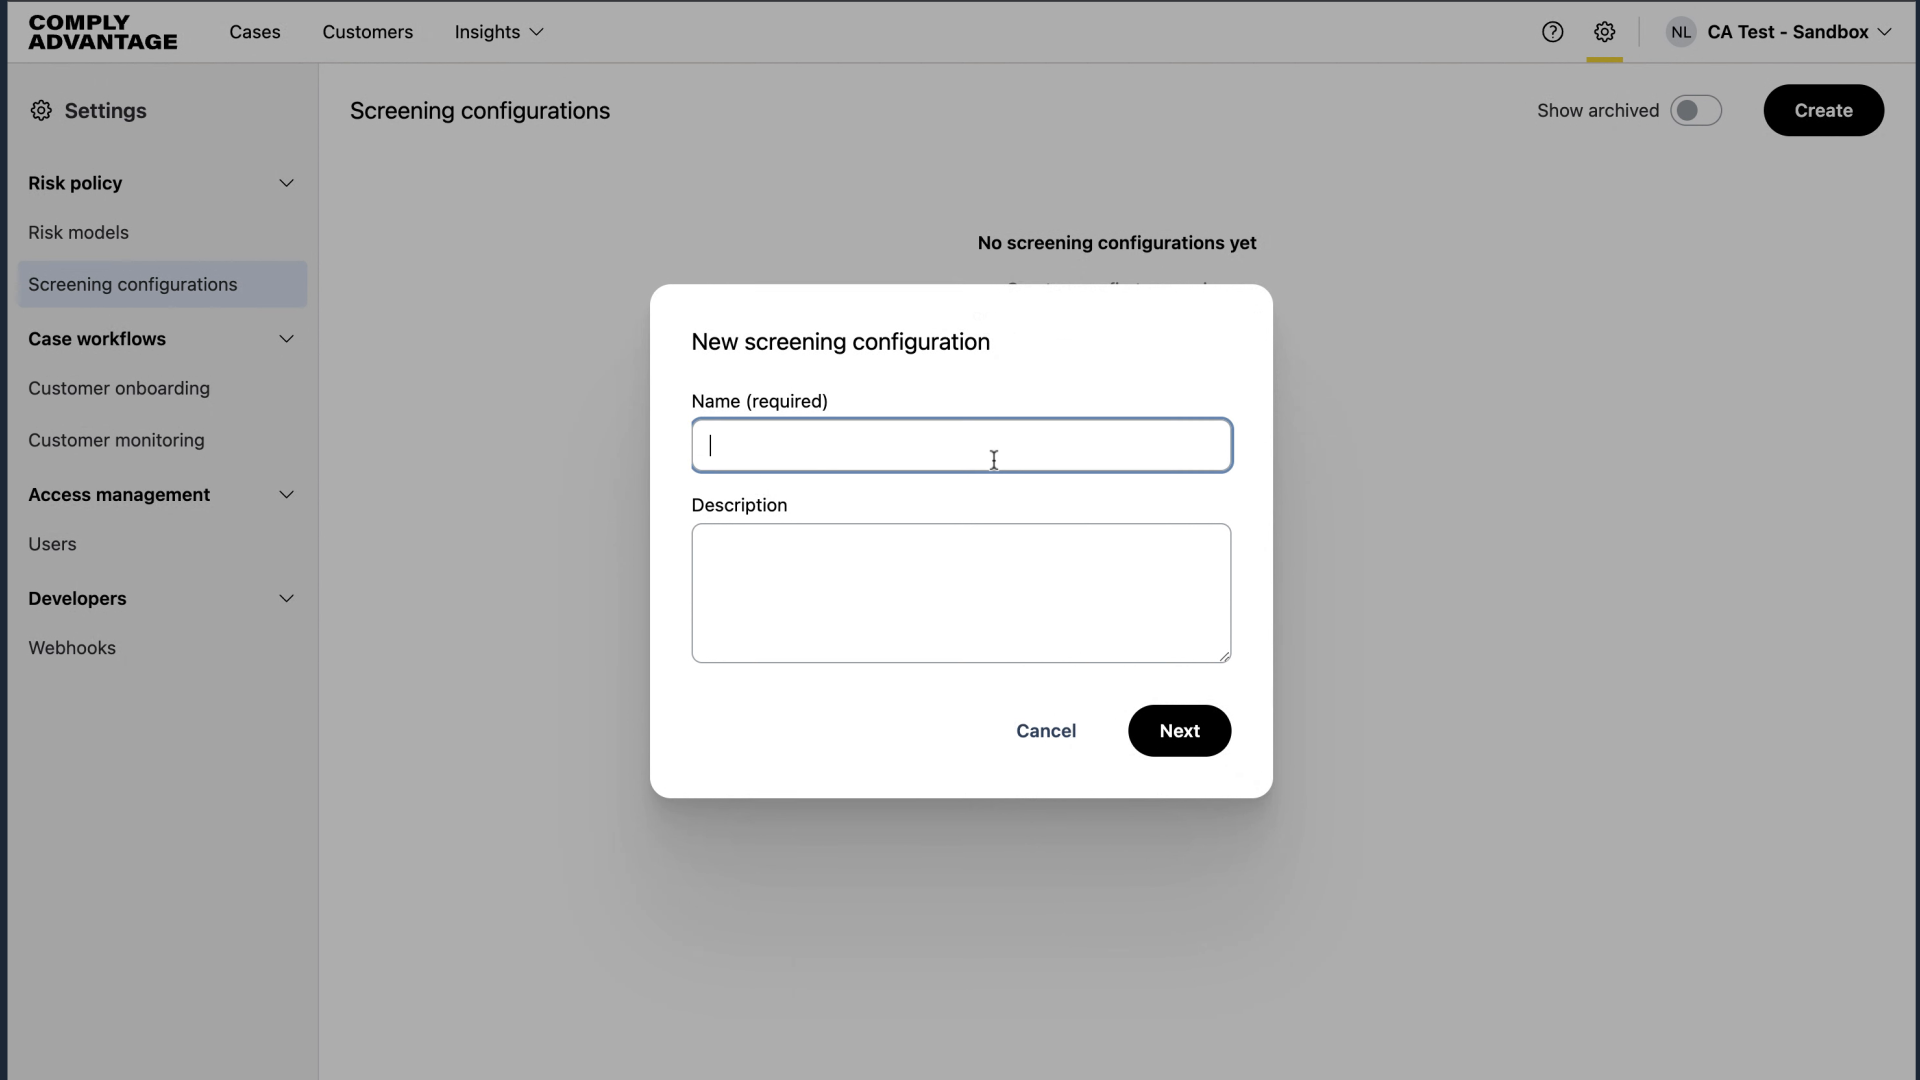
1. Click on the "Settings" icon
To begin, click on the settings icon here.
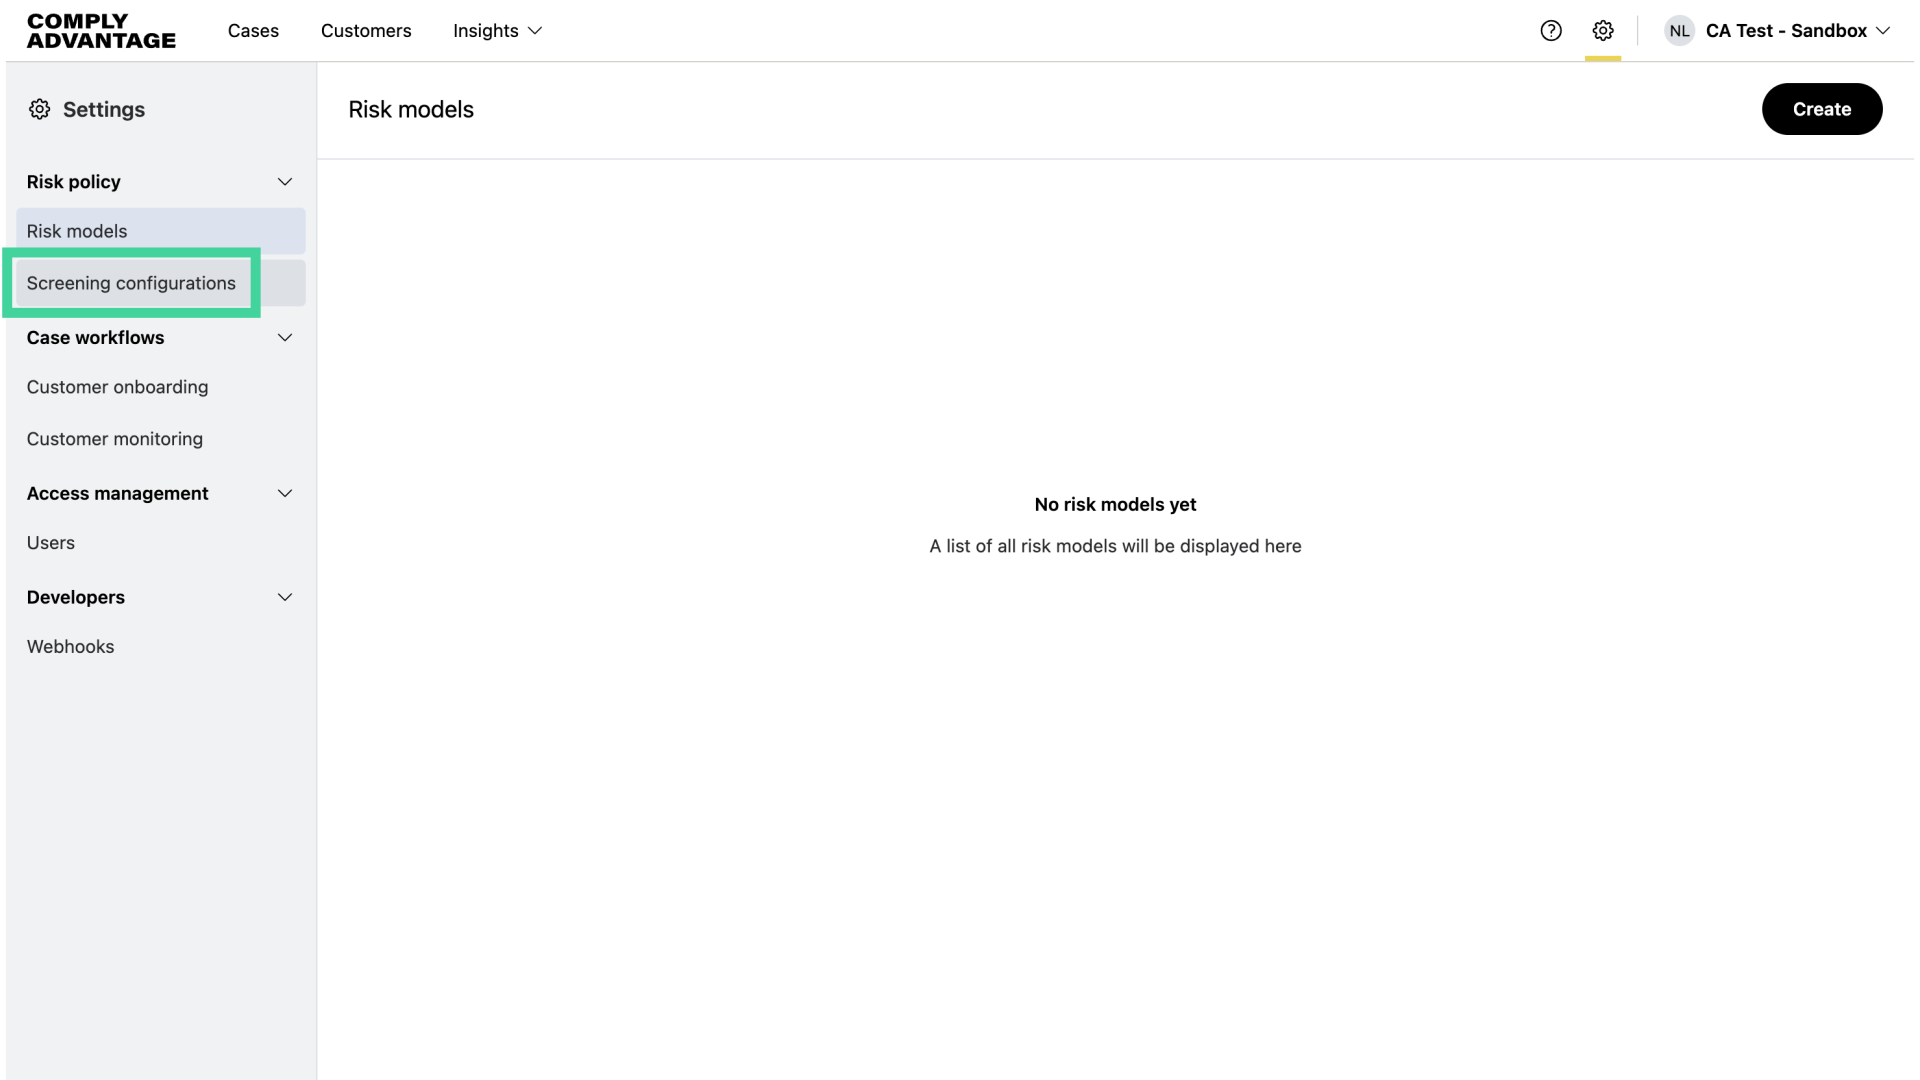
2. Click "Screening configurations"
Navigate to the Screening Configurations tab.
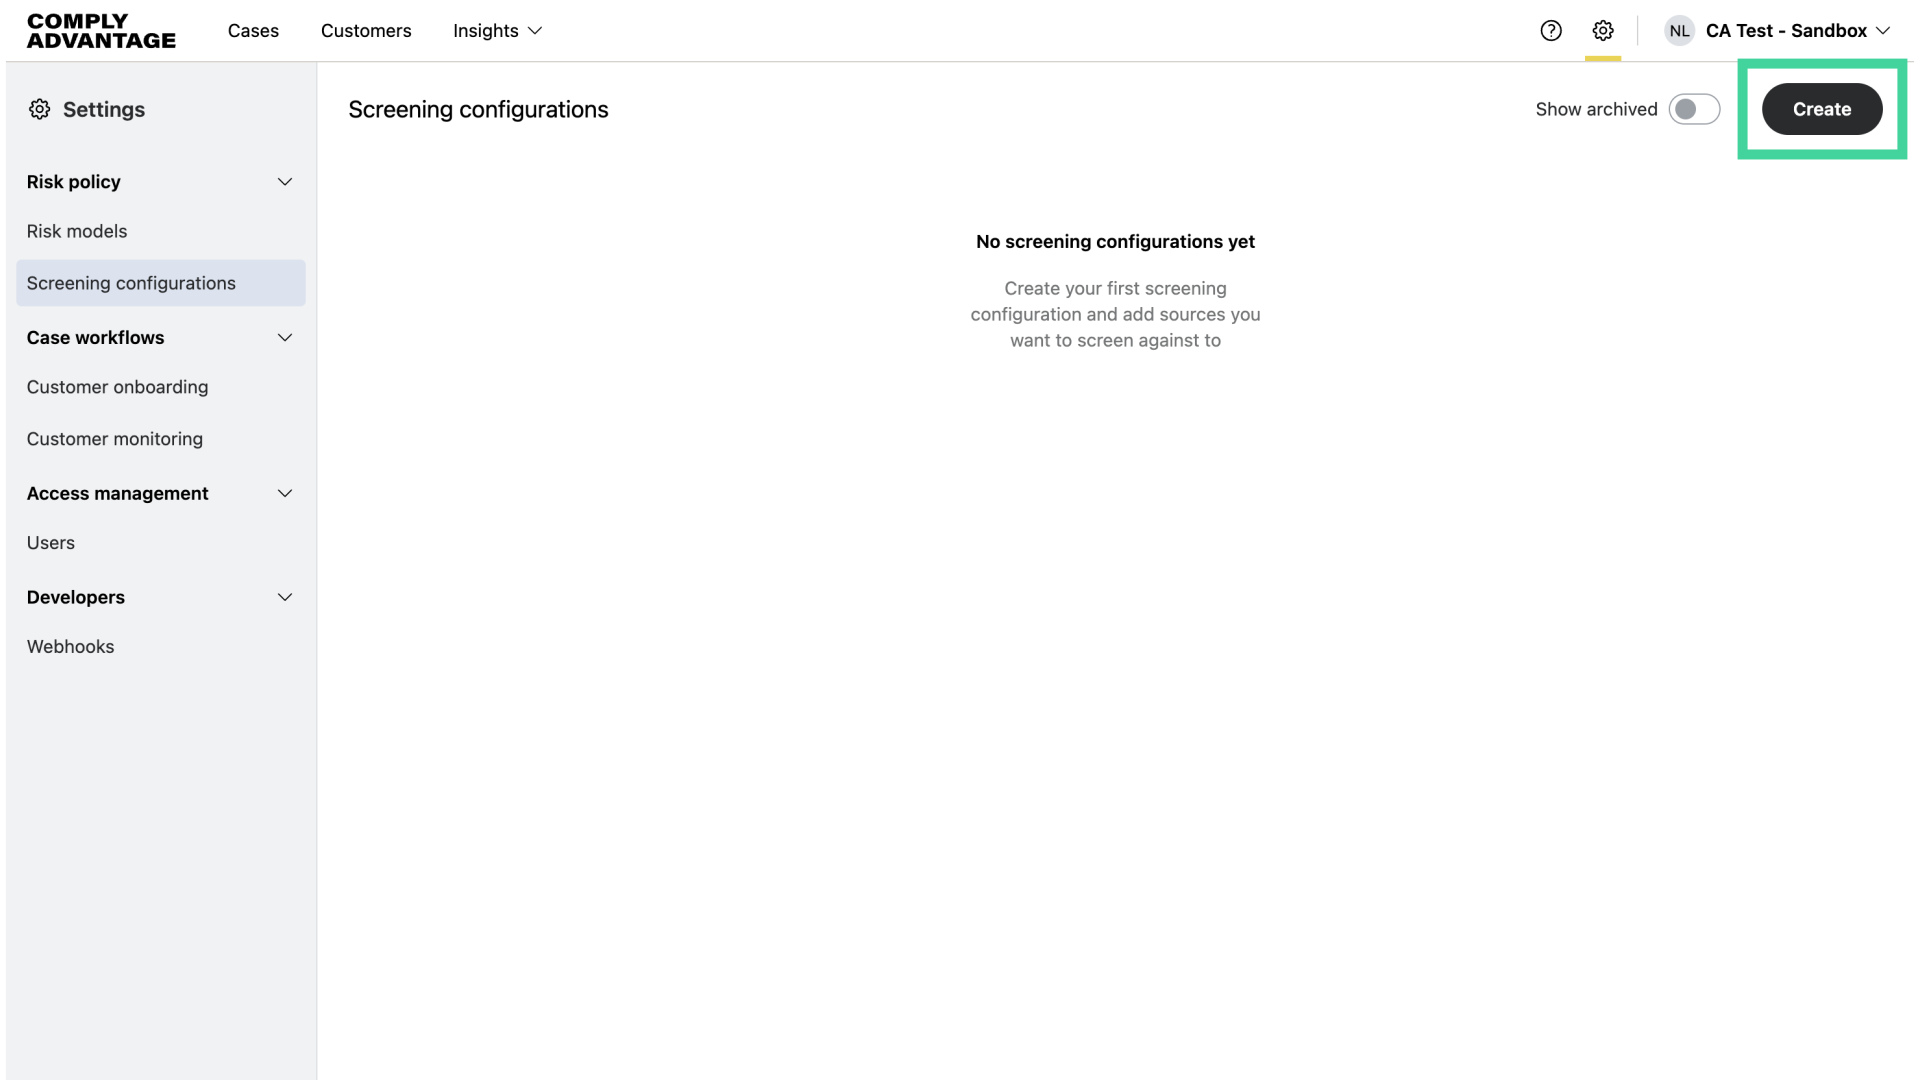
3. Click "Create"
Click "Create."
4. Click here
Next, enter the name of your screening configuration.
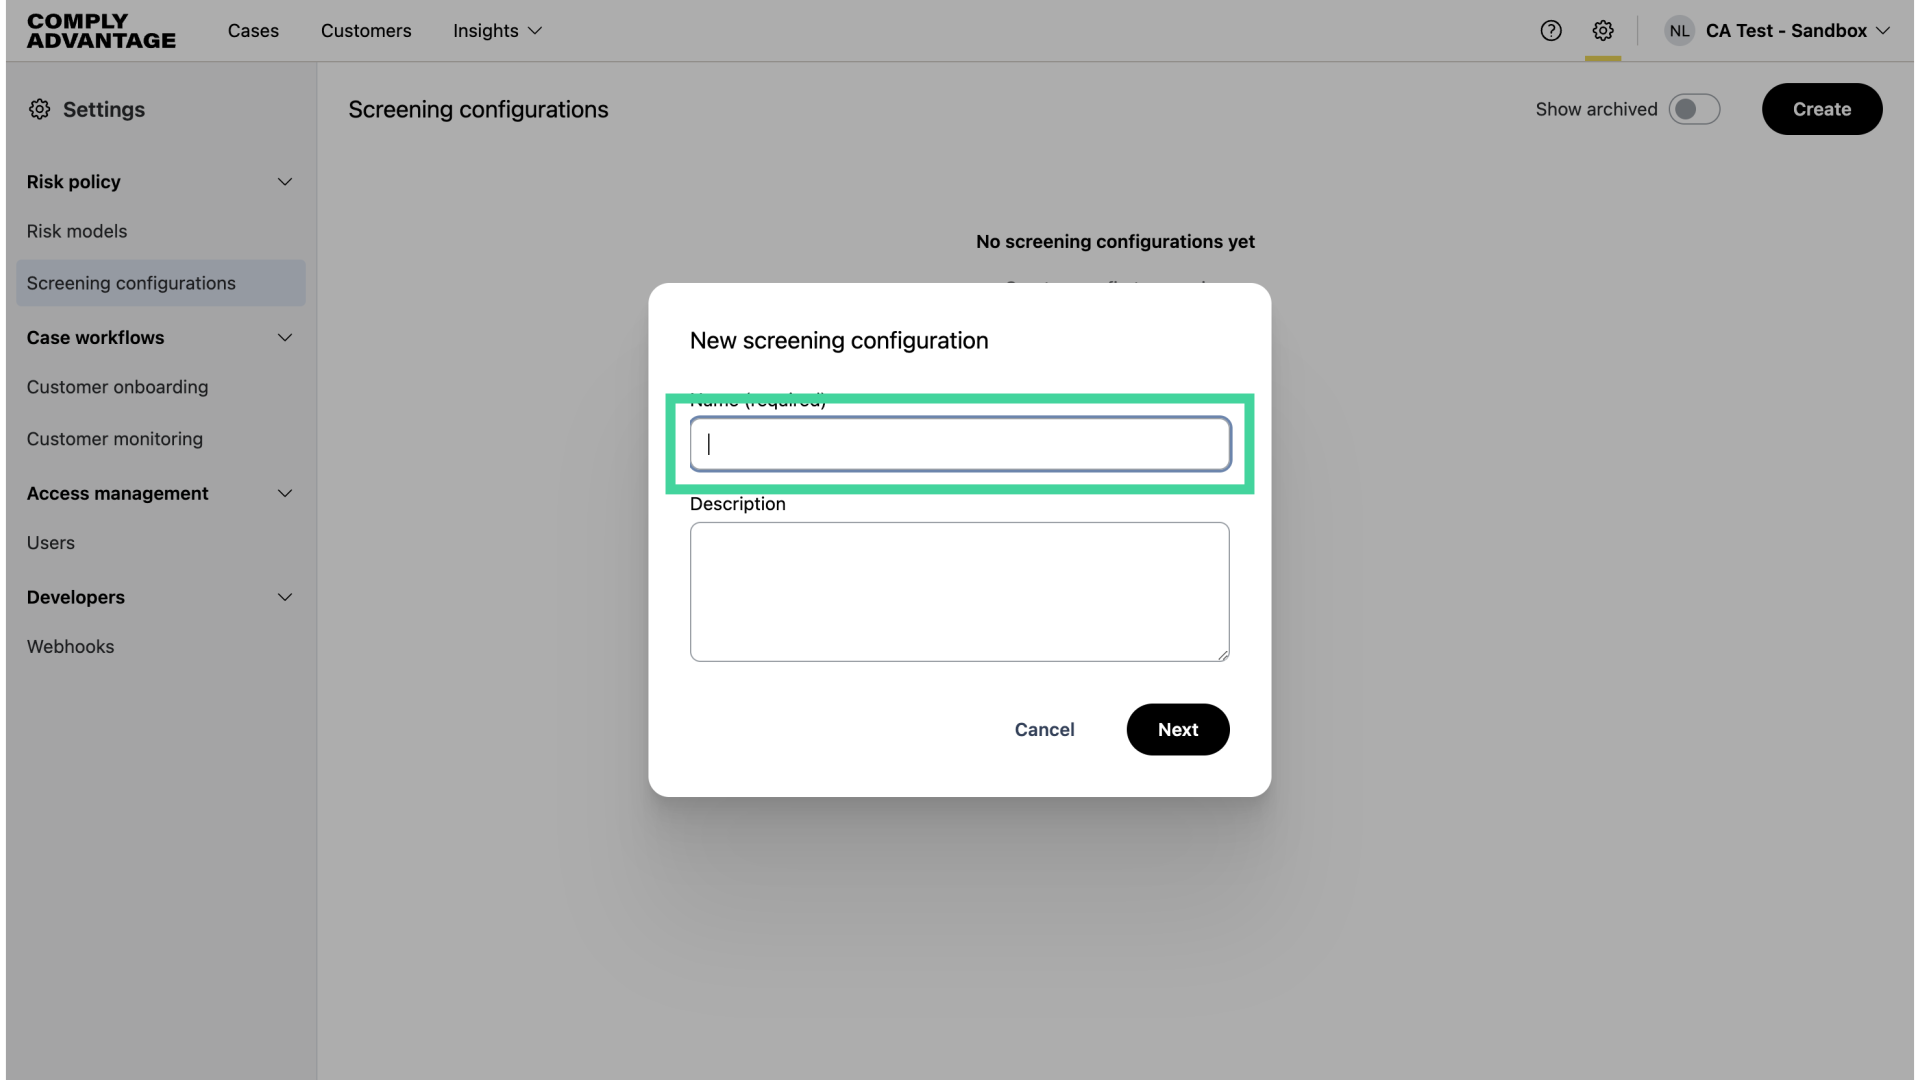
5. Fill in the title of your screening configuration
For this example, I will name this "United States Screening" to signify that I want to use this configuration to screen my US customers. You can create your configurations based on jurisdiction, as I've done here, risk level, product type, or several other use cases.
6. Click here
Then, add a description to your screening configuration here.
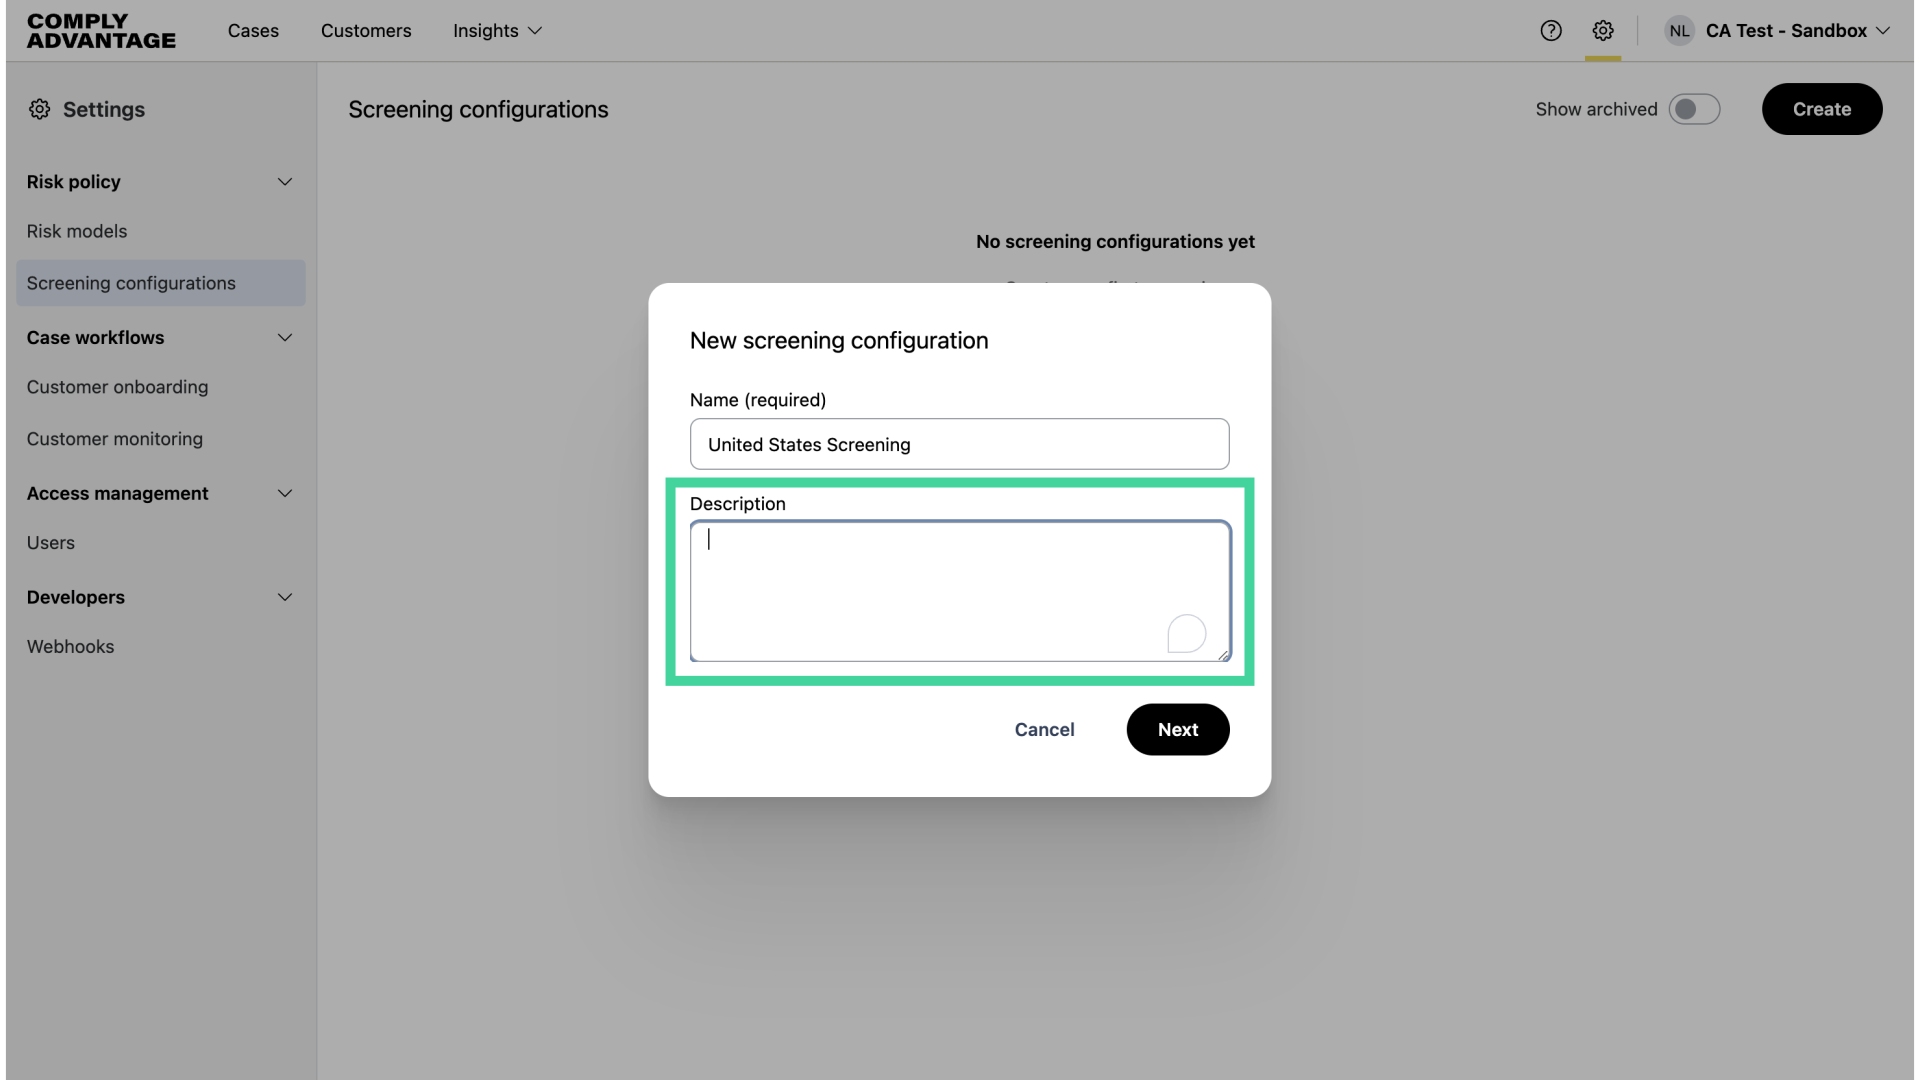
7. Fill in the description for your screening configuration
Your description should explain the purpose of your screening configuration. This helps to clarify its intended use.
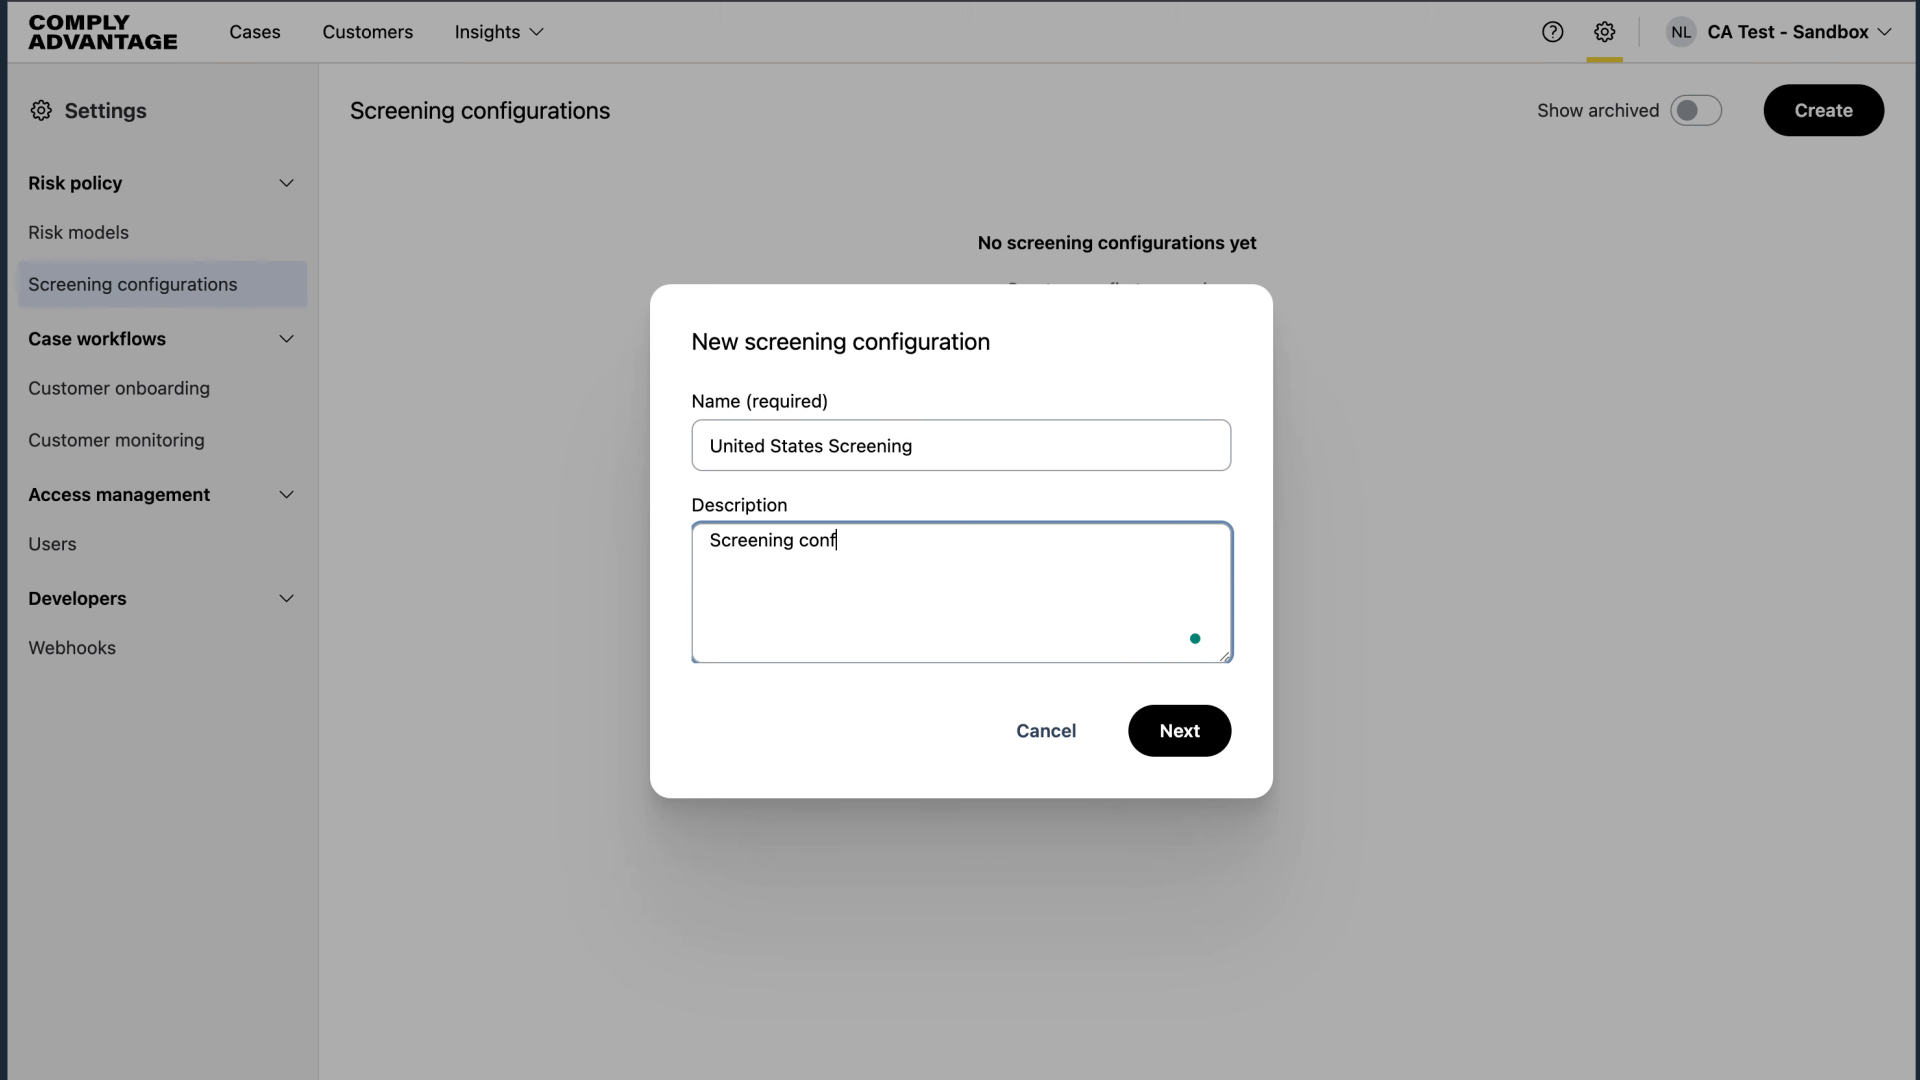
8. Click "Next"
Proceed to the next step.

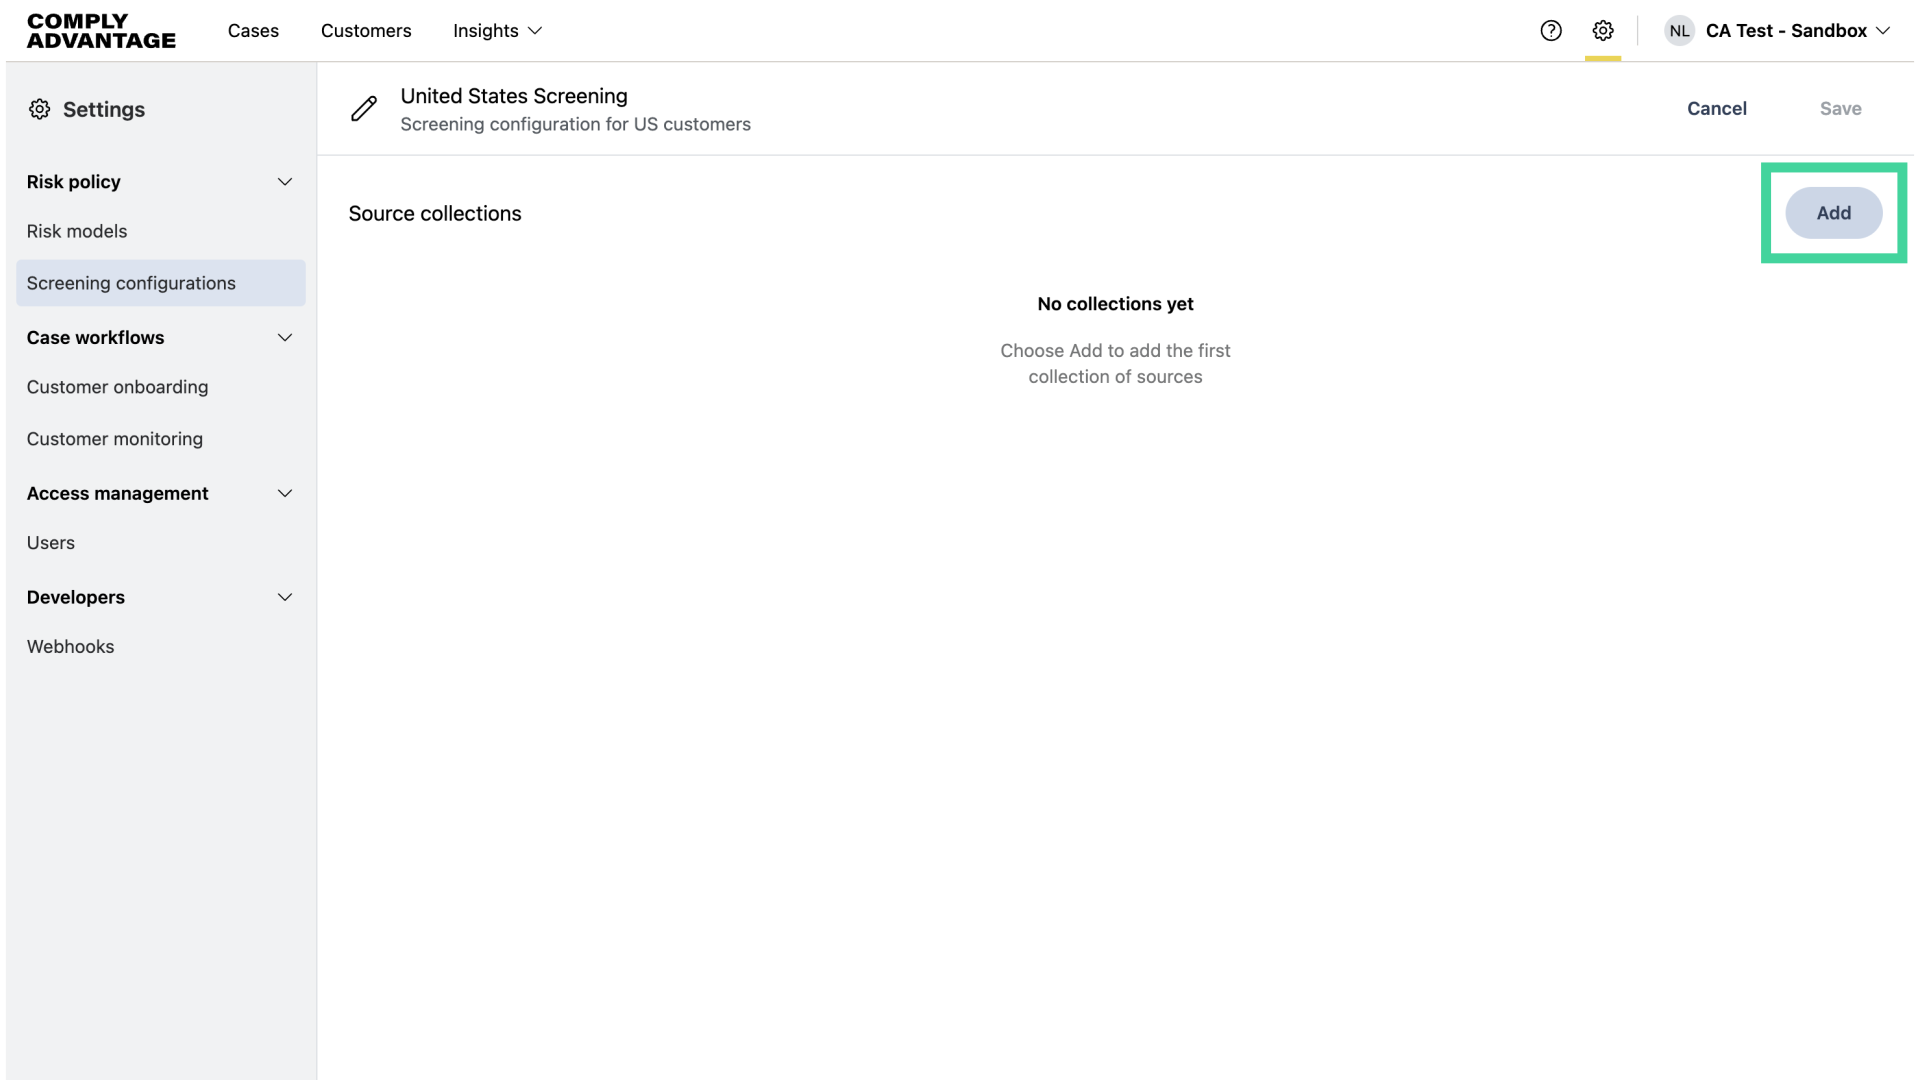
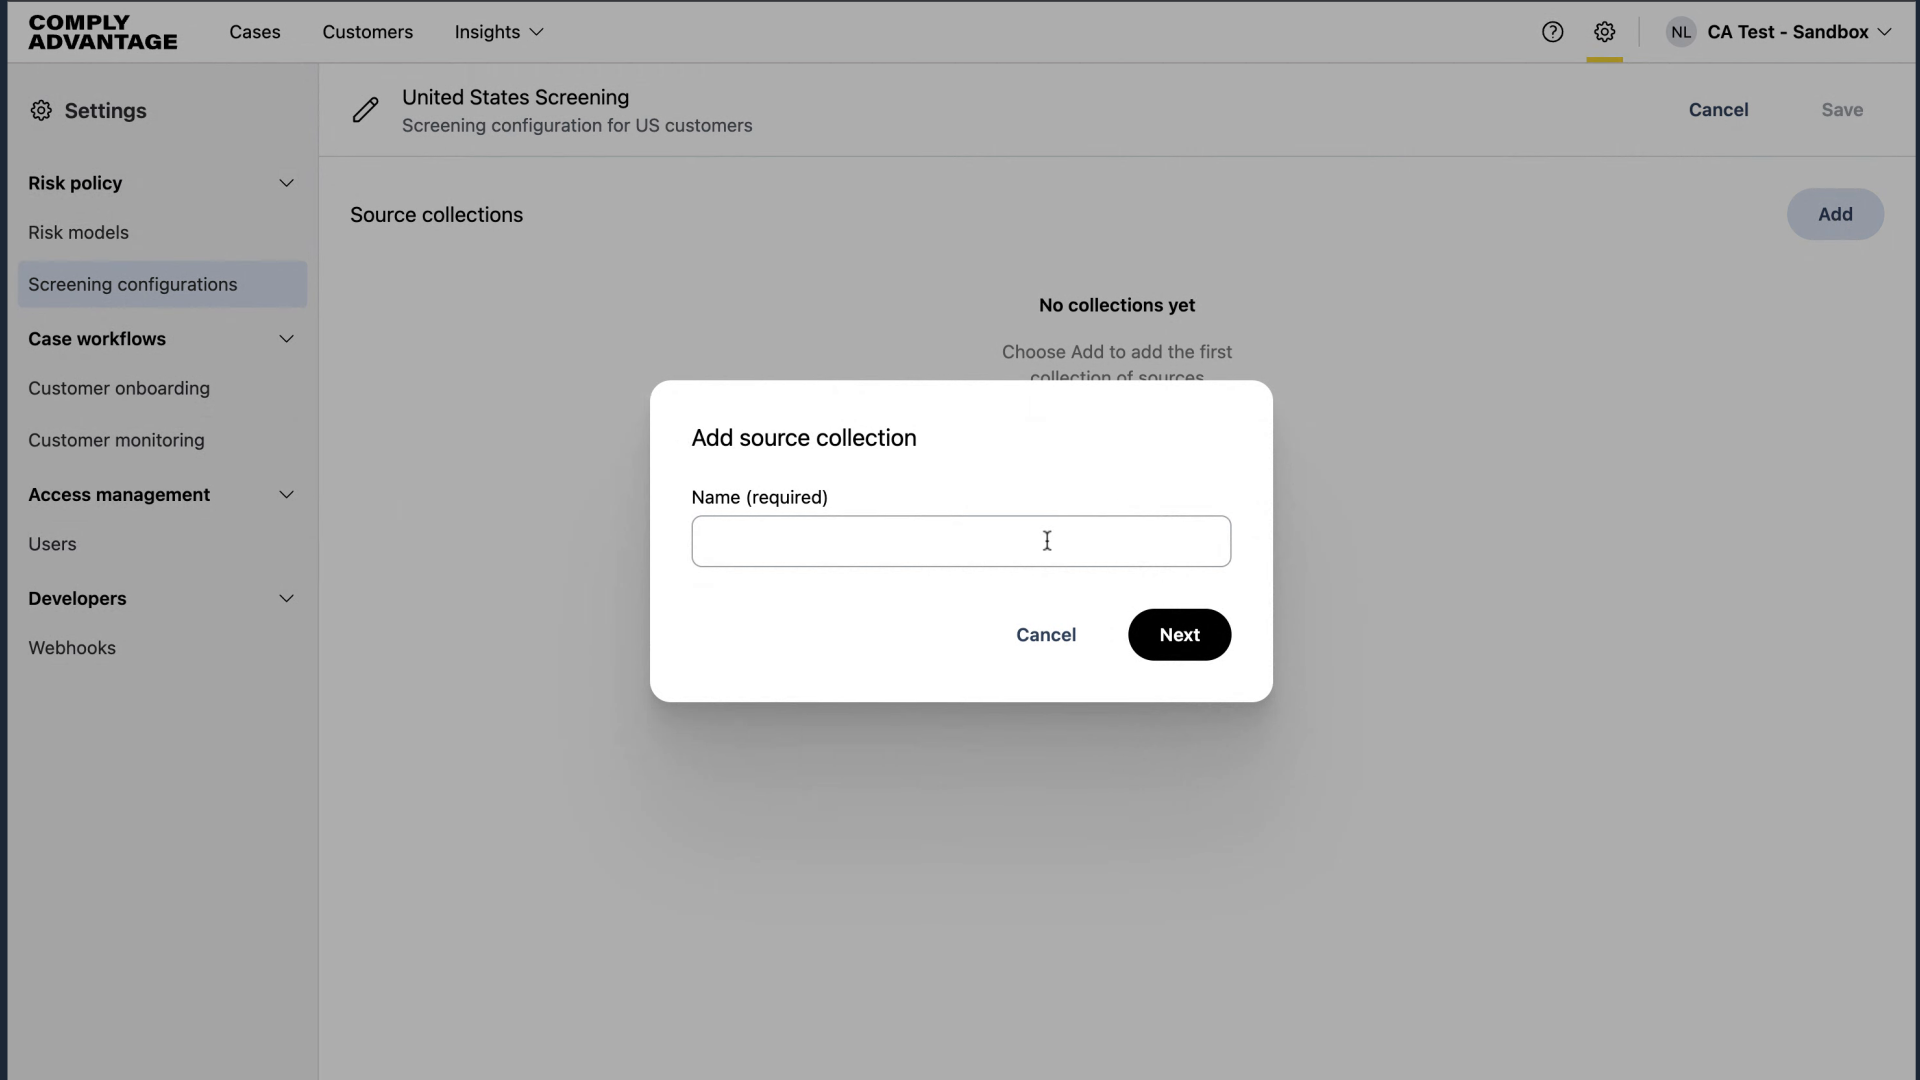
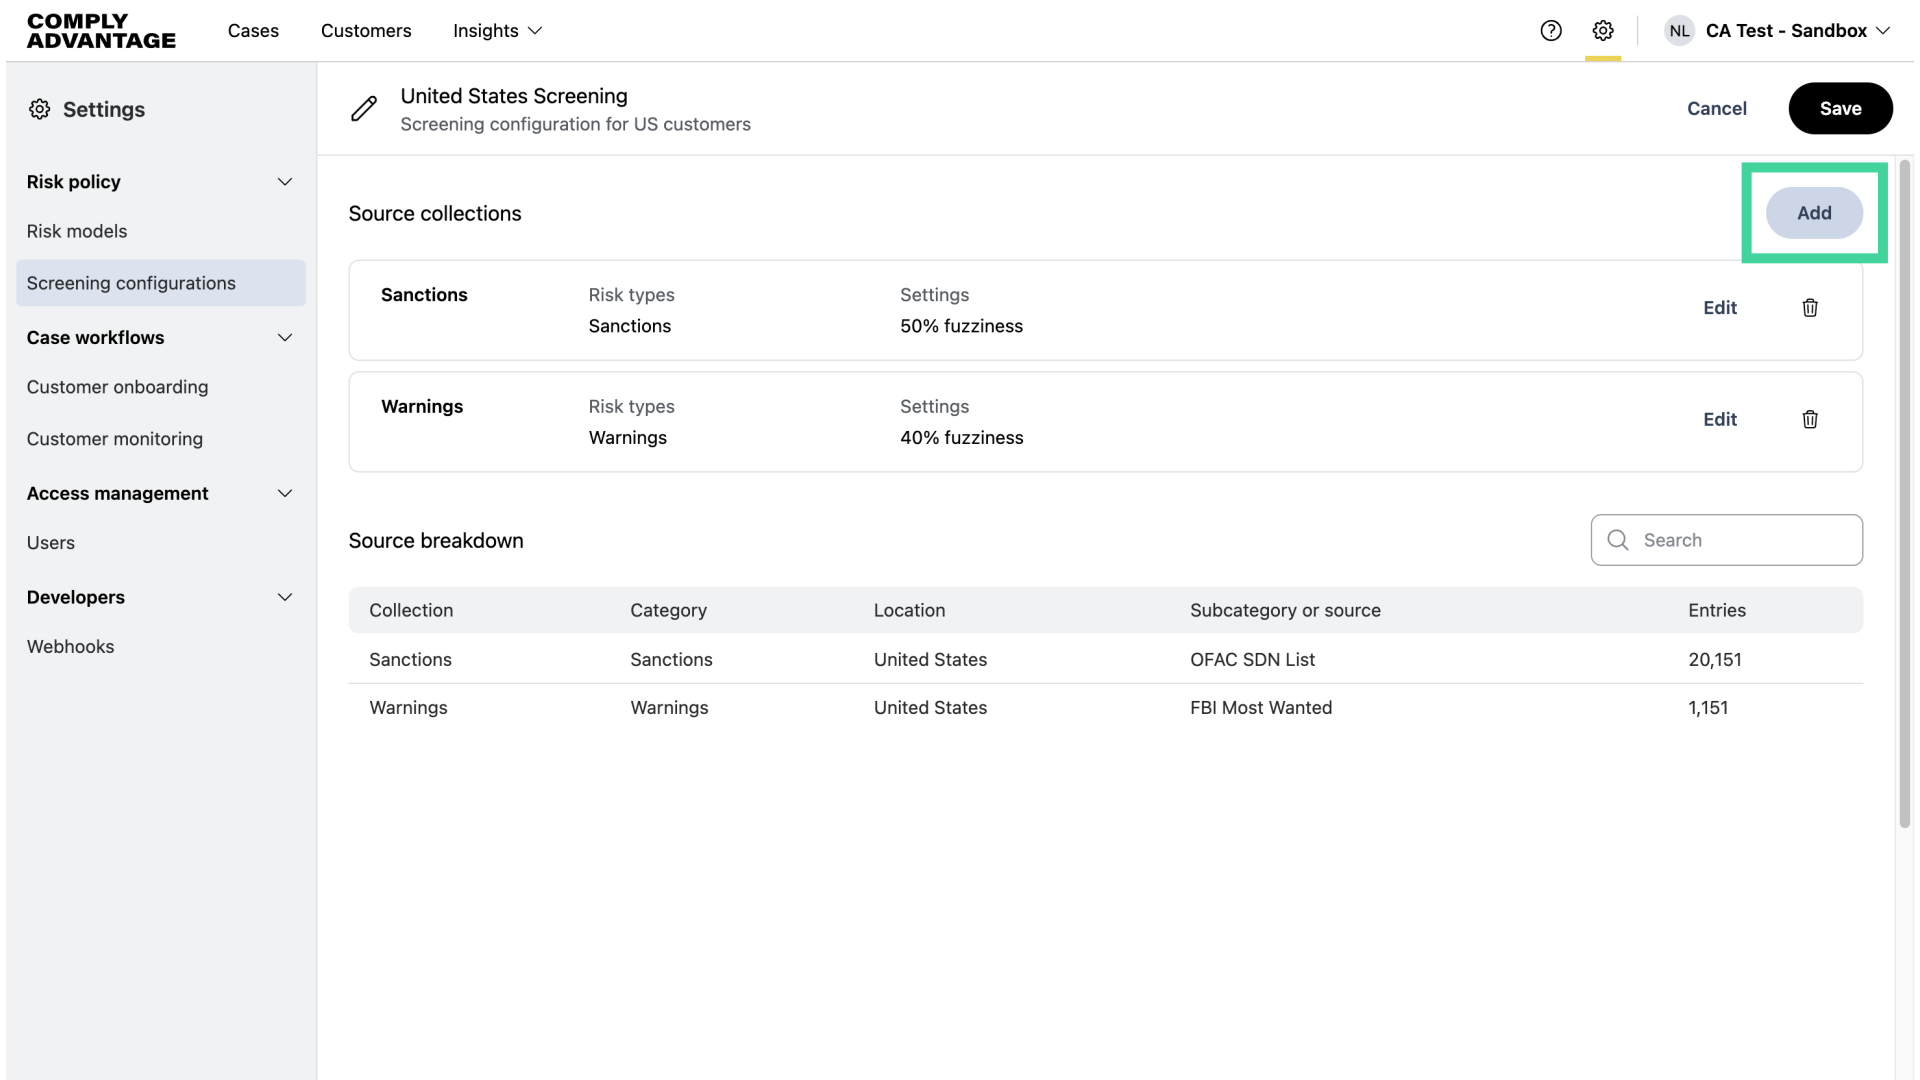
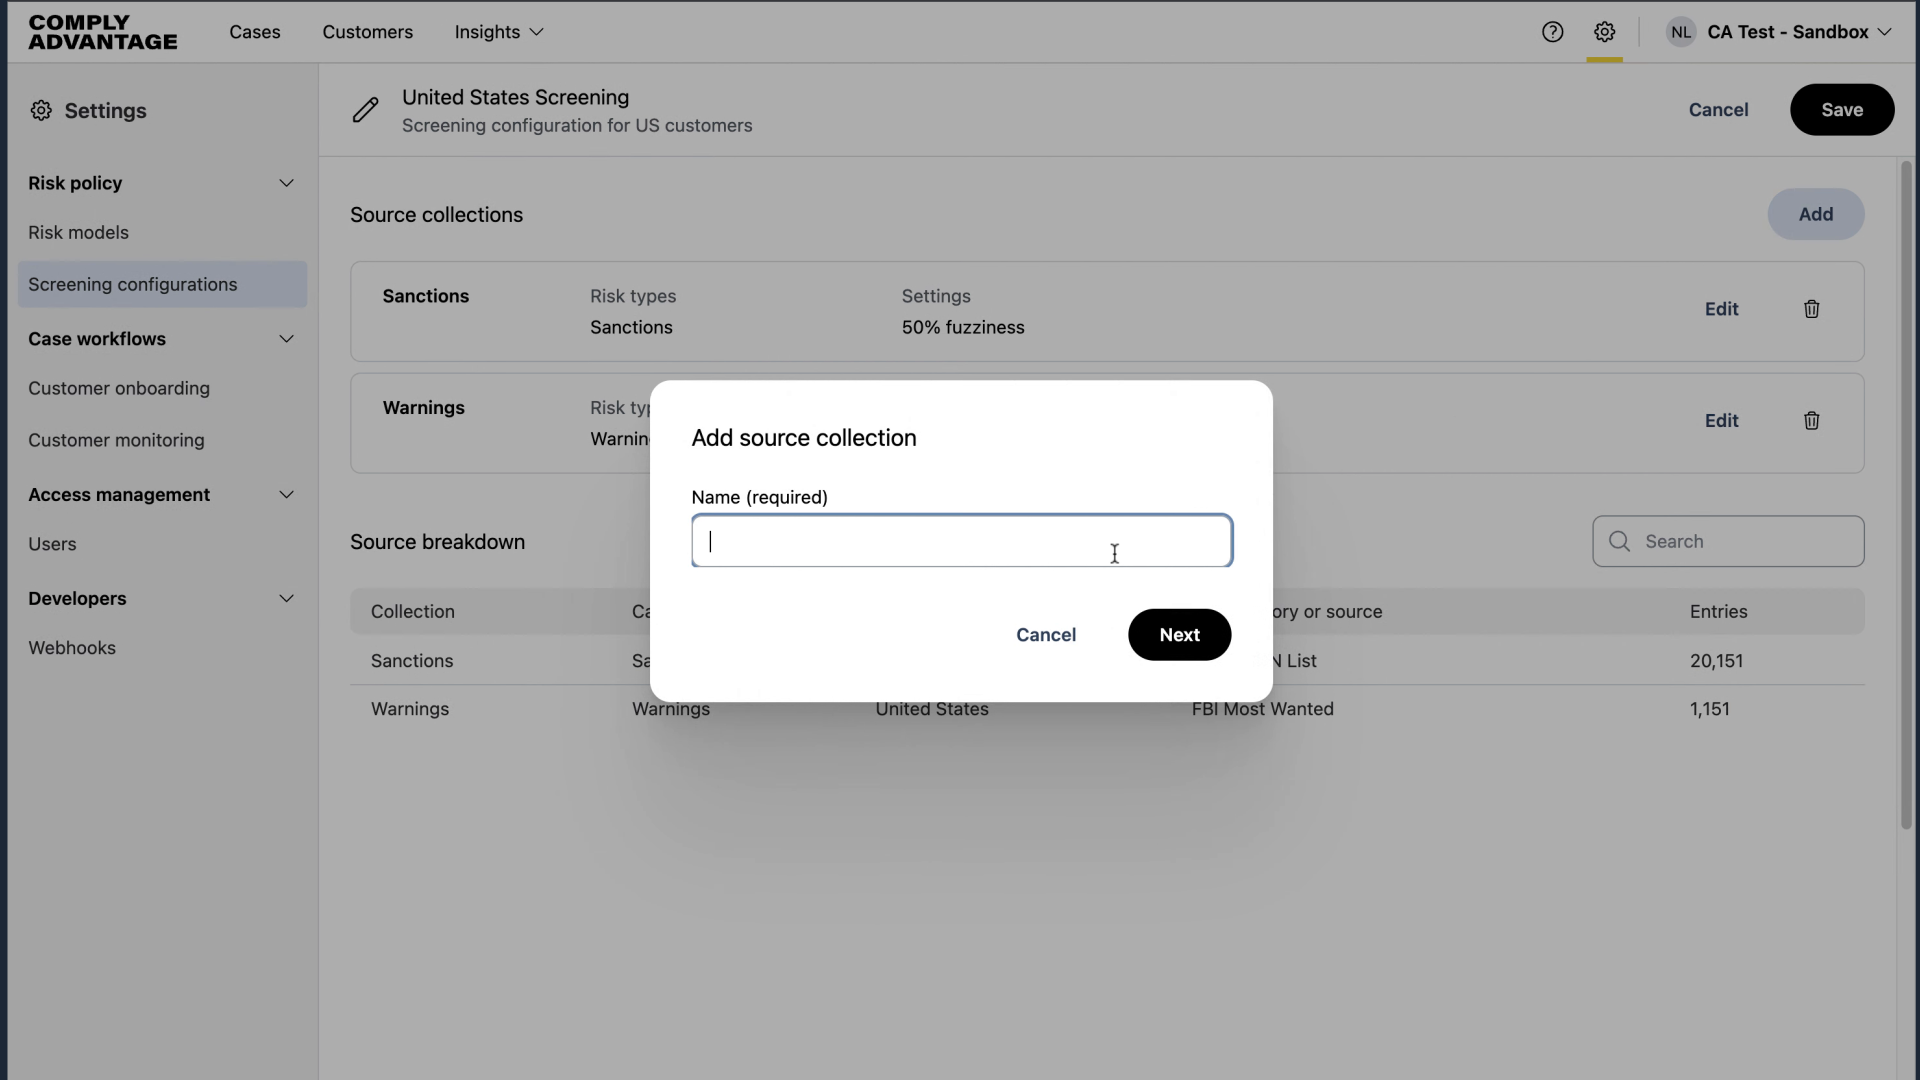
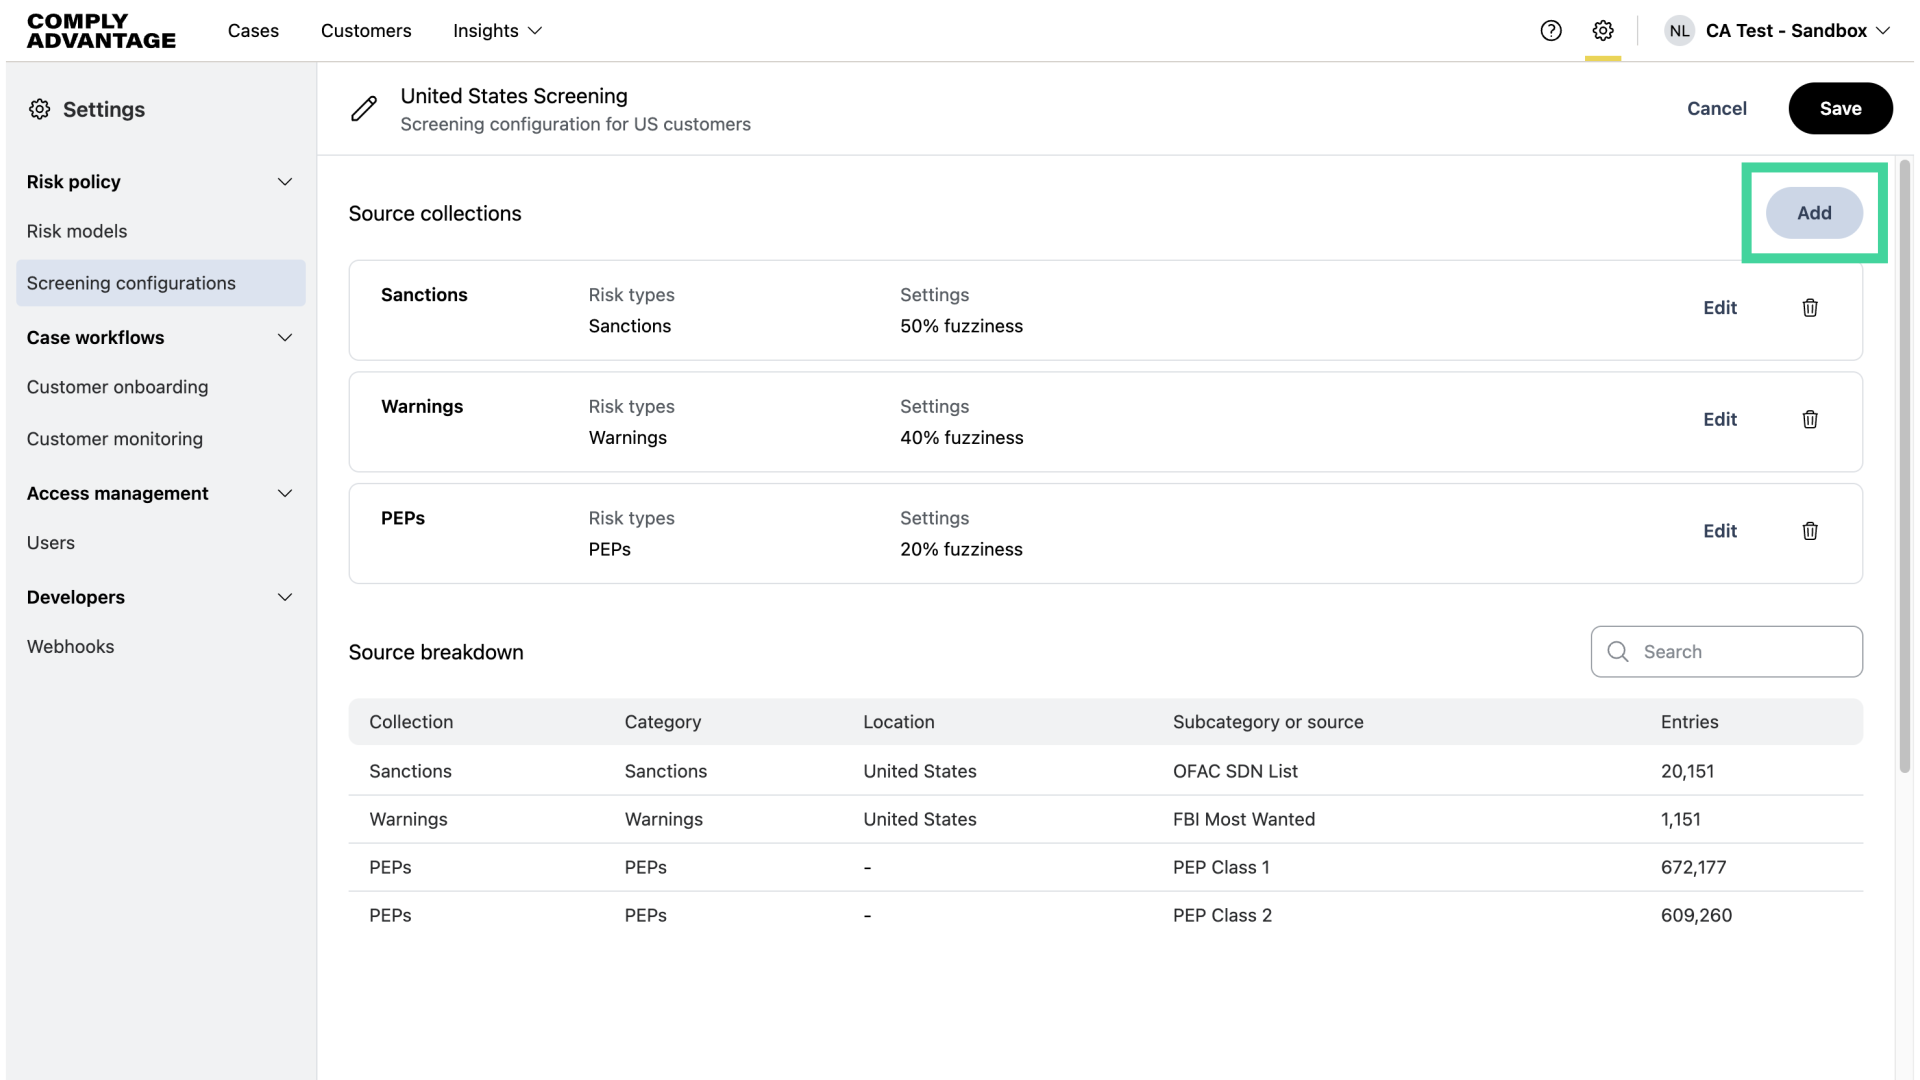
9. Click "Add"
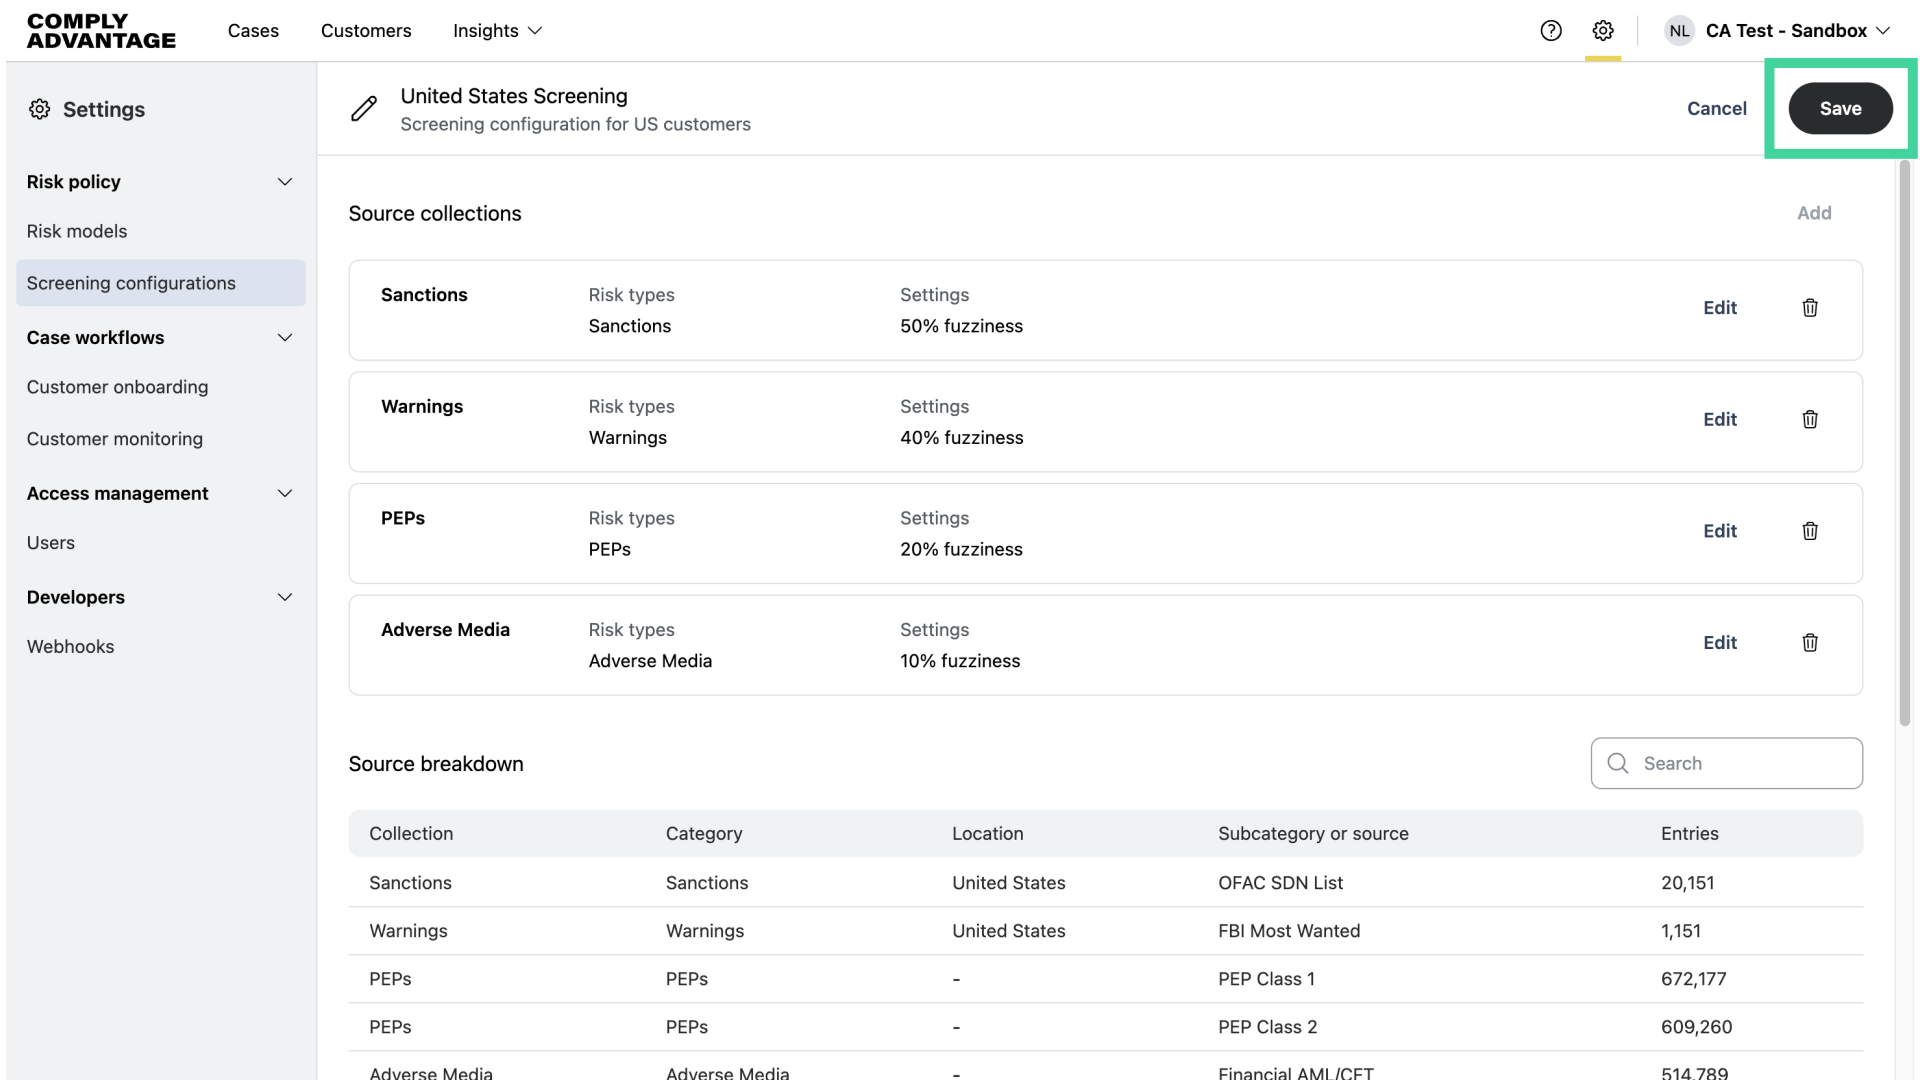
Click 'Add' to create your first screening configuration. You can add between (1) and (4) source collections per configuration. Source collections allow you to select groups of risk data sources by category, providing more tailored screening. Specifically, you can set the fuzziness level for each set of sources.
10. Fill in the name of your first screening configuration
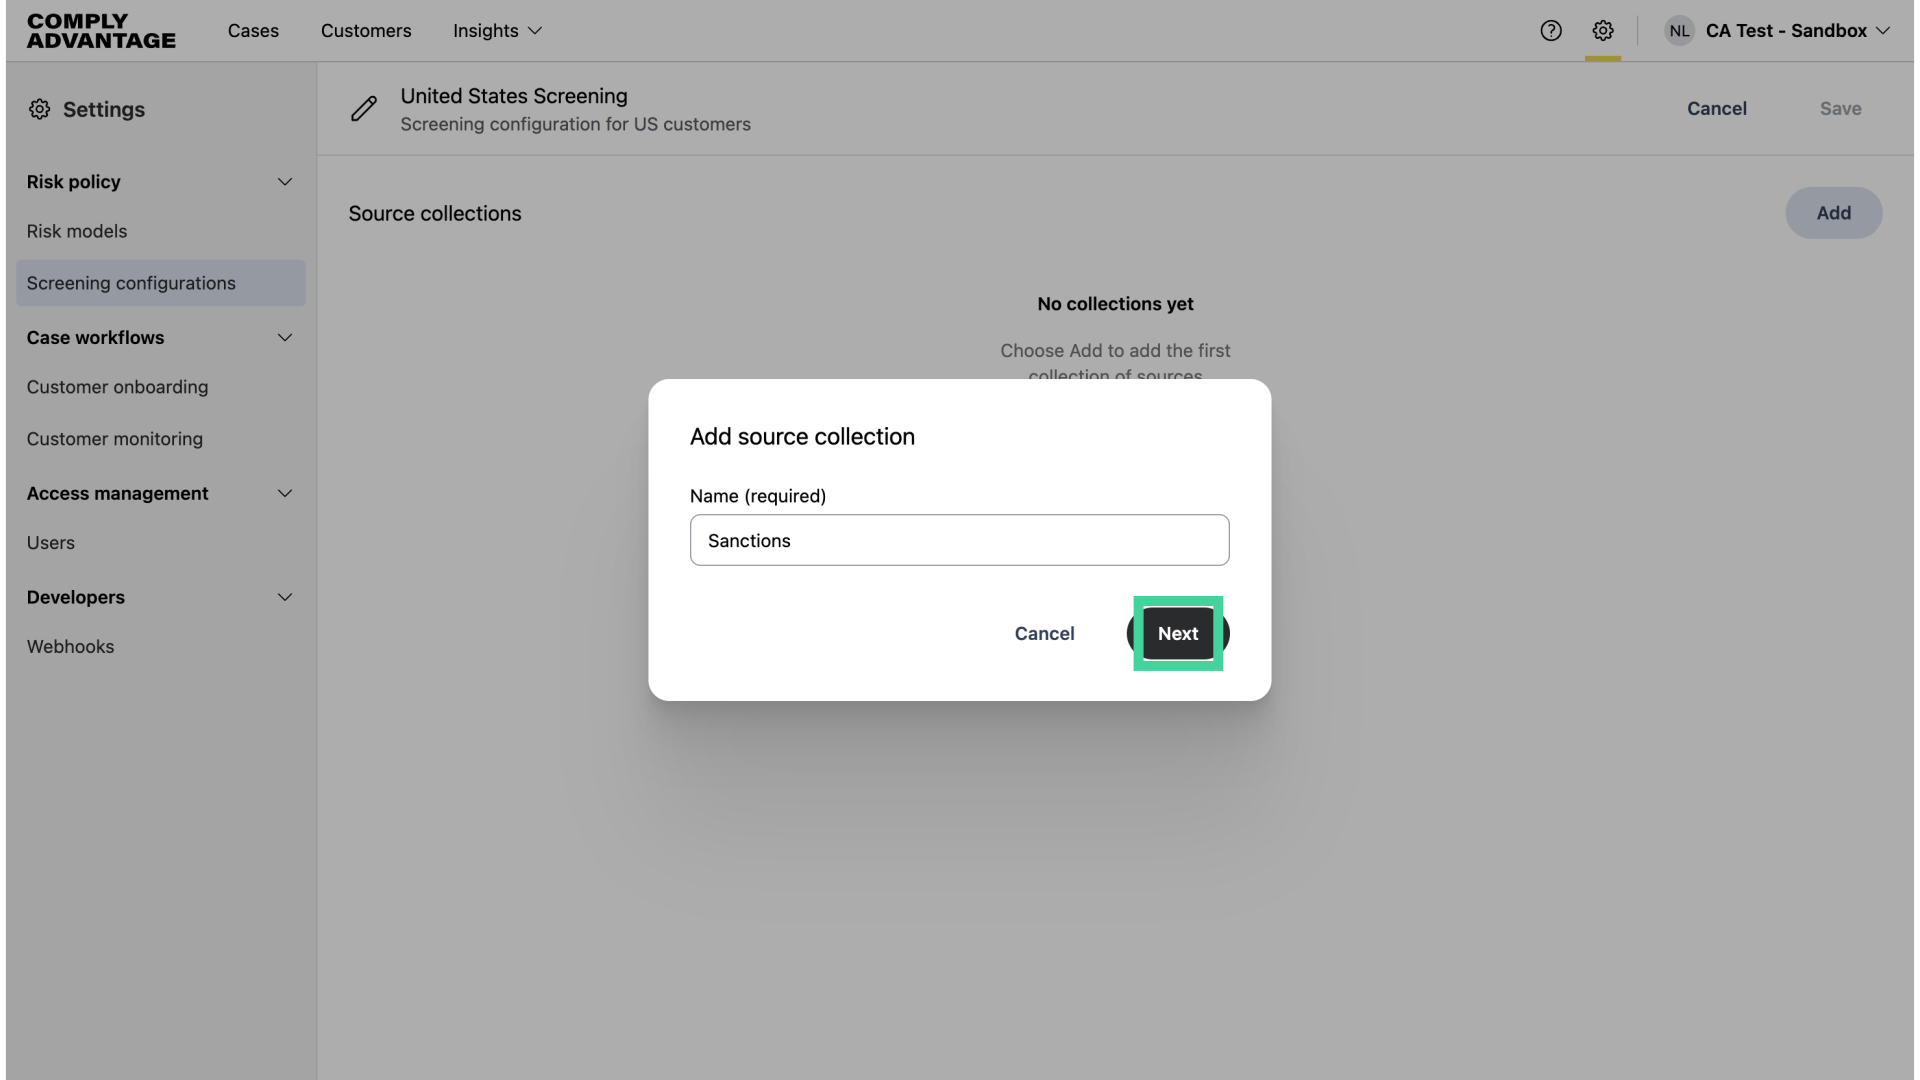
For this screening configuration, I will add (4) source collections, one per dataset I wish to incorporate. So, I will start with Sanctions.
11. Click "Next"
Click "Next."
12. Select your fuzziness level
Select the fuzziness level that best aligns with your risk-based approach. A higher fuzziness percentage broadens your approach, while a lower percentage makes it more restrictive. For this example, I’ll leave the fuzziness set to the default of 50%.
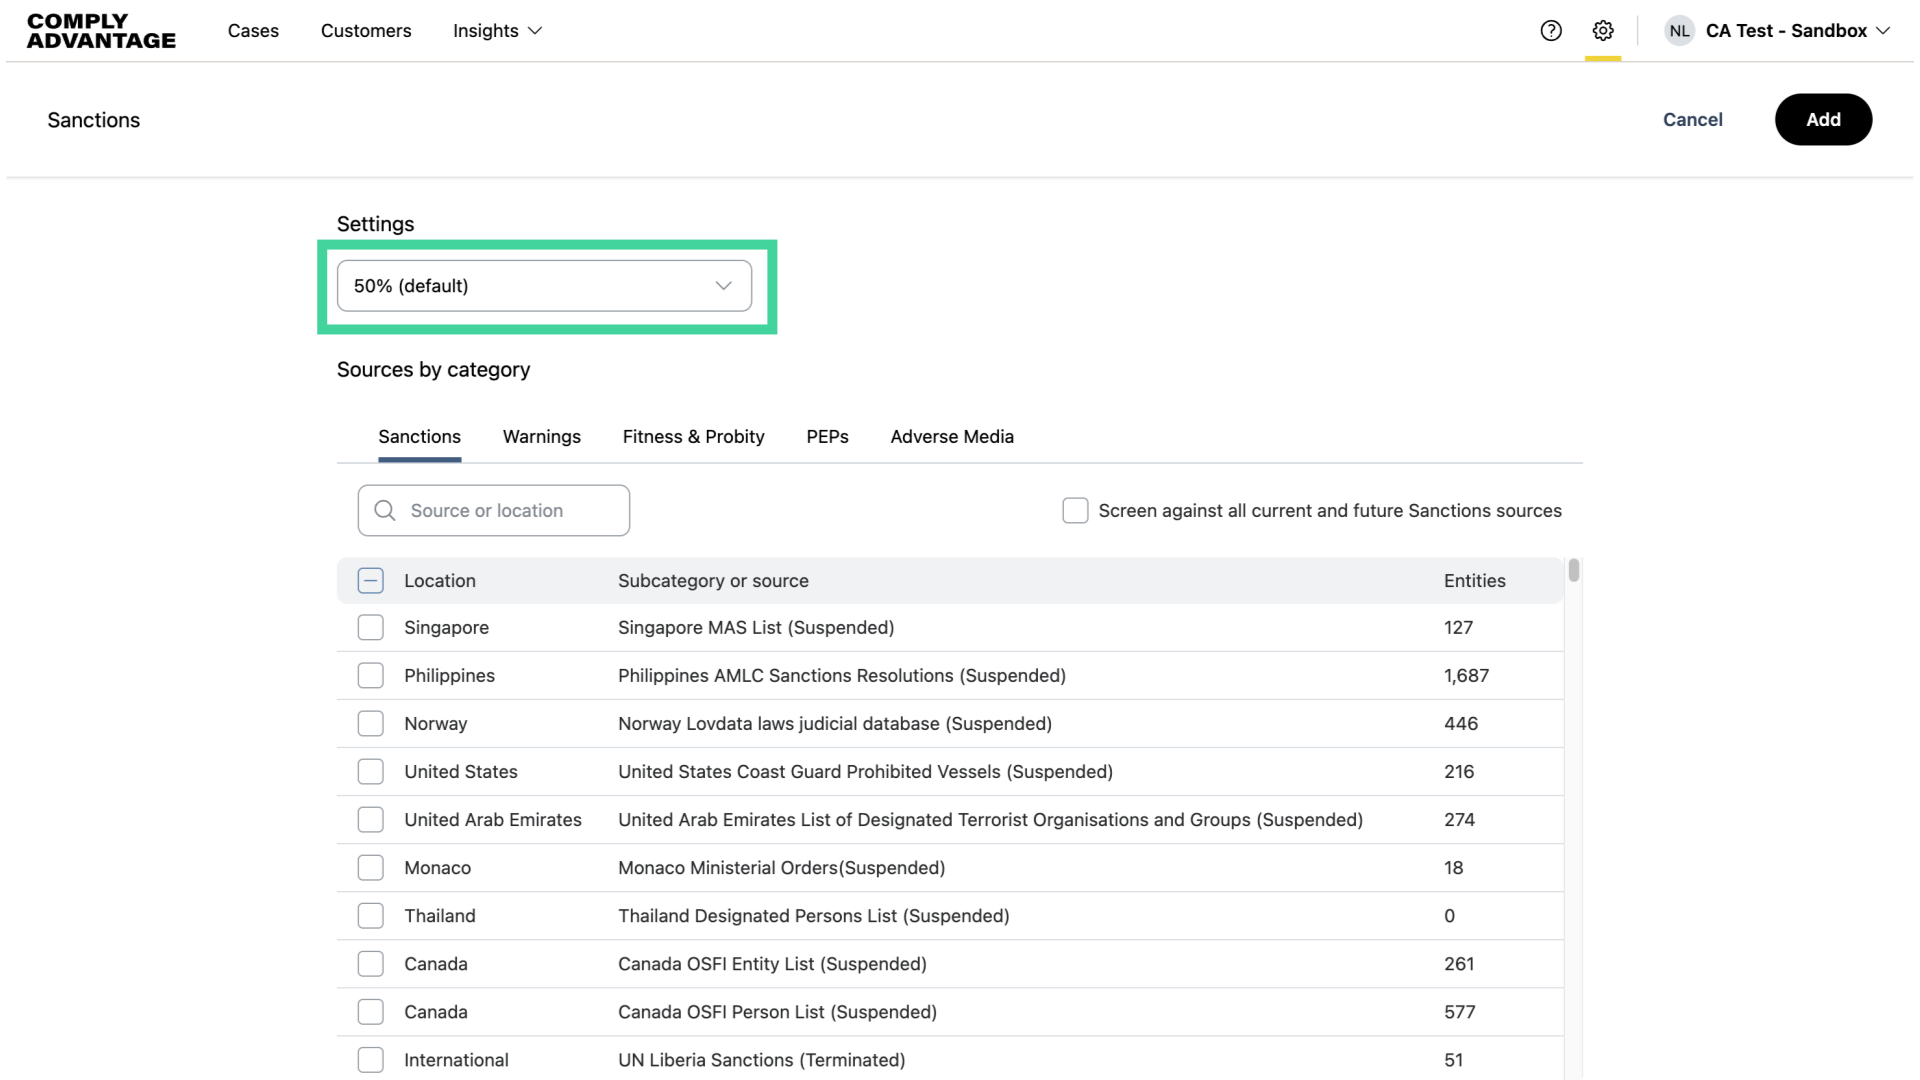
13. Click "Source or location"
You will now see a list of available sources to choose from. By default, you'll be prompted to select from the Sanctions lists first. To find the source(s) you're looking for, type the source name or its location in the search box.
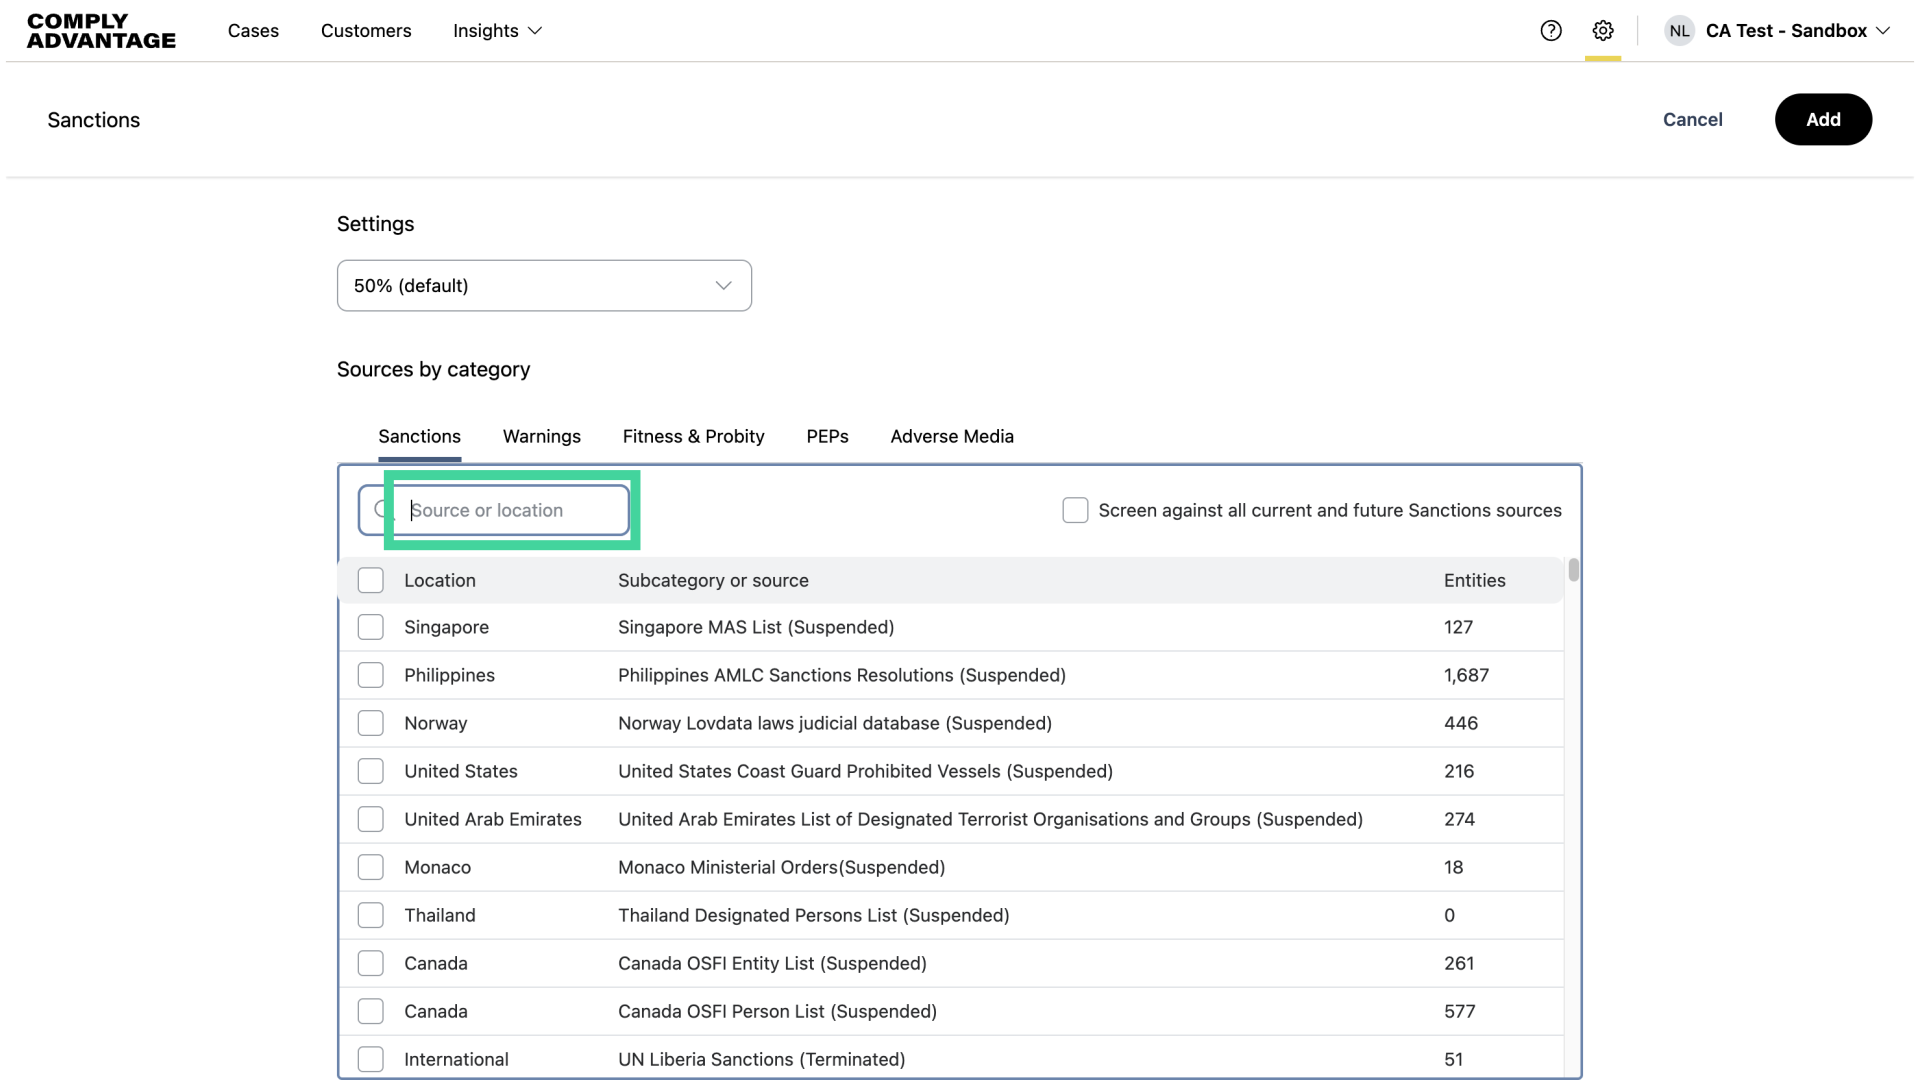
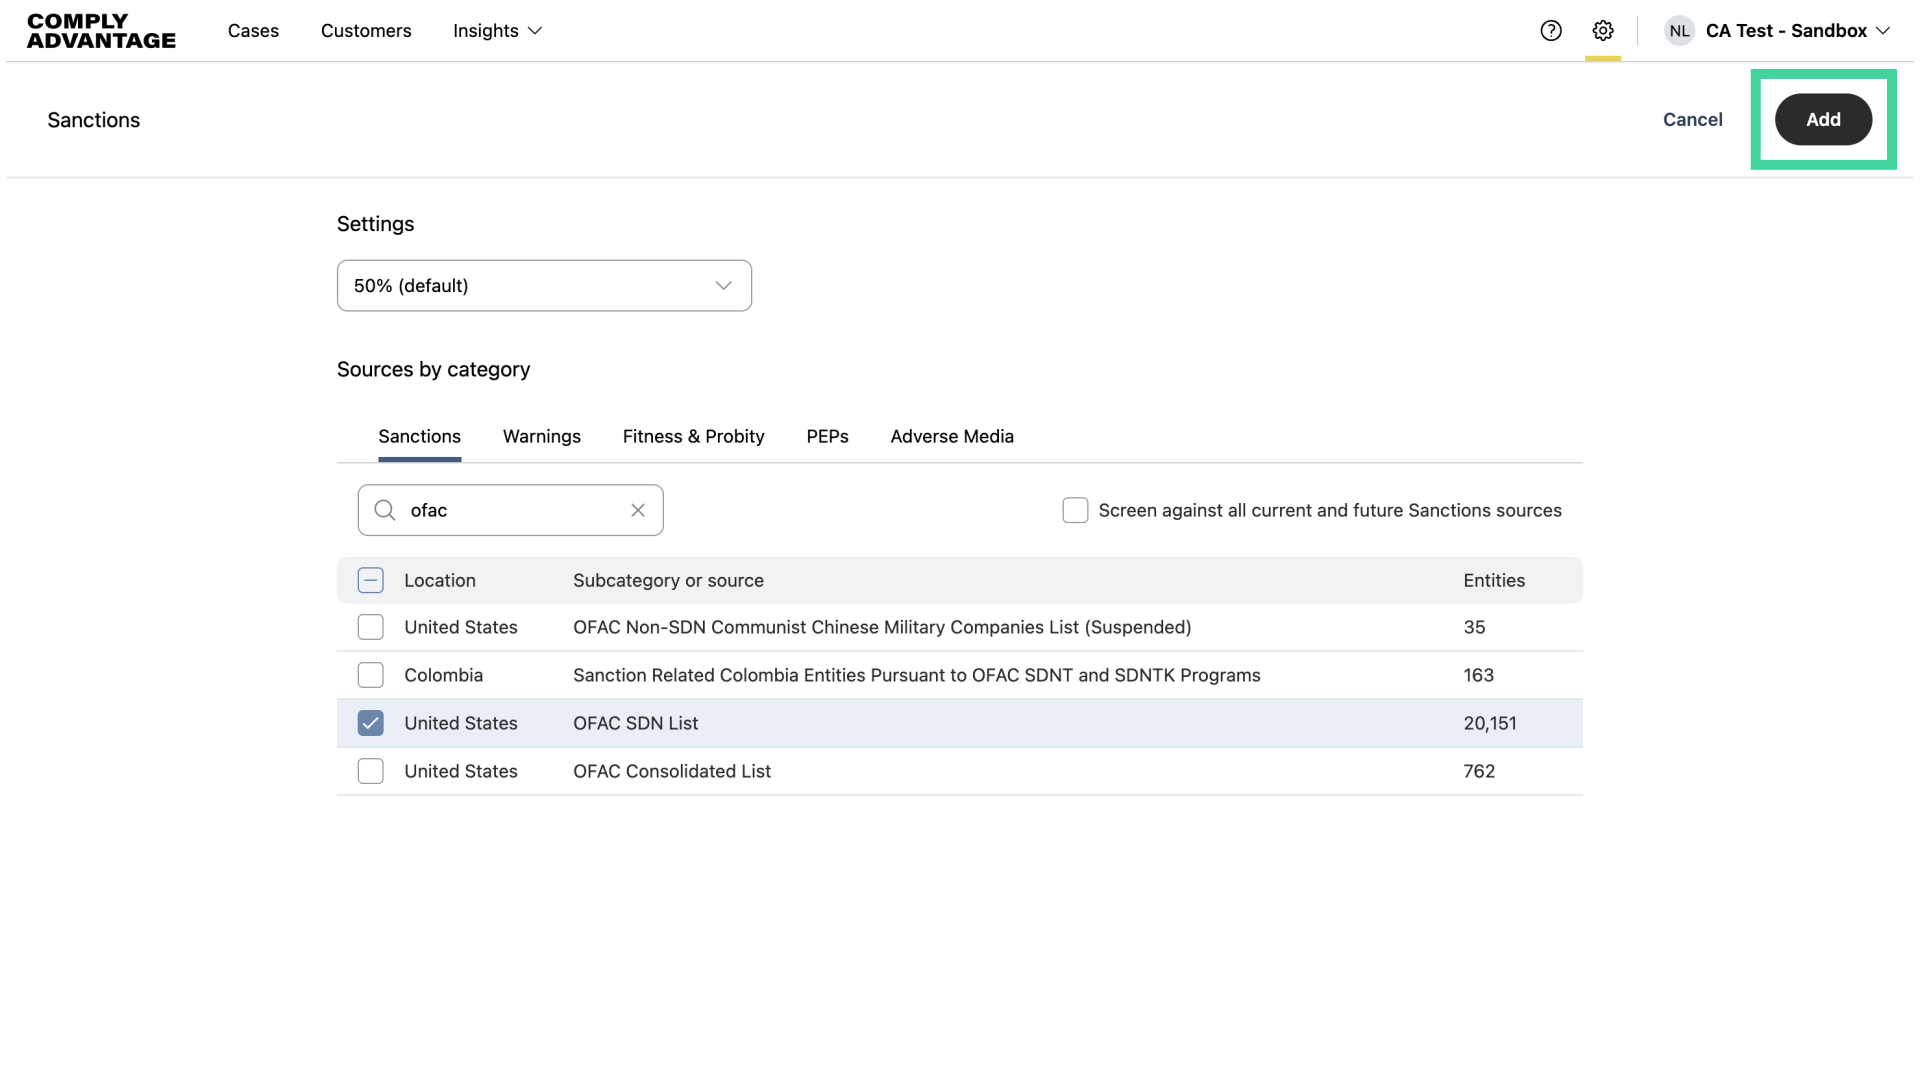
14. Fill in the source or location of the source(s) you'd like to add
First, I'd like to add the Office of Foreign Assets Control list.
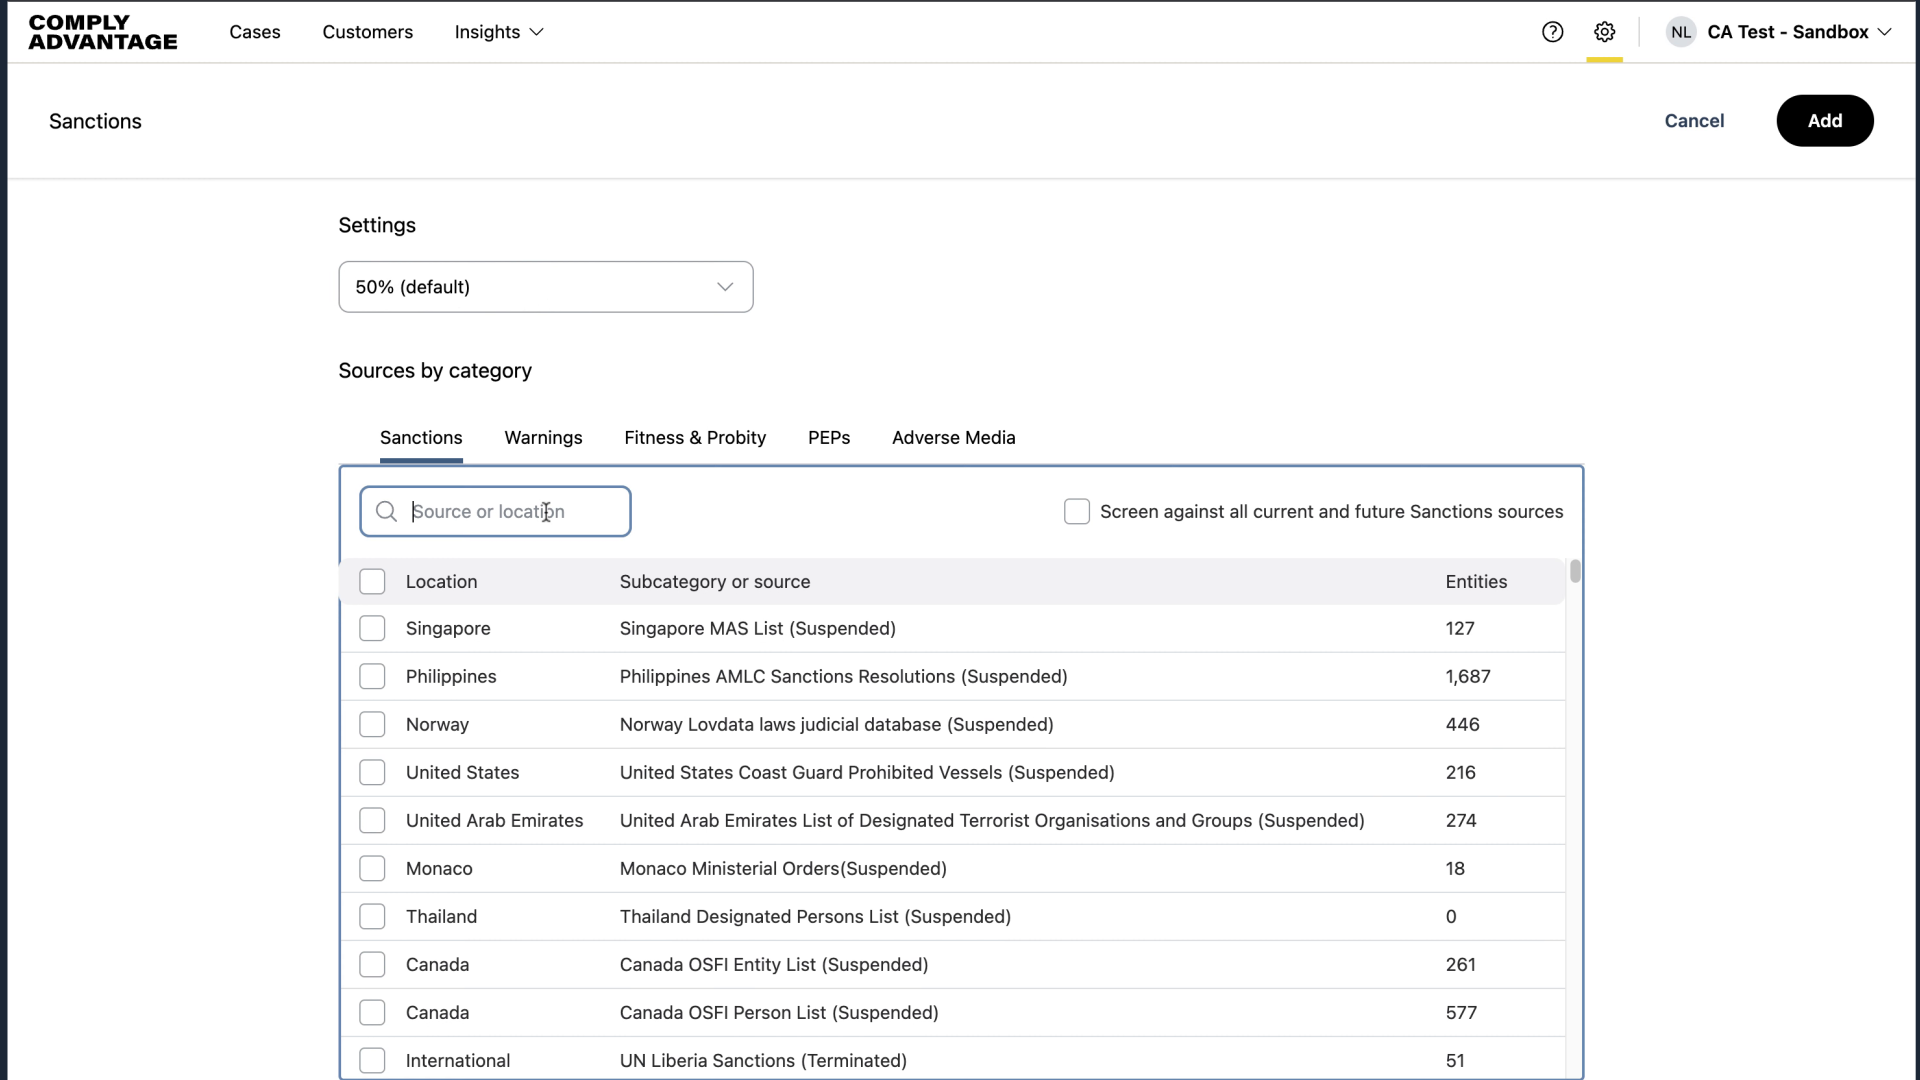
15. Click the desired sanctions list
Click on the desired source. For this example, I am only adding this sanctions list to my screening configuration. You should select the appropriate sanctions lists per your risk-based approach.

16. Click "Add"
Click "Add" once you select your lists for your first source collection.
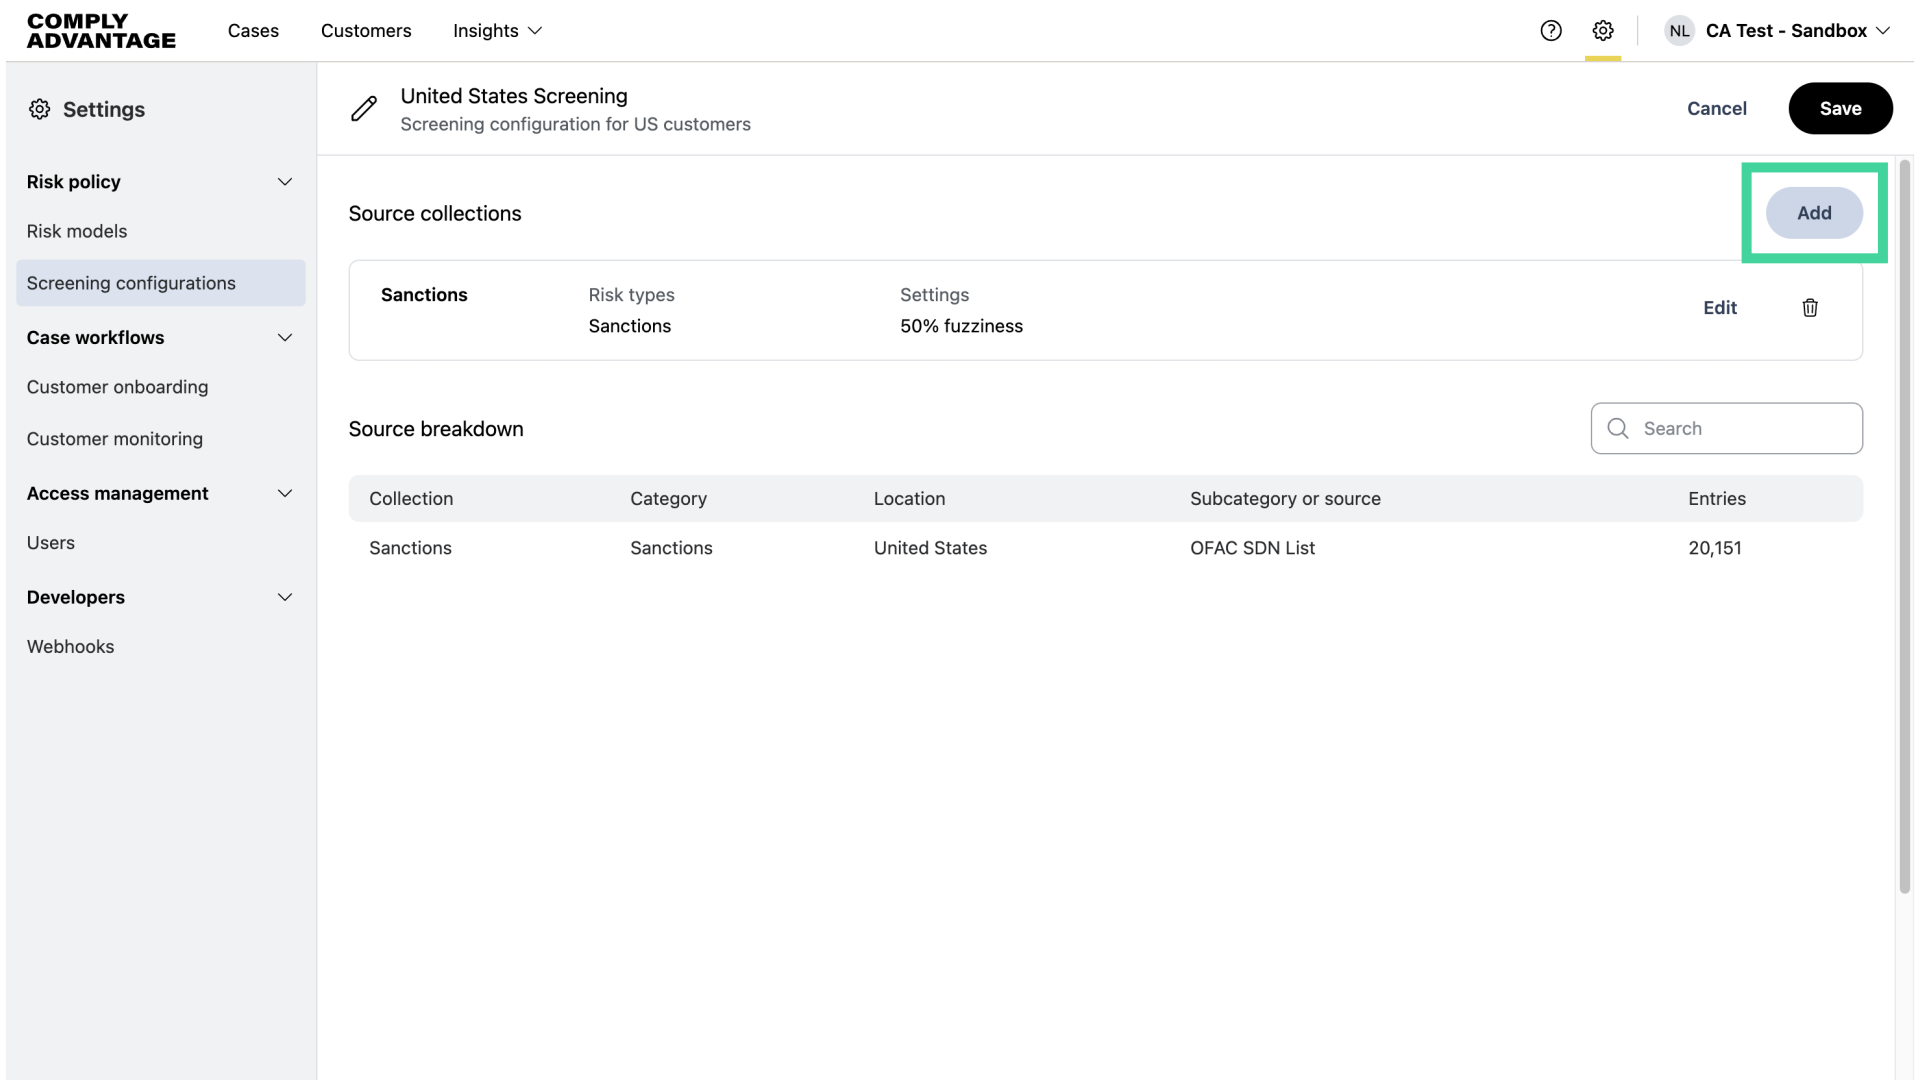
17. Click "Add"
Here, you will see your first source collection and the list(s) that you've added so far under "Source breakdown." Once you're ready to create your second source collection, click "Add."
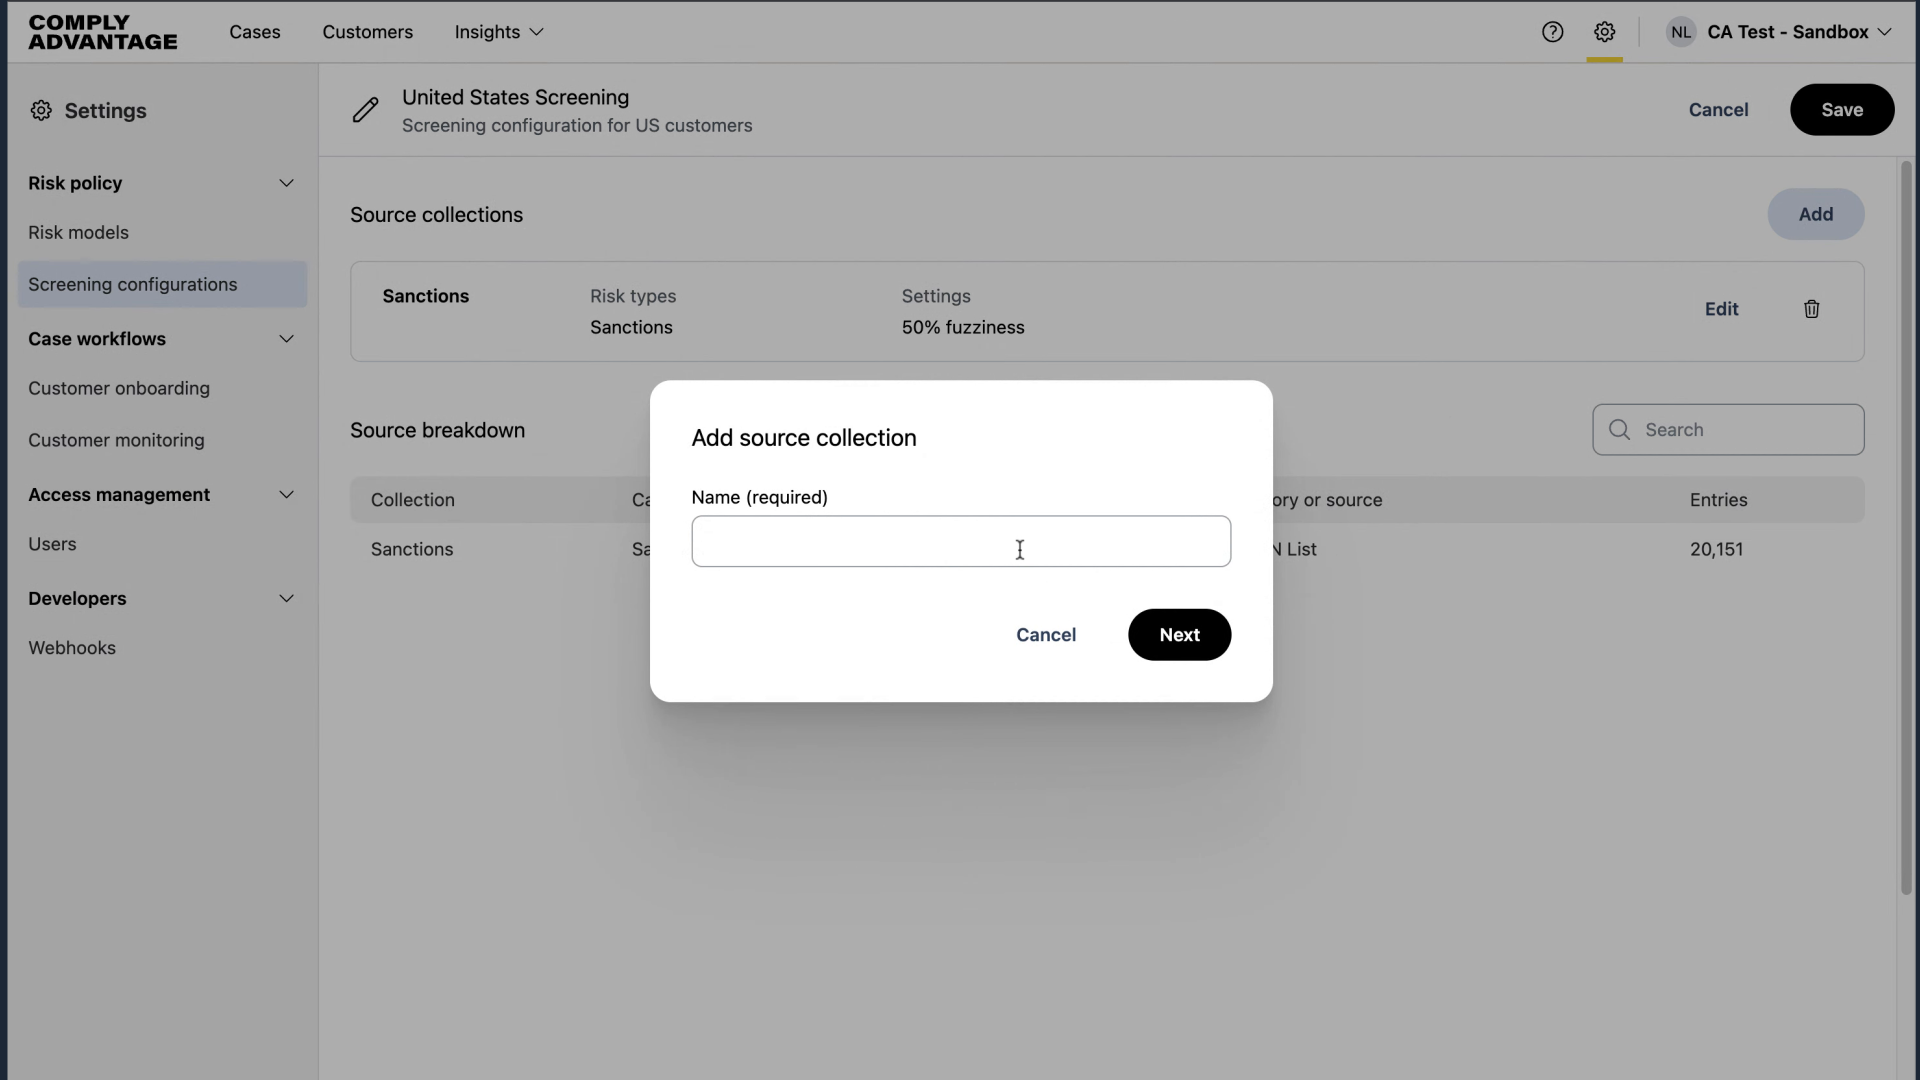
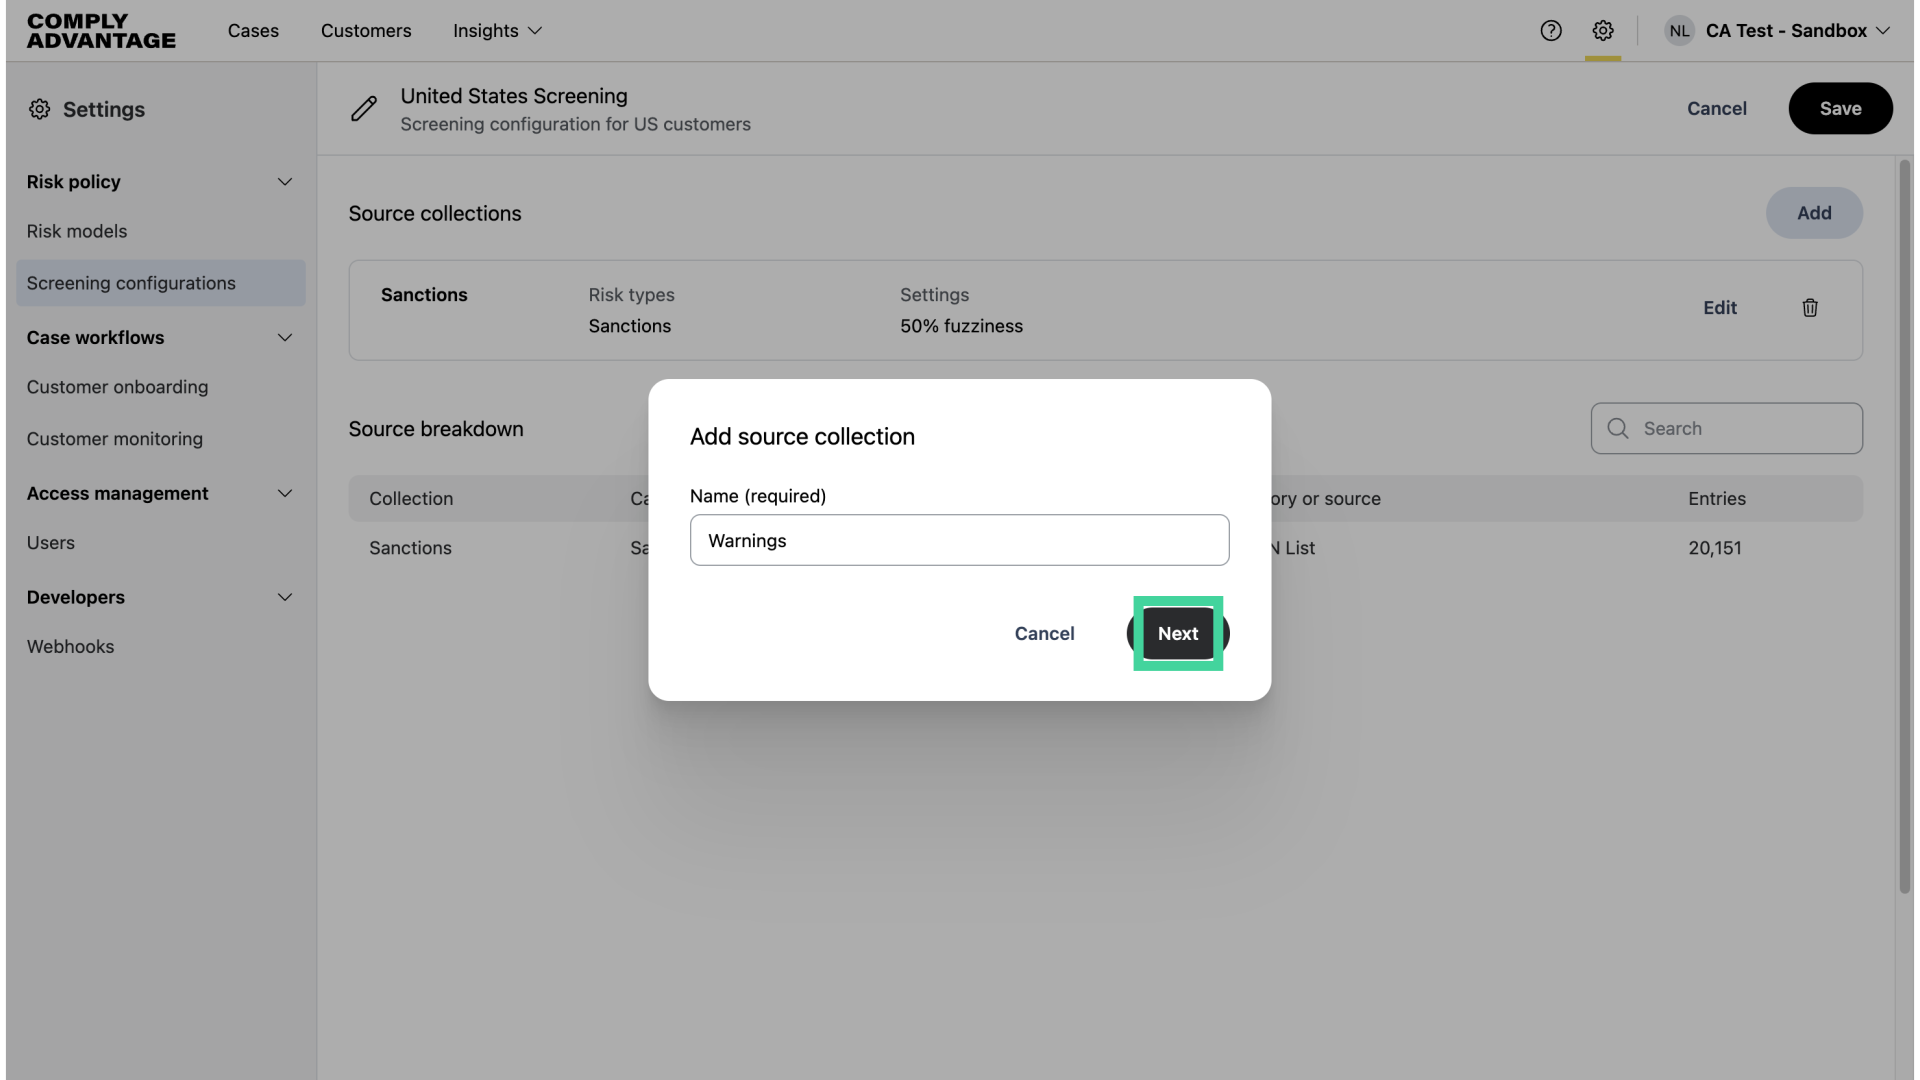
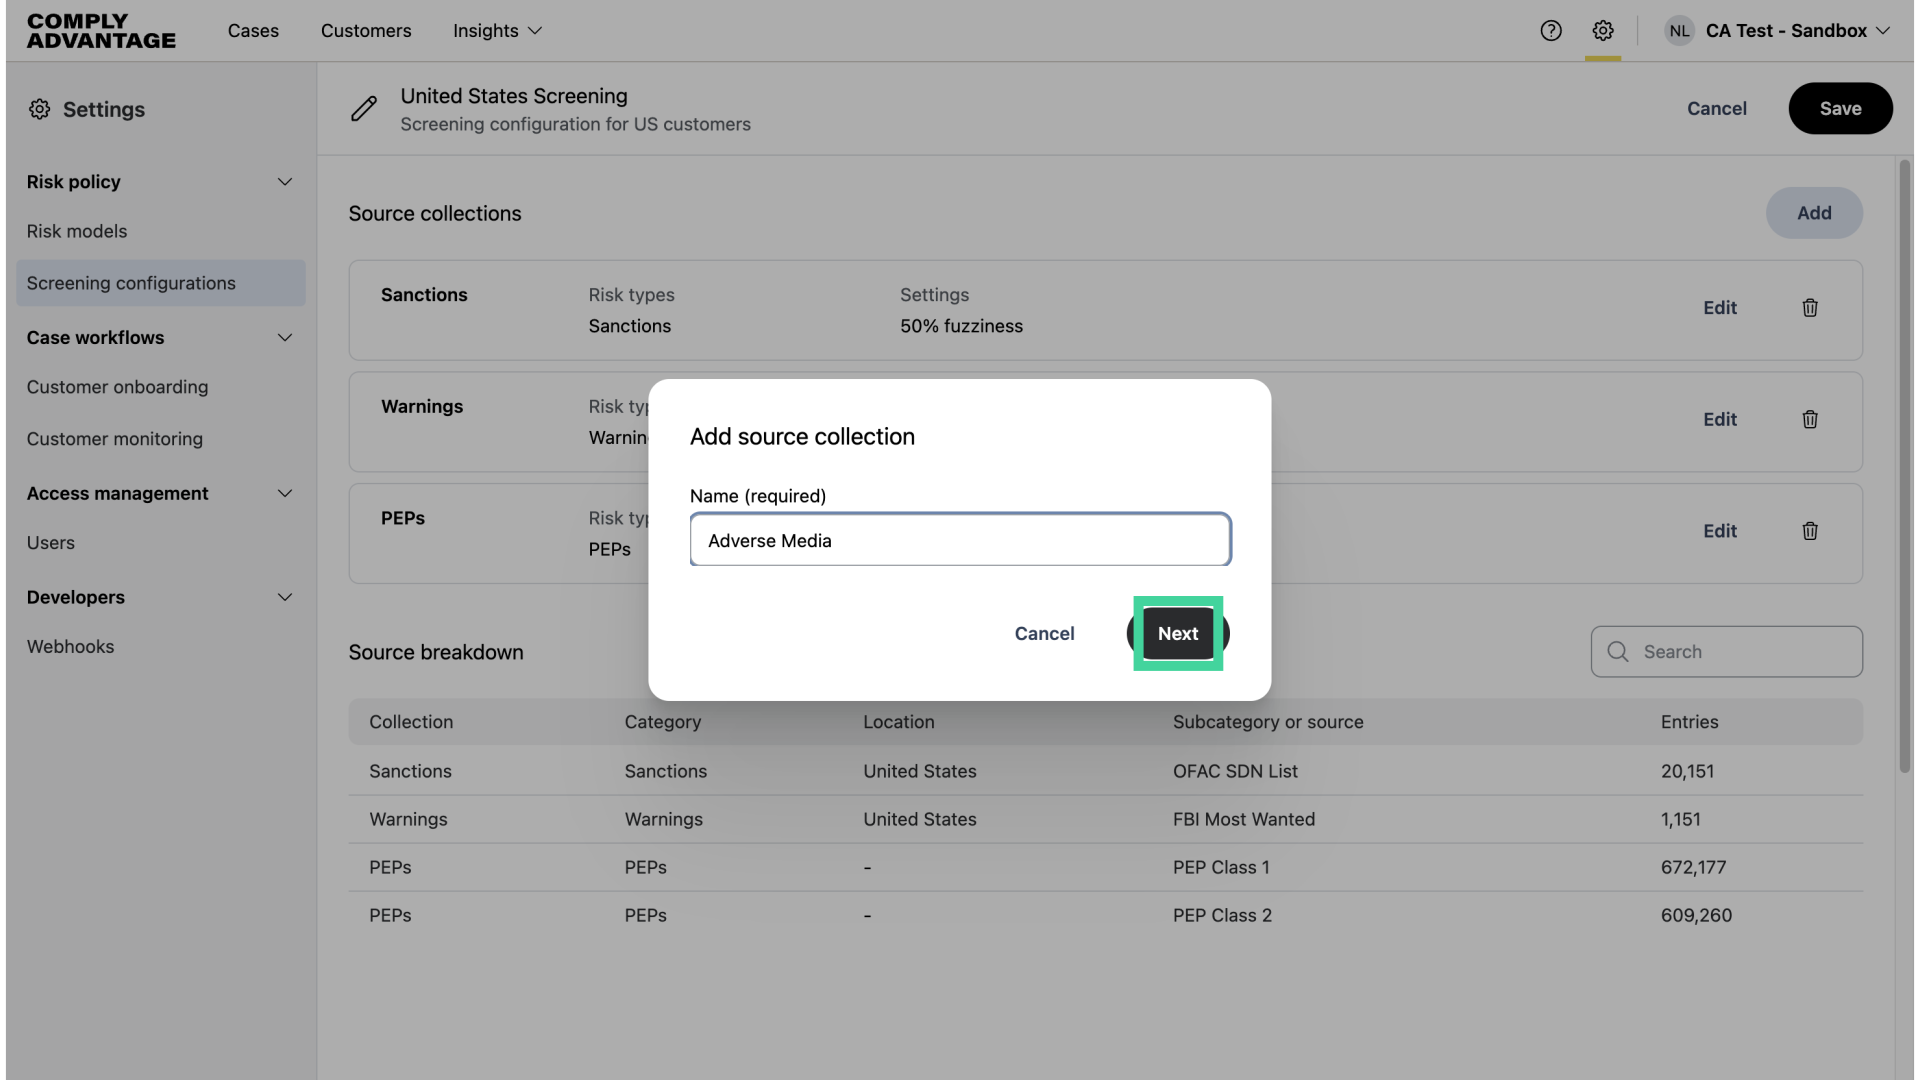
18. Enter the name of your second Screening Configuration
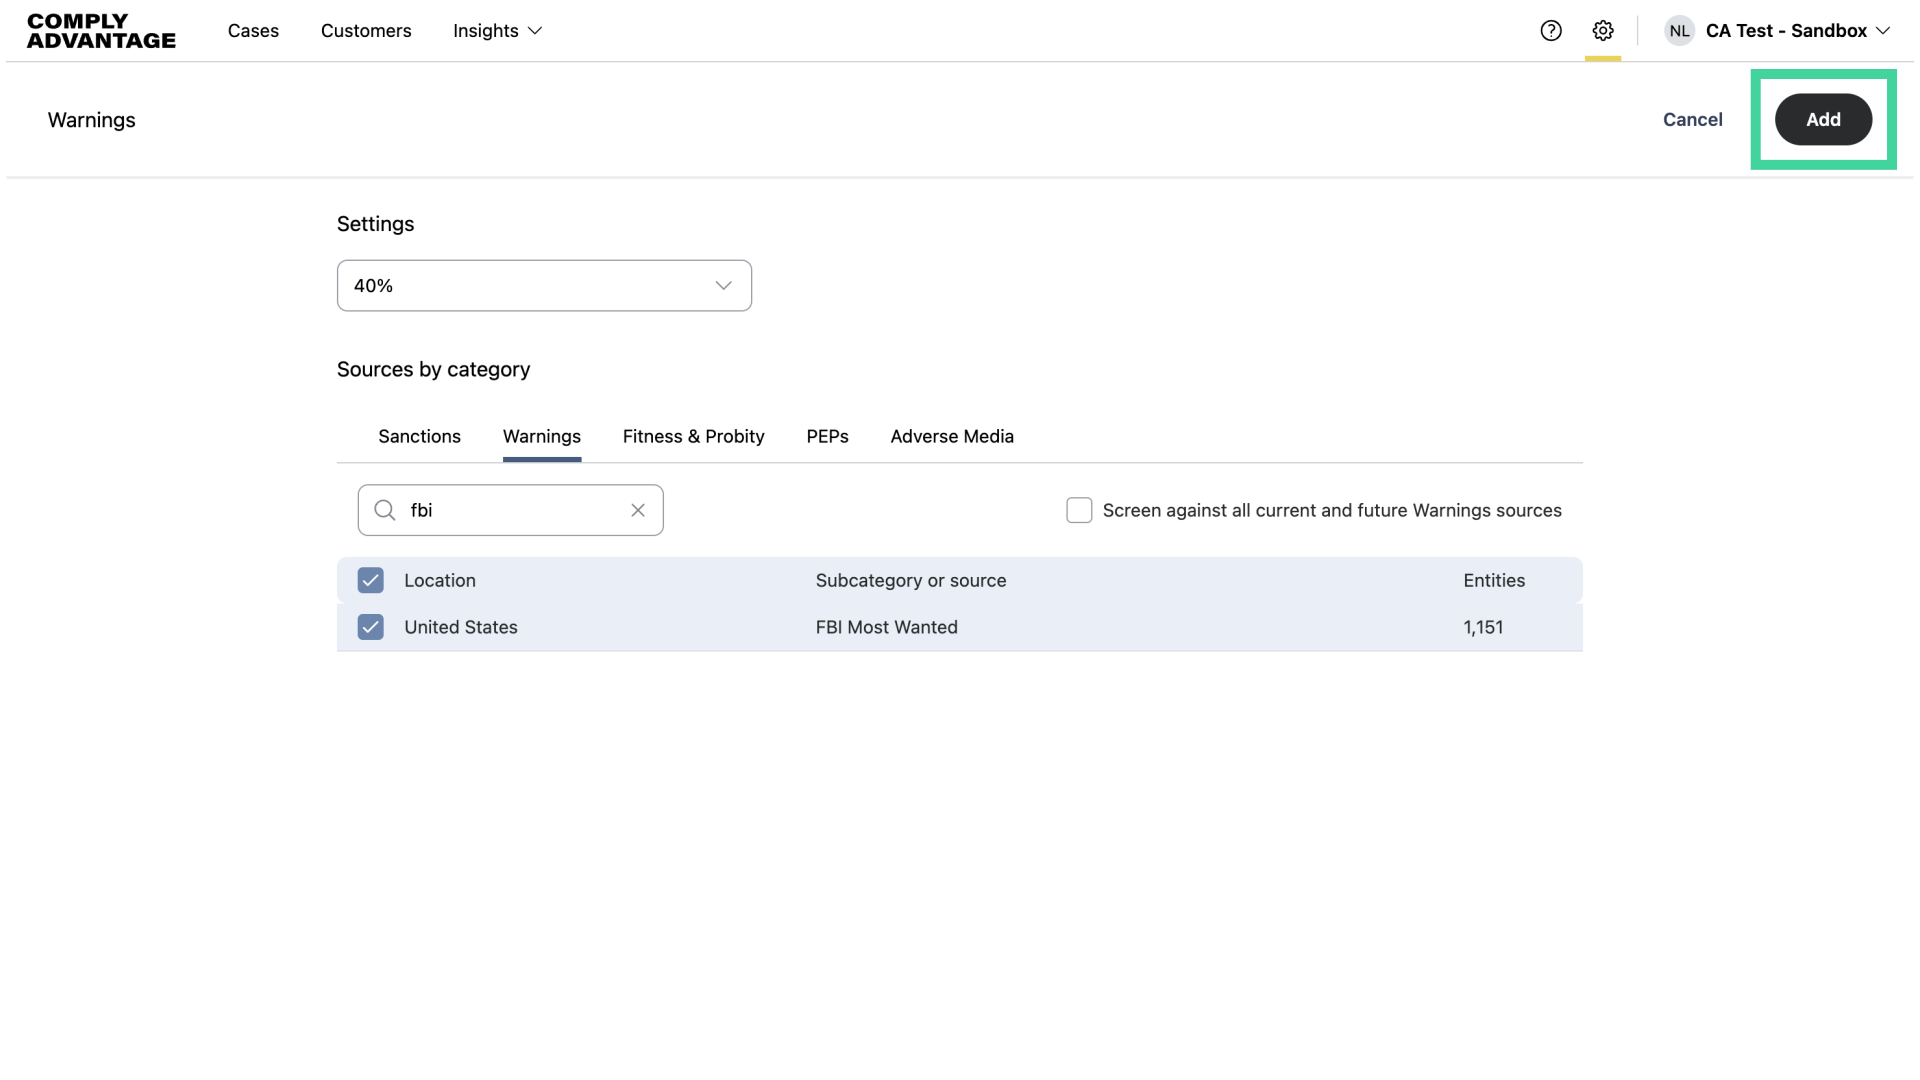
Enter the name of your second source collection. For this example, I’ll name it "Warnings."
19. Click "Next"
Click "Next."
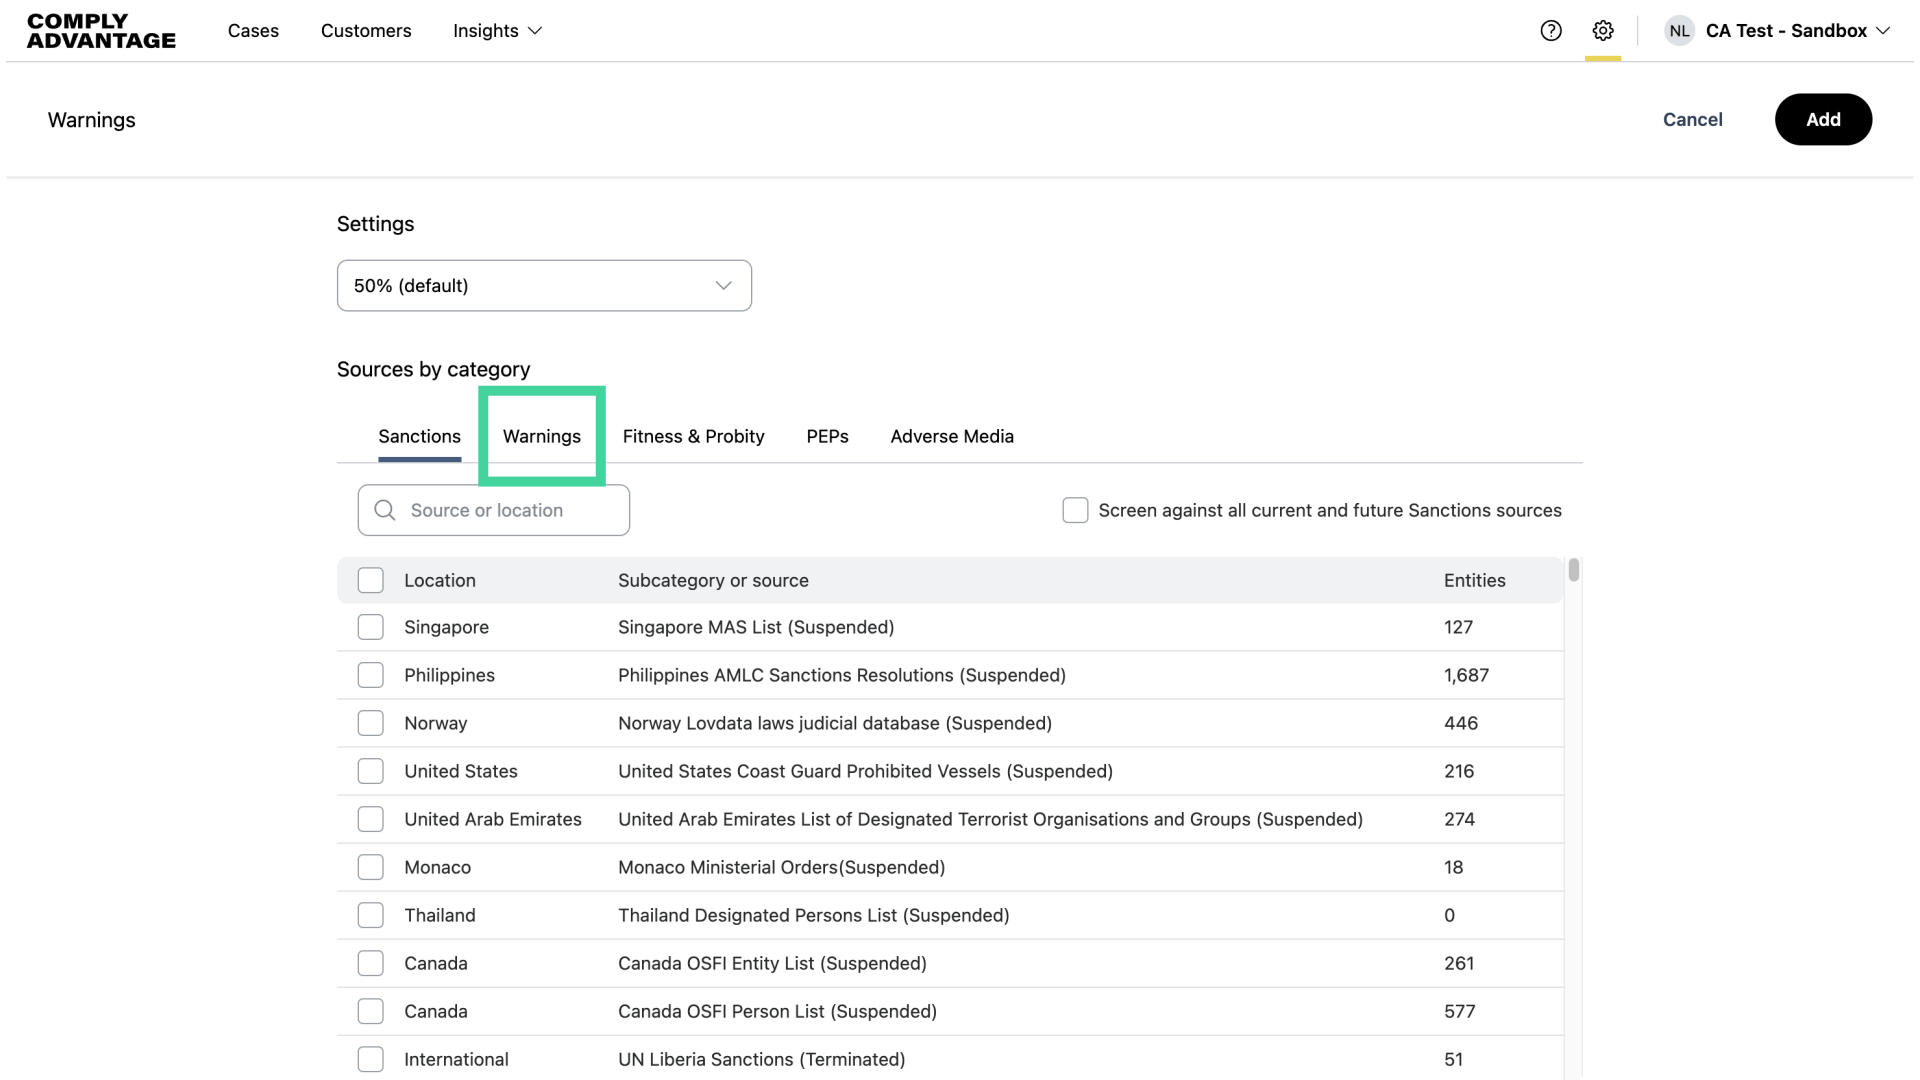
20. Click "Warnings"
Click on the "Warnings" category.
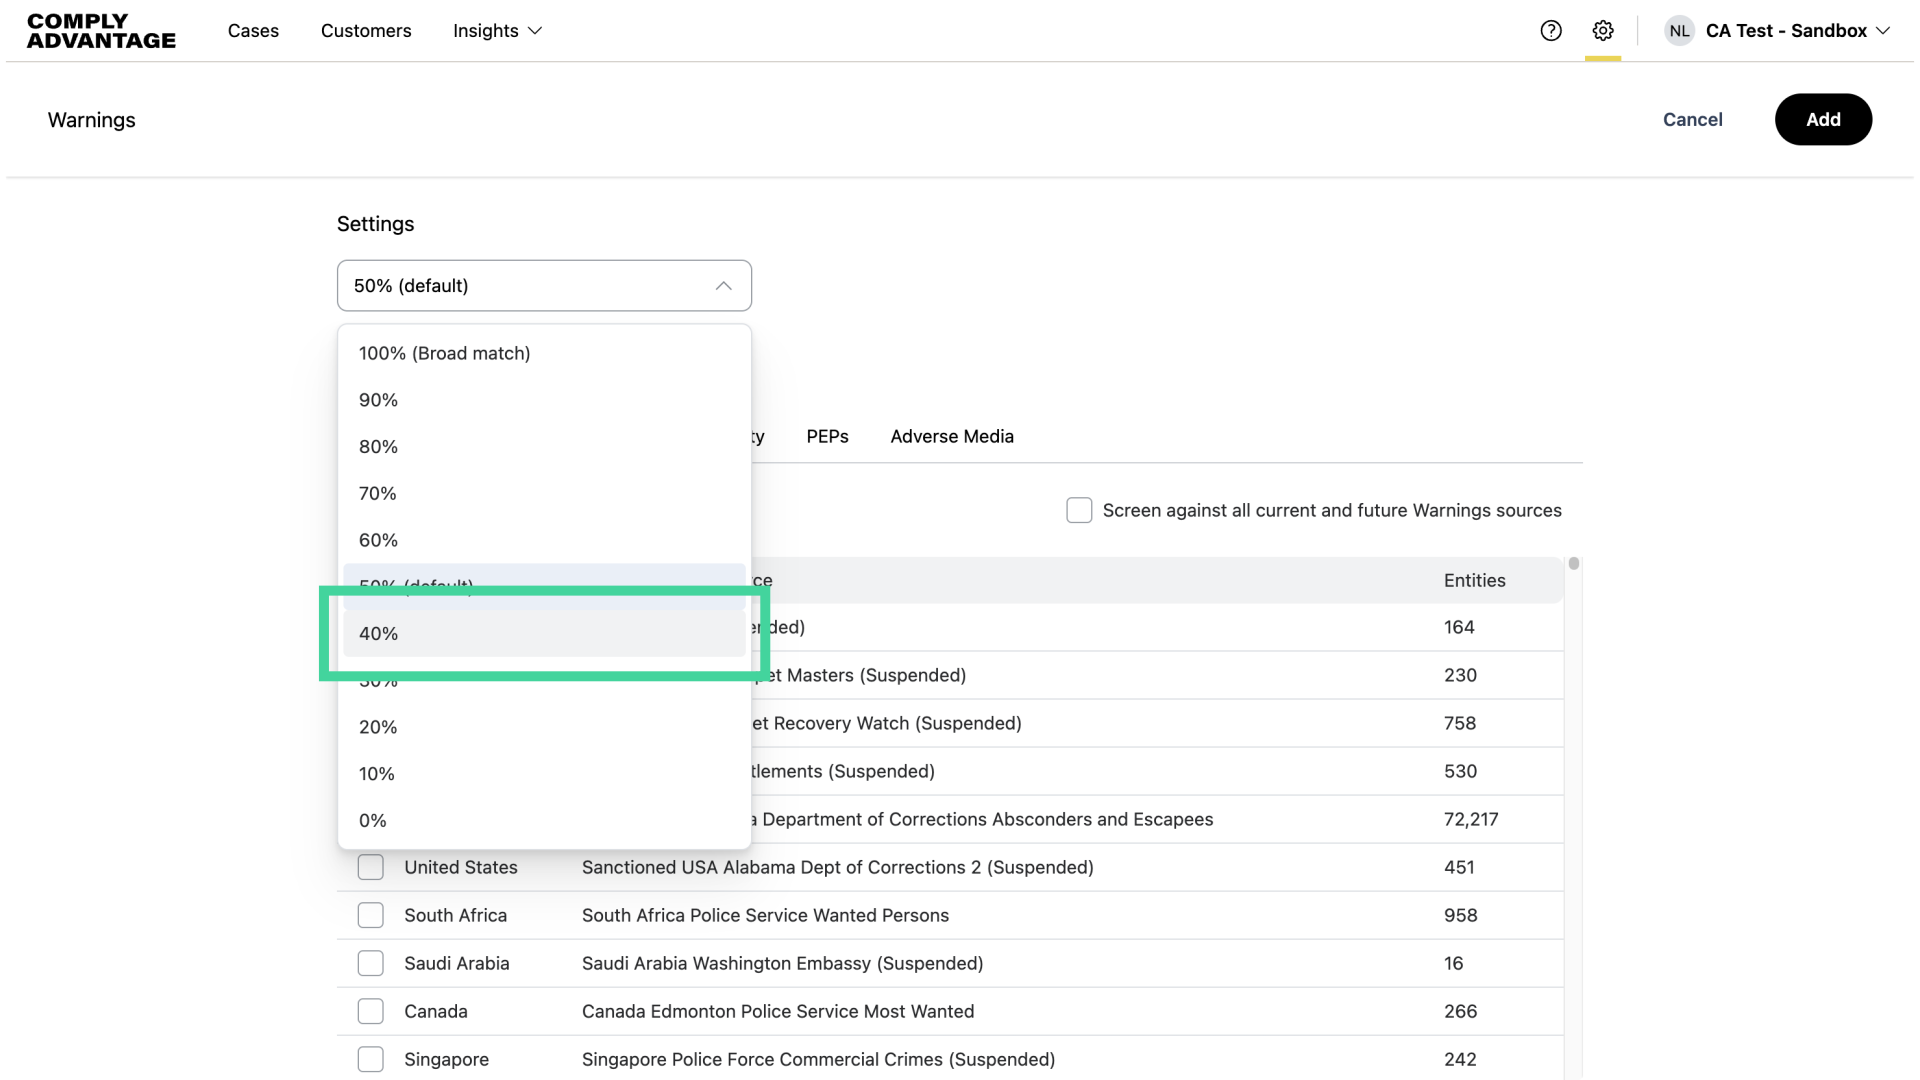
21. Select desired fuzziness
Select the desired fuzziness level. I'll set this to 40%, as my risk tolerance allows for a tighter fuzziness level for the Warnings dataset.
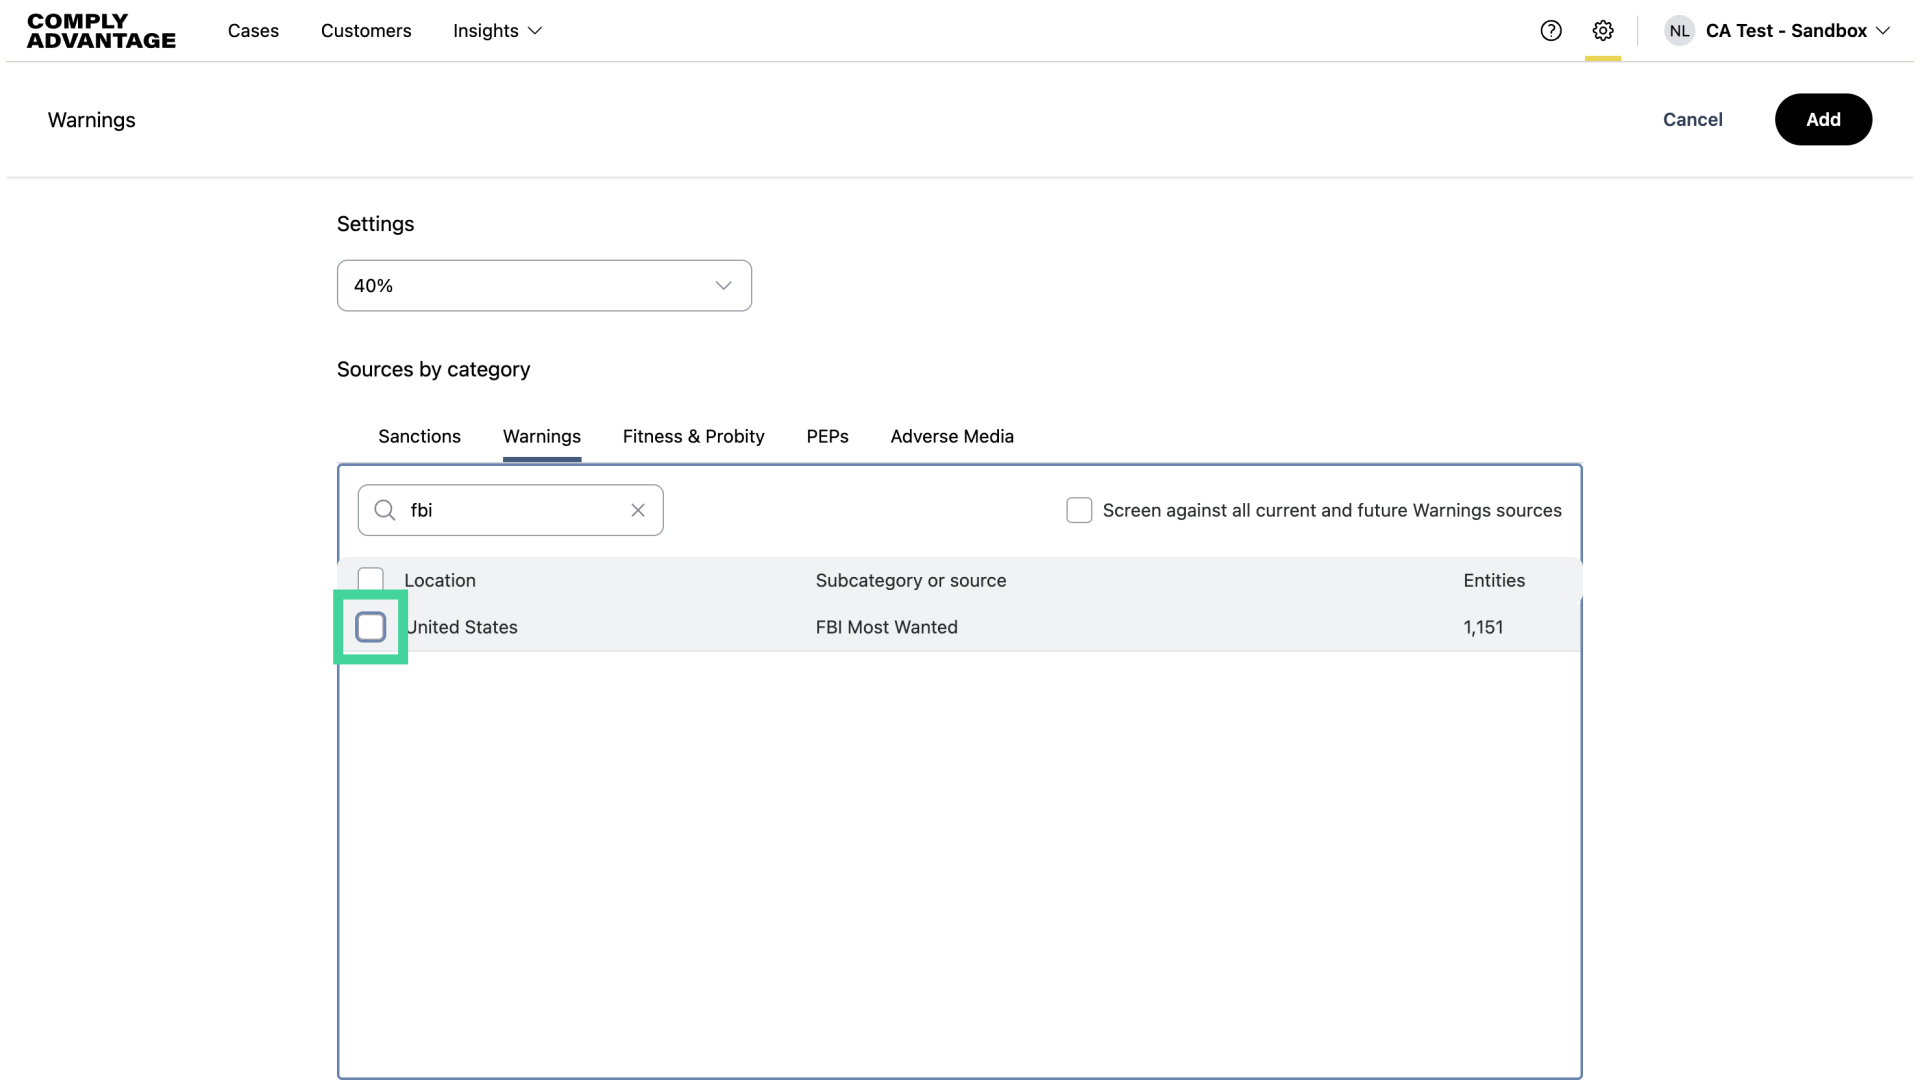
22. Enter the source or location name
Enter the desired source or location name. For this example, I’ve typed 'FBI' to find the FBI Most Wanted list.

23. Select the list(s)
Select the lists you wish to add.
24. Click "Add"
Once you've selected all lists for this source collection, click "Add."
25. Click "Add"
Once again, you will see your new source collection has been created. Click "Add" to create your third source collection.
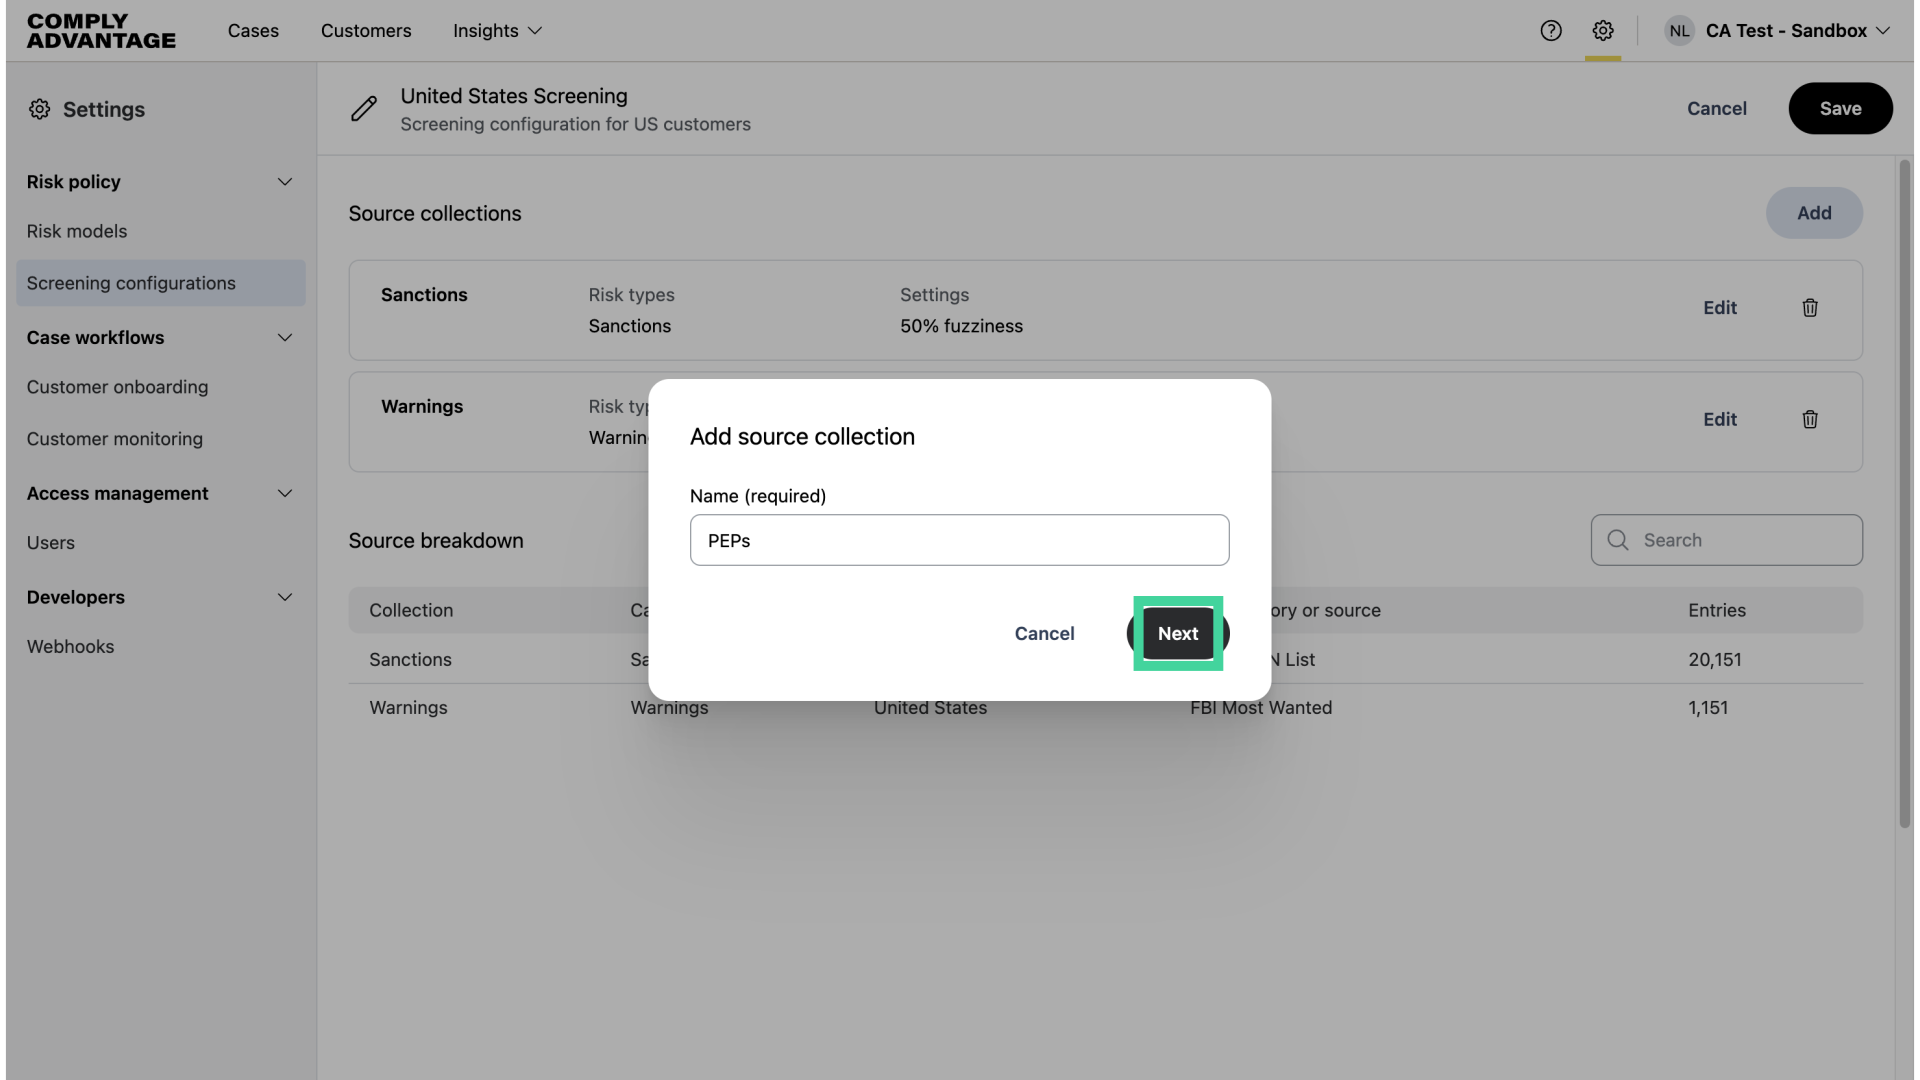
26. Fill in the name of your third screening configuration
I’ll name this "PEPs."
27. Click "Next"
Click "Next."
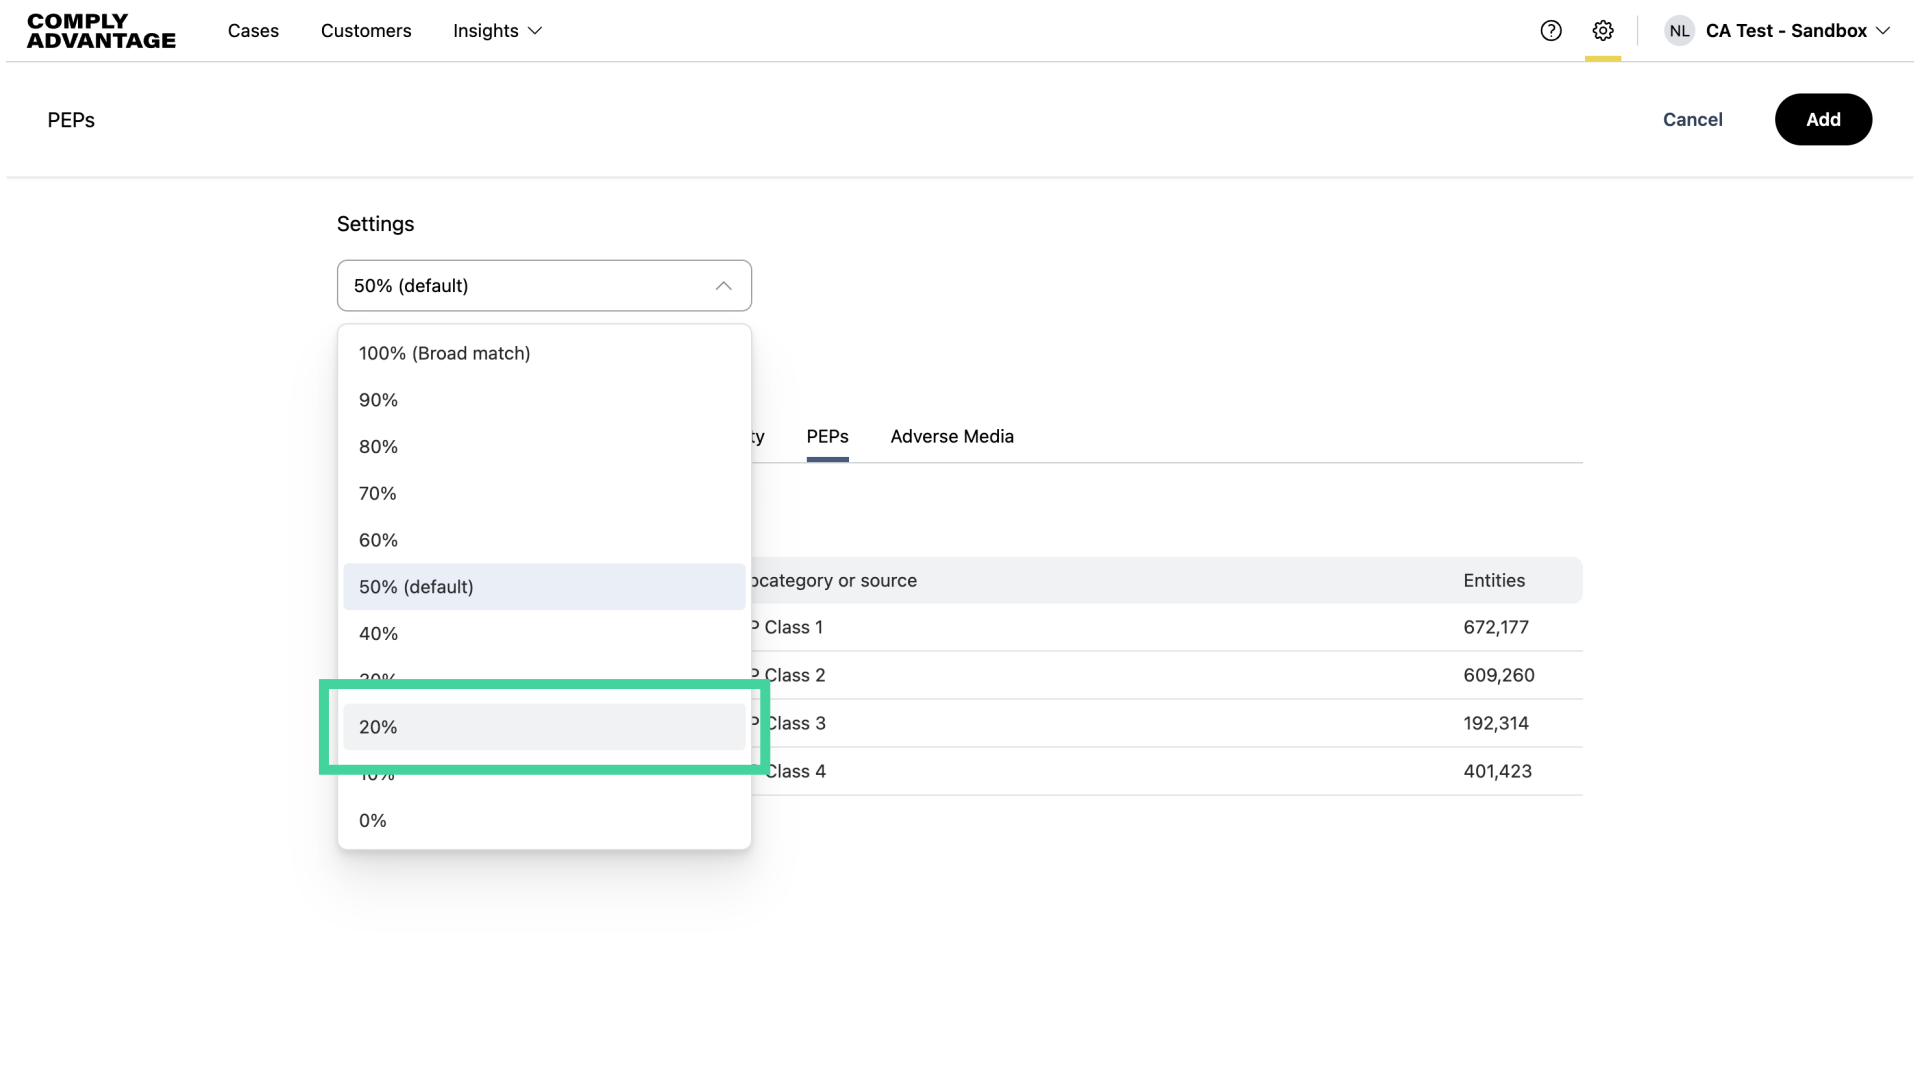
28. Select desired fuzziness
Here, I’ll set fuzziness to 20%, as my risk tolerance allows for a tighter fuzziness level for PEPs.
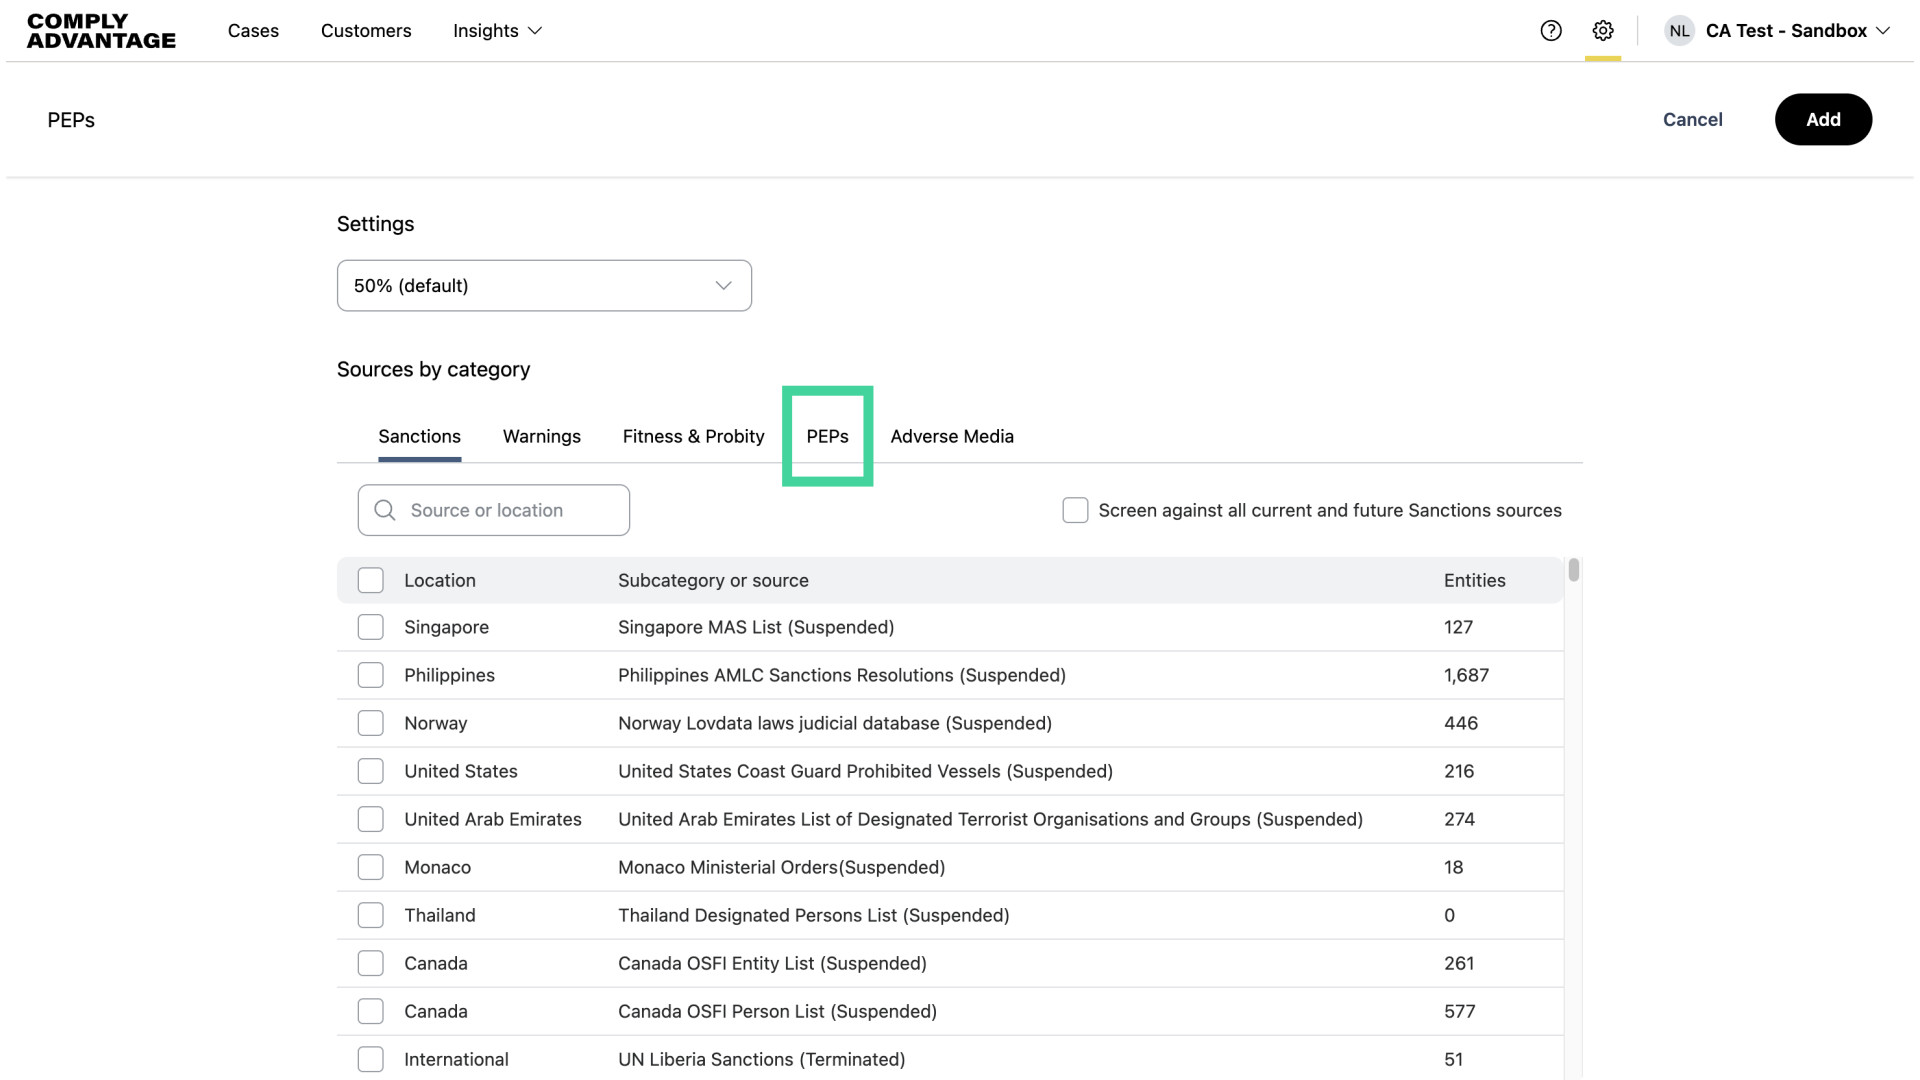
29. Click "PEPs"
Navigate to the "PEPs" section.
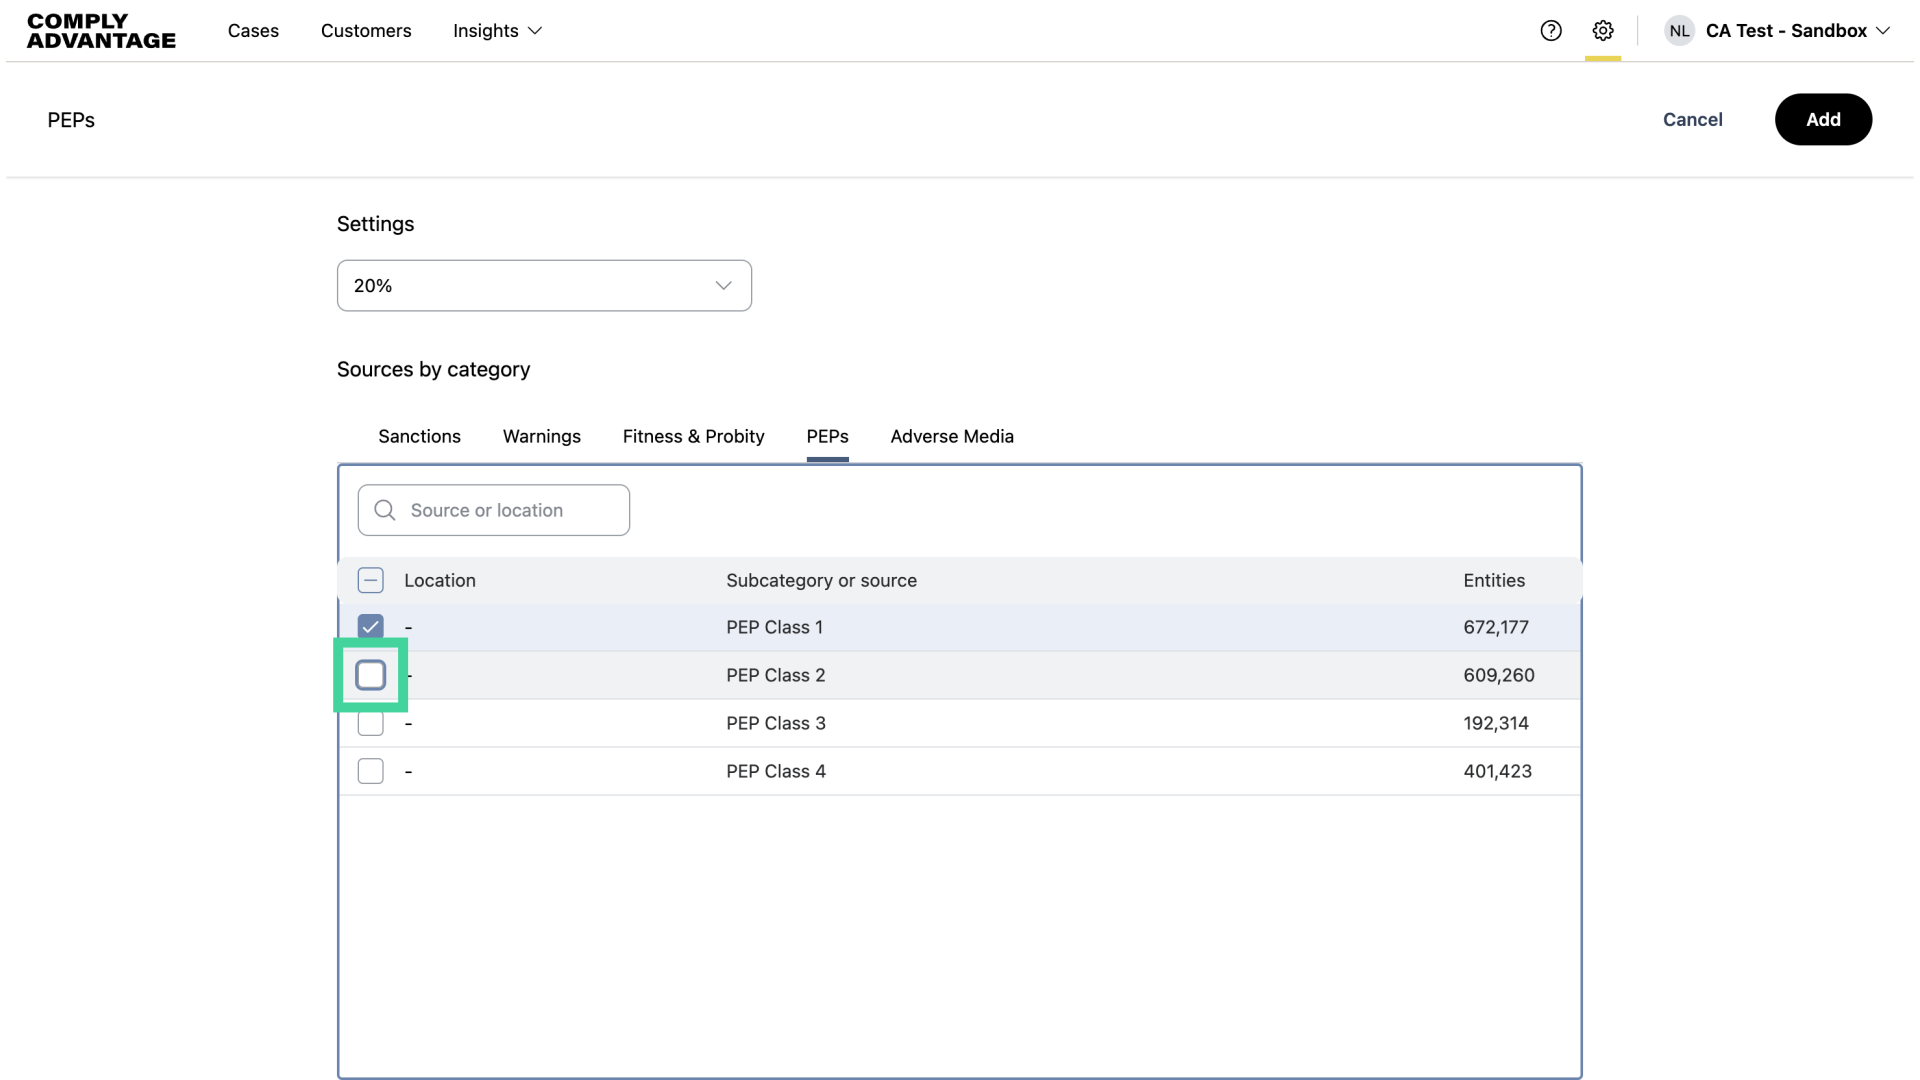
30. Select subcategories
Select the desired PEP classes.
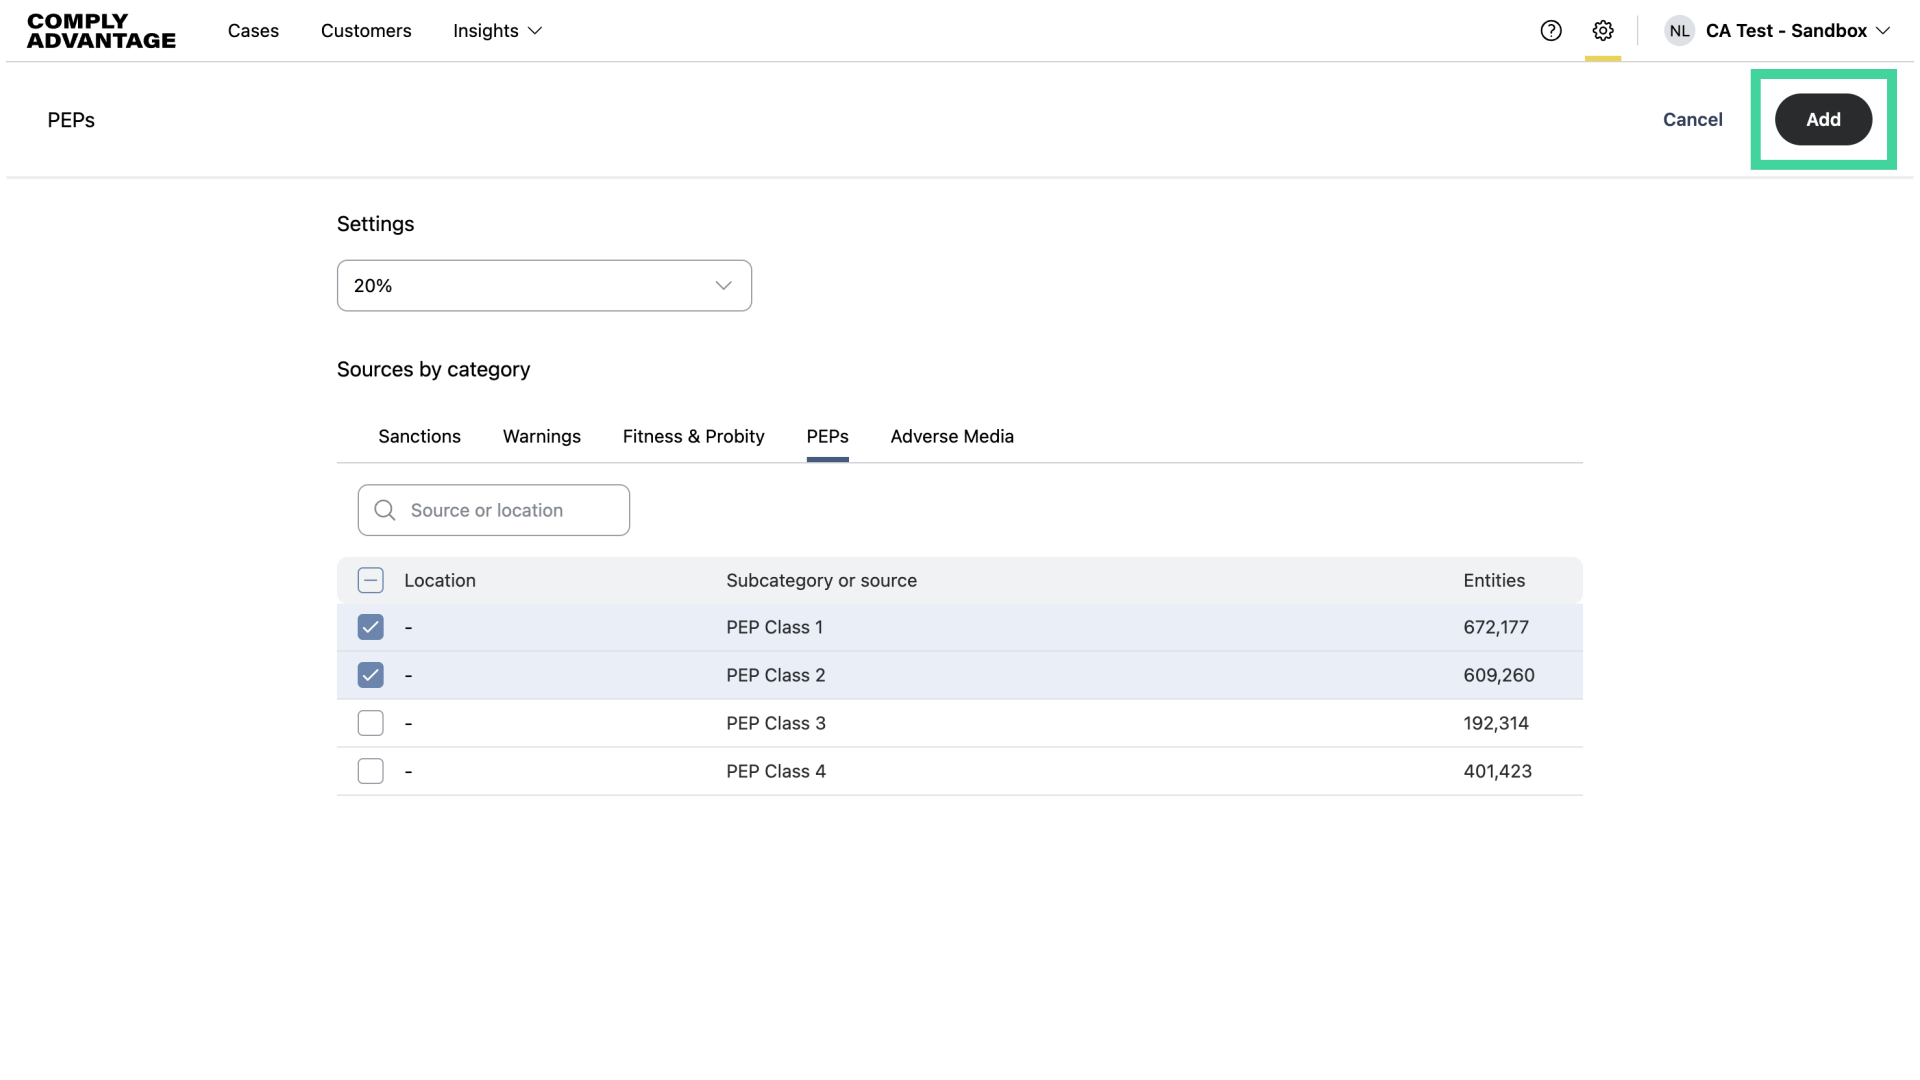
31. Click "Add"
Once you selected your subcategories, click "Add."
32. Click "Add"
Now, let's create our last source collection for Adverse Media.
33. Click "Next"
Once you've typed in the name, click "Next."
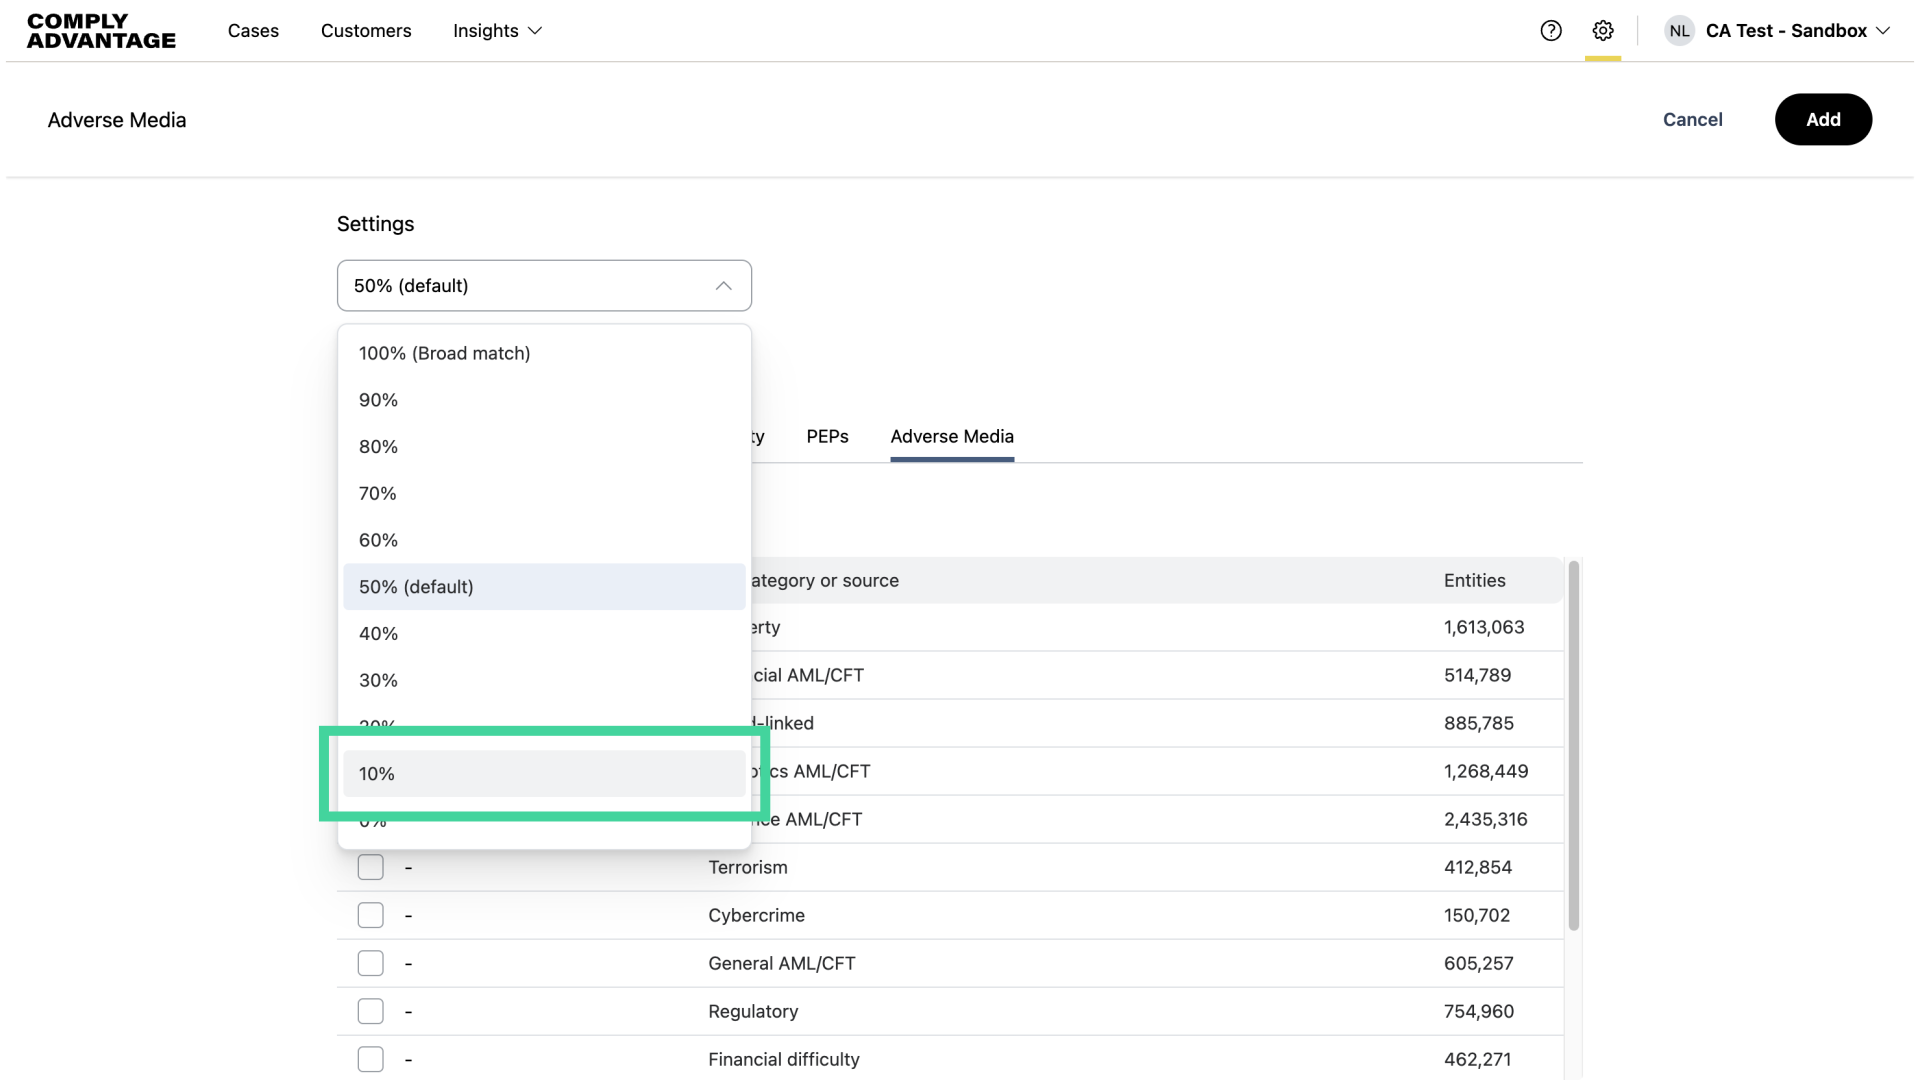
34. Select desired fuzziness
I’ll set this fuzziness level to 10%, as my risk tolerance allows for a tighter setting.
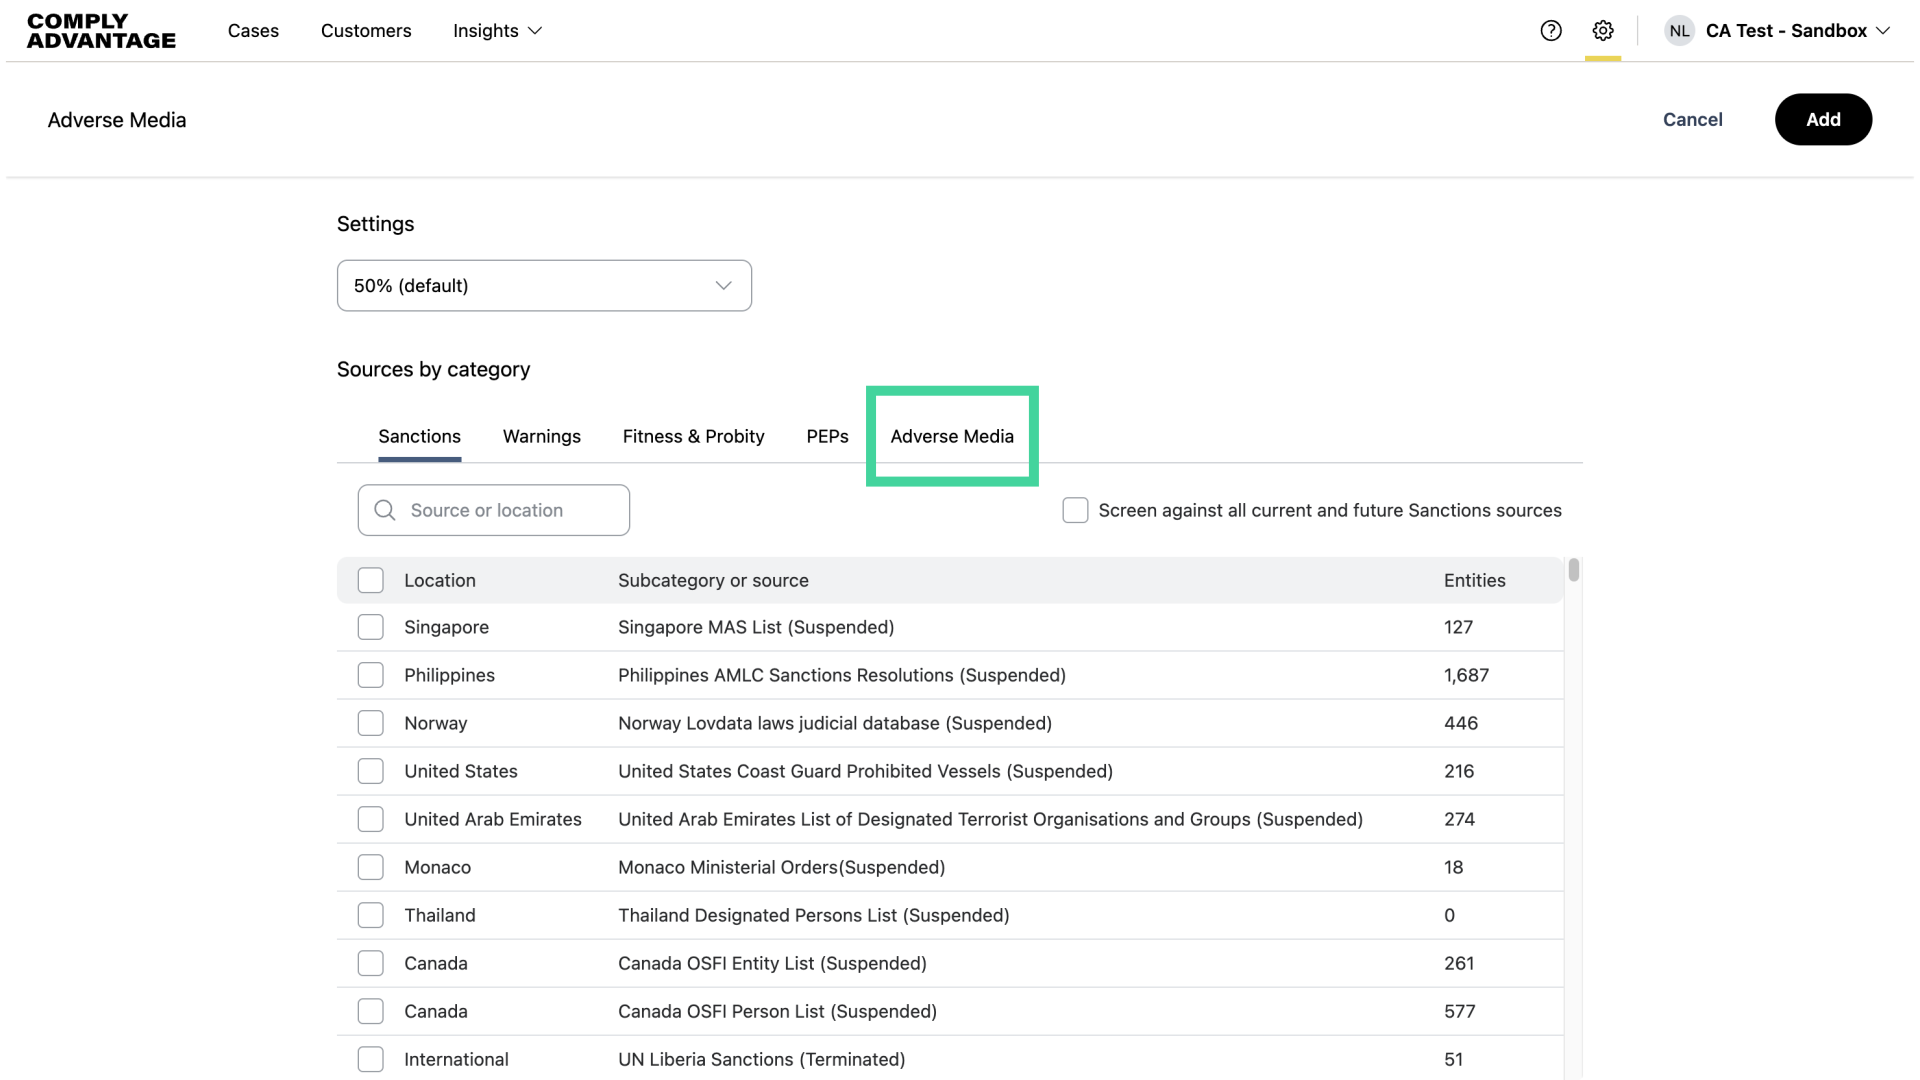
35. Click "Adverse Media"
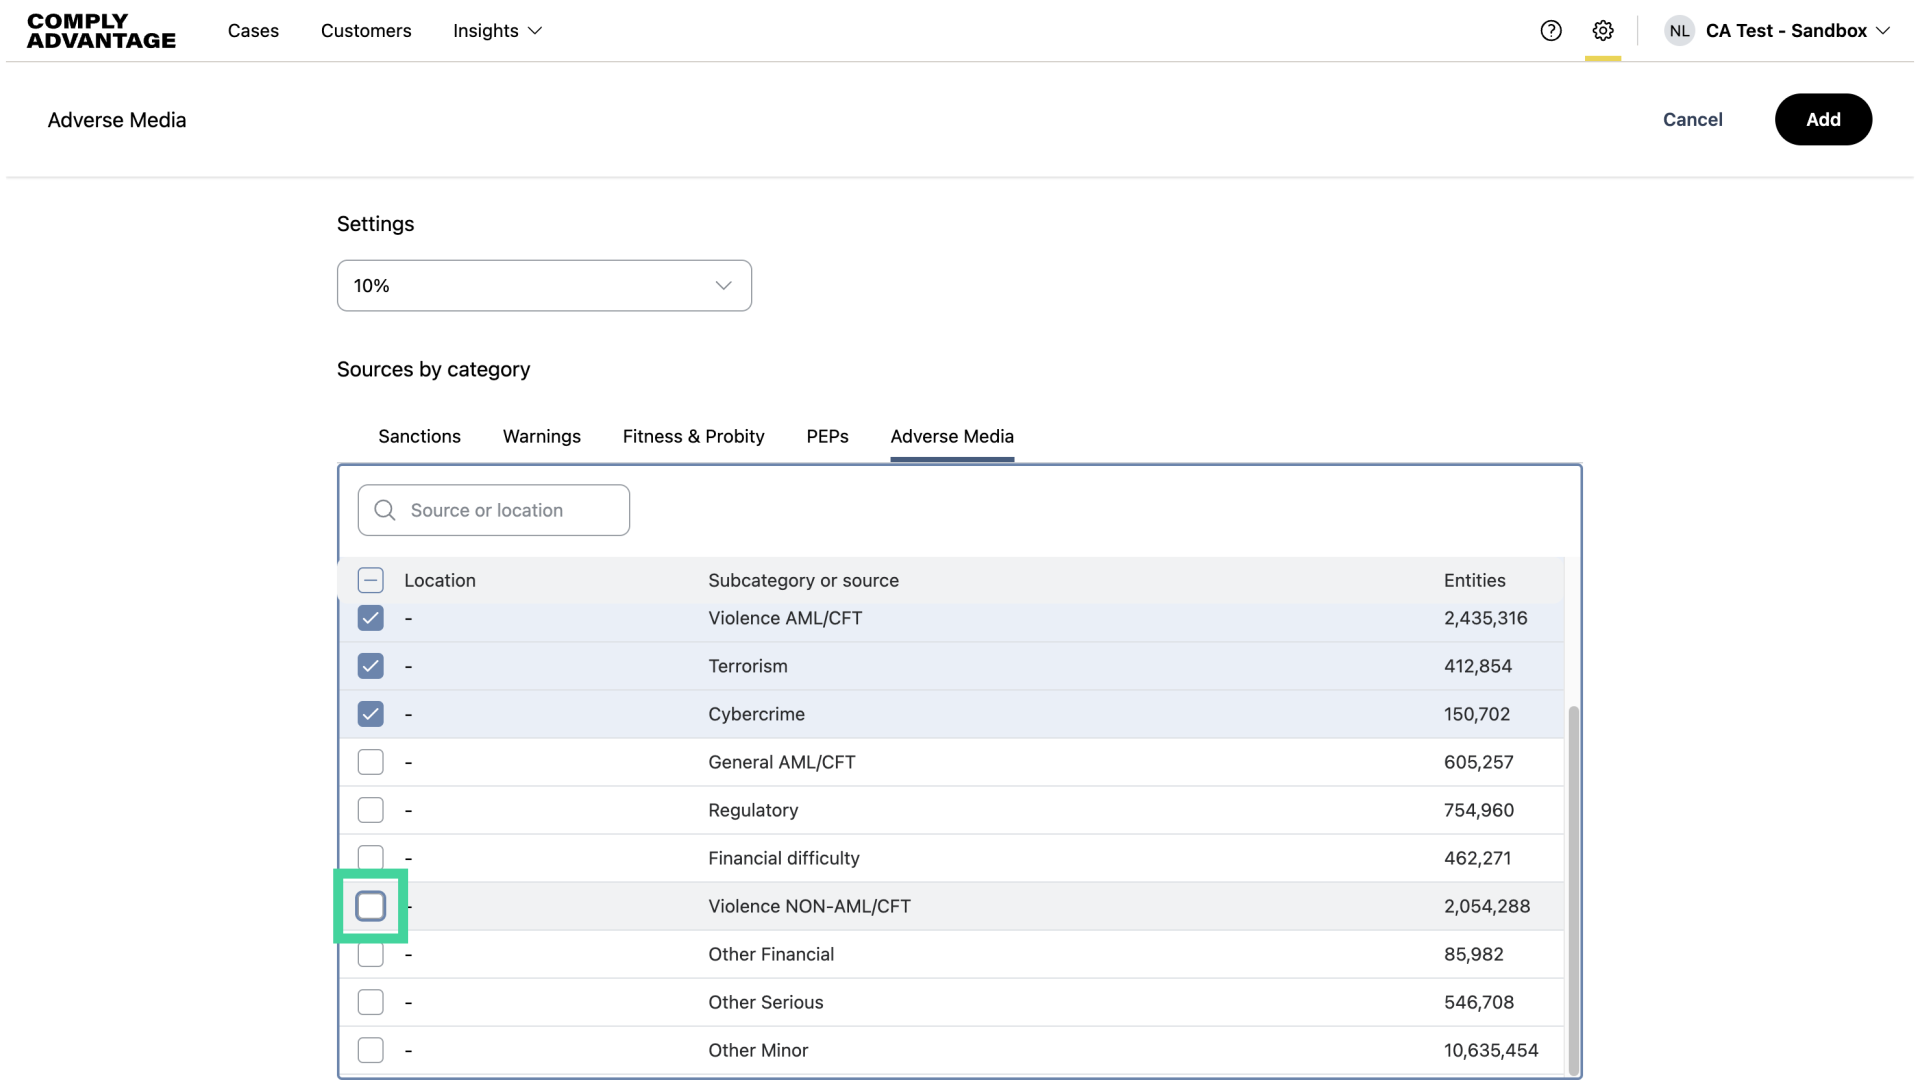
Click on the "Adverse Media" category.
36. Select desired categories
Select the categories you'd like to include.
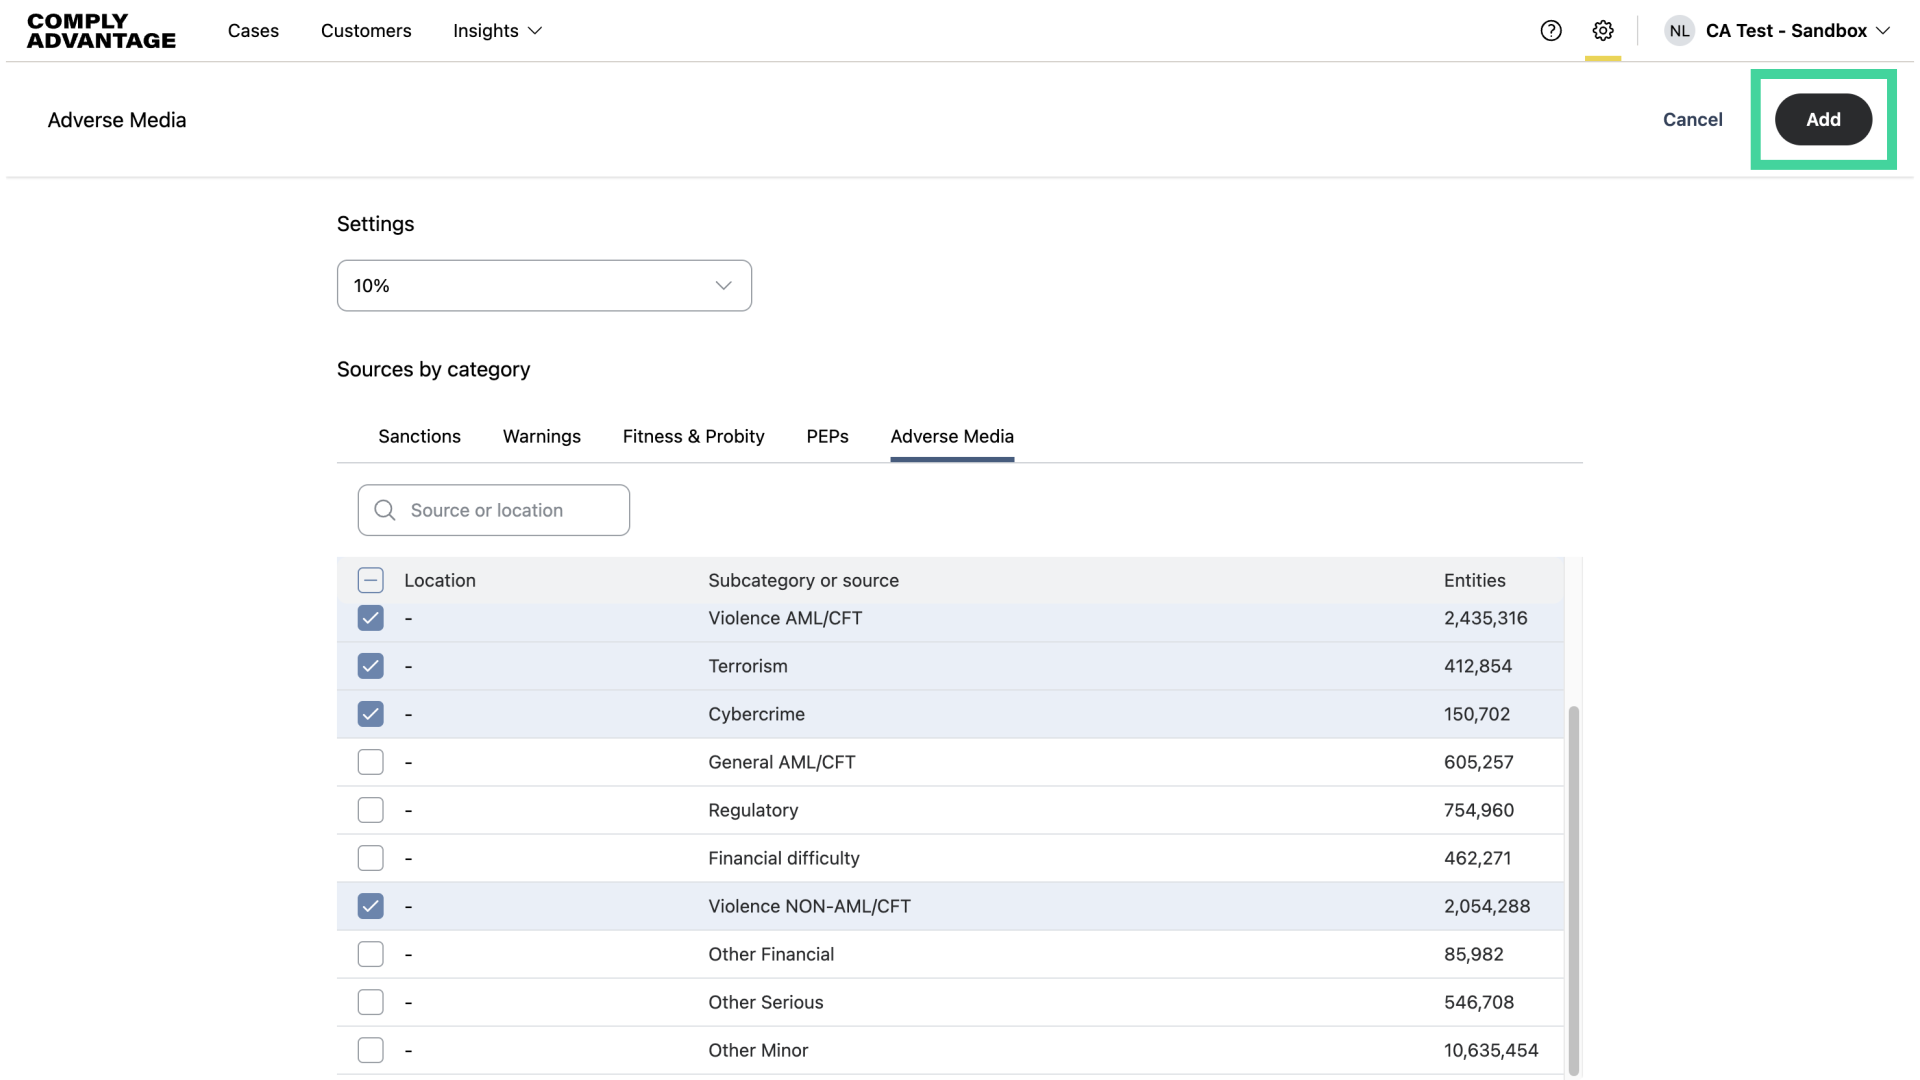
37. Click "Add"
Click "Add" to save this source collection.
38. Click "Save"
Click "Save" as the final step in creating your screening configuration.
We hope this guide helped you learn how to create a screening configuration with source collections in Mesh to streamline your customer onboarding.