Creating a data export
Last updated: November 4, 2026
You can export data about customers, customer screening, cases and profiles from ComplyAdvantage Mesh as a .csv file. (See also: What are data exports?)
Select the Insights tab.
Select My exports.

You see the export page. This is what it looks like when no export has been created yet.
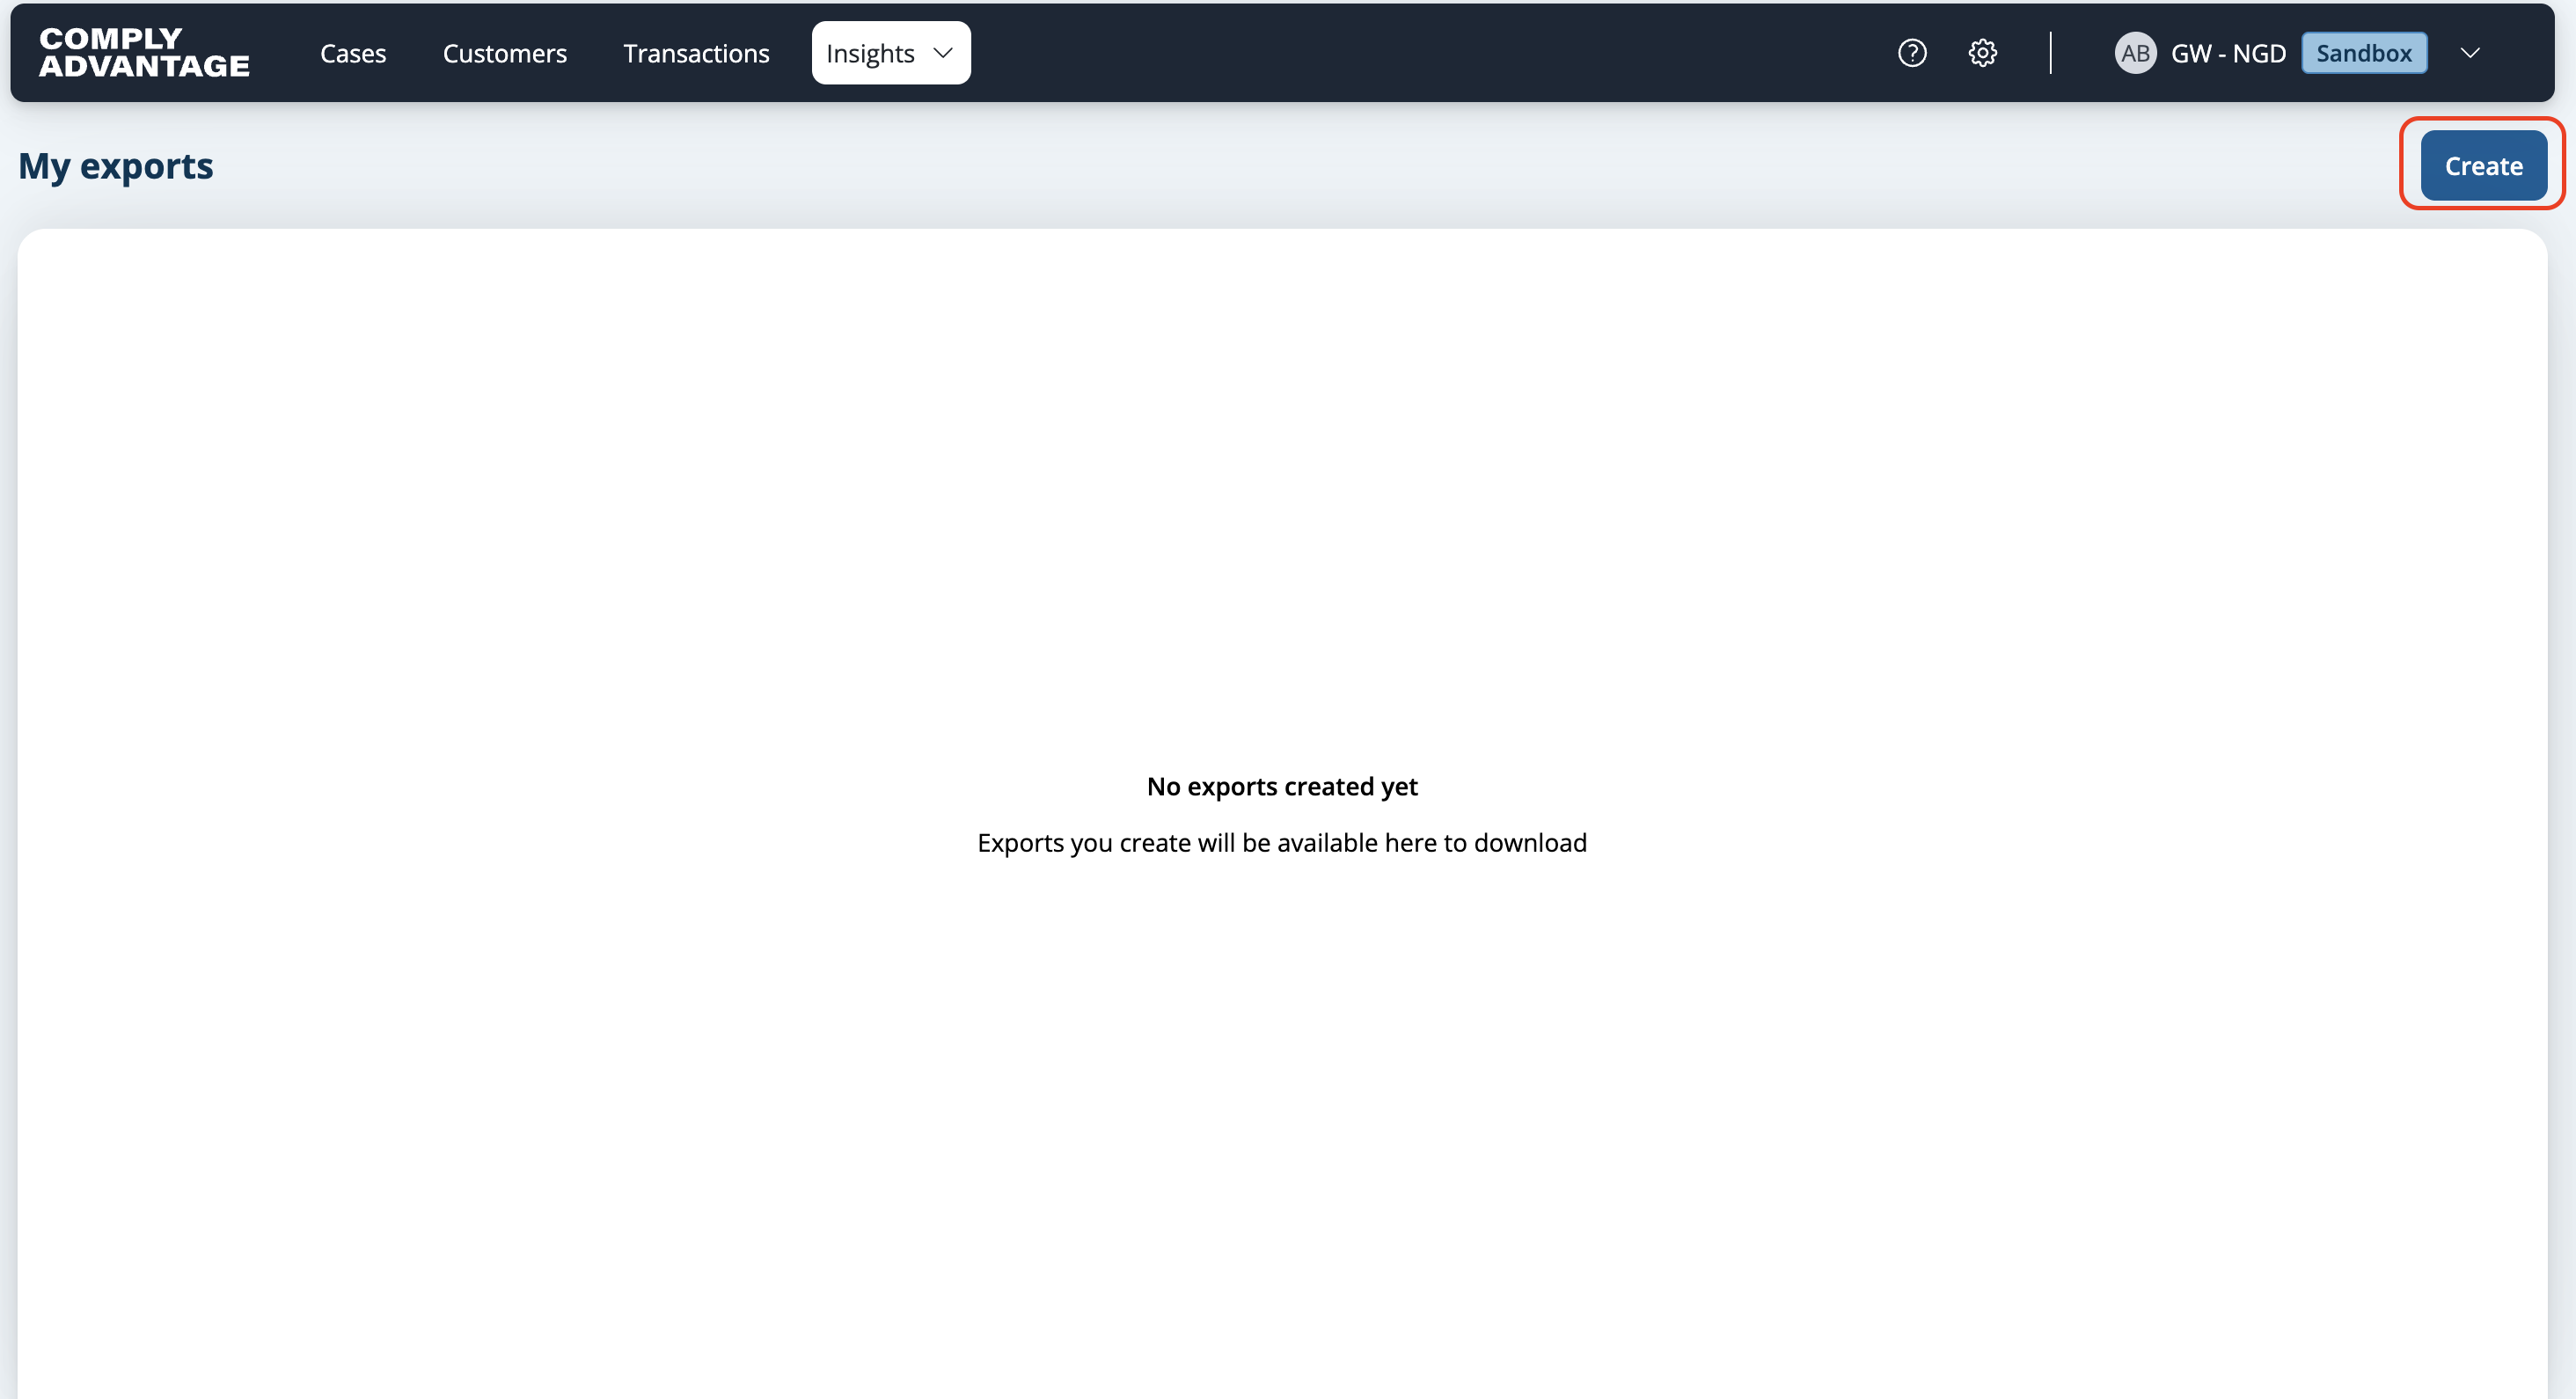
Click Create in the top-right corner.
Fill out the details about your export:
Export name: Enter a name that will help you easily identify your export later.
What data do you want to export?: Choose from customer screening, customer, screening and monitoring cases or profiles.

Date Range: Select your required date range. Click Apply to confirm your date selection.

Click Create.
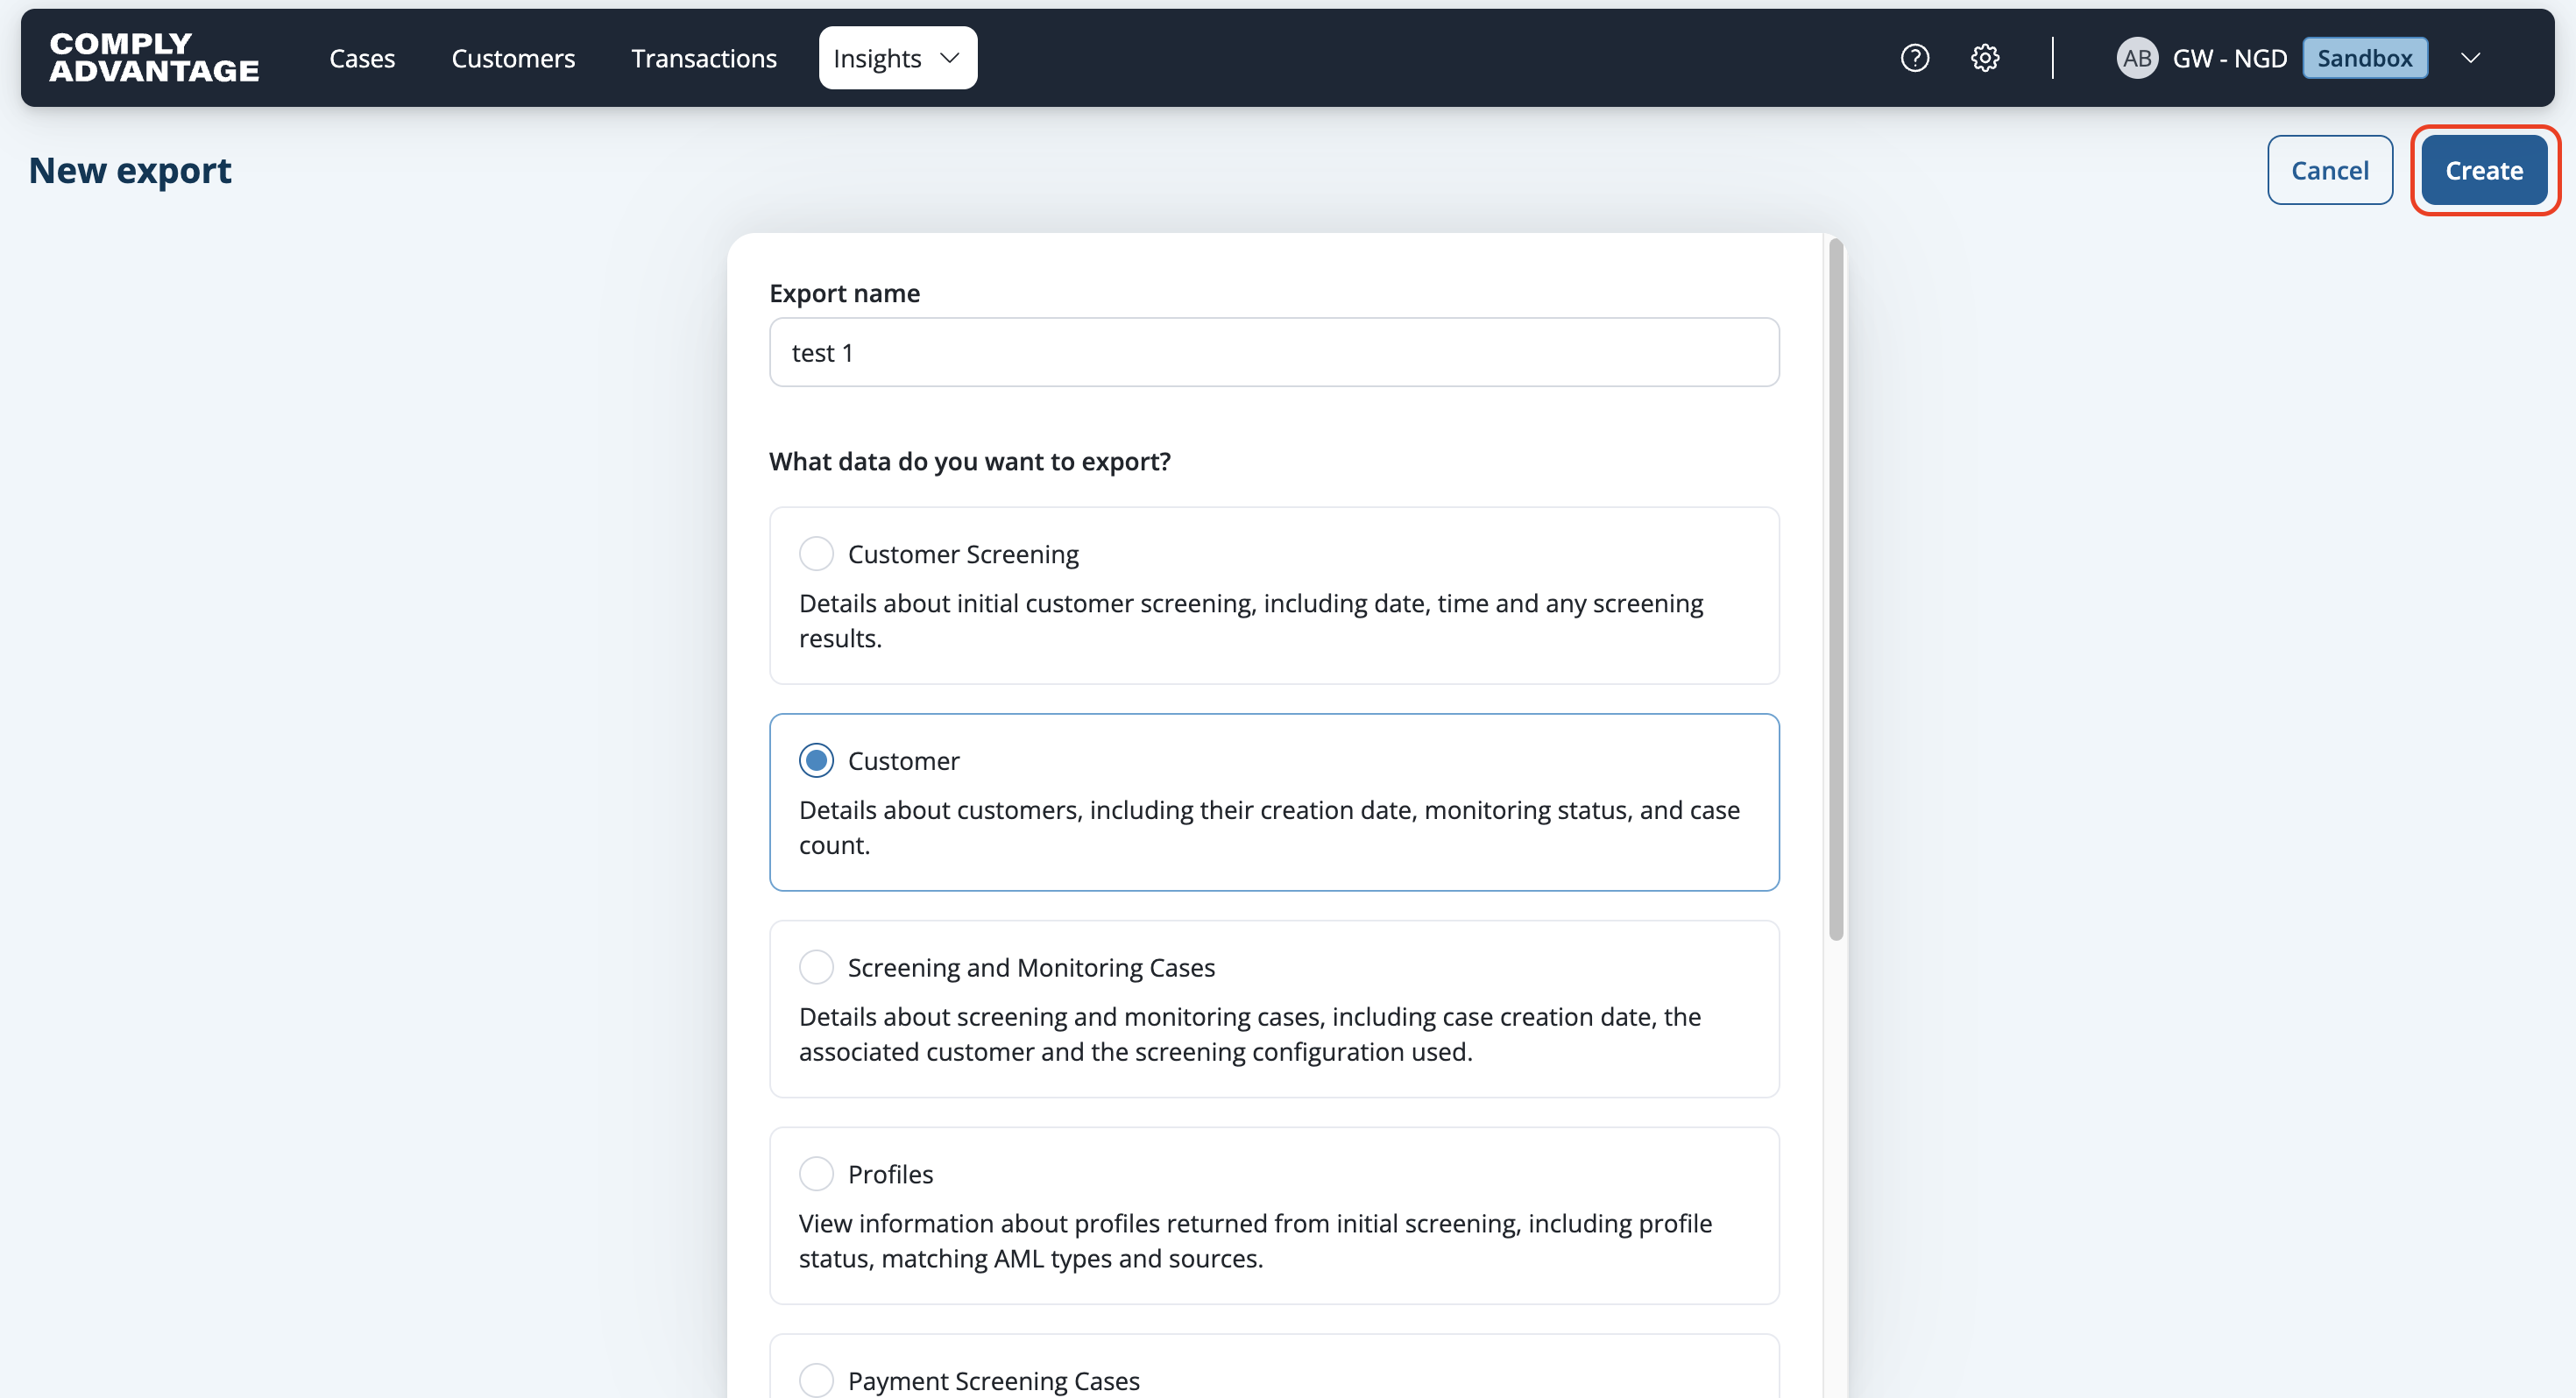
The new export appears in your export list as In progress. Depending on the amount of data being exported, it might take a few minutes for the file to generate.

When the export shows as Completed it is ready to download. You can refresh the page to see whether it's ready or return to the Exports page later to see all your exports.
