Video: Creating and screening multiple customers using batch upload
Last updated: April 7, 2026
In this guide, you will learn how to create and screen multiple customers using batch upload in Mesh.
When logging in to your account, please ensure you select the correct region, which will be one of the following:
Australia: https://au.mesh.complyadvantage.com/
You can find the link to your region in the onboarding email you received (look for the "Welcome to ComplyAdvantage" email).
If you can’t find the email, don't worry! You can always contact our support team at [email protected].
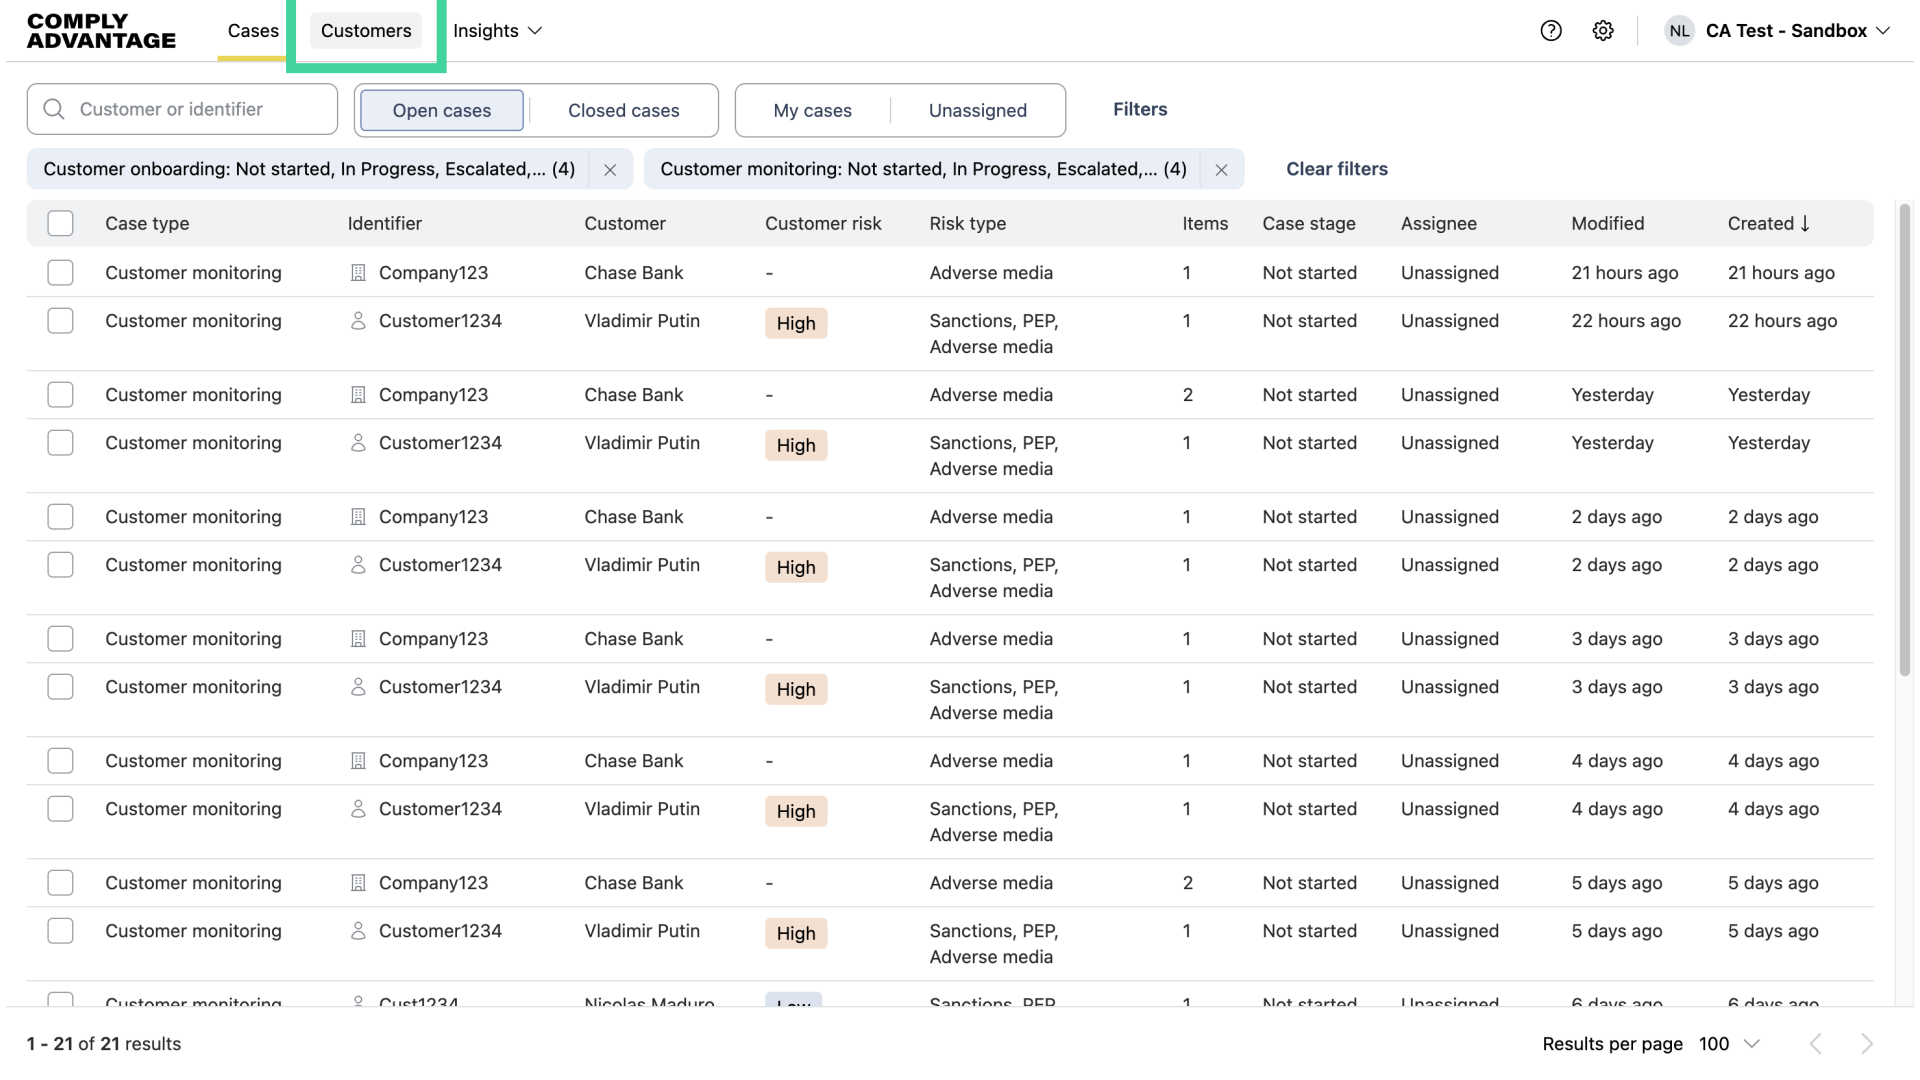
1. Click "Customers"
First, click on the "Customers" page.
2. Click "Create"
Next, click "Create."
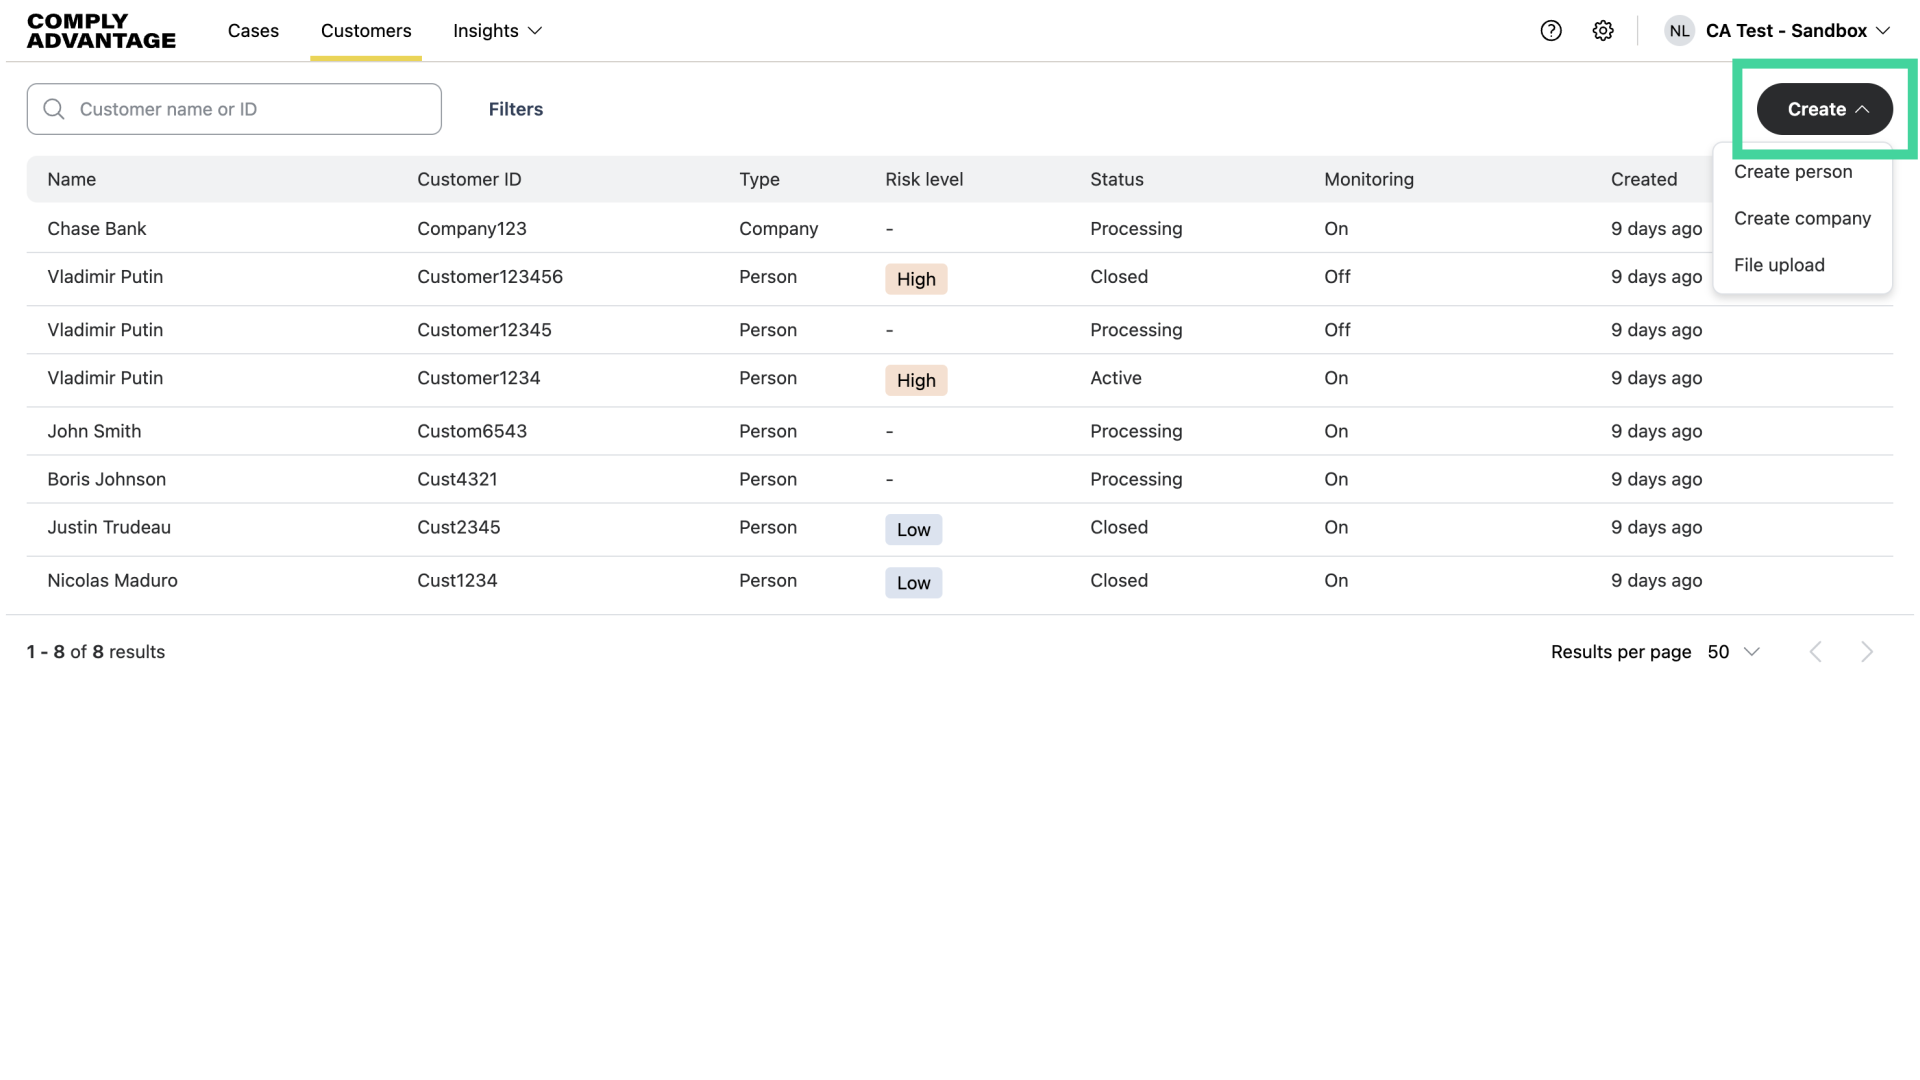
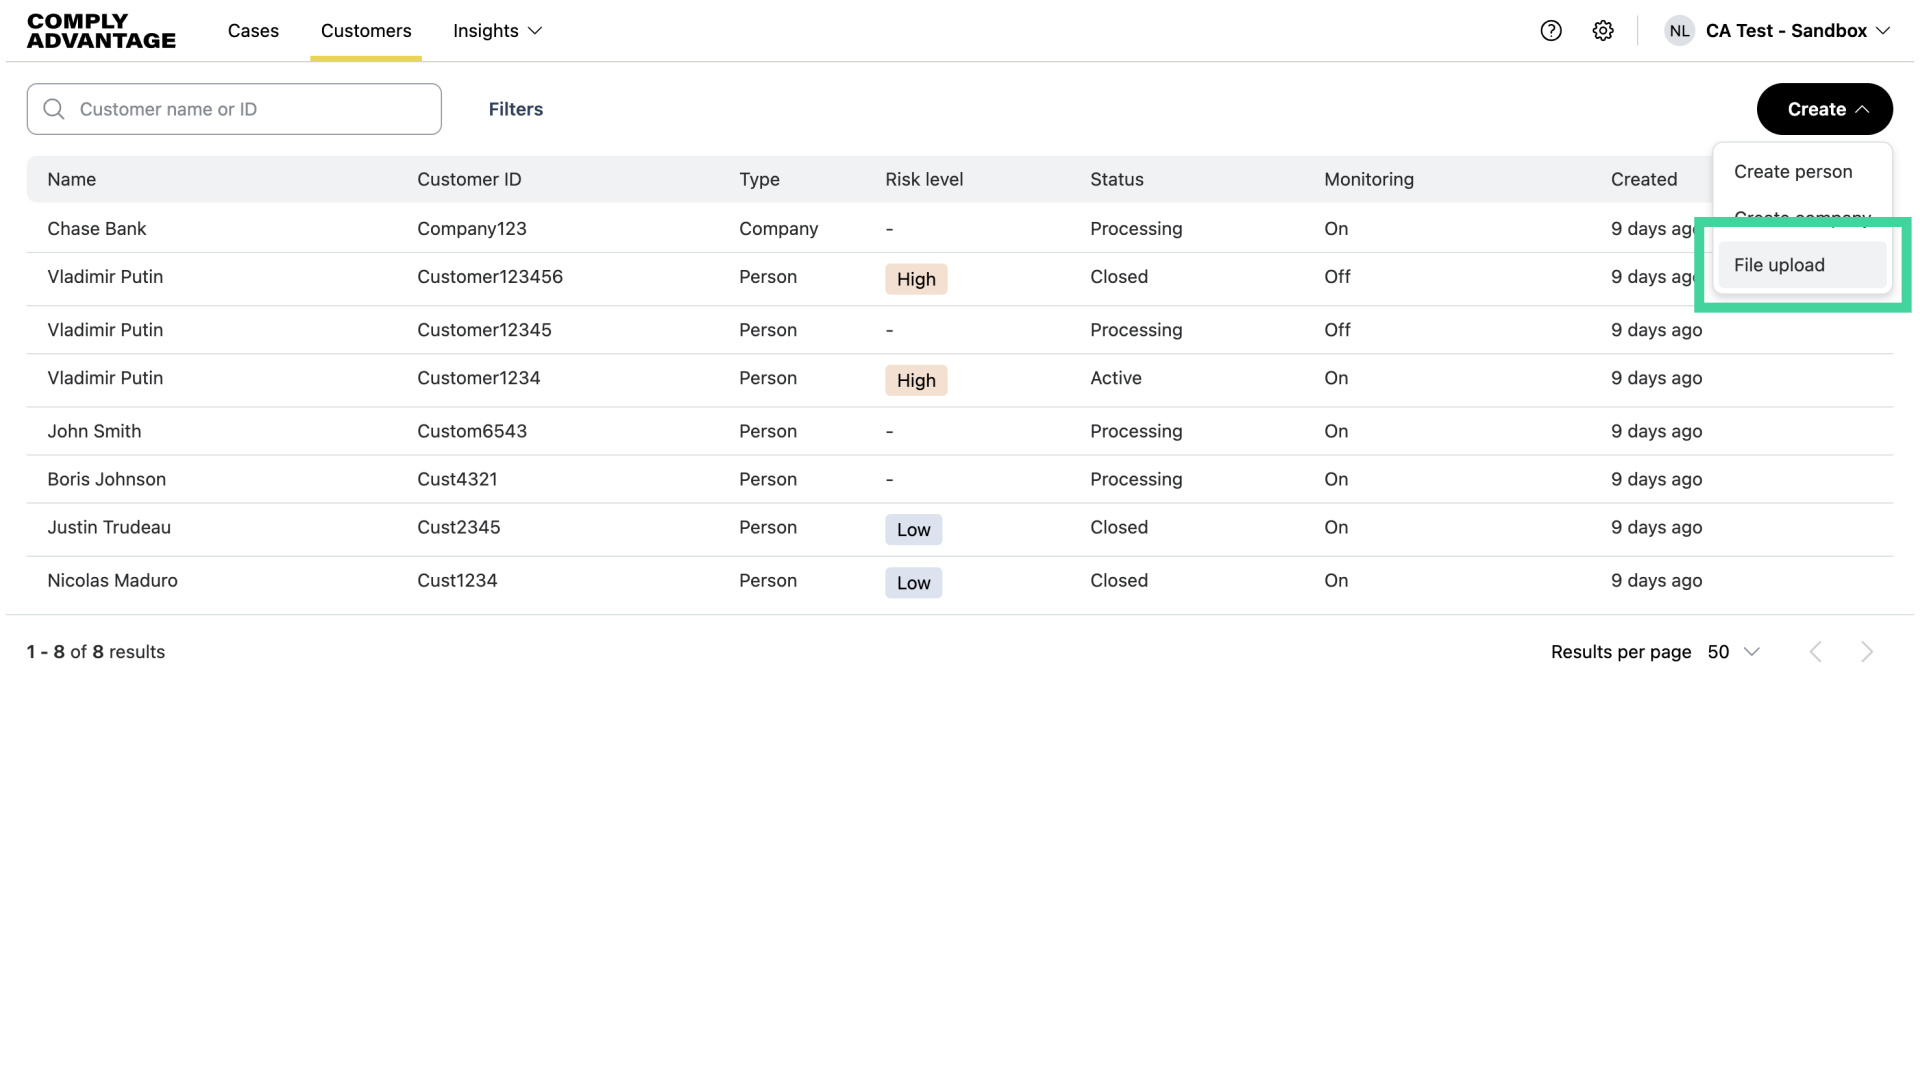
3. Click "File upload"
Select "File upload."
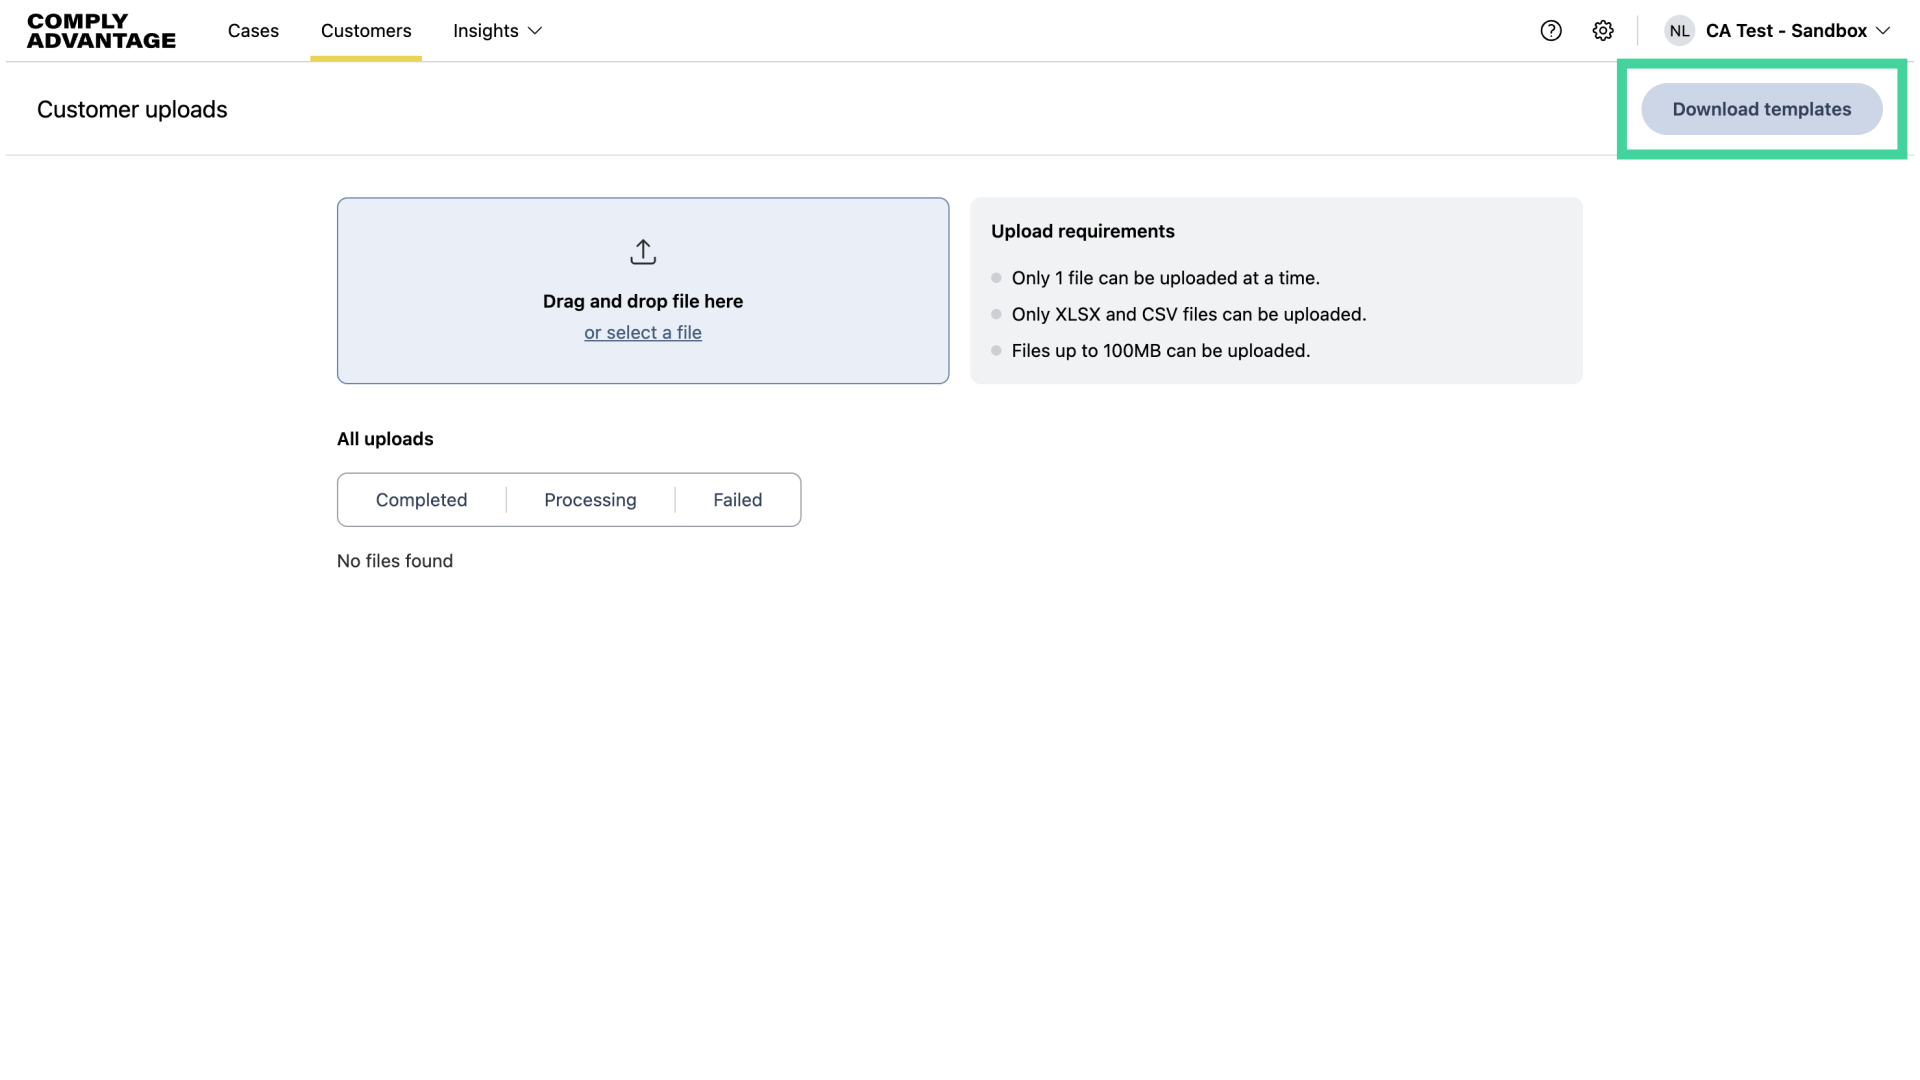
4. Click "Download templates"
Once you're on the "Customer uploads" page, download a template to add your customers in bulk within a spreadsheet.
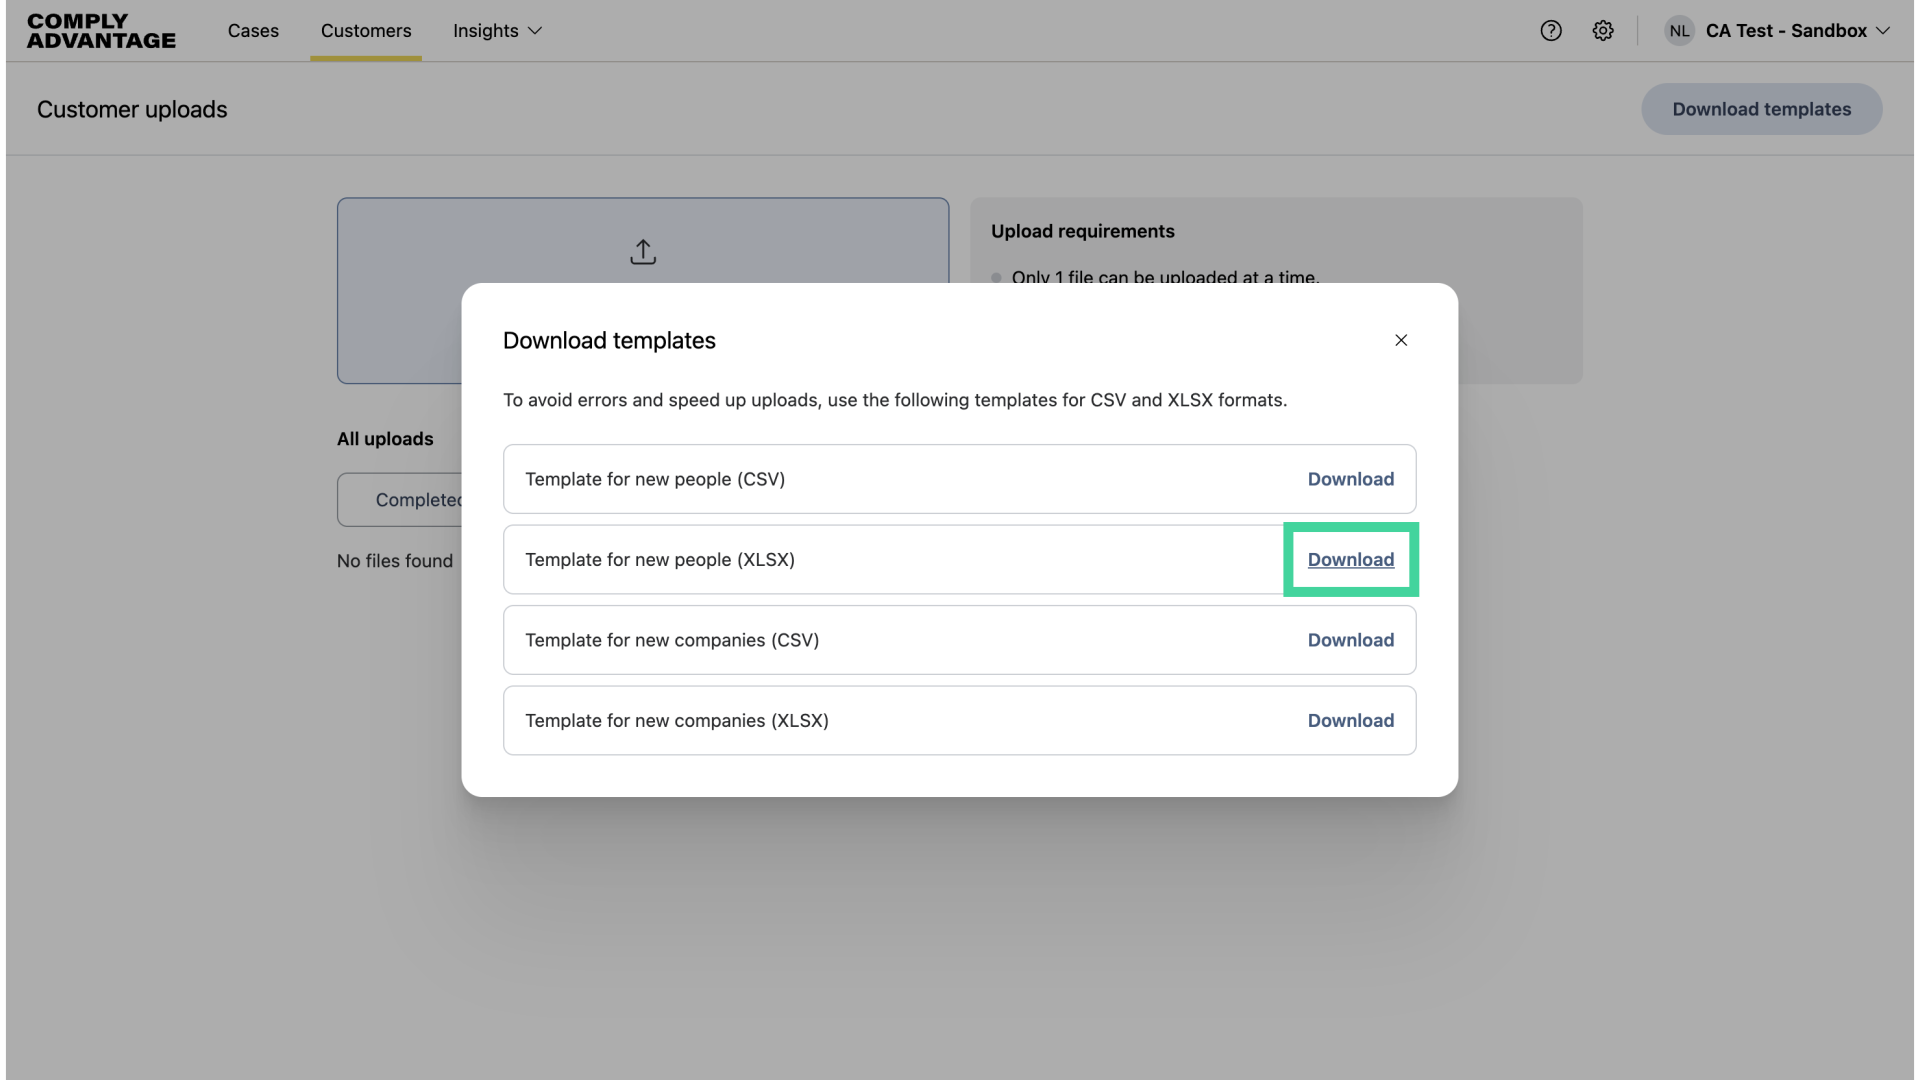
5. Click "Download"
Click "Download" for the template and format you want. Here, I'm downloading an XLSX file to upload people.
6. Open spreadsheet from downloads
The template will download to your computer. Here, I've opened the file in Excel.
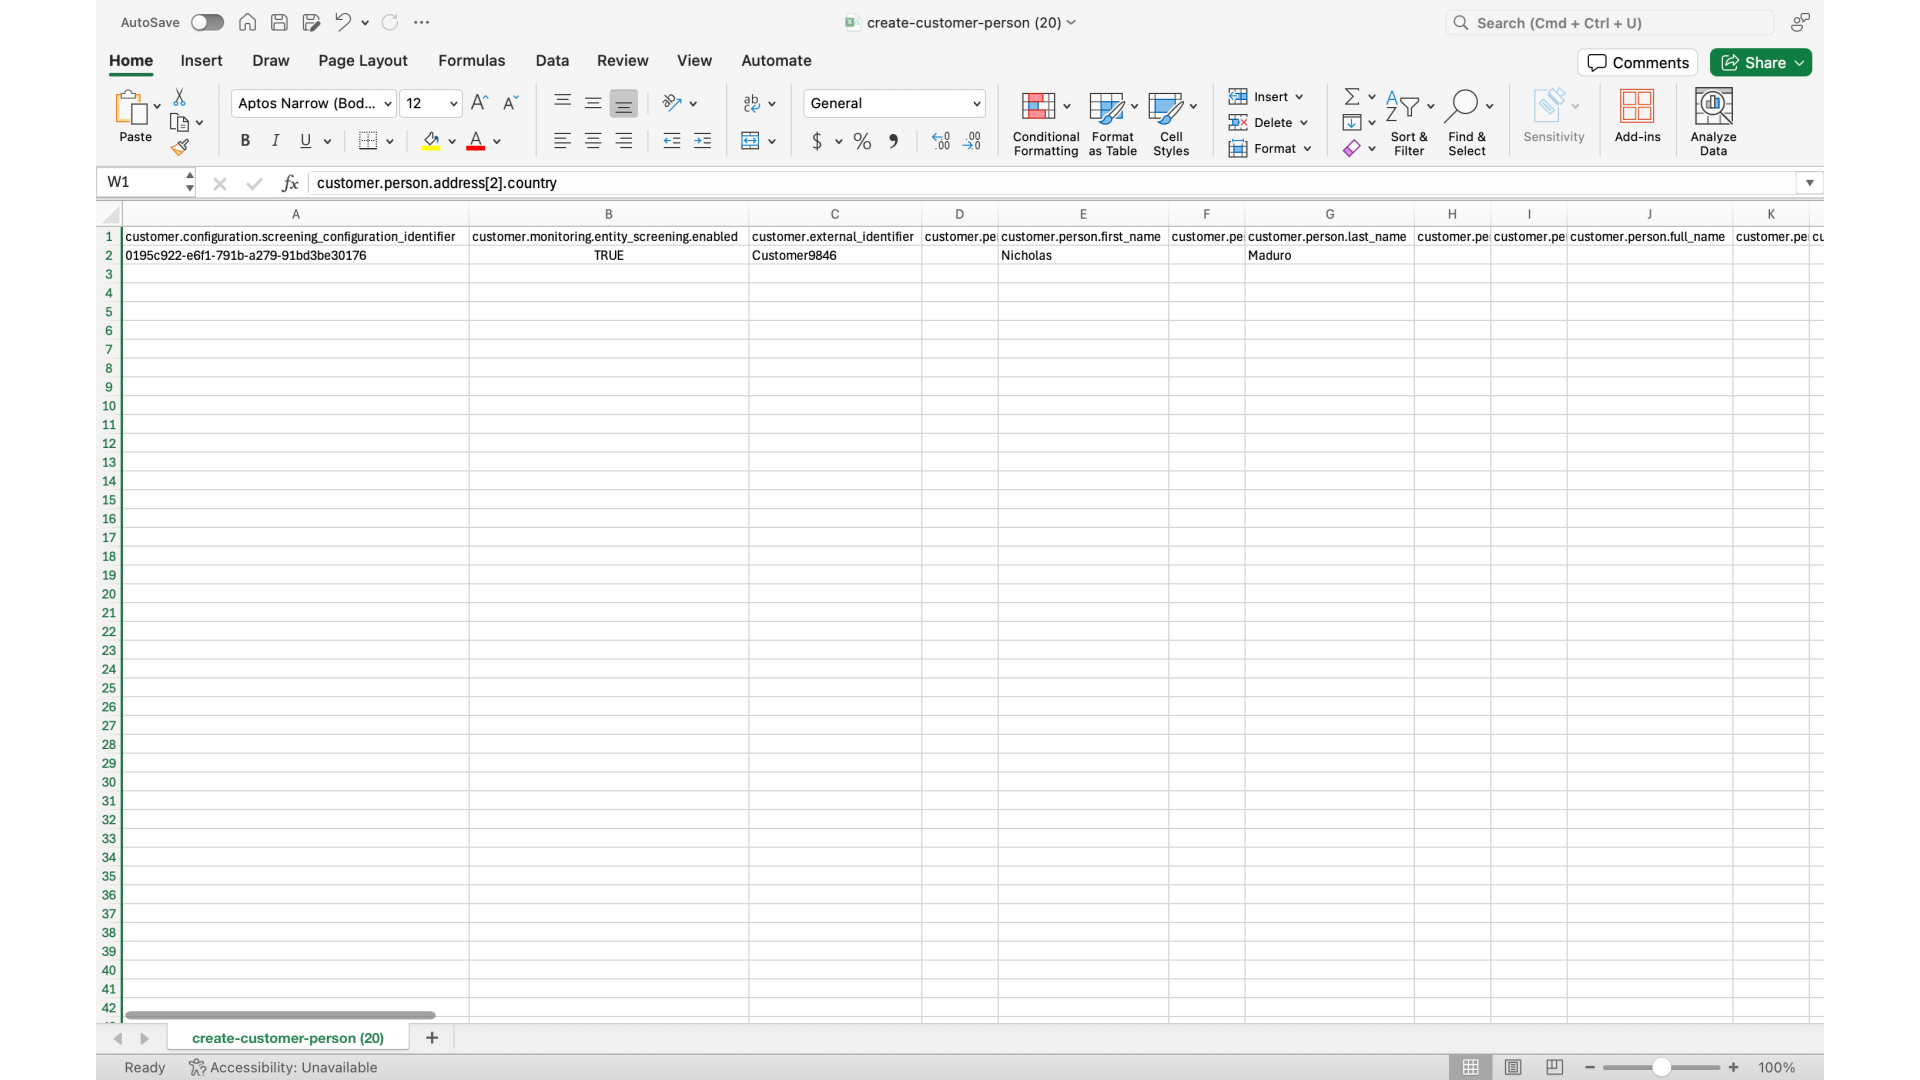
7. Description of template
Each column contains data for a field in the customer database. You can fill in as many columns as you want. The more data you provide, the better your risk scoring and screening assessment will be. You can also remove any columns you know you won’t provide data for, as long as all mandatory fields are included.
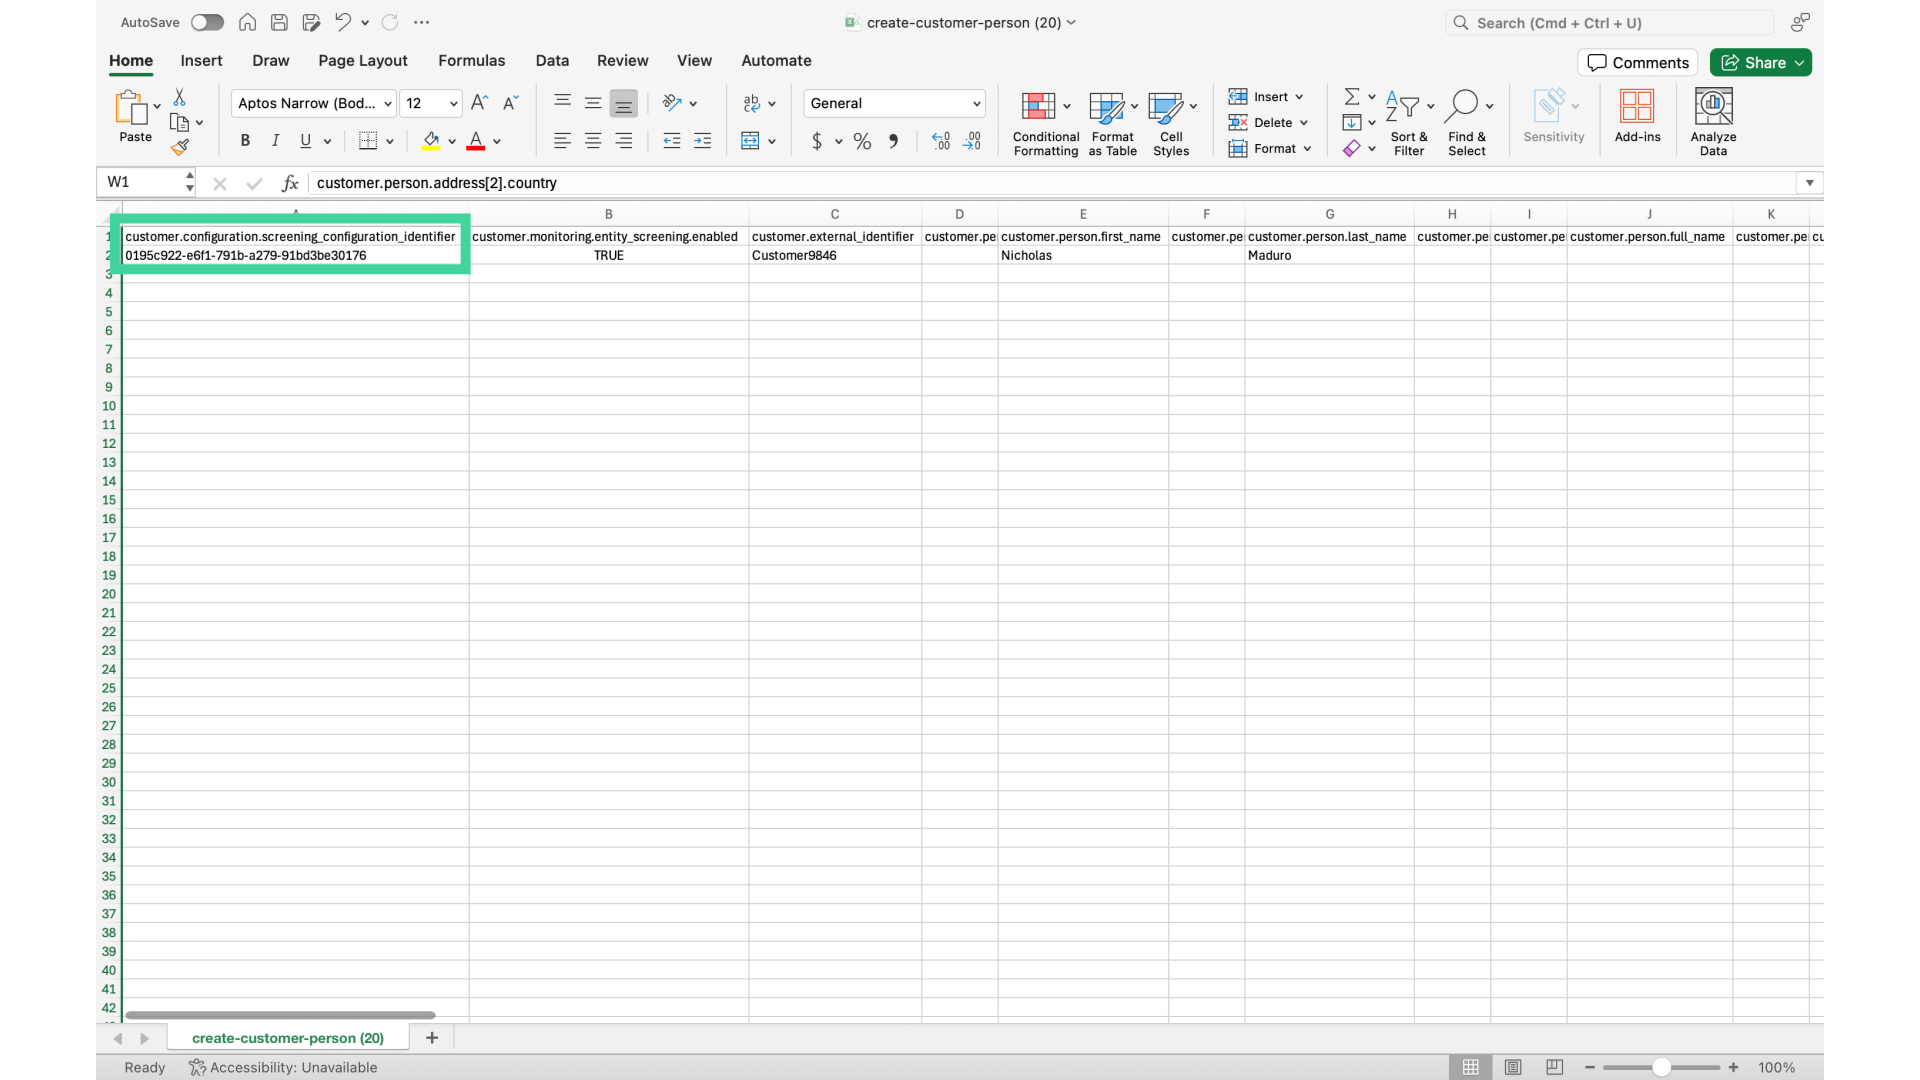
8. Mandatory fields: Screening configuration ID
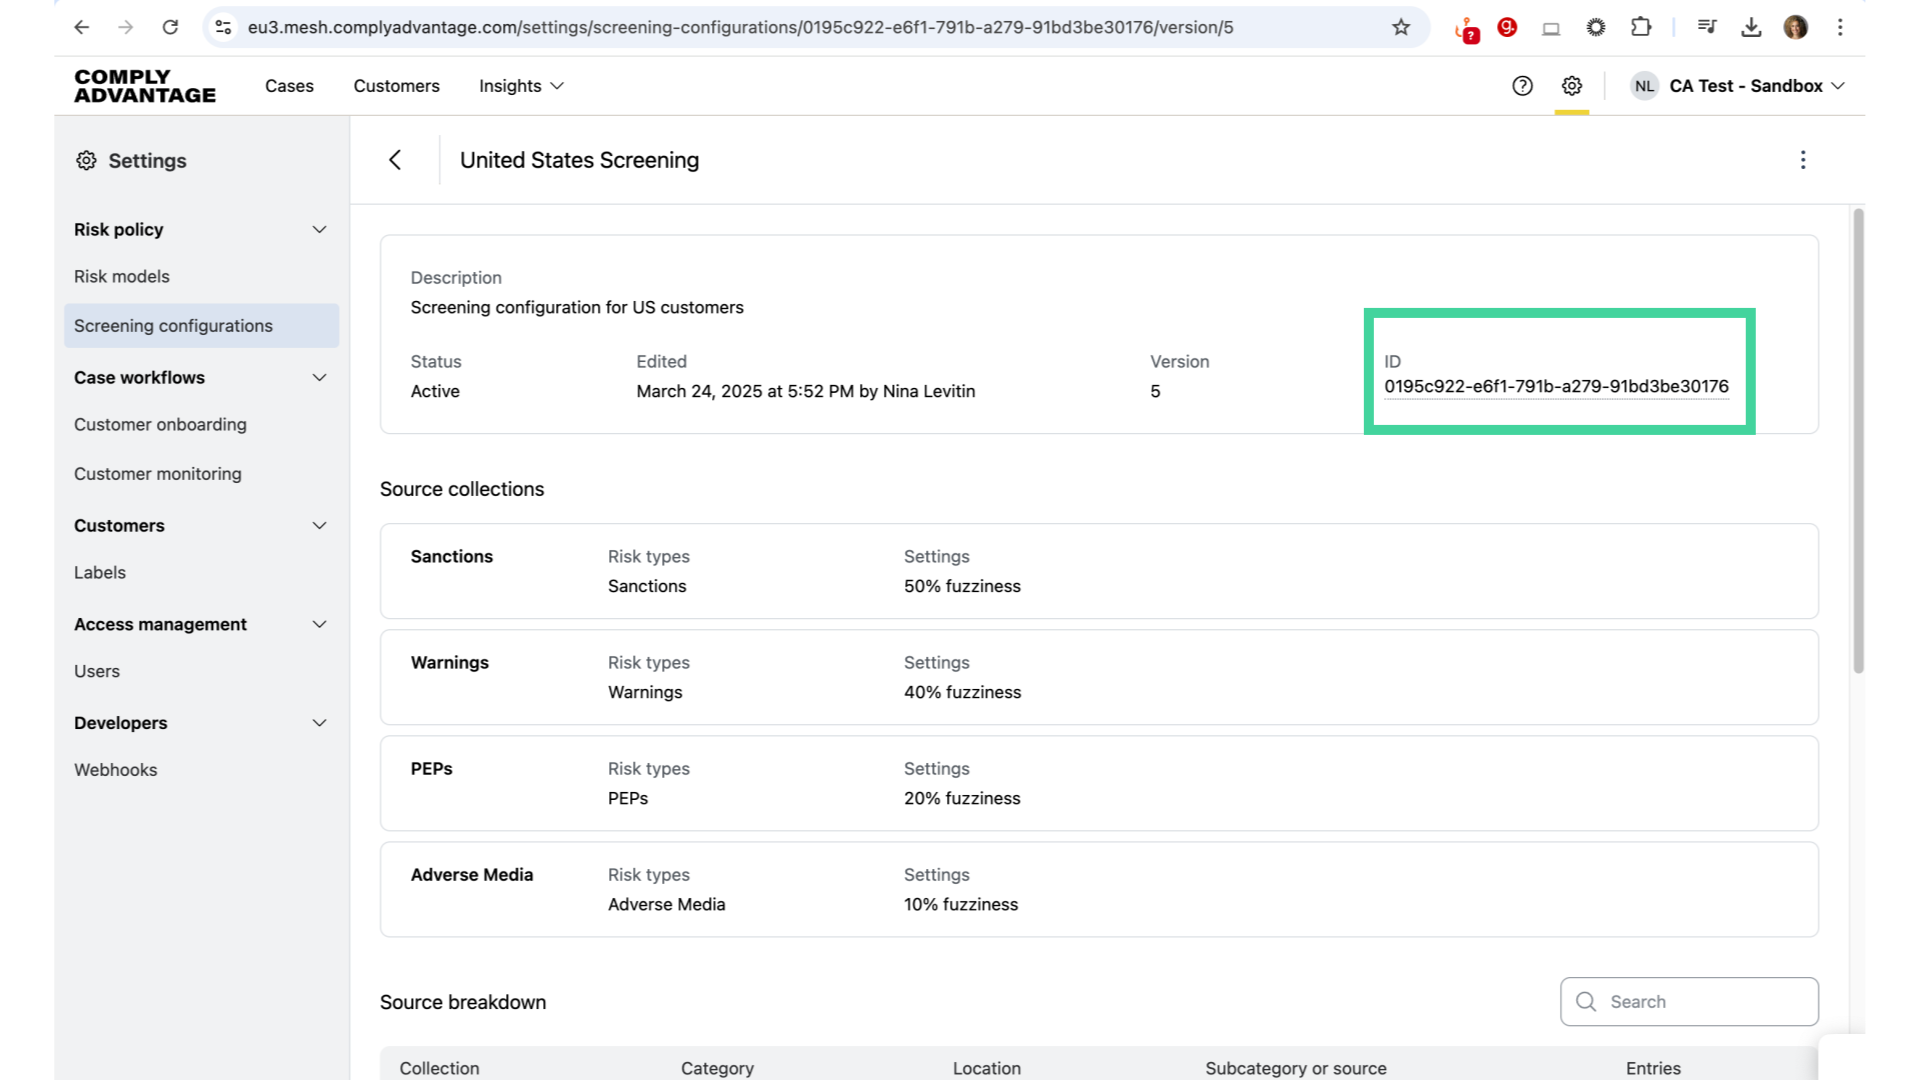
The first mandatory field in the sheet is the Screening configuration ID in column A, where you should add the screening configuration you'd like to use for each customer.
9. Where is the screening configuration ID?
The ID can be copied from the Screening configurations page in Settings.
10. Mandatory field: External Identifier
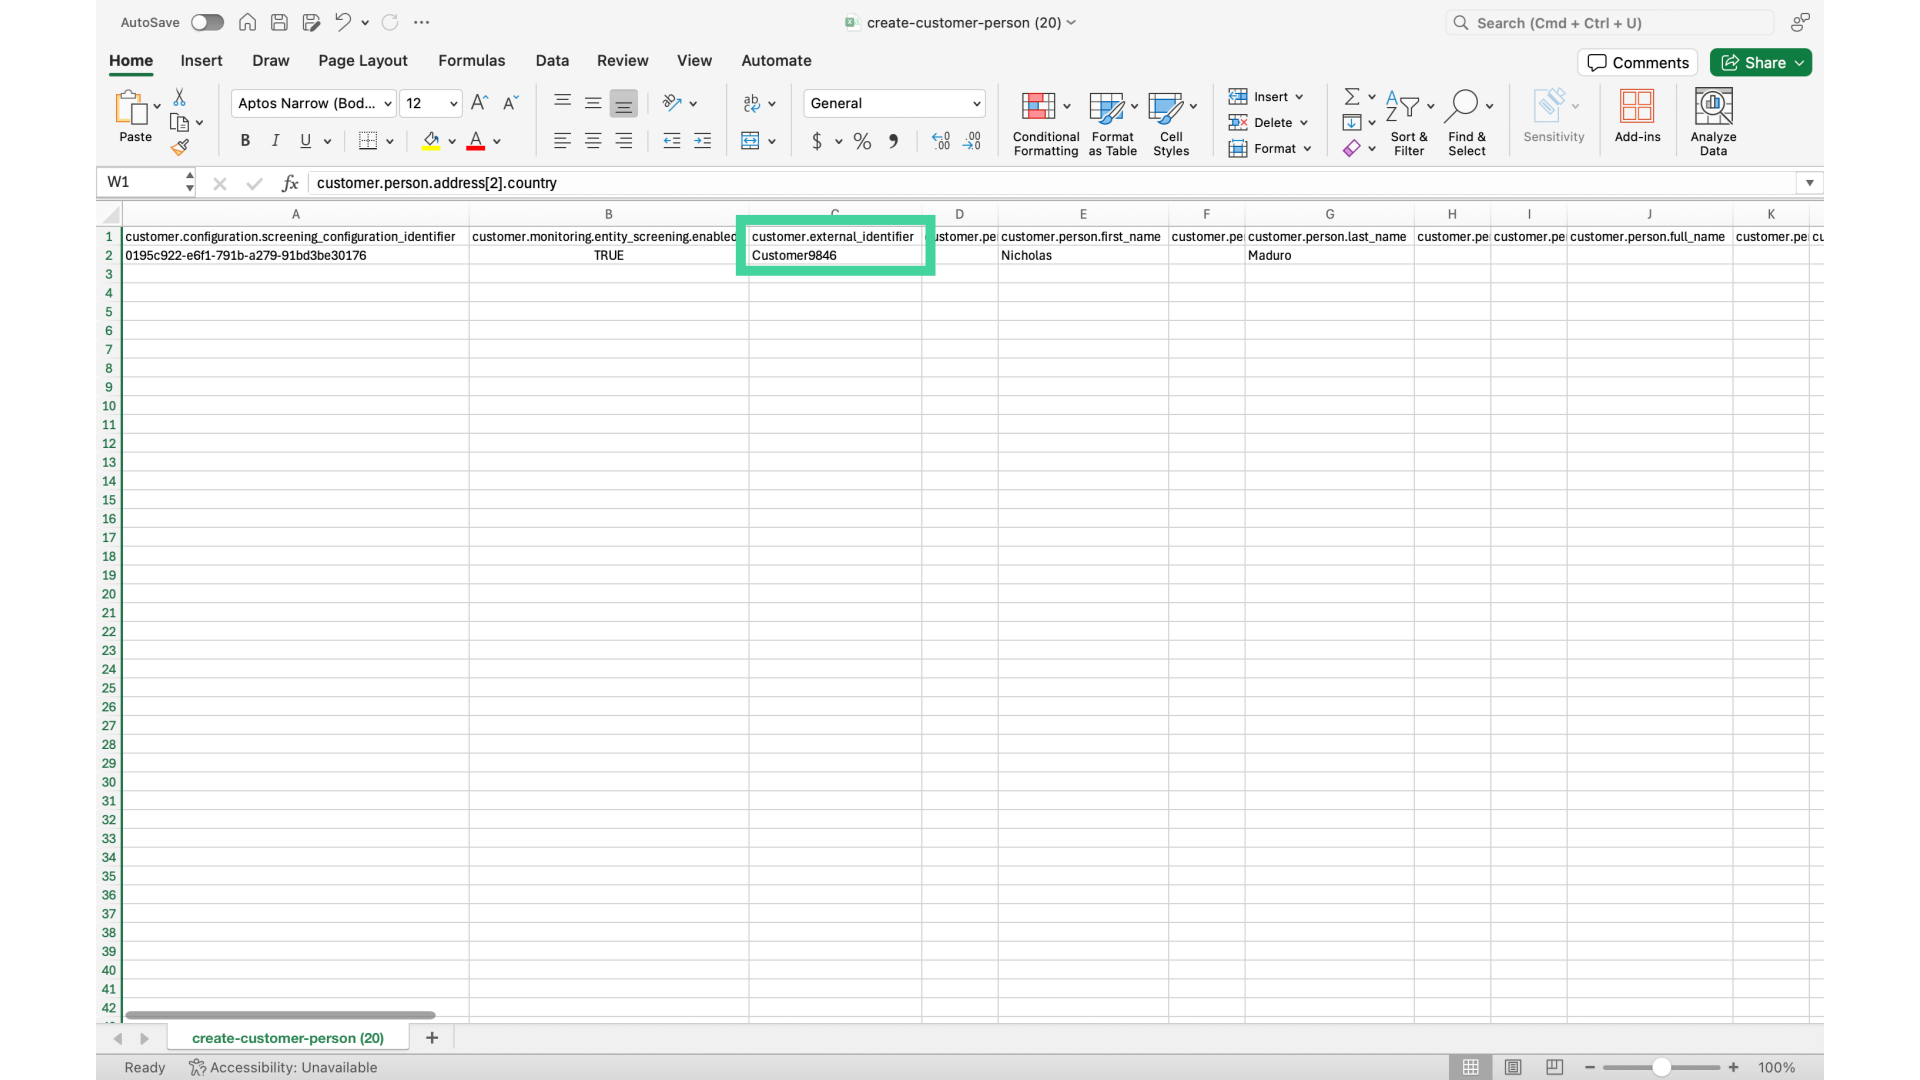
The second mandatory field is the External identifier in column C. This is your unique identifier for each customer.
11. Mandatory fields: Customer name
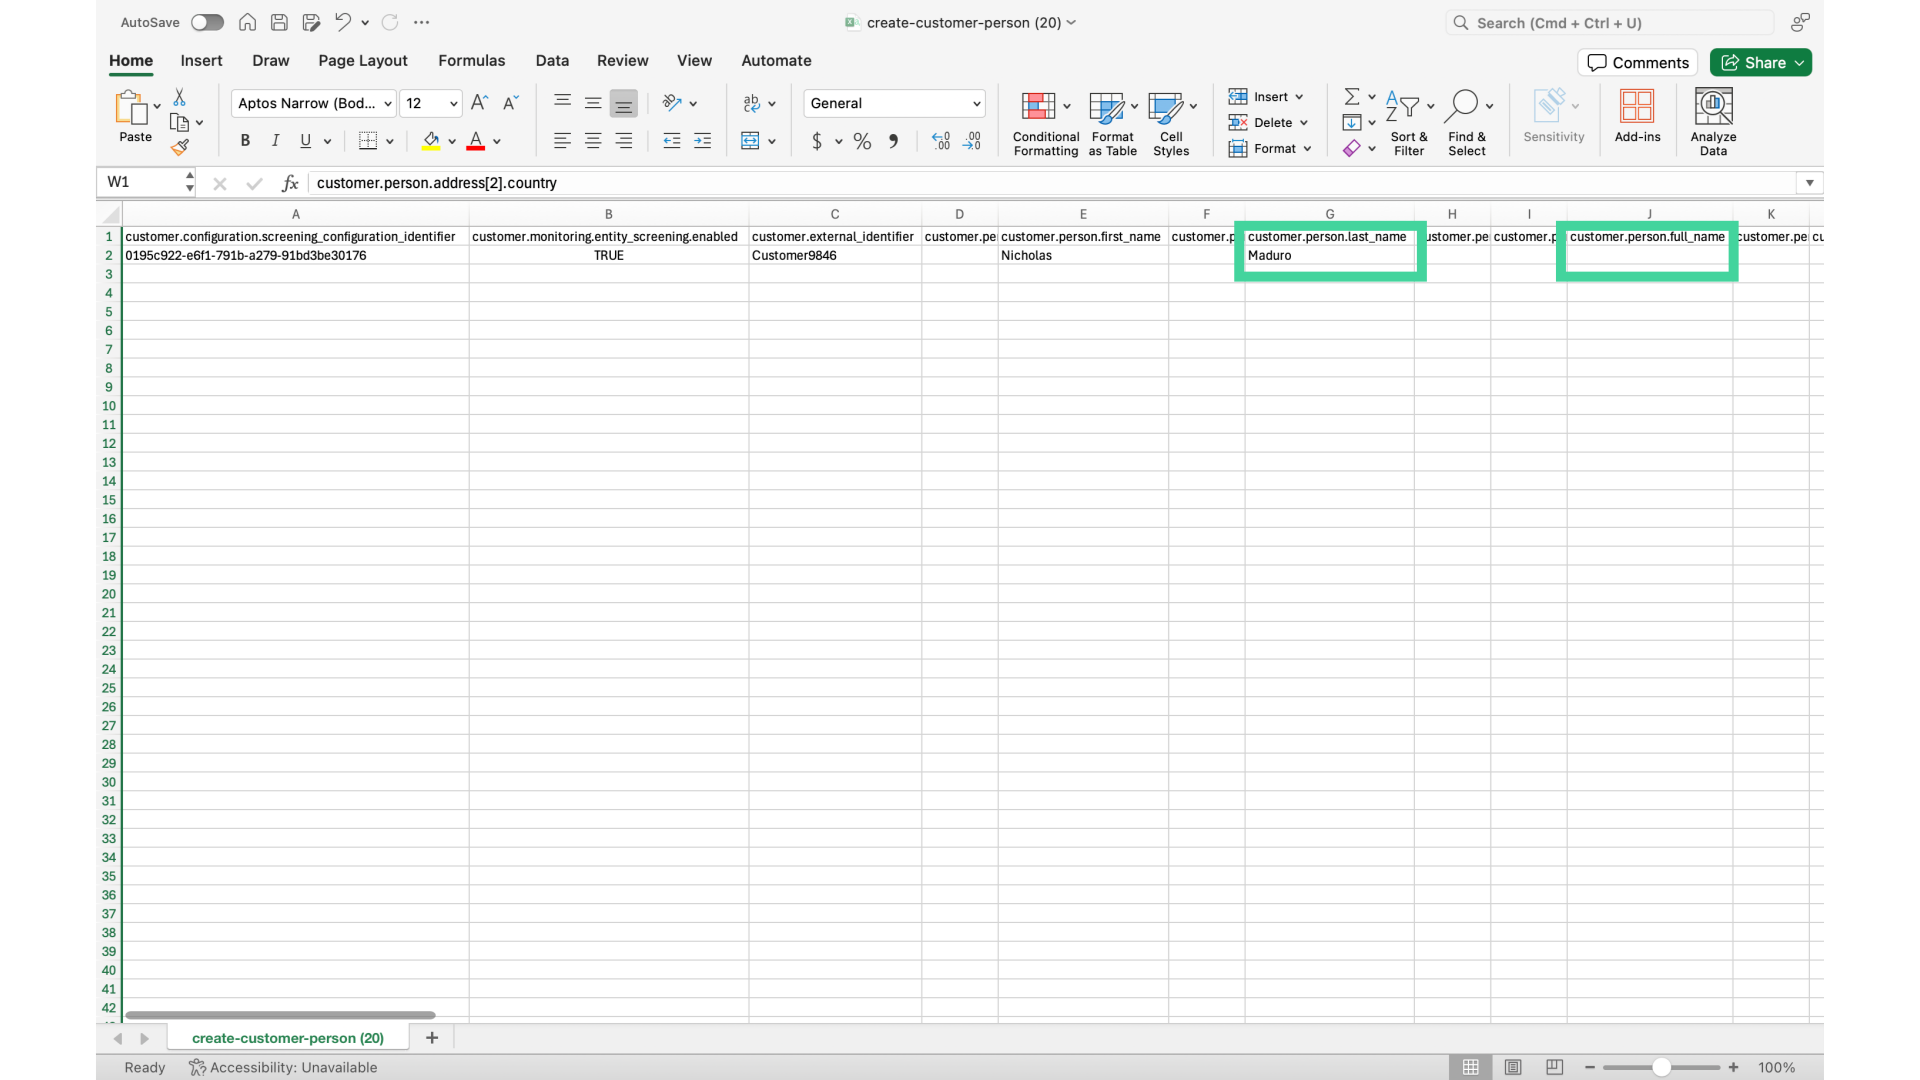
Lastly, you must add either the customer's last name in column G or full name in column J.
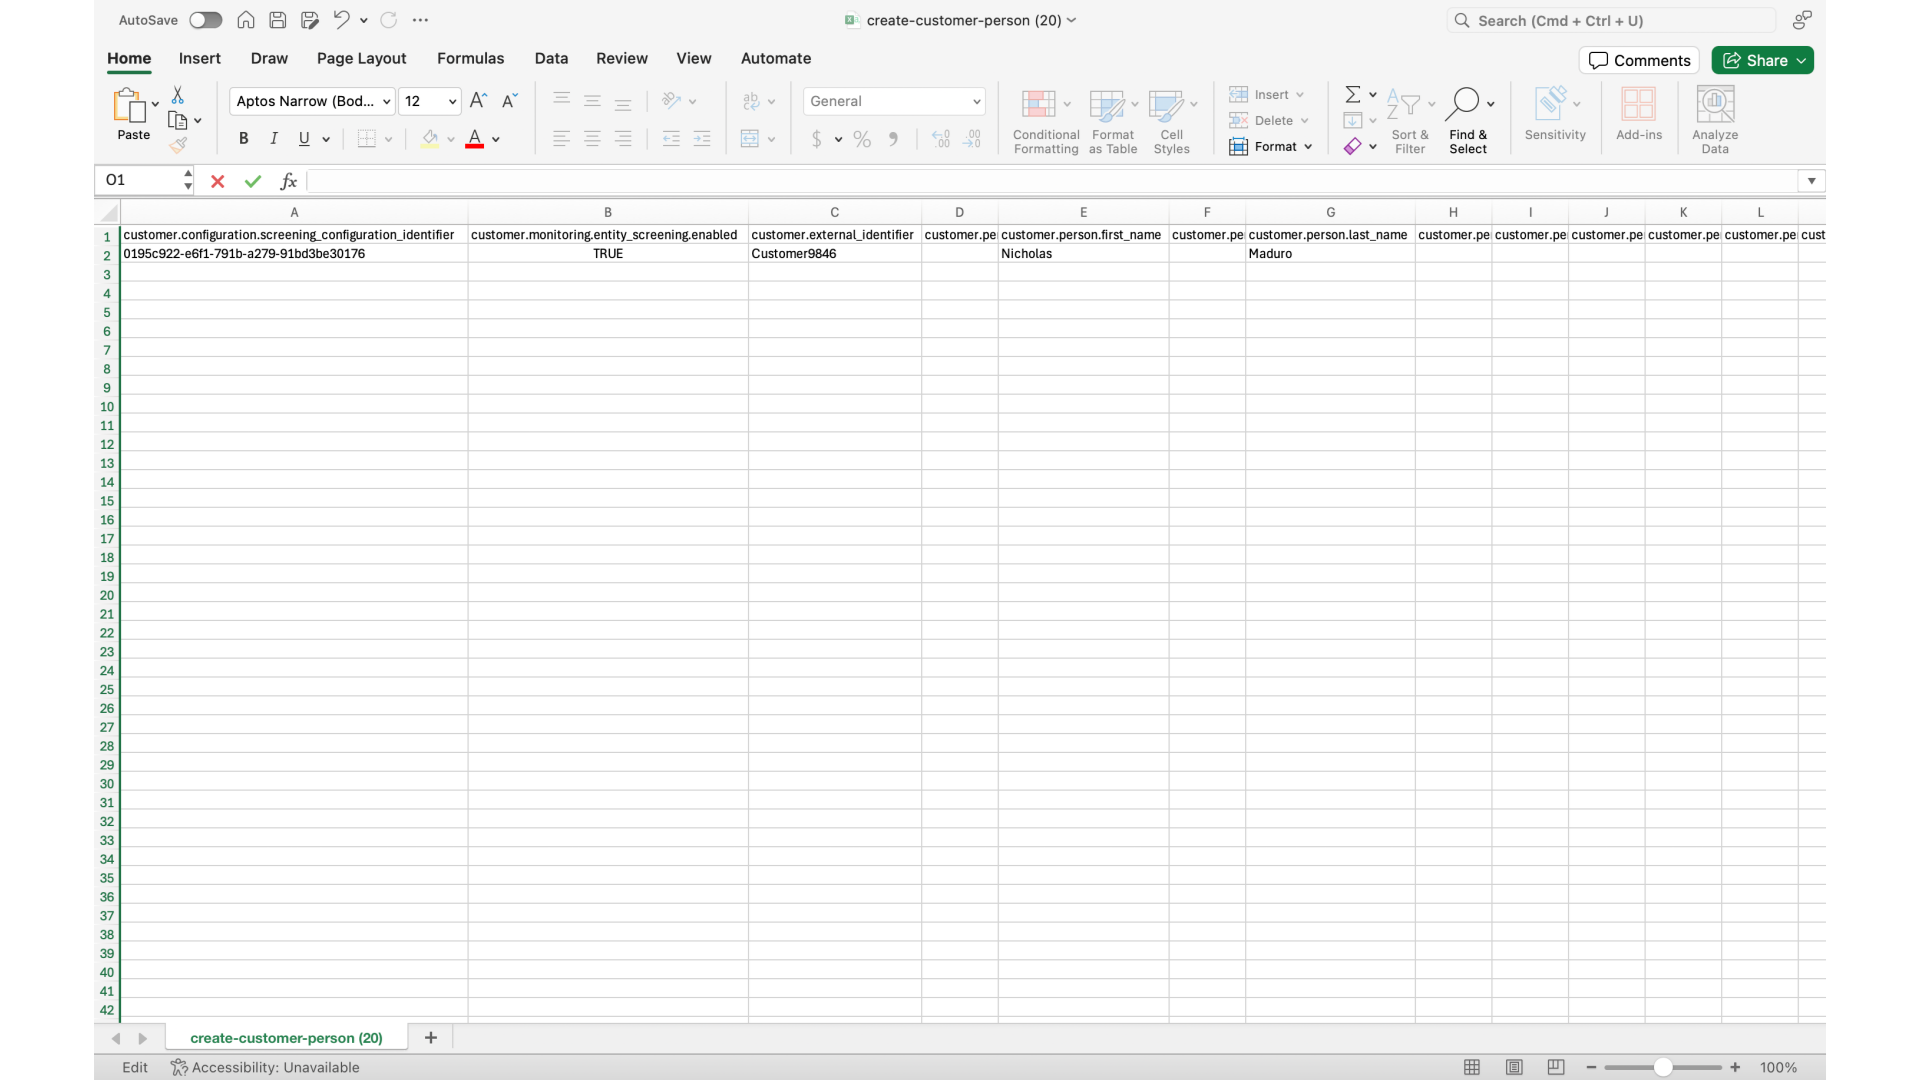
12. Mandatory fields: Customer name
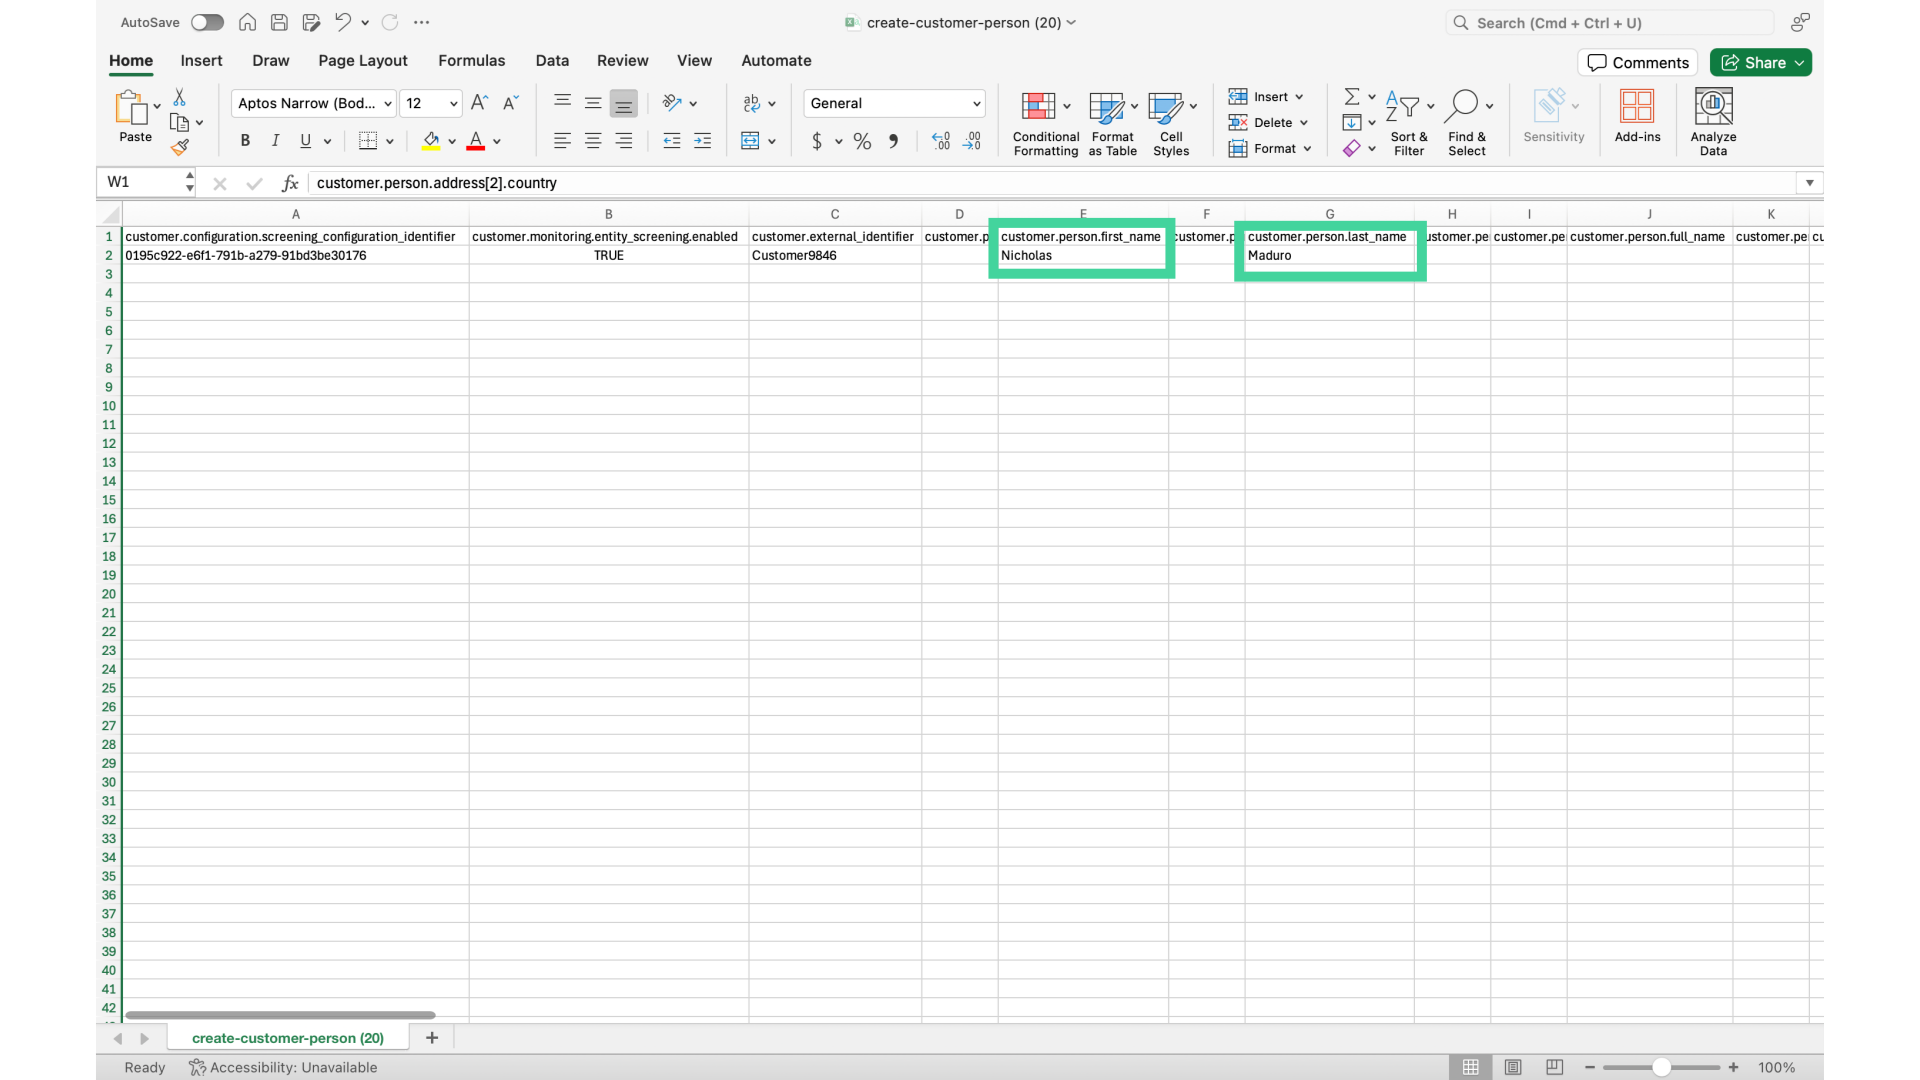
Here, I've chosen to add the customer's first and last names separately in columns E and G.
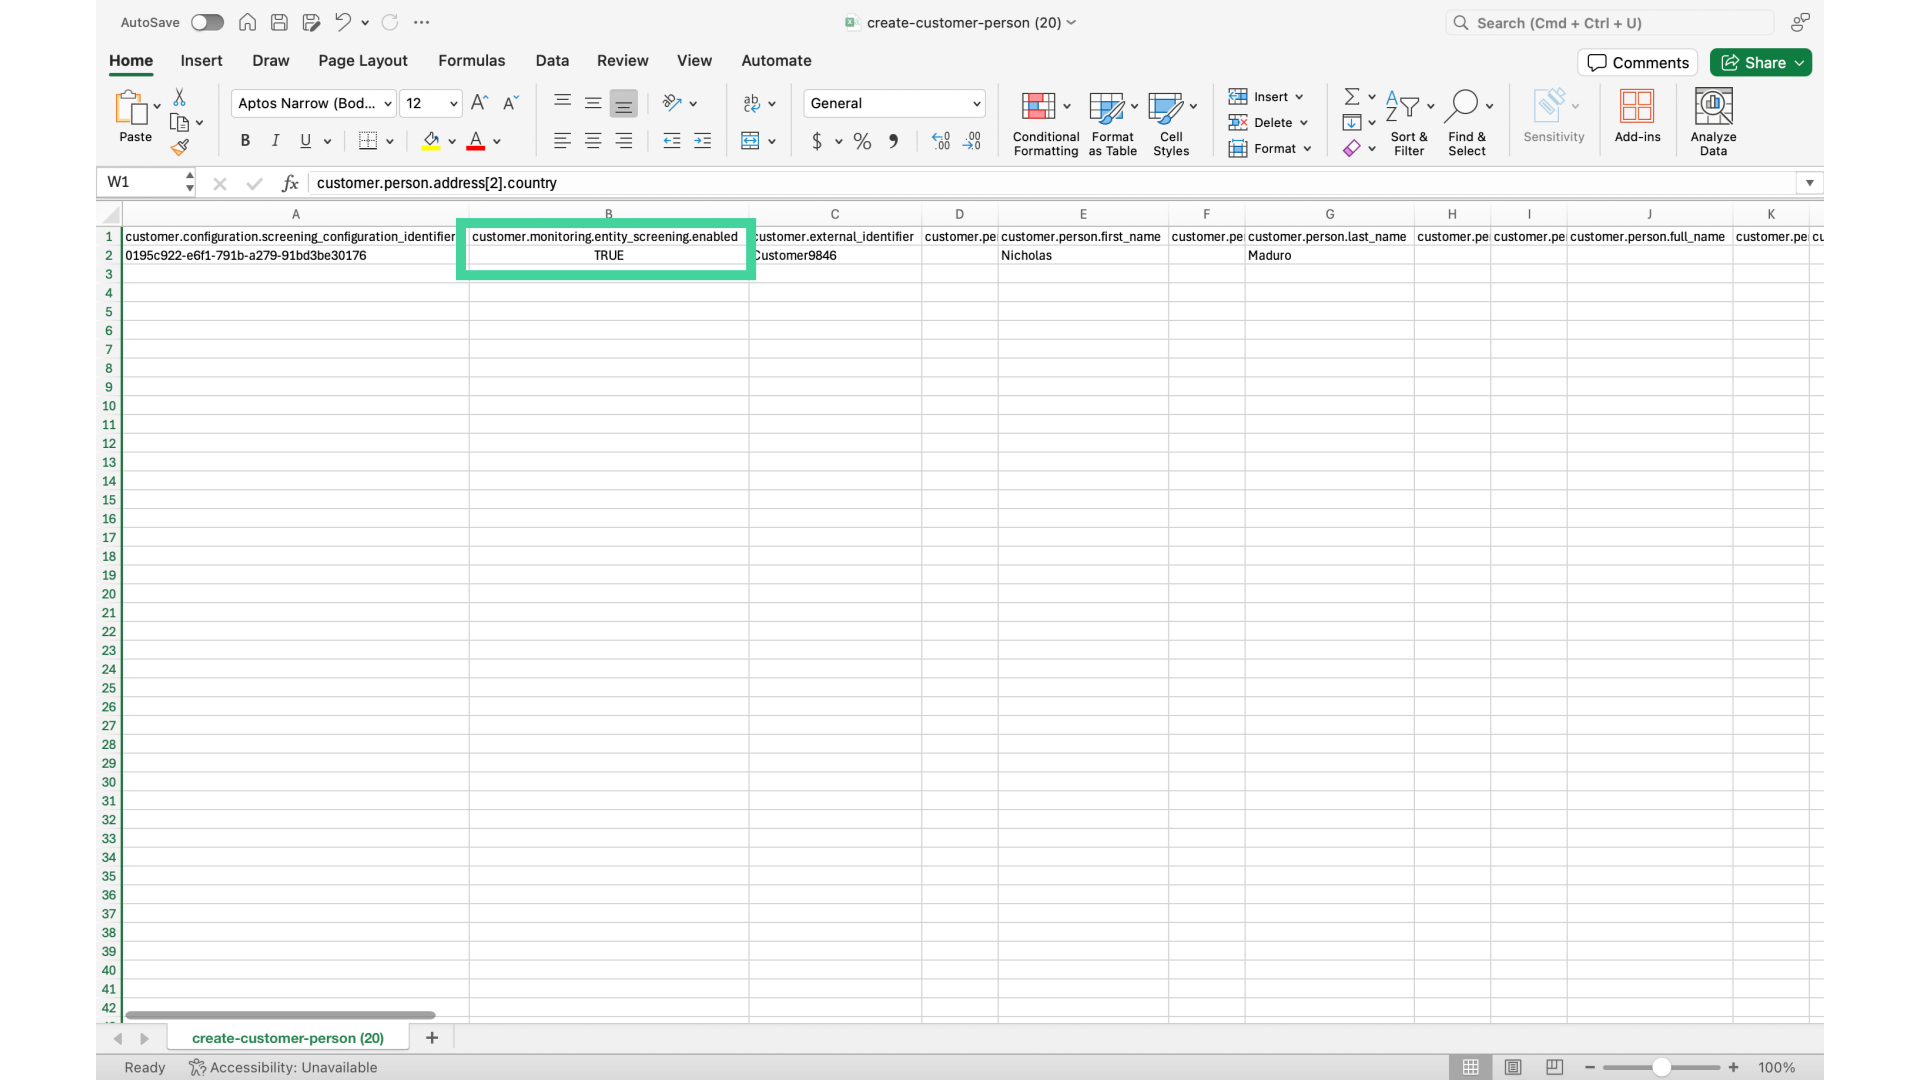
13. Monitoring
Additionally, even though not required, I've added whether or not I want monitoring to be turned on or off, setting column B to true.
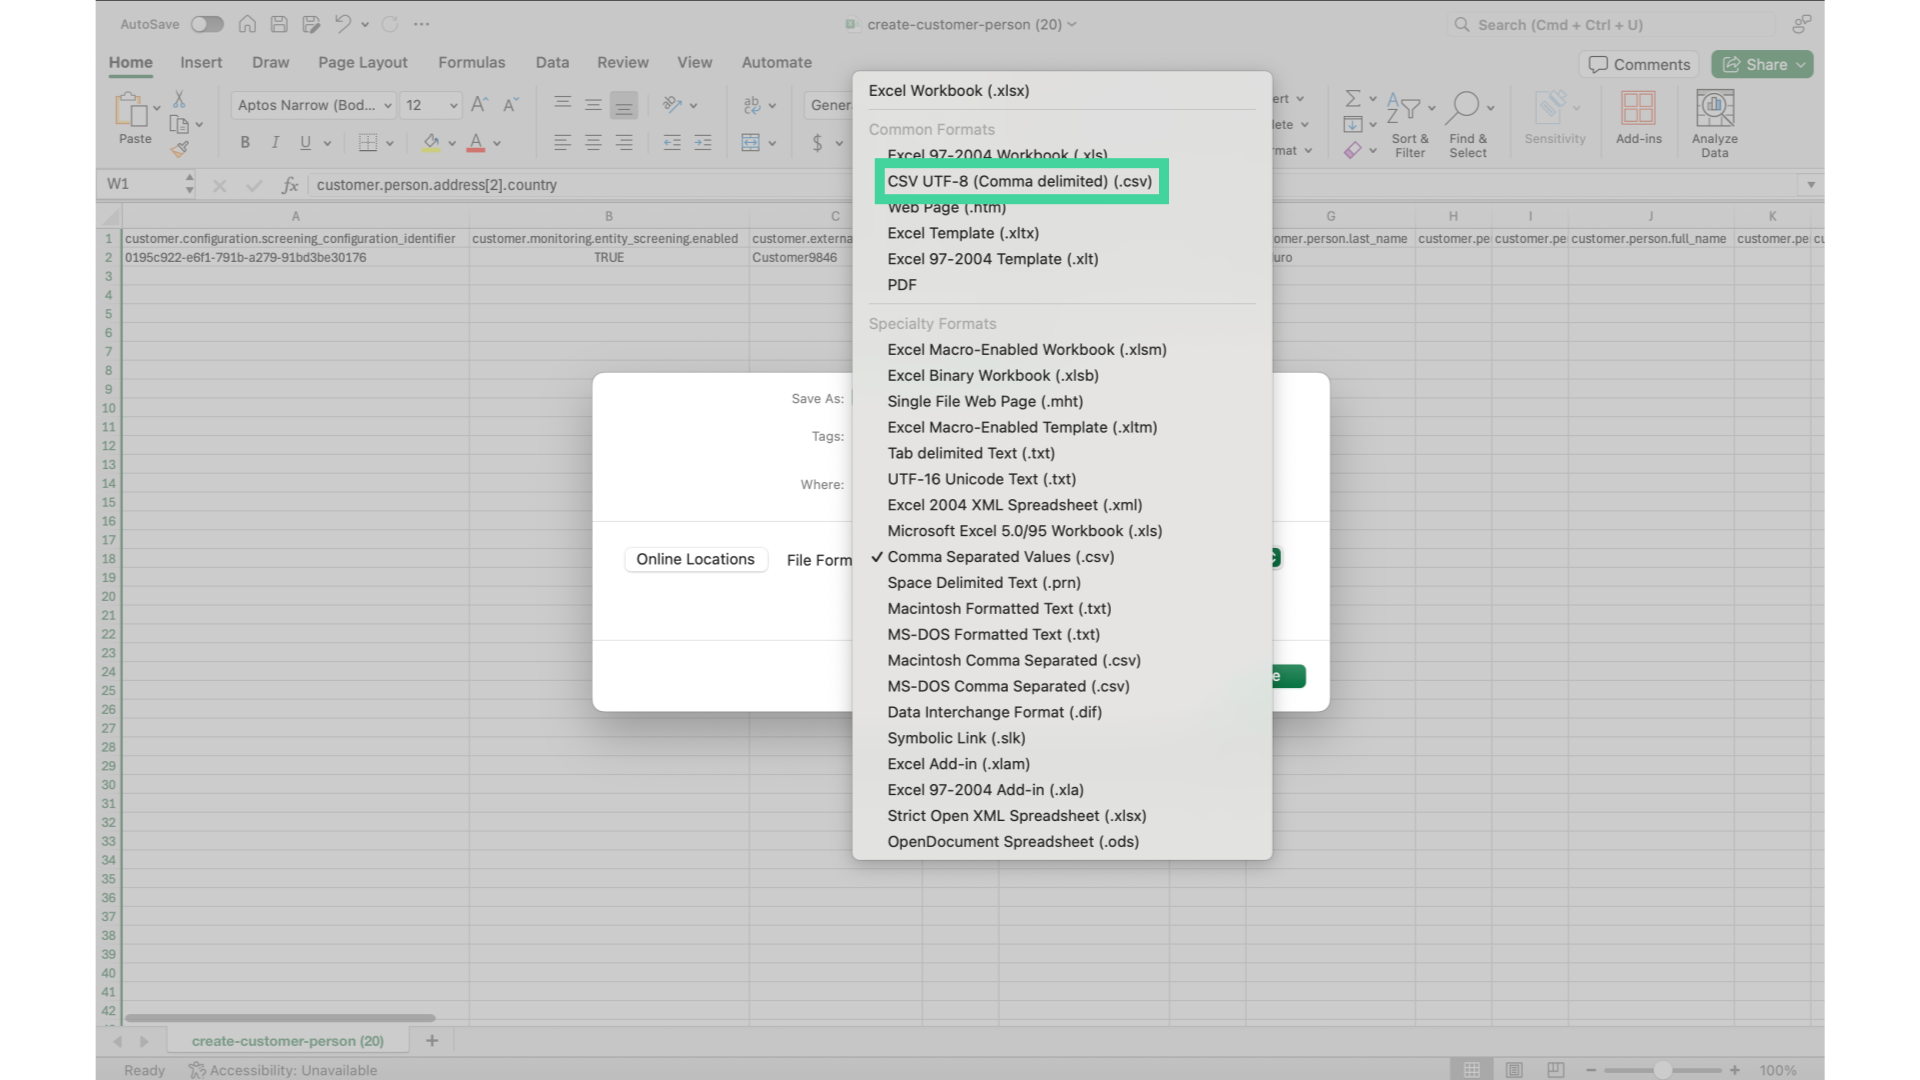
14. File saving
If you use a spreadsheet tool like Excel to open and save your CSV file, we recommend that you specify the CSV UTF-8 format when saving it.
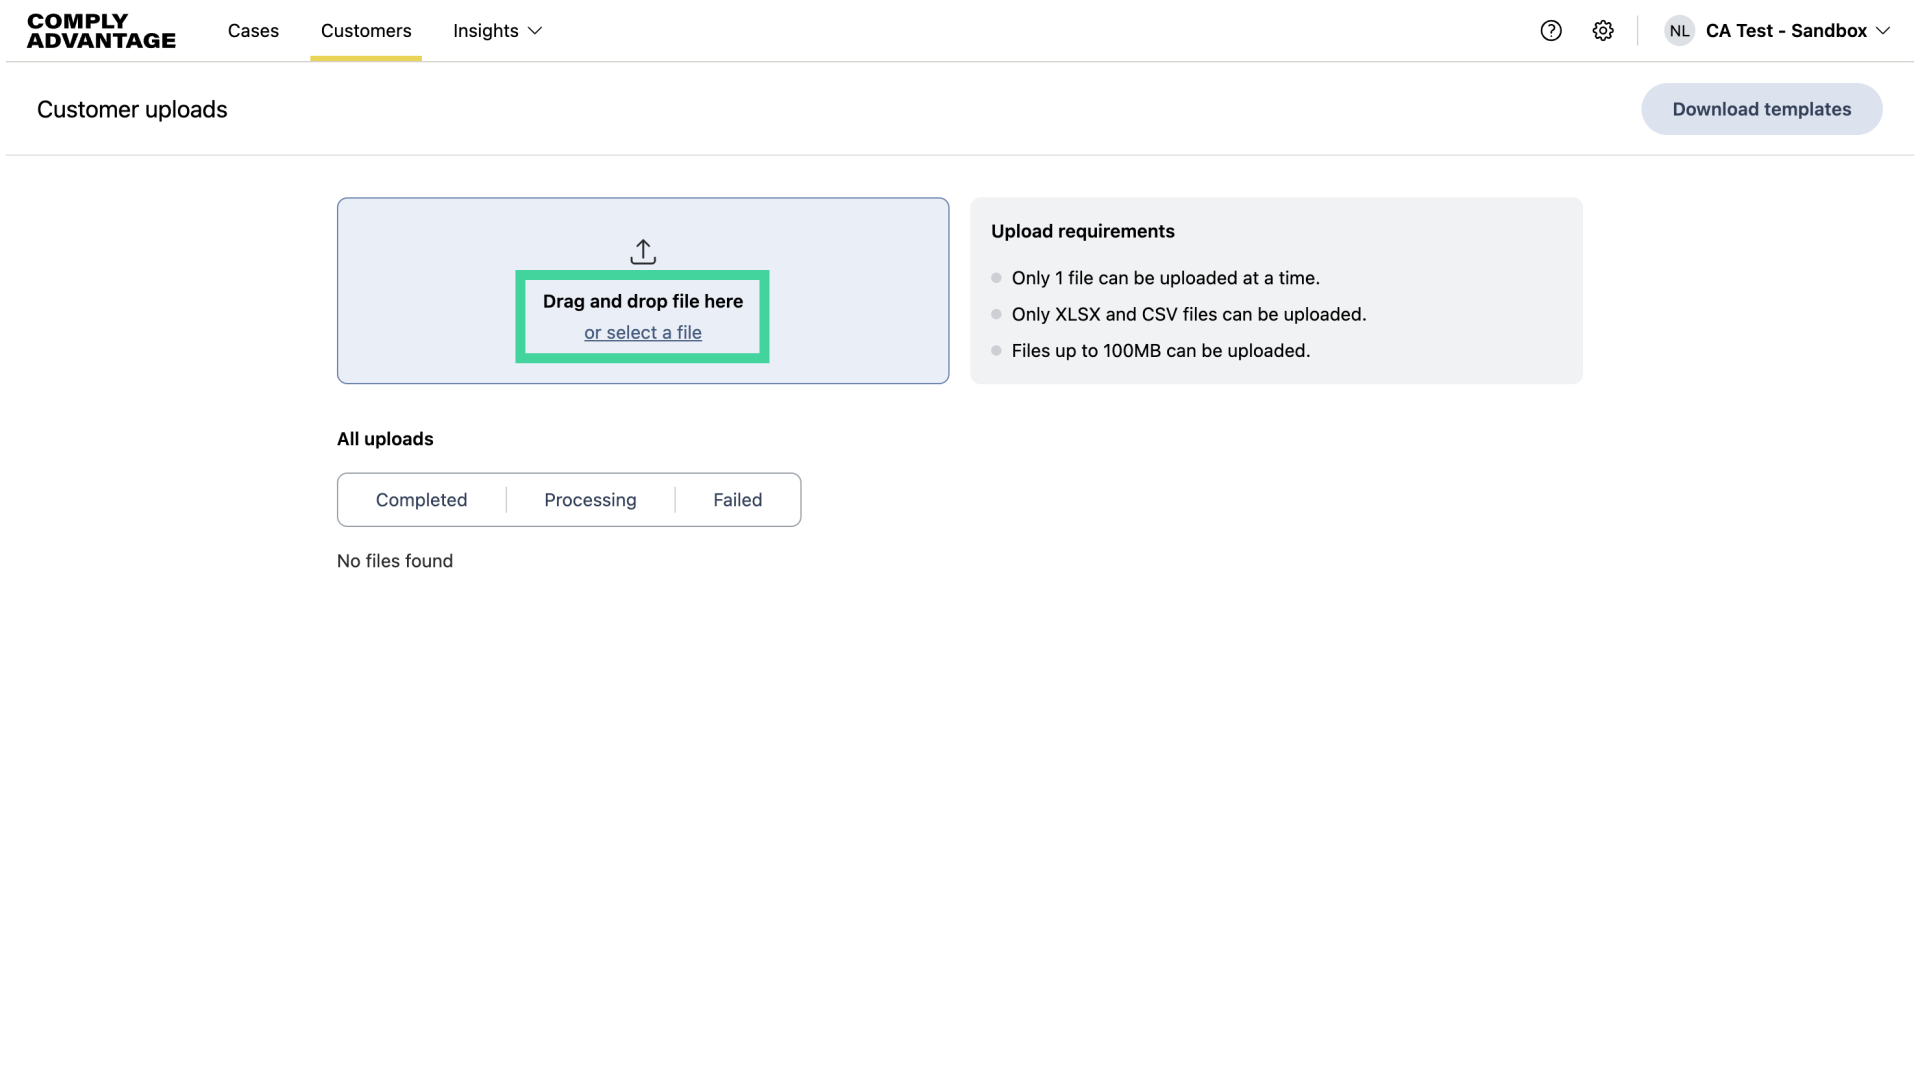
15. Drag and drop or select here
After you've created the file containing your customer records, you can upload it here.
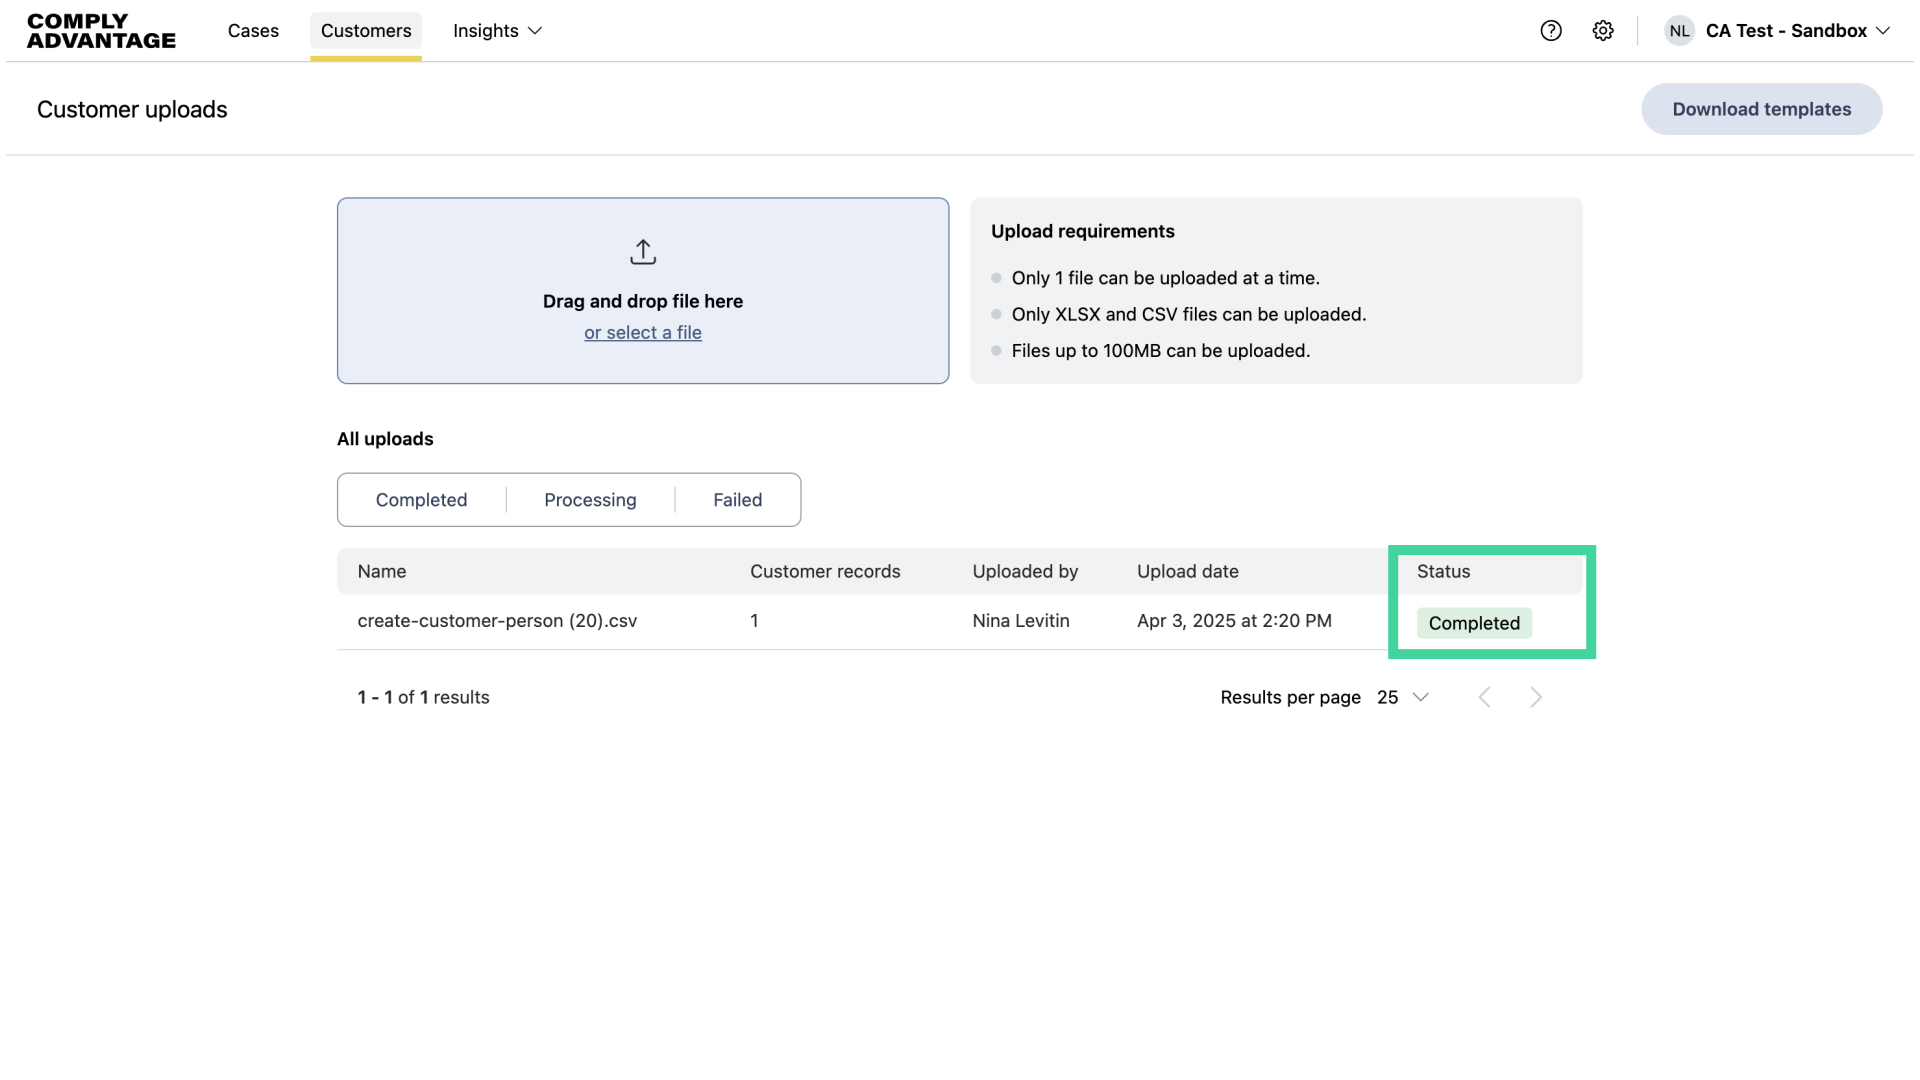
16. Successful file upload
If your file is successfully uploaded, it will appear in the validation queue and show as "Completed" once it's done. You may have to refresh your page to show that the file has been uploaded successfully.
17. File error
If your file contains any values that don’t match the required format, validation errors will be shown. You must resolve all errors before the file can be uploaded successfully.
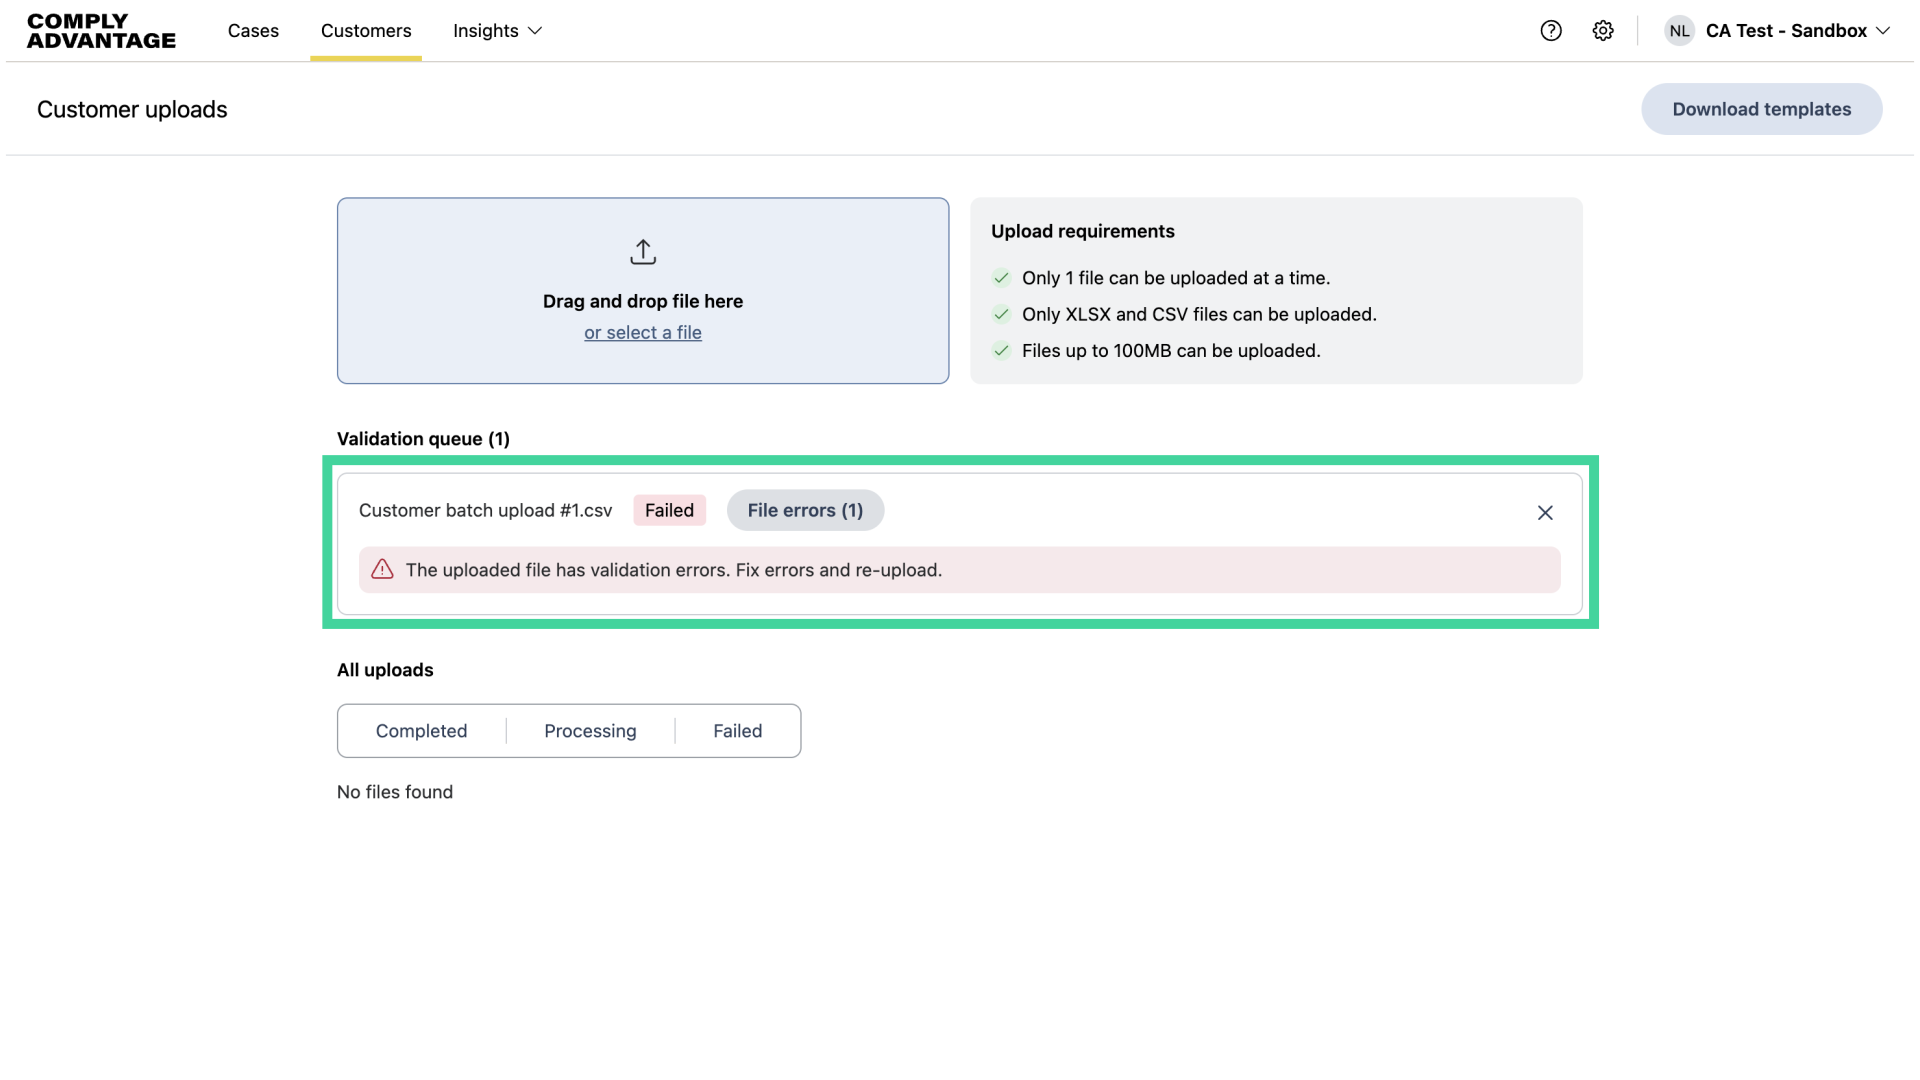
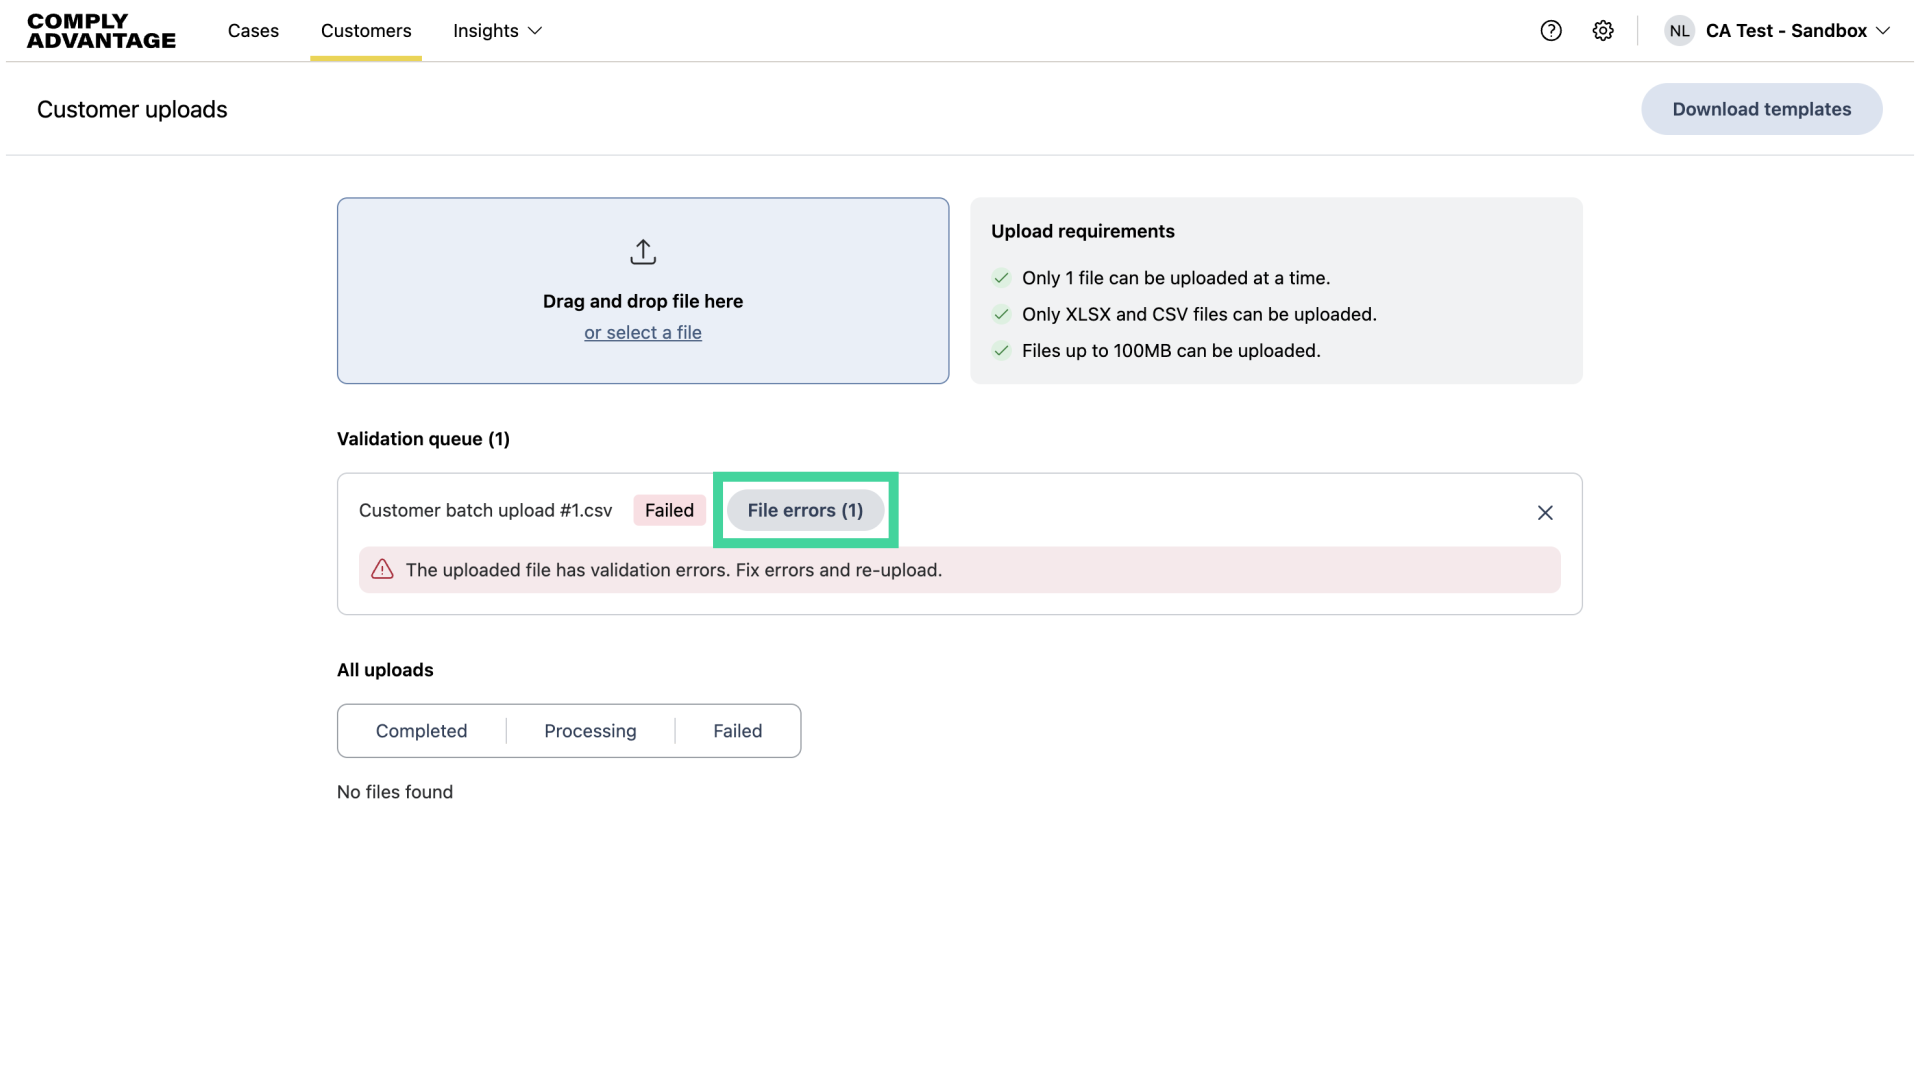
18. Investigating file error
Click on "File Errors" to view the error details.
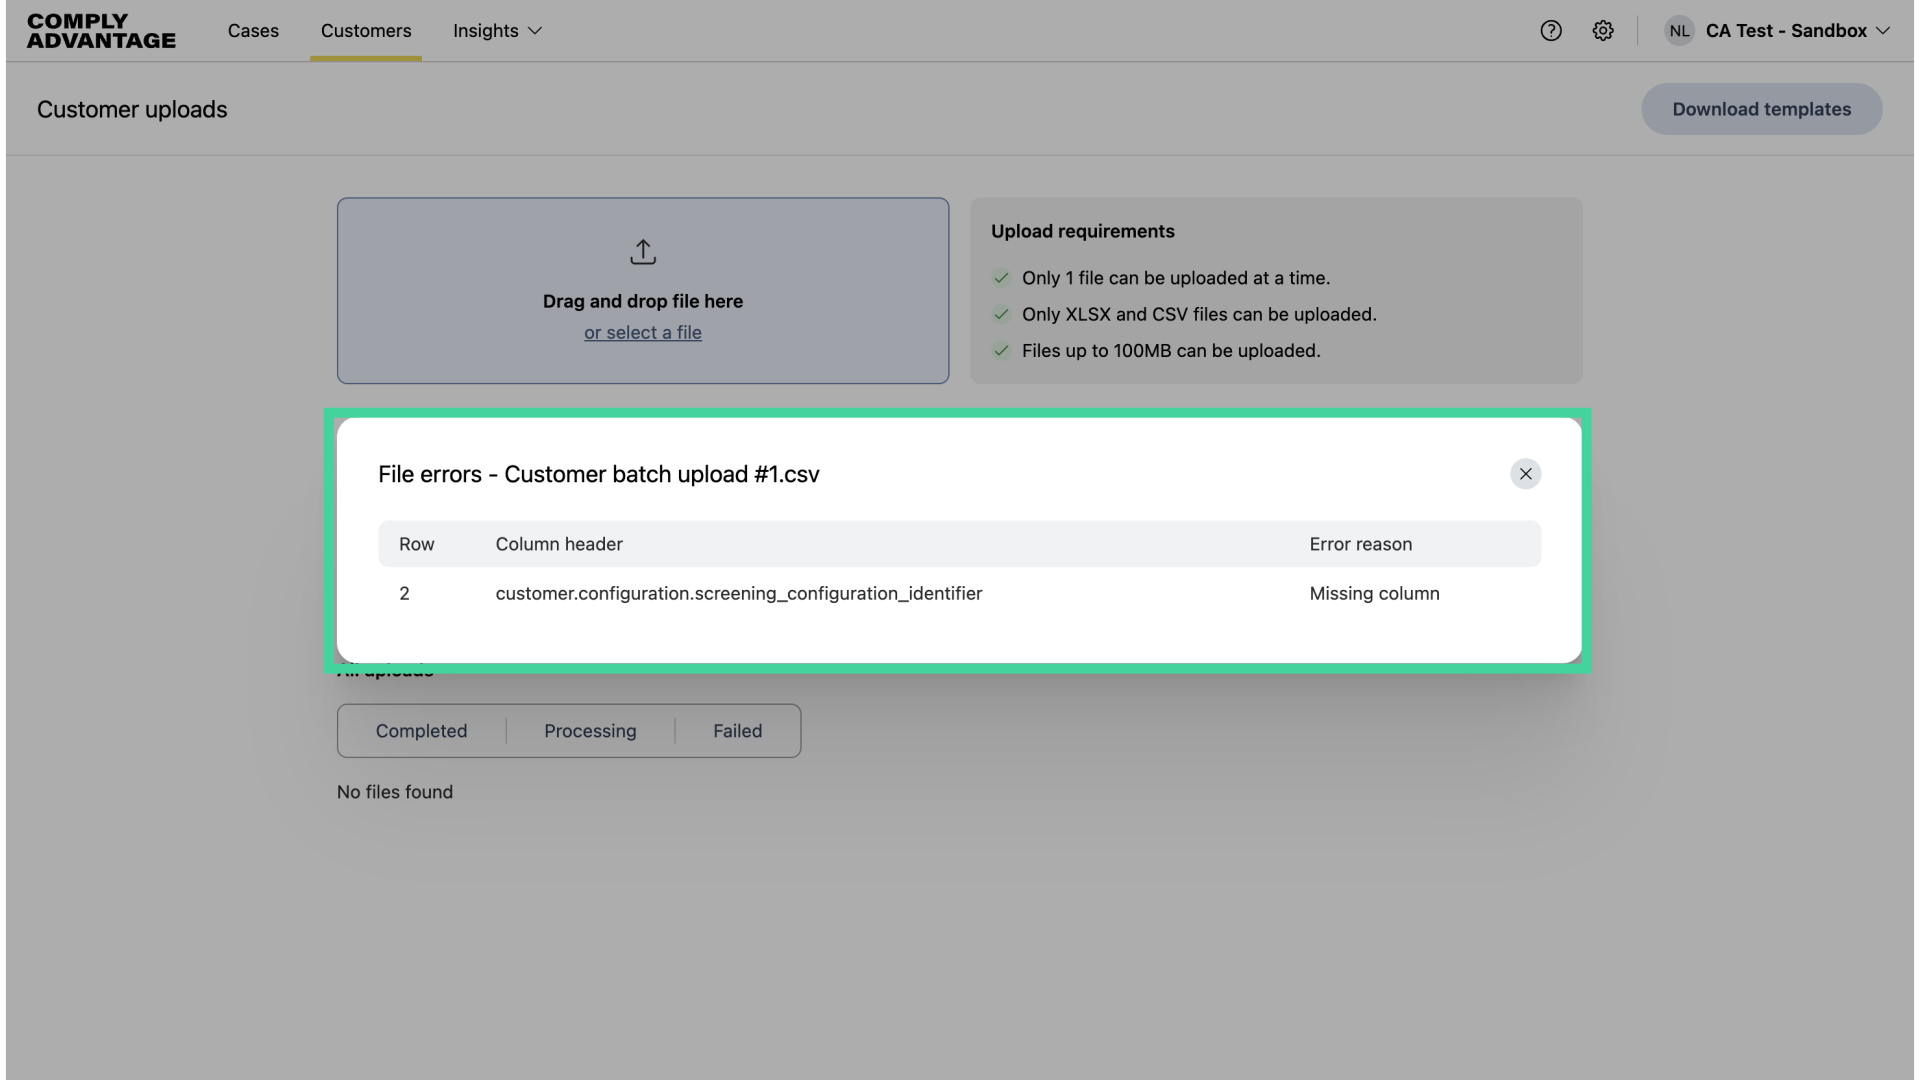
19. Example file error
Here is an example of a file with an error that needs to be resolved. You'll see the specific reason for the error and the columns and rows that contribute to it.
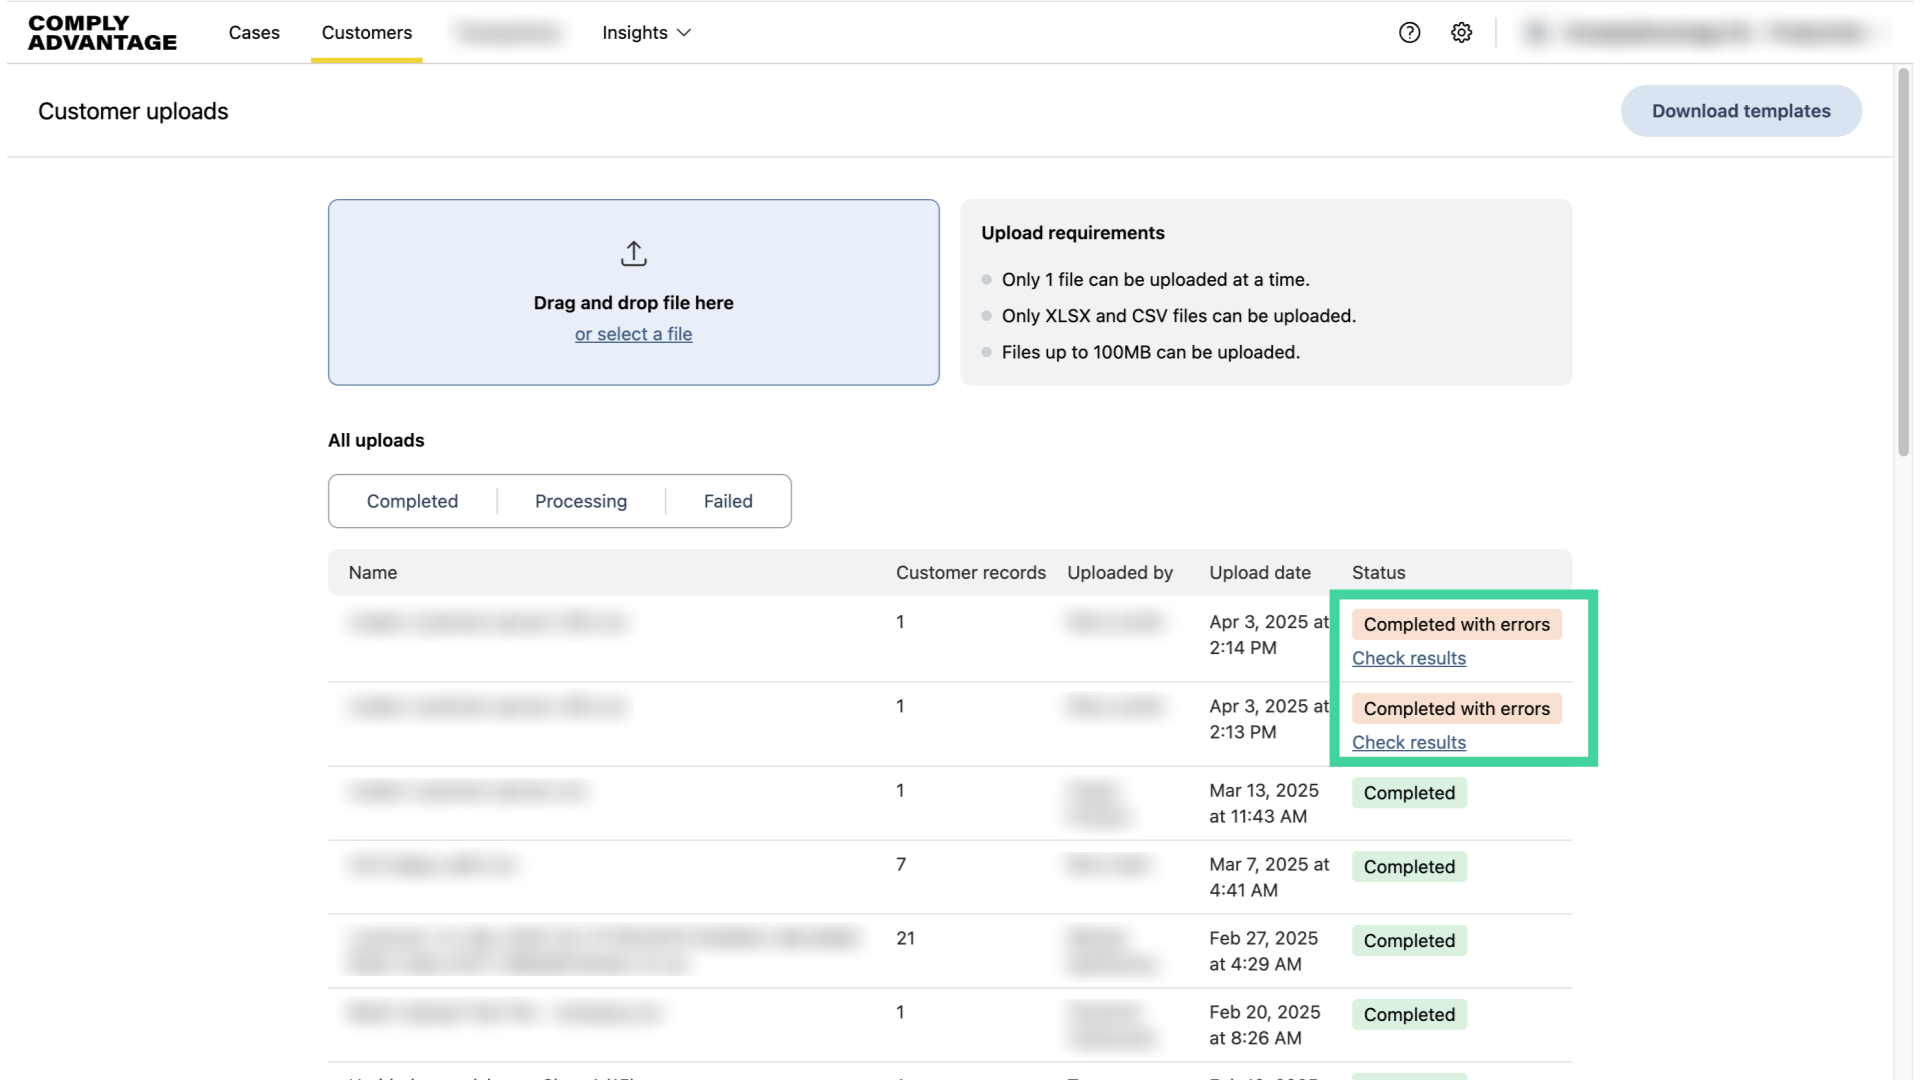
20. Completed with errors
Lastly, you can view completed files with errors here.
We hope this guide helped you learn how to create and screen multiple customers using batch upload in Mesh. For more information on creating and screening customers via batch, visit our Mesh Knowledge Base.