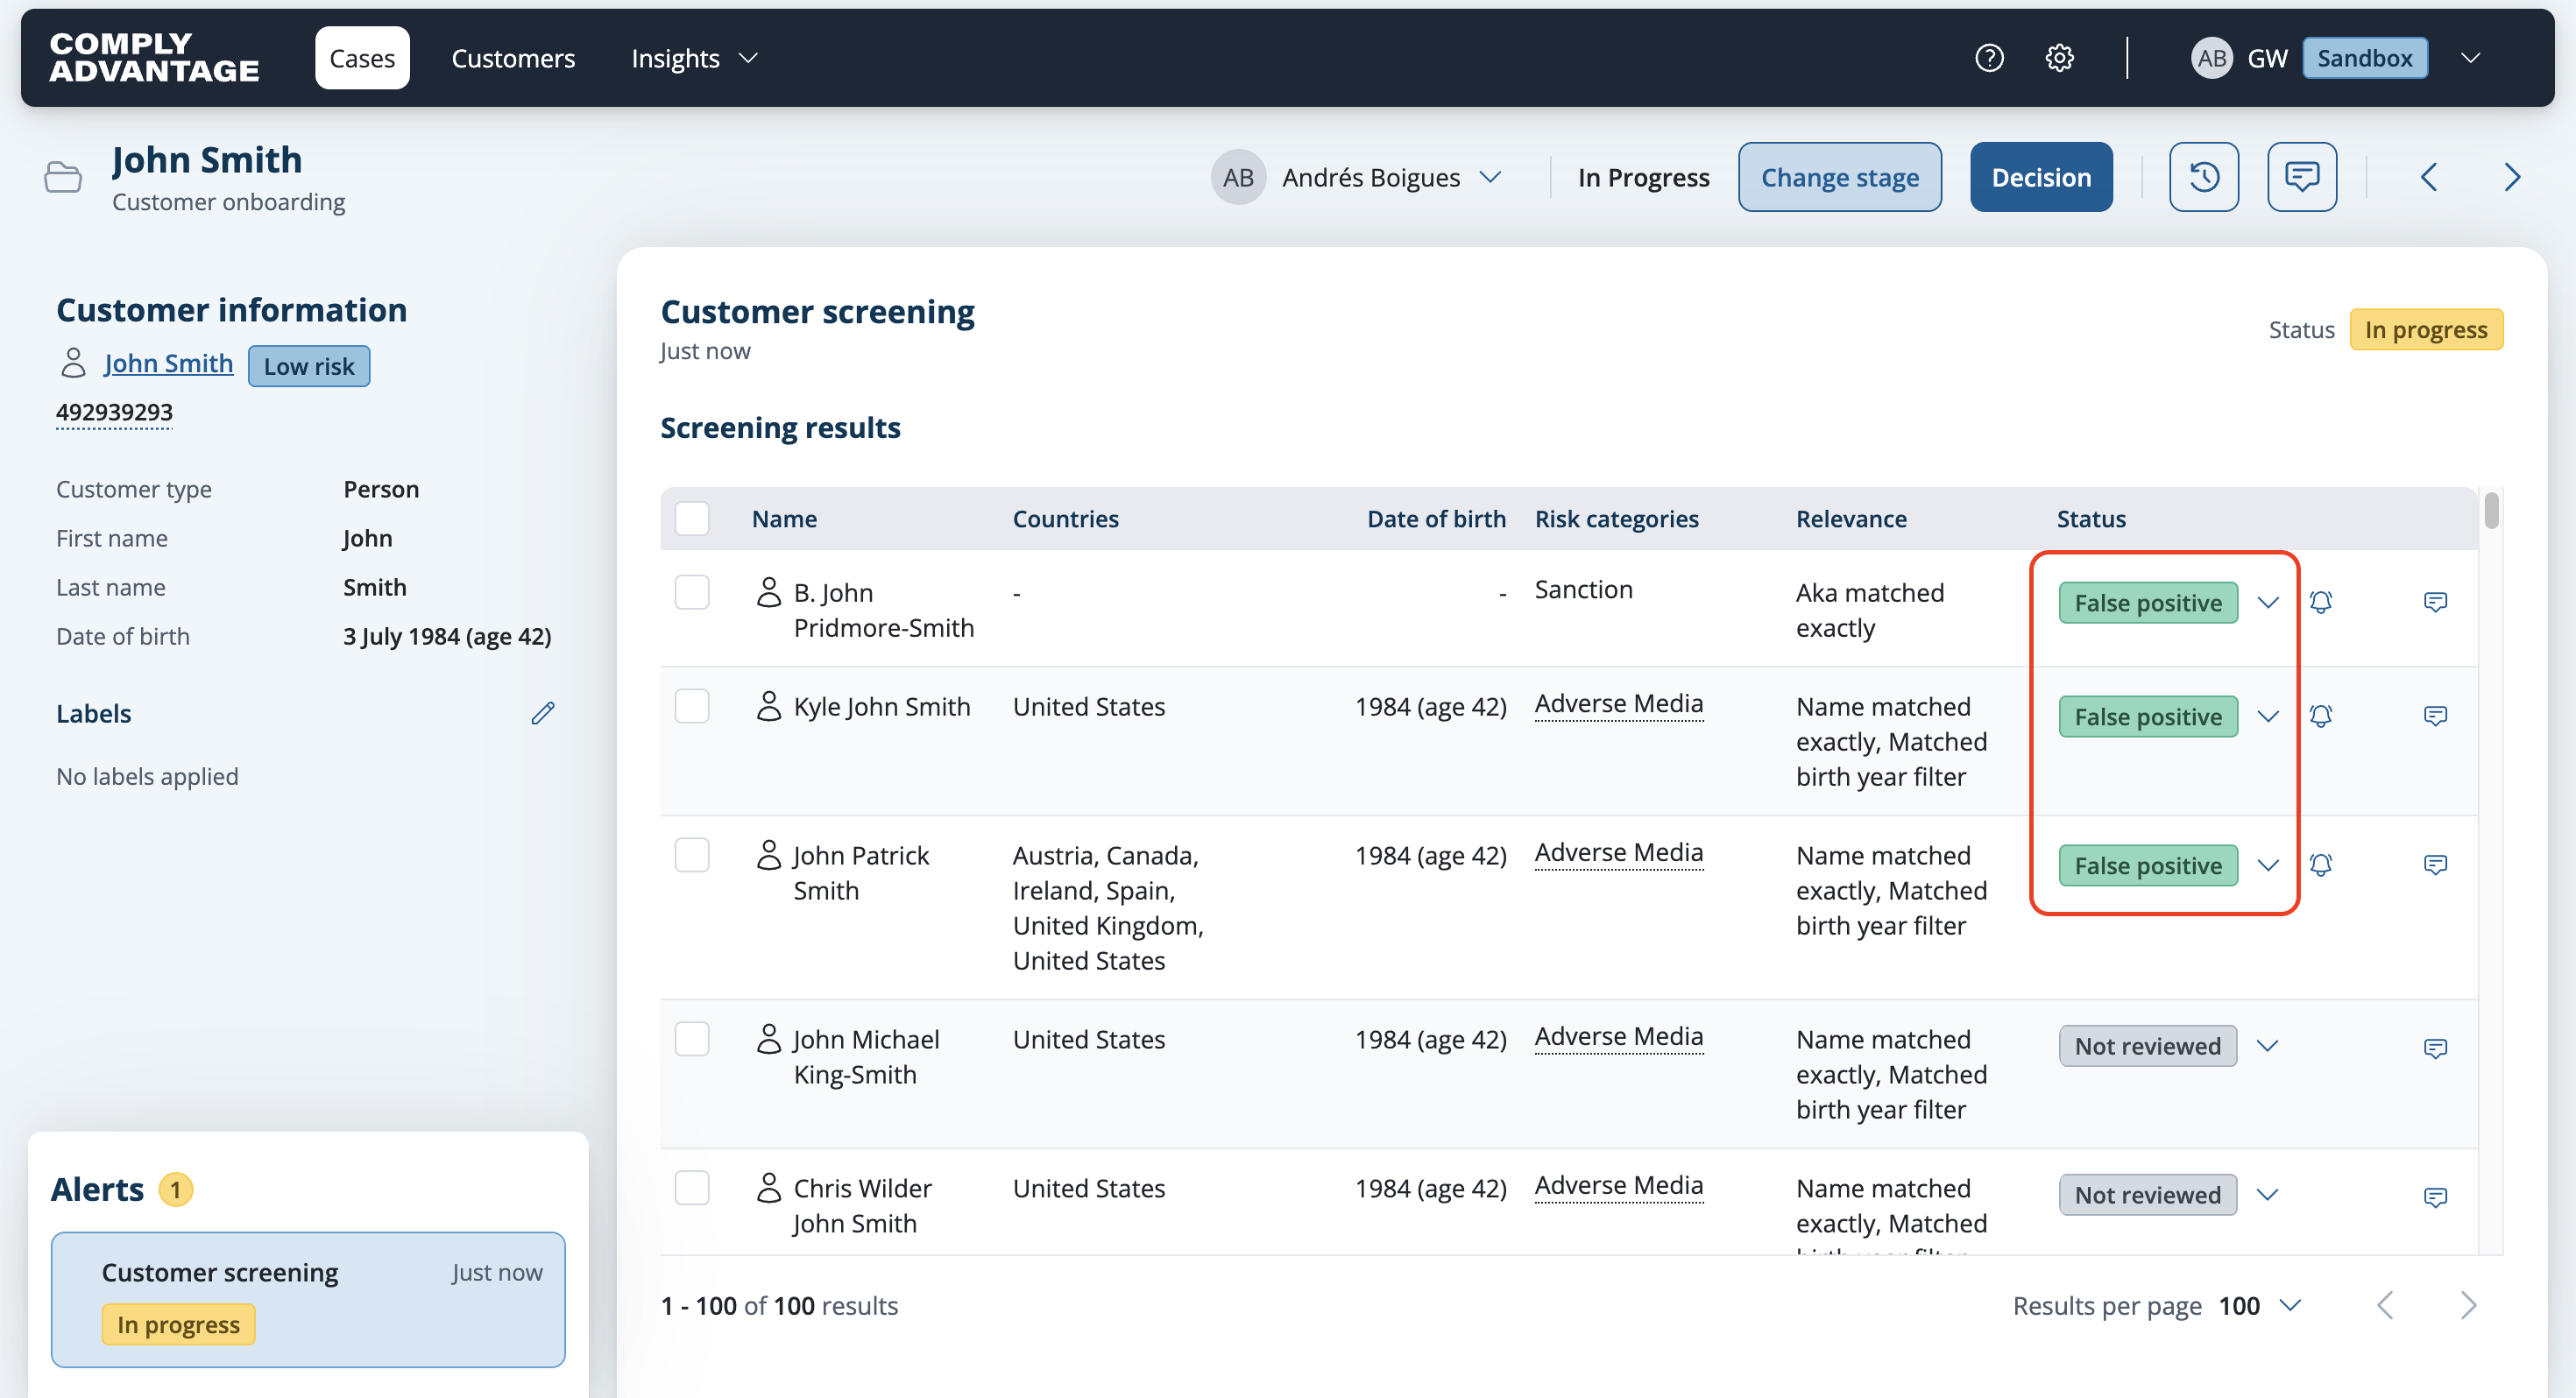
Bulk assign status to screening results
Last updated: November 18, 2026
To speed up the review of screening results the status field can be updated in bulk. We recommend this is used when you are able to determine the status without needing to click into the profile details.
Assign status to multiple screening results
Click on the case you want to review.
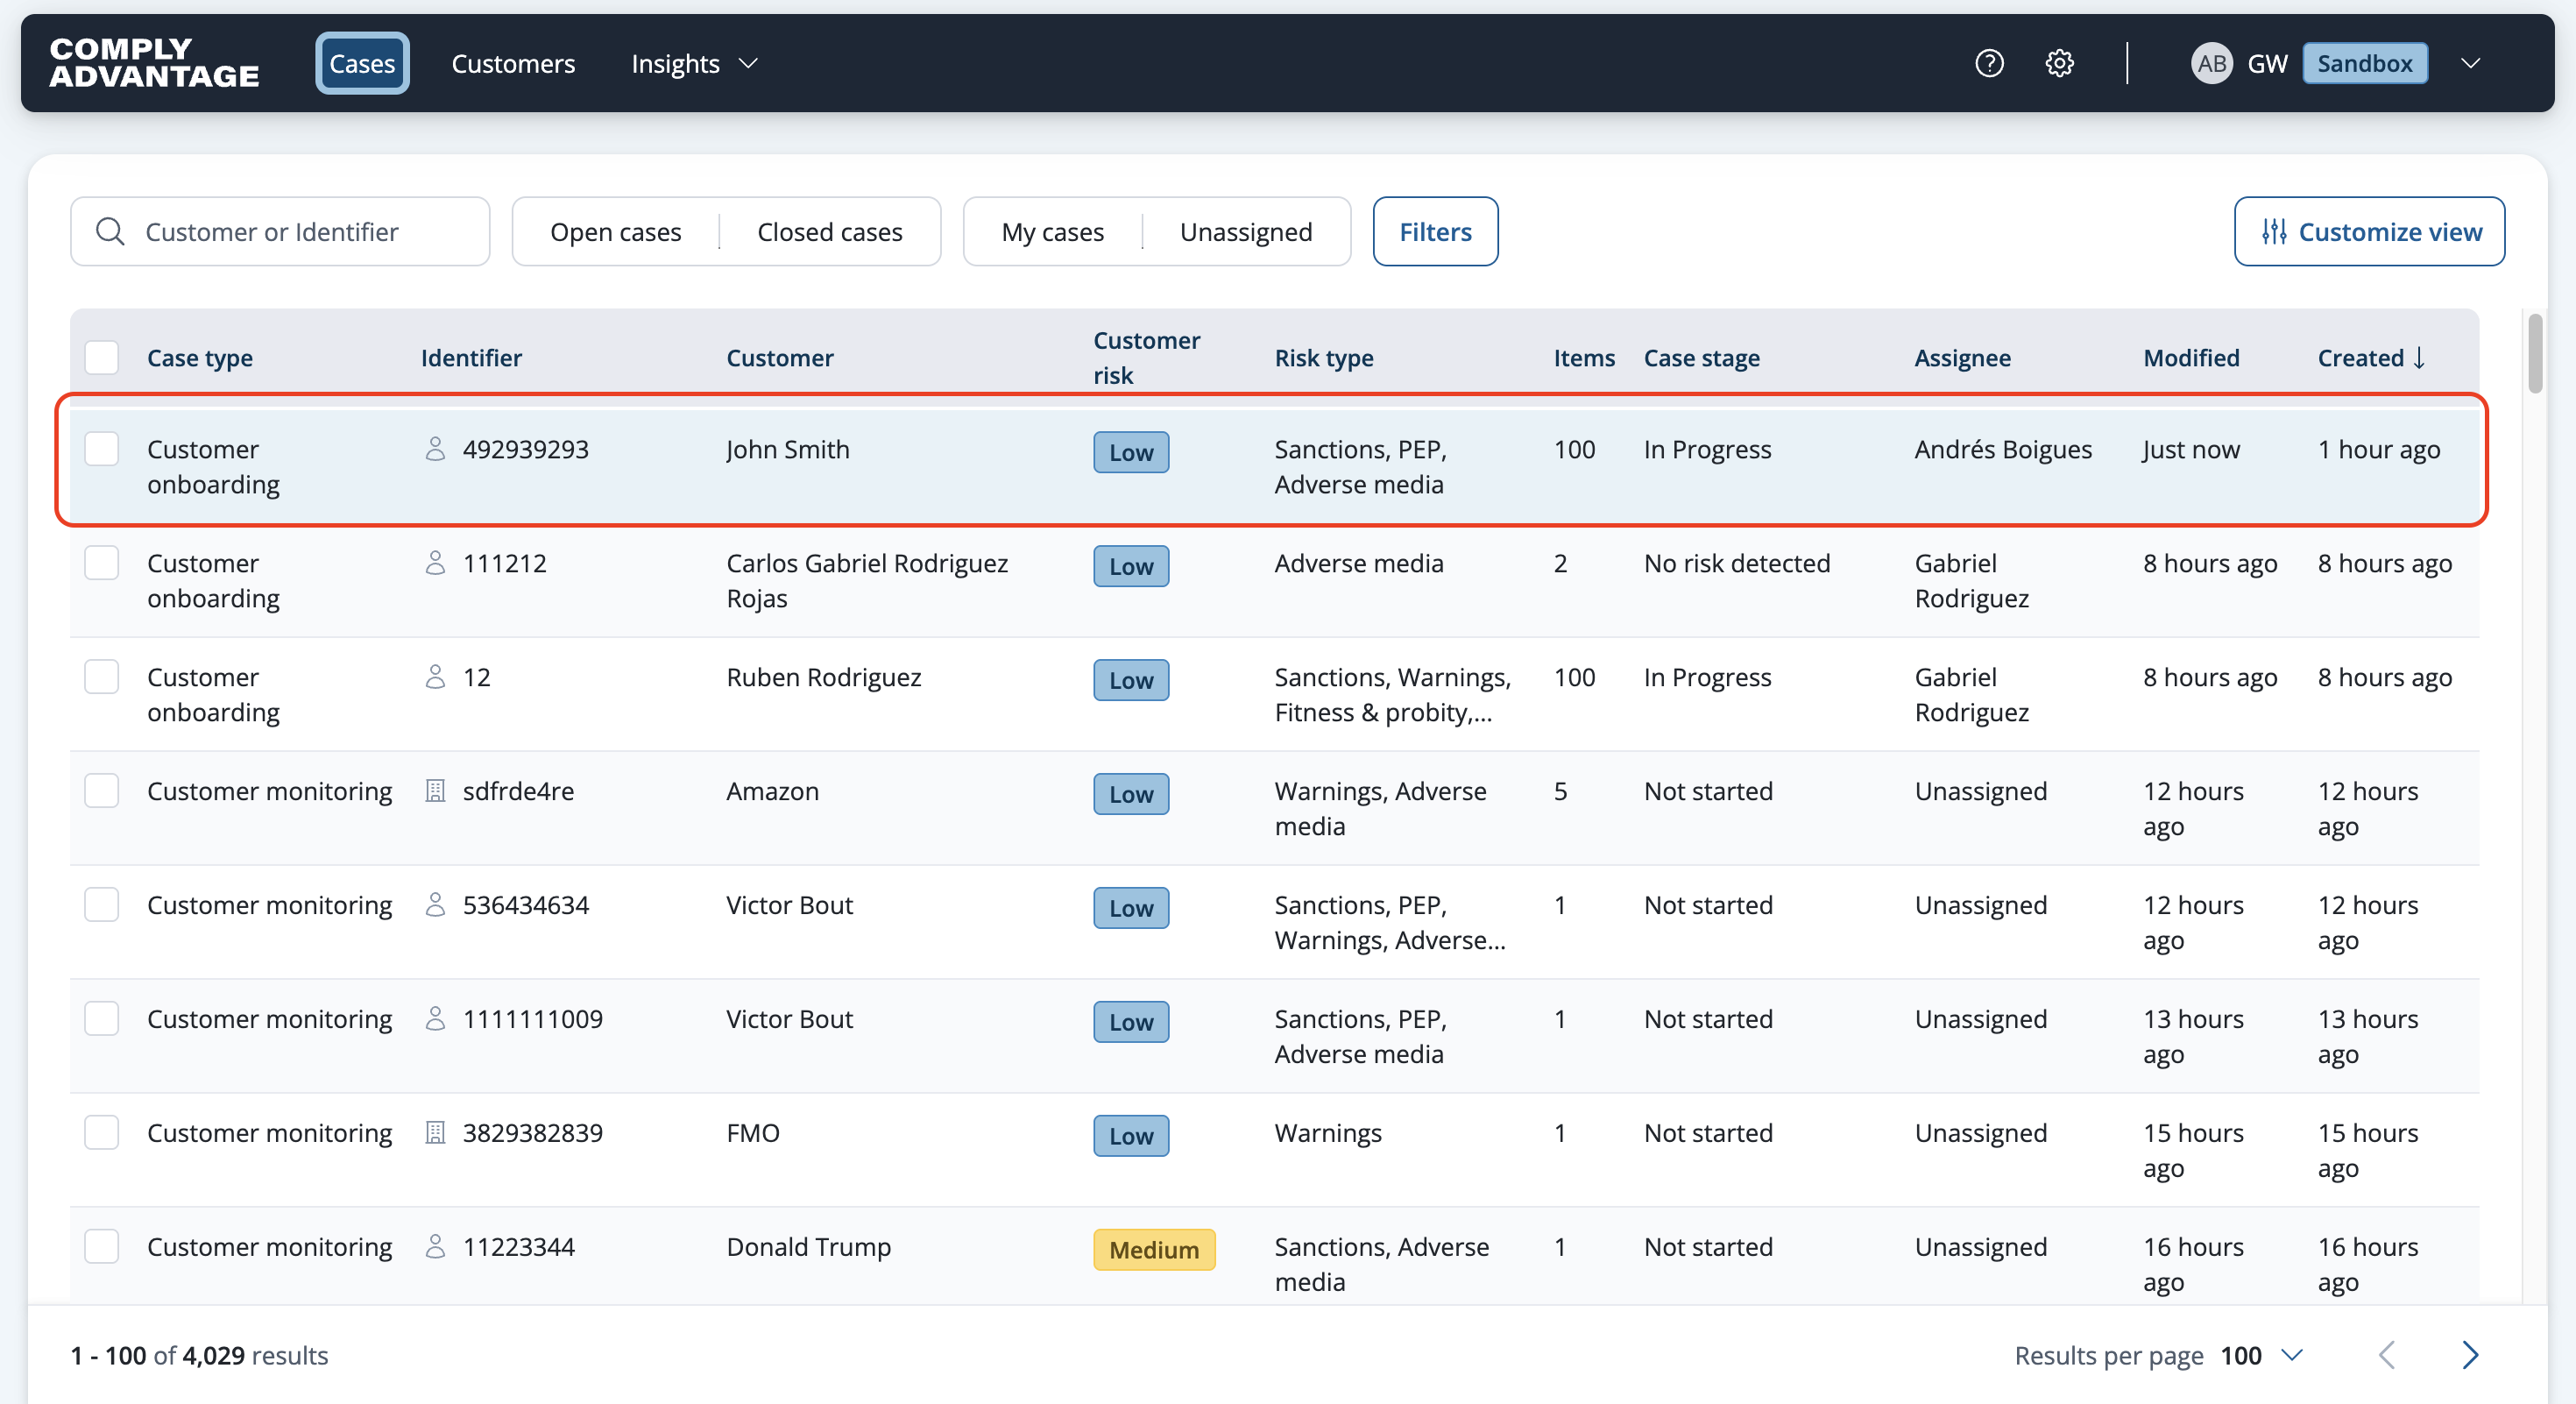
Customer onboarding case selected in the Cases list
Below is an example of a Screening case. By default, the screening result status is Not reviewed.
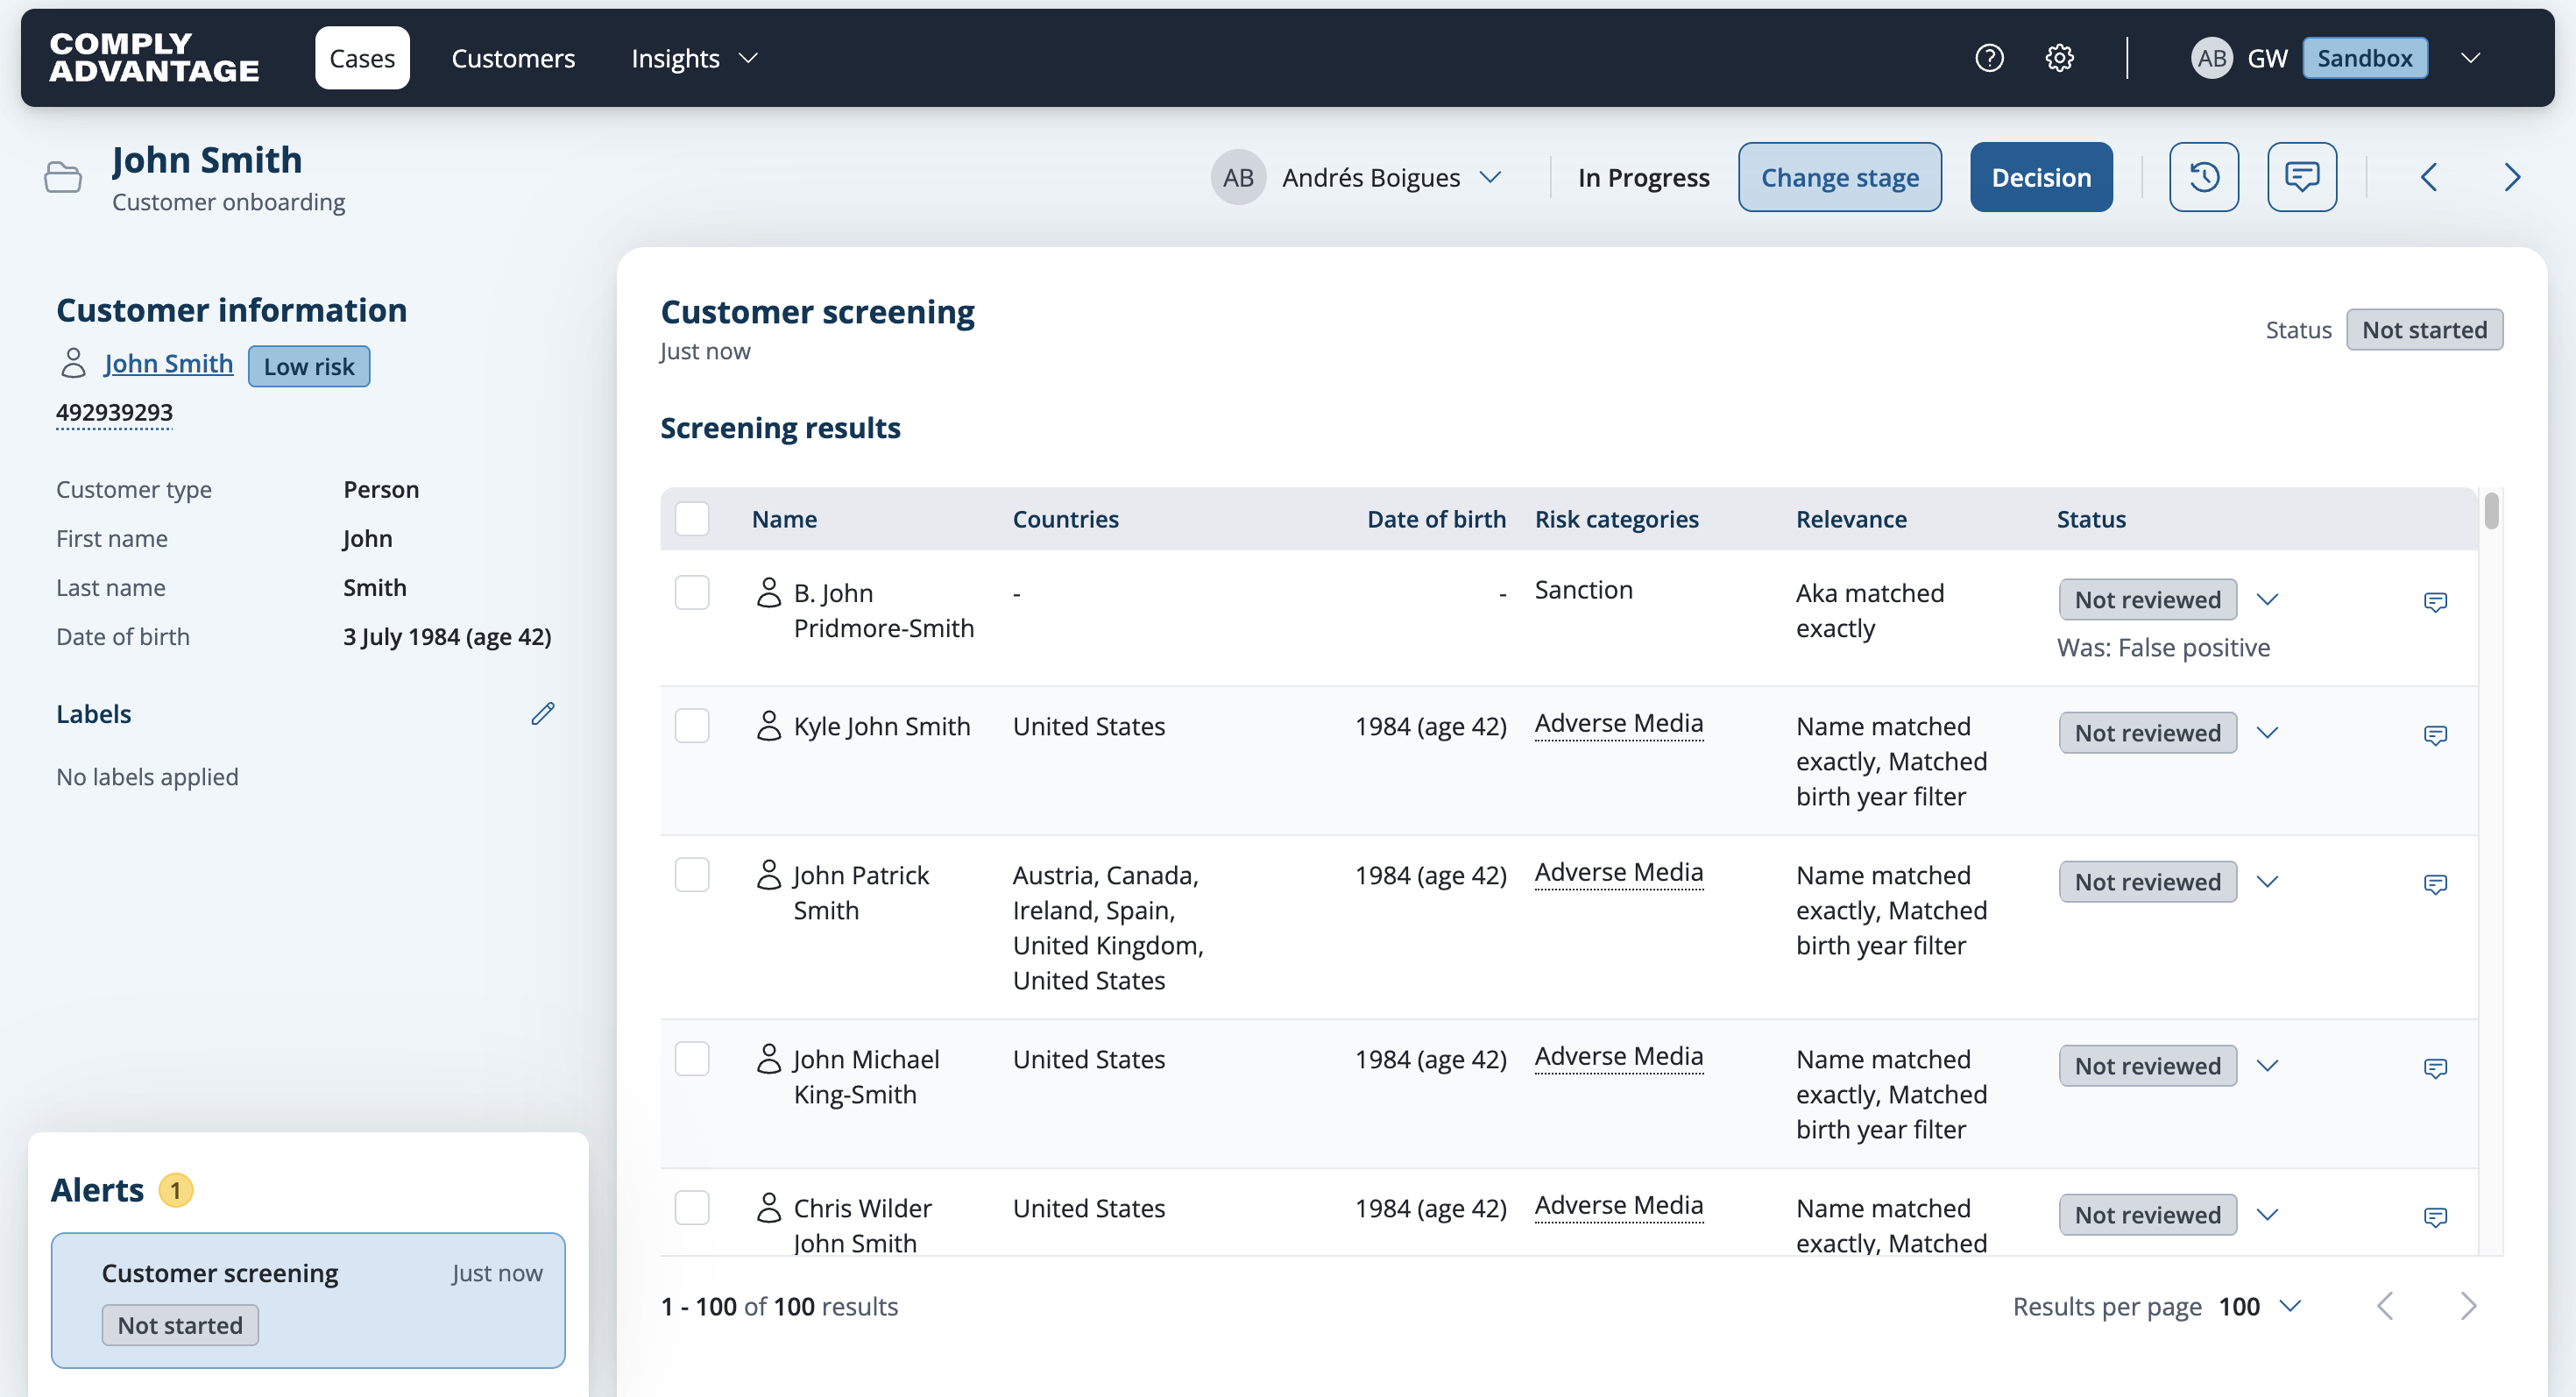
Select the screening results to be assigned by either selecting them one by one using the checkbox or by selecting the Select all at the top of the table.
When one or more screening results are selected the Update button will appear.
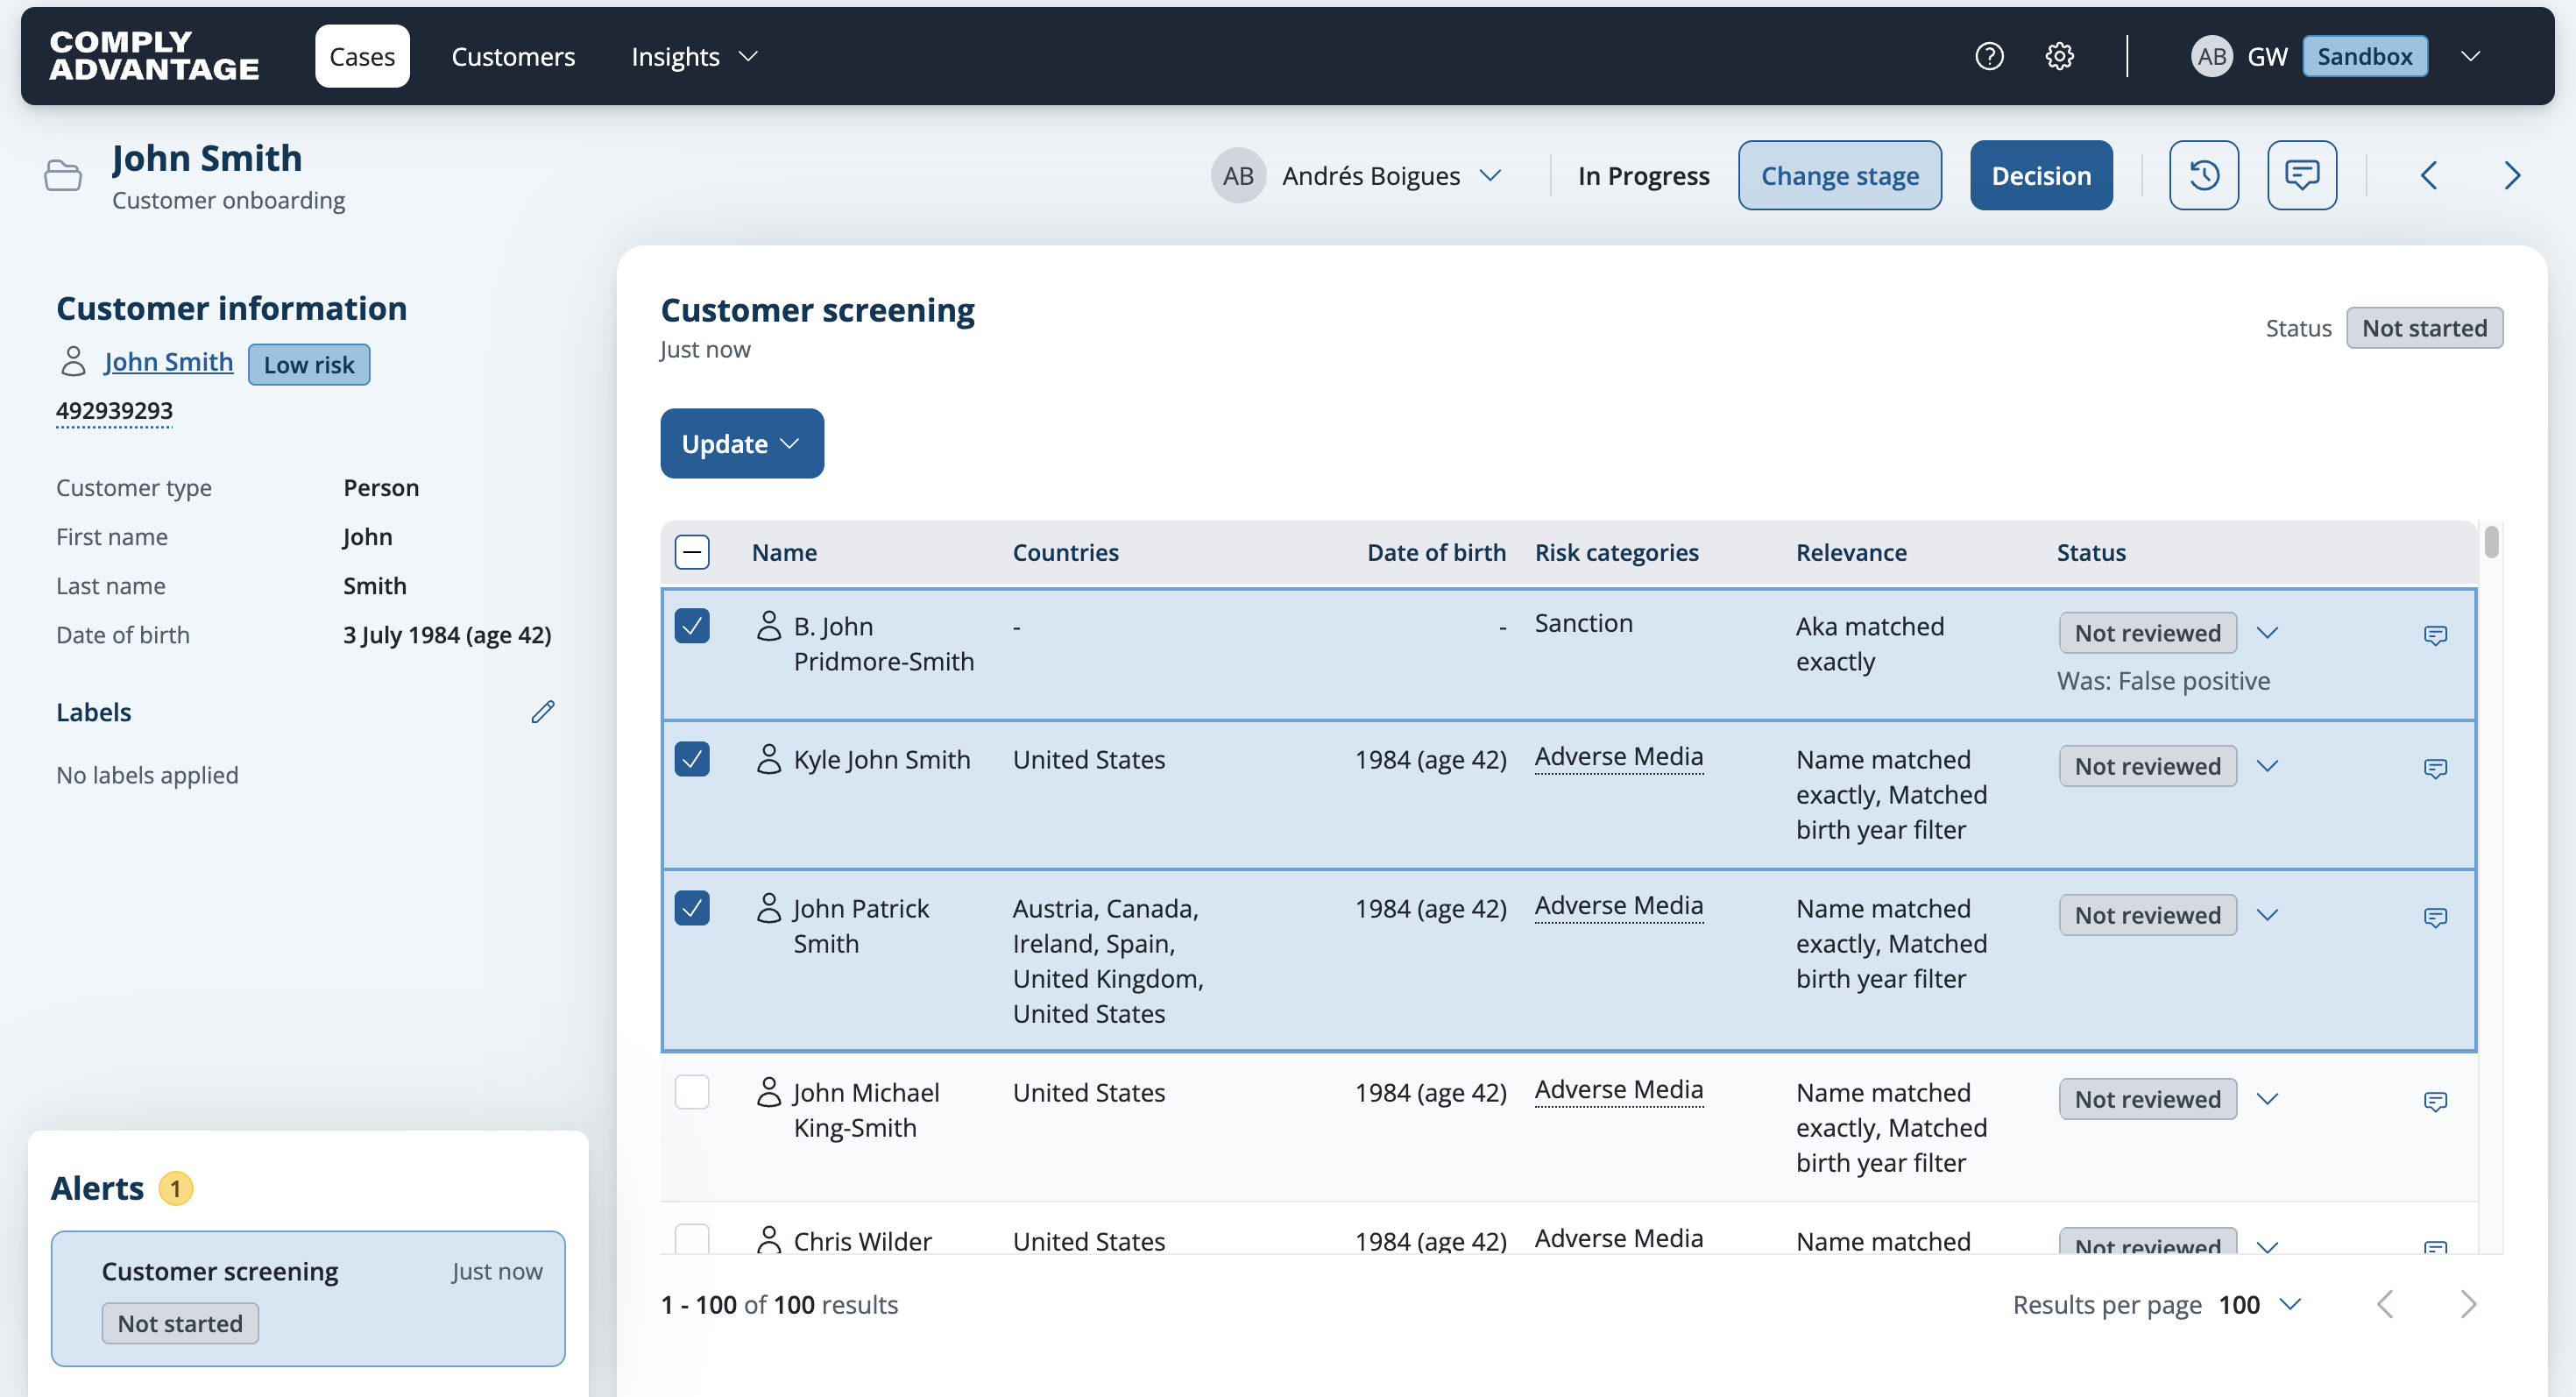
Click Update.
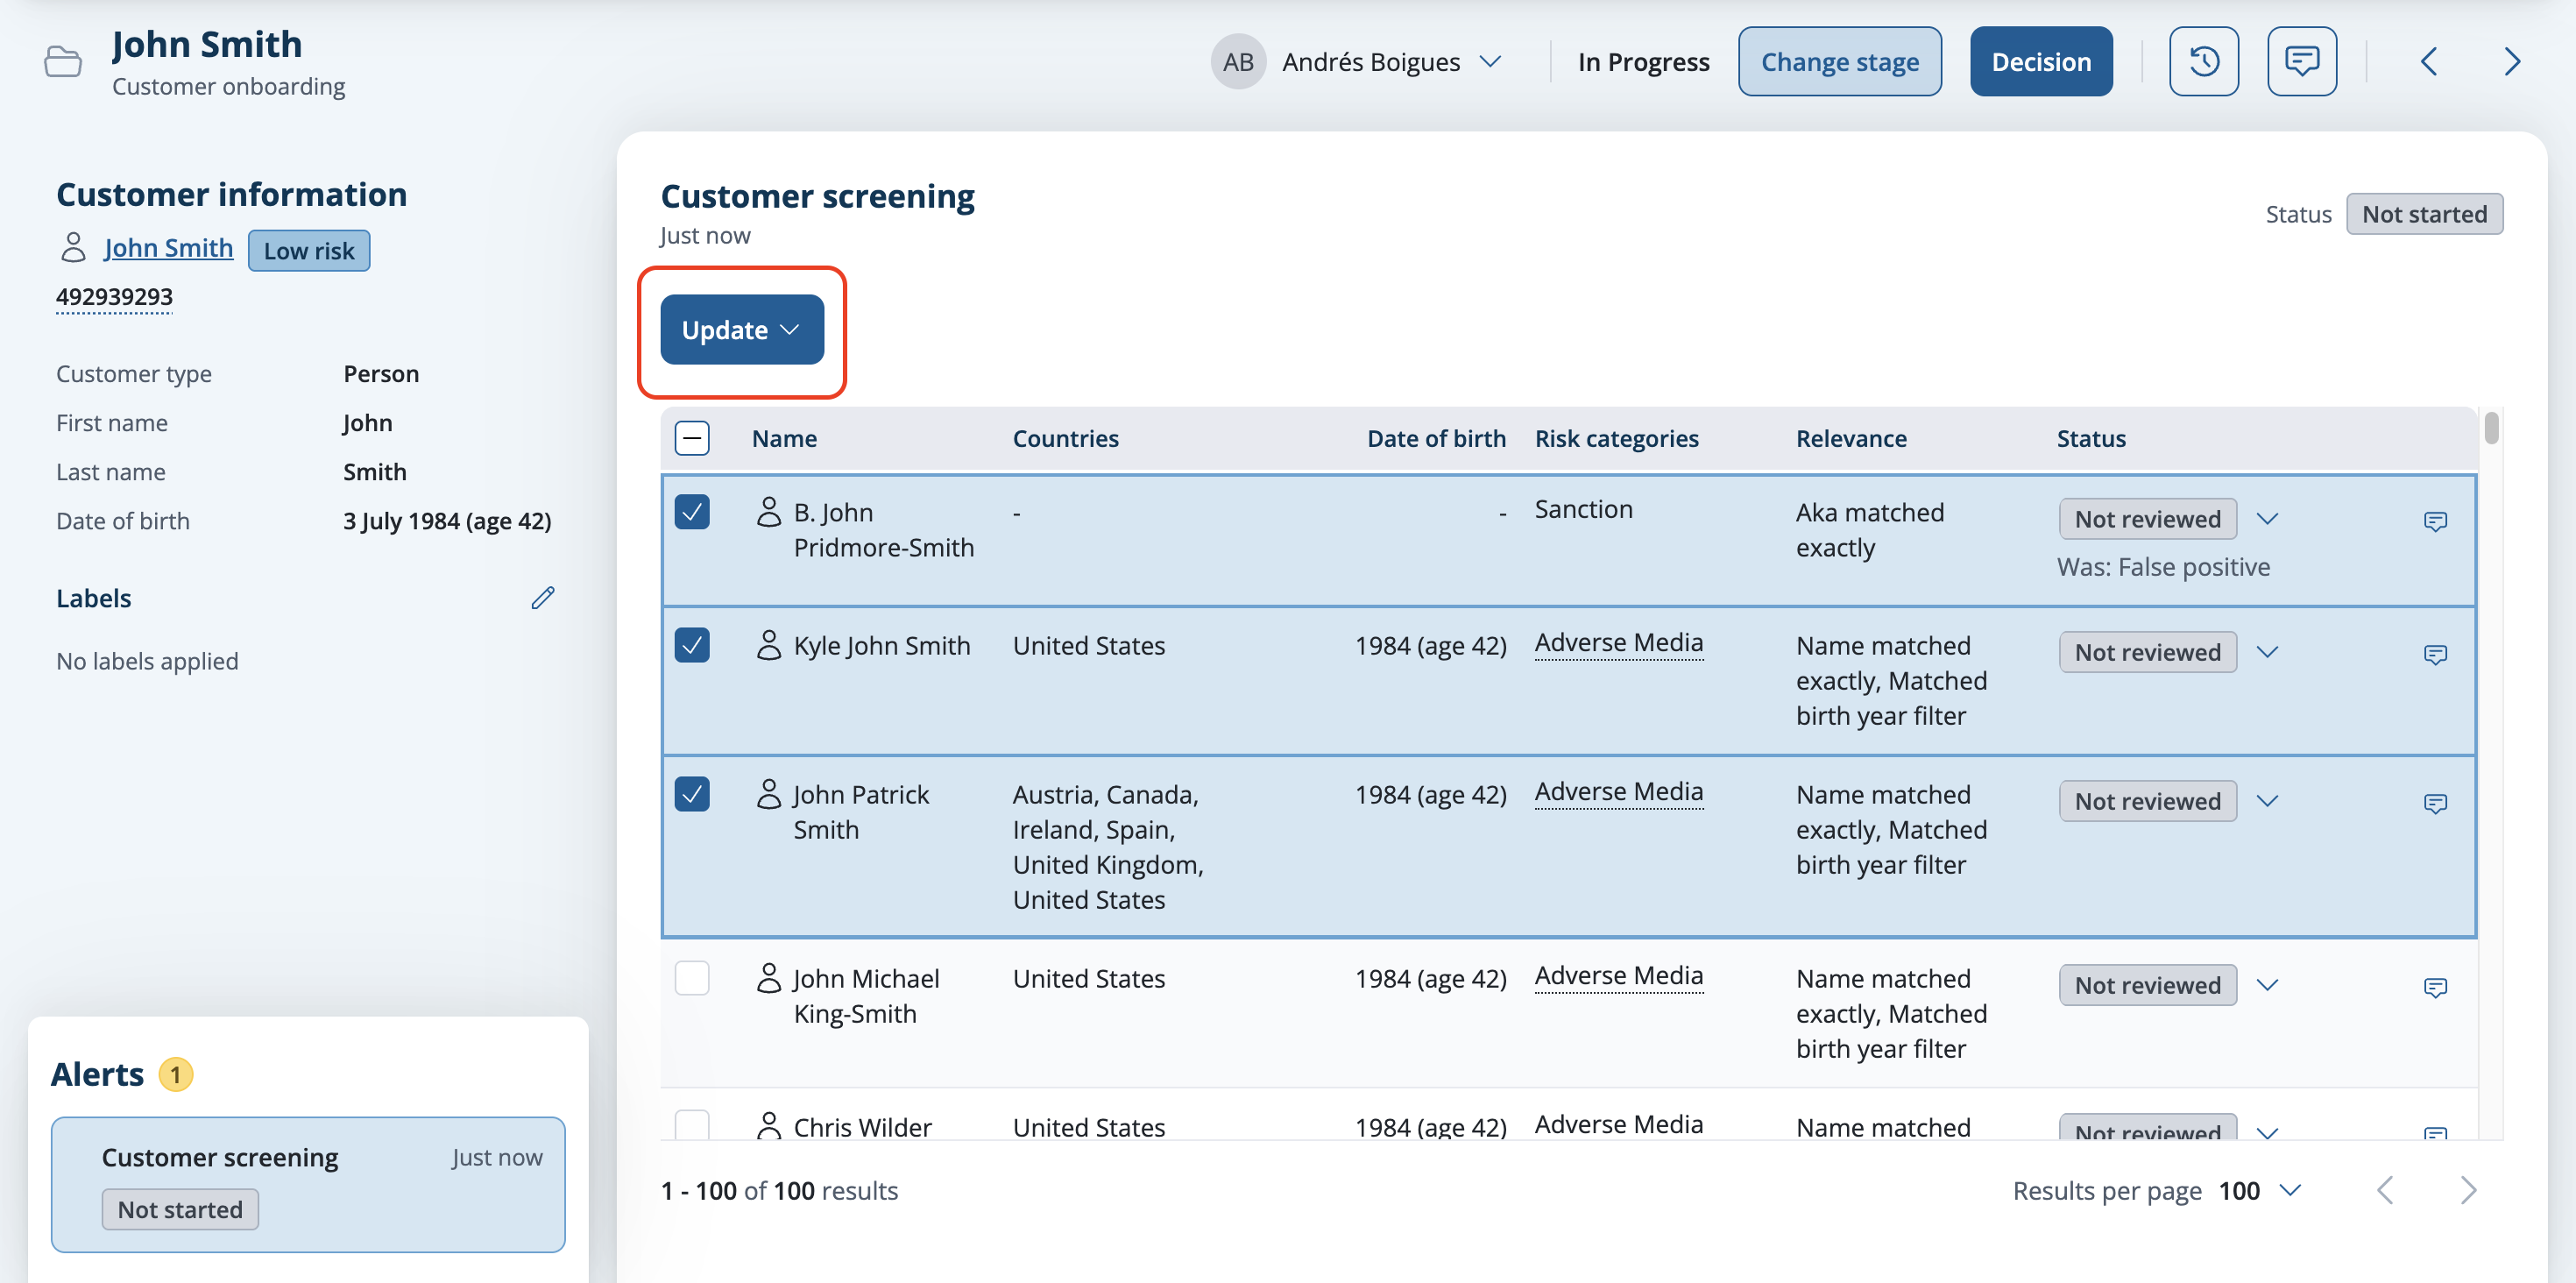
Update button above the selected screening results Select an option from the dropdown.
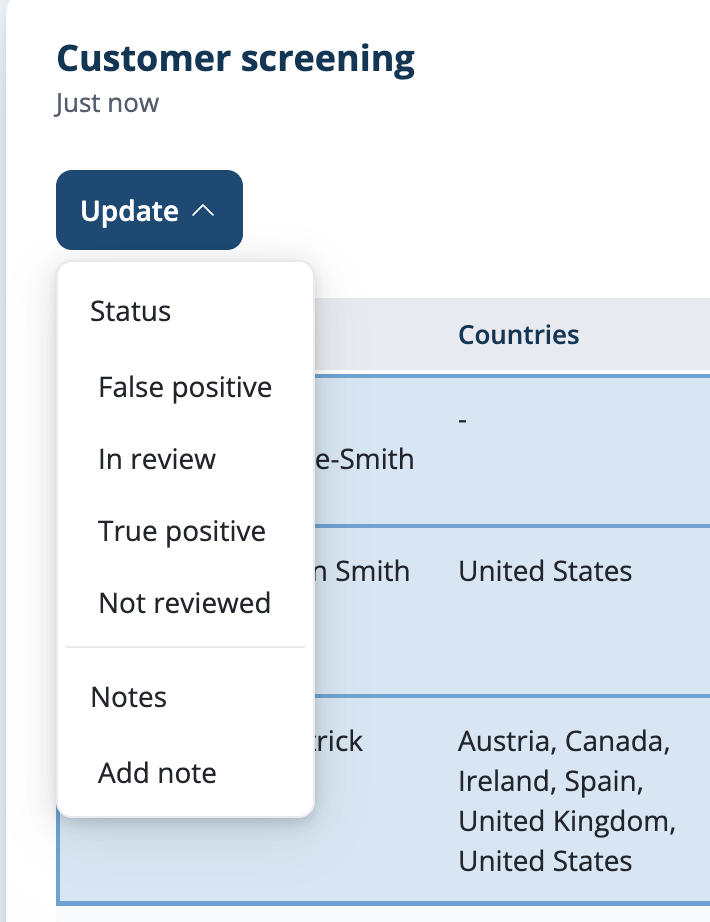
The result is updated with the selected status in the row.