Assign status to screening results
Last updated: November 4, 2026
Customer screening and monitoring cases contain profile hits that need to be reviewed as part of the investigation. Once you have identified if the profile is a true or false positive, you can assign the respective status.
There are two options to assign a status to a screening result:
From the screening result details
From the case details view
Single assign from screening result details
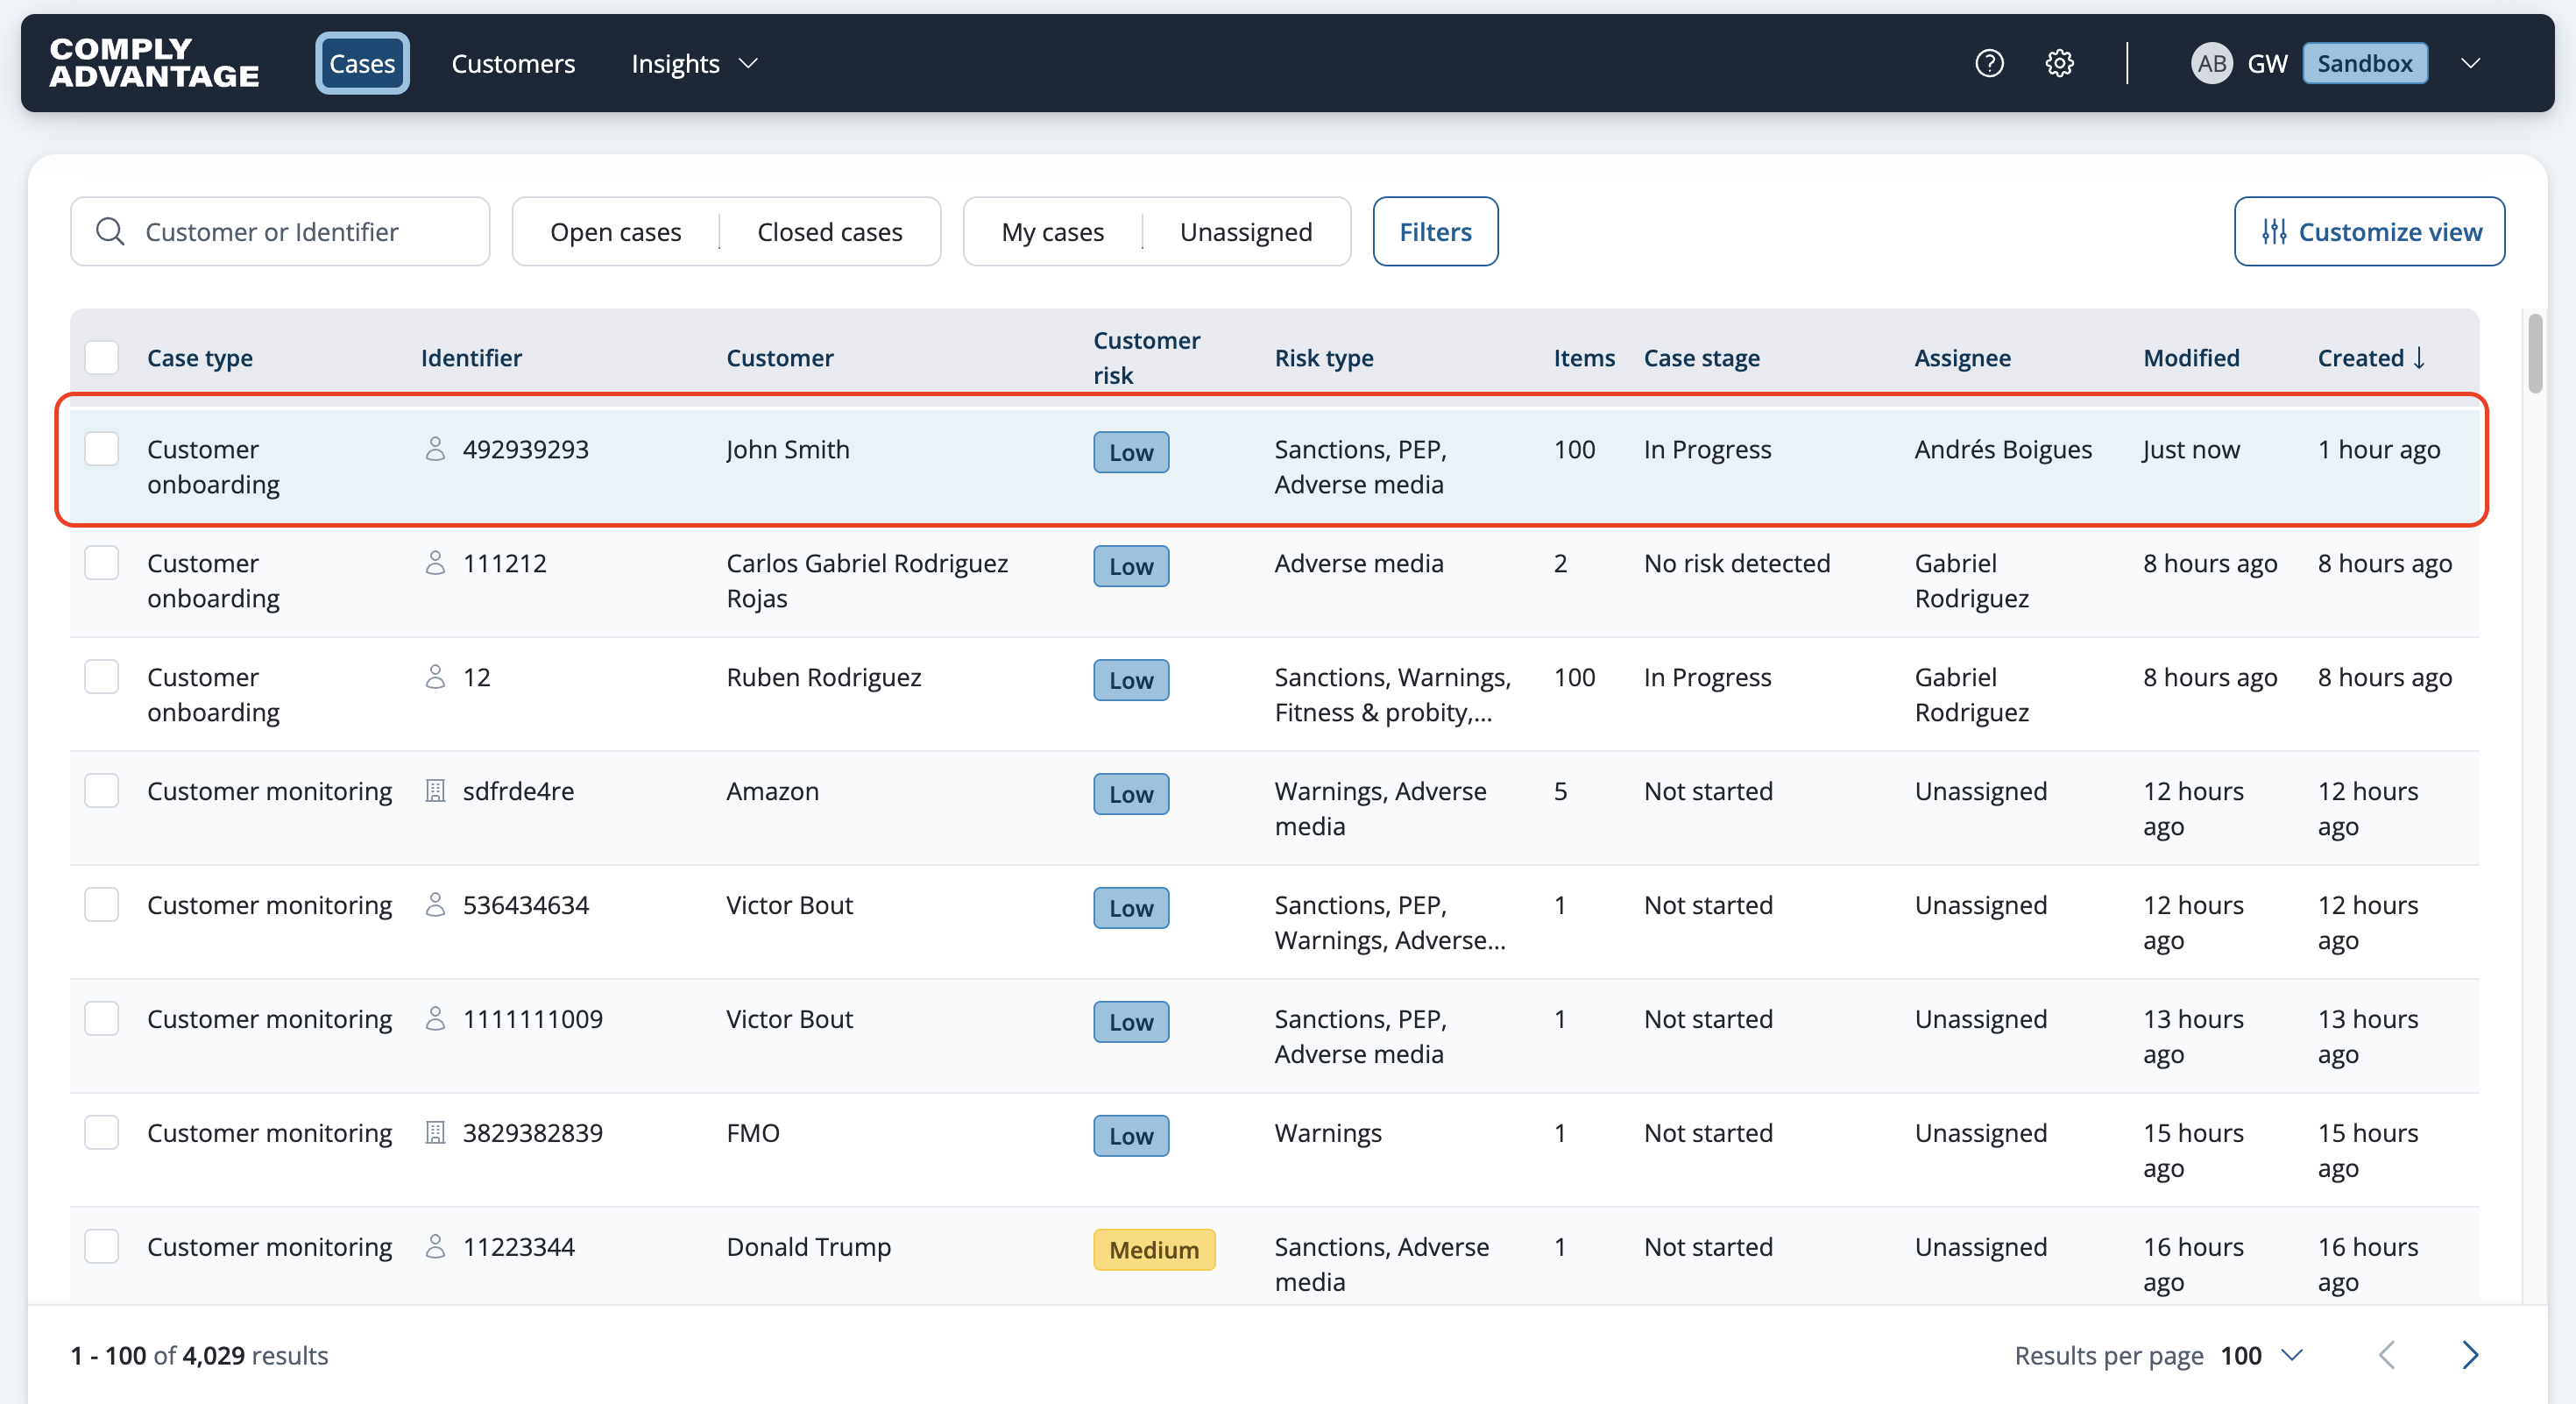
Click on the case you want to review.
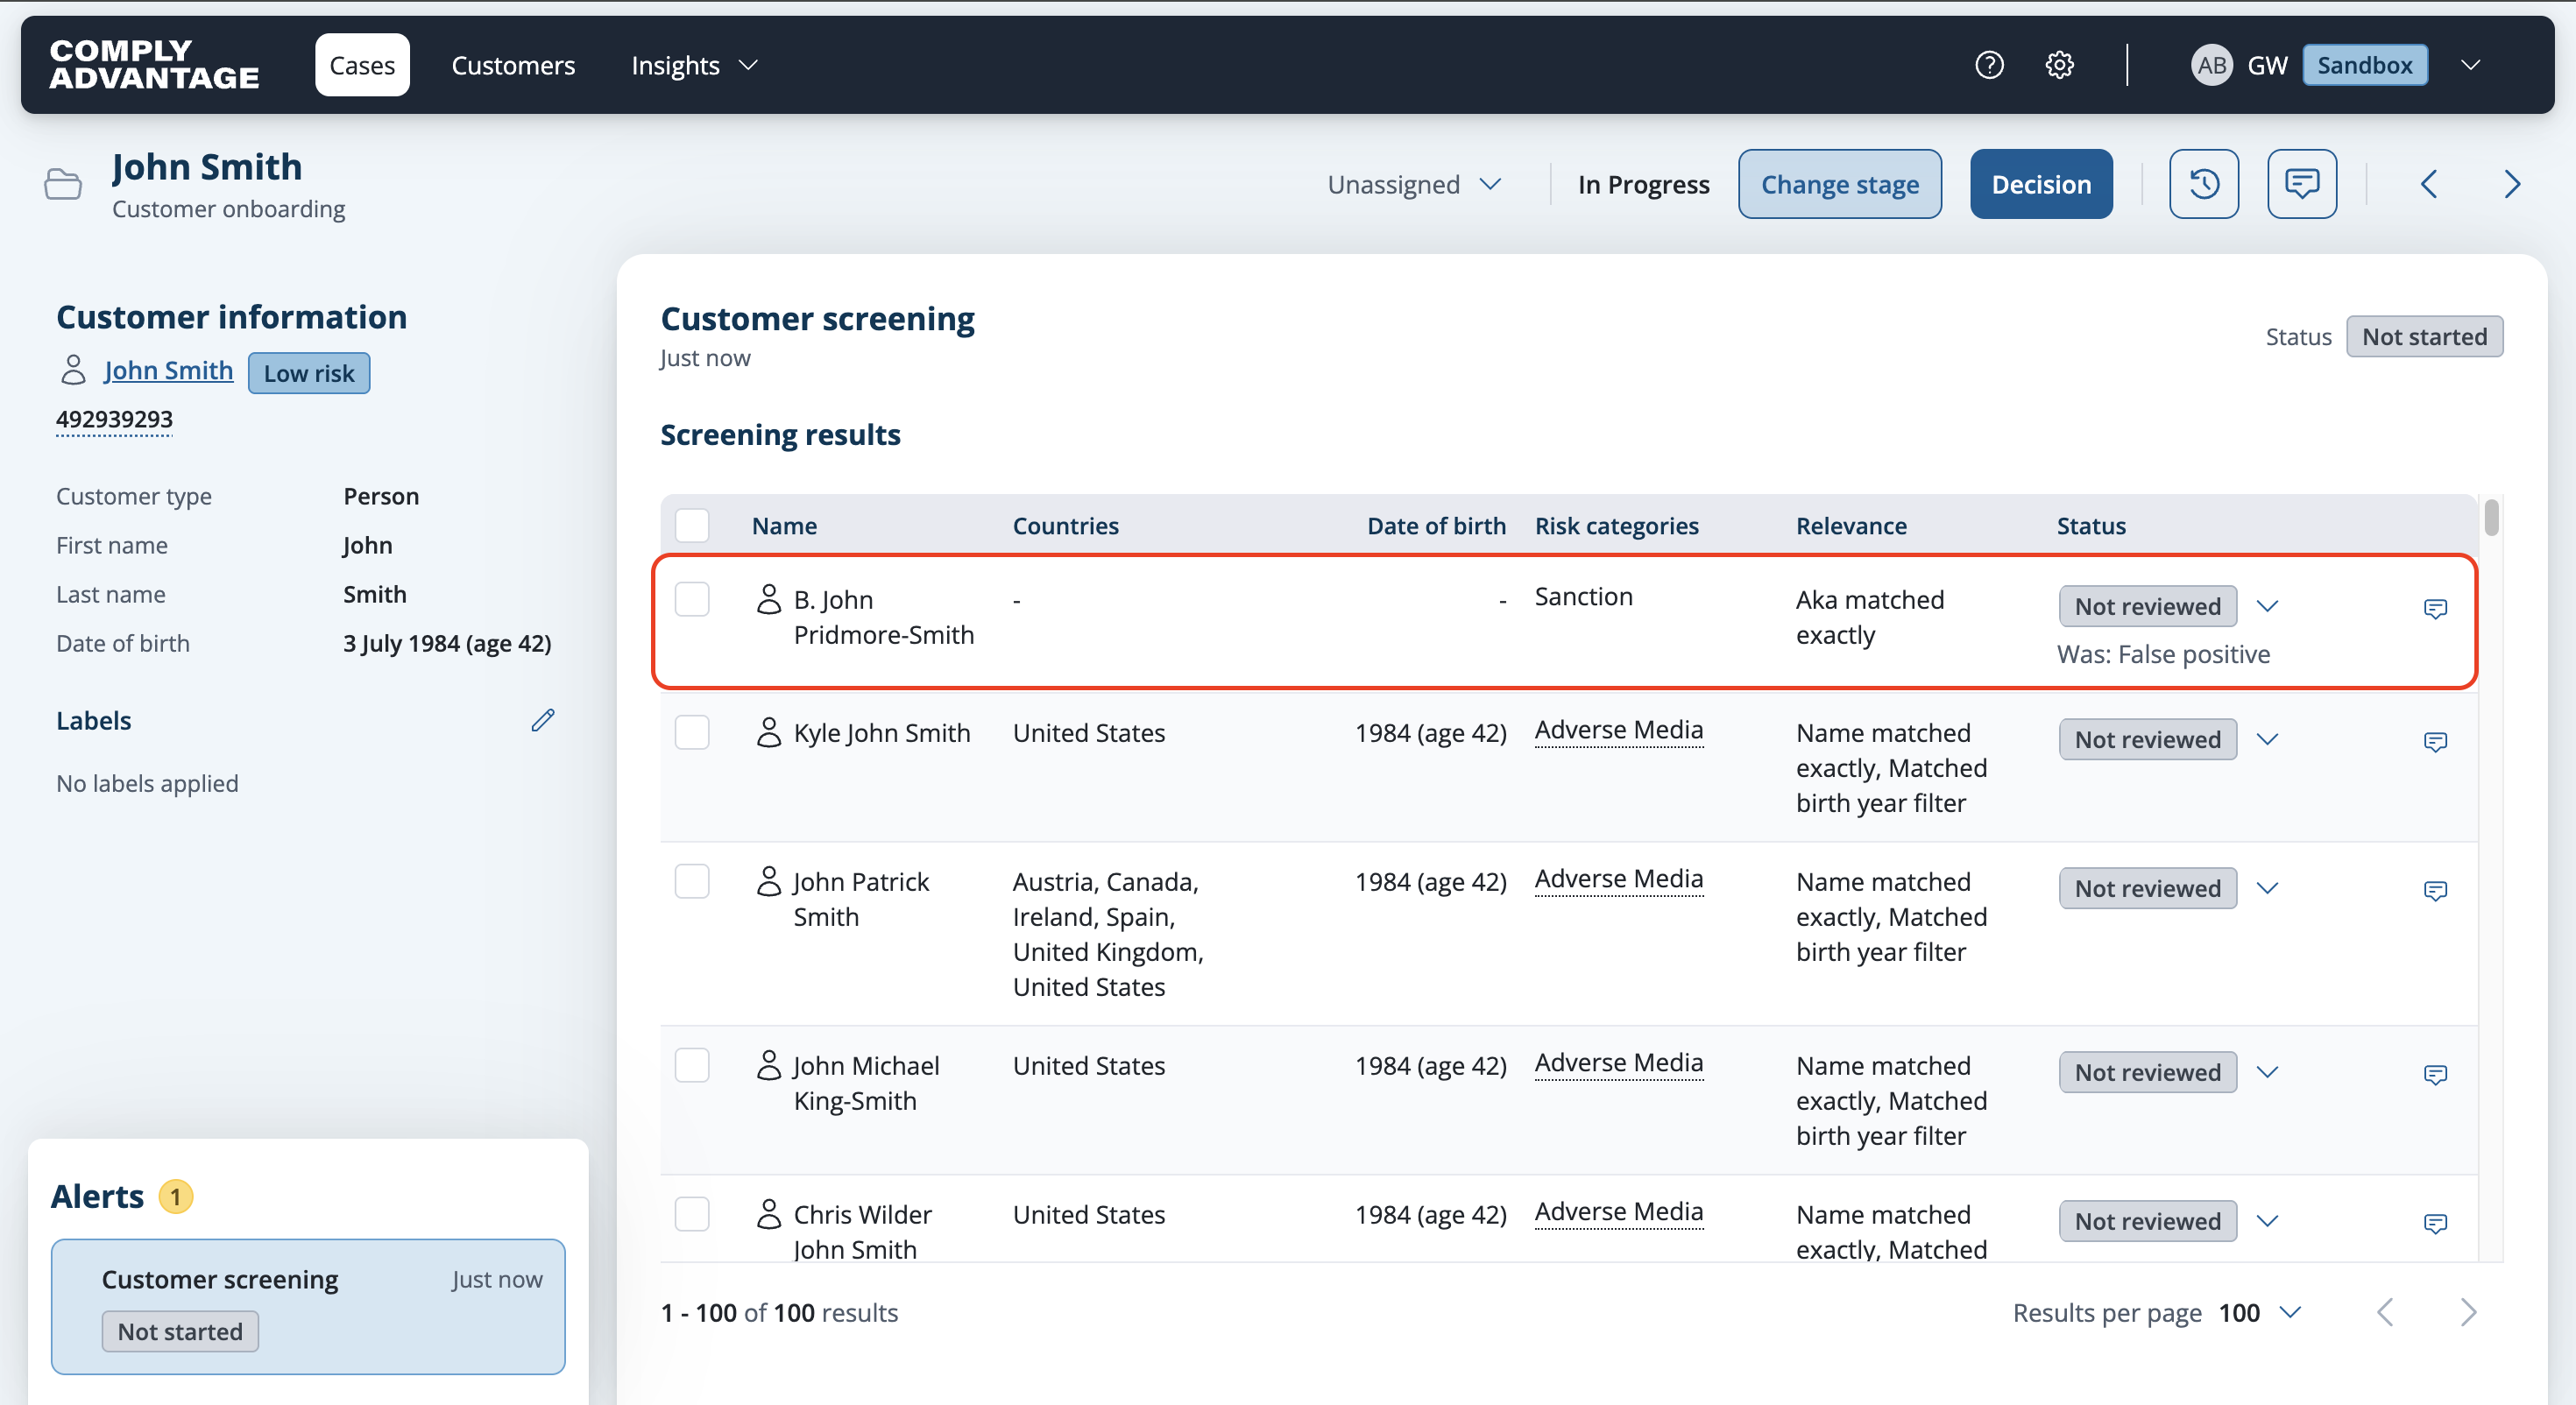
Below is an example of a Screening case. By default, the screening result status is Not reviewed.

Click on a row to open the screening result you want to assign a status to.
Review the information provided and make a decision based on the information and other factors such as your internal policies.

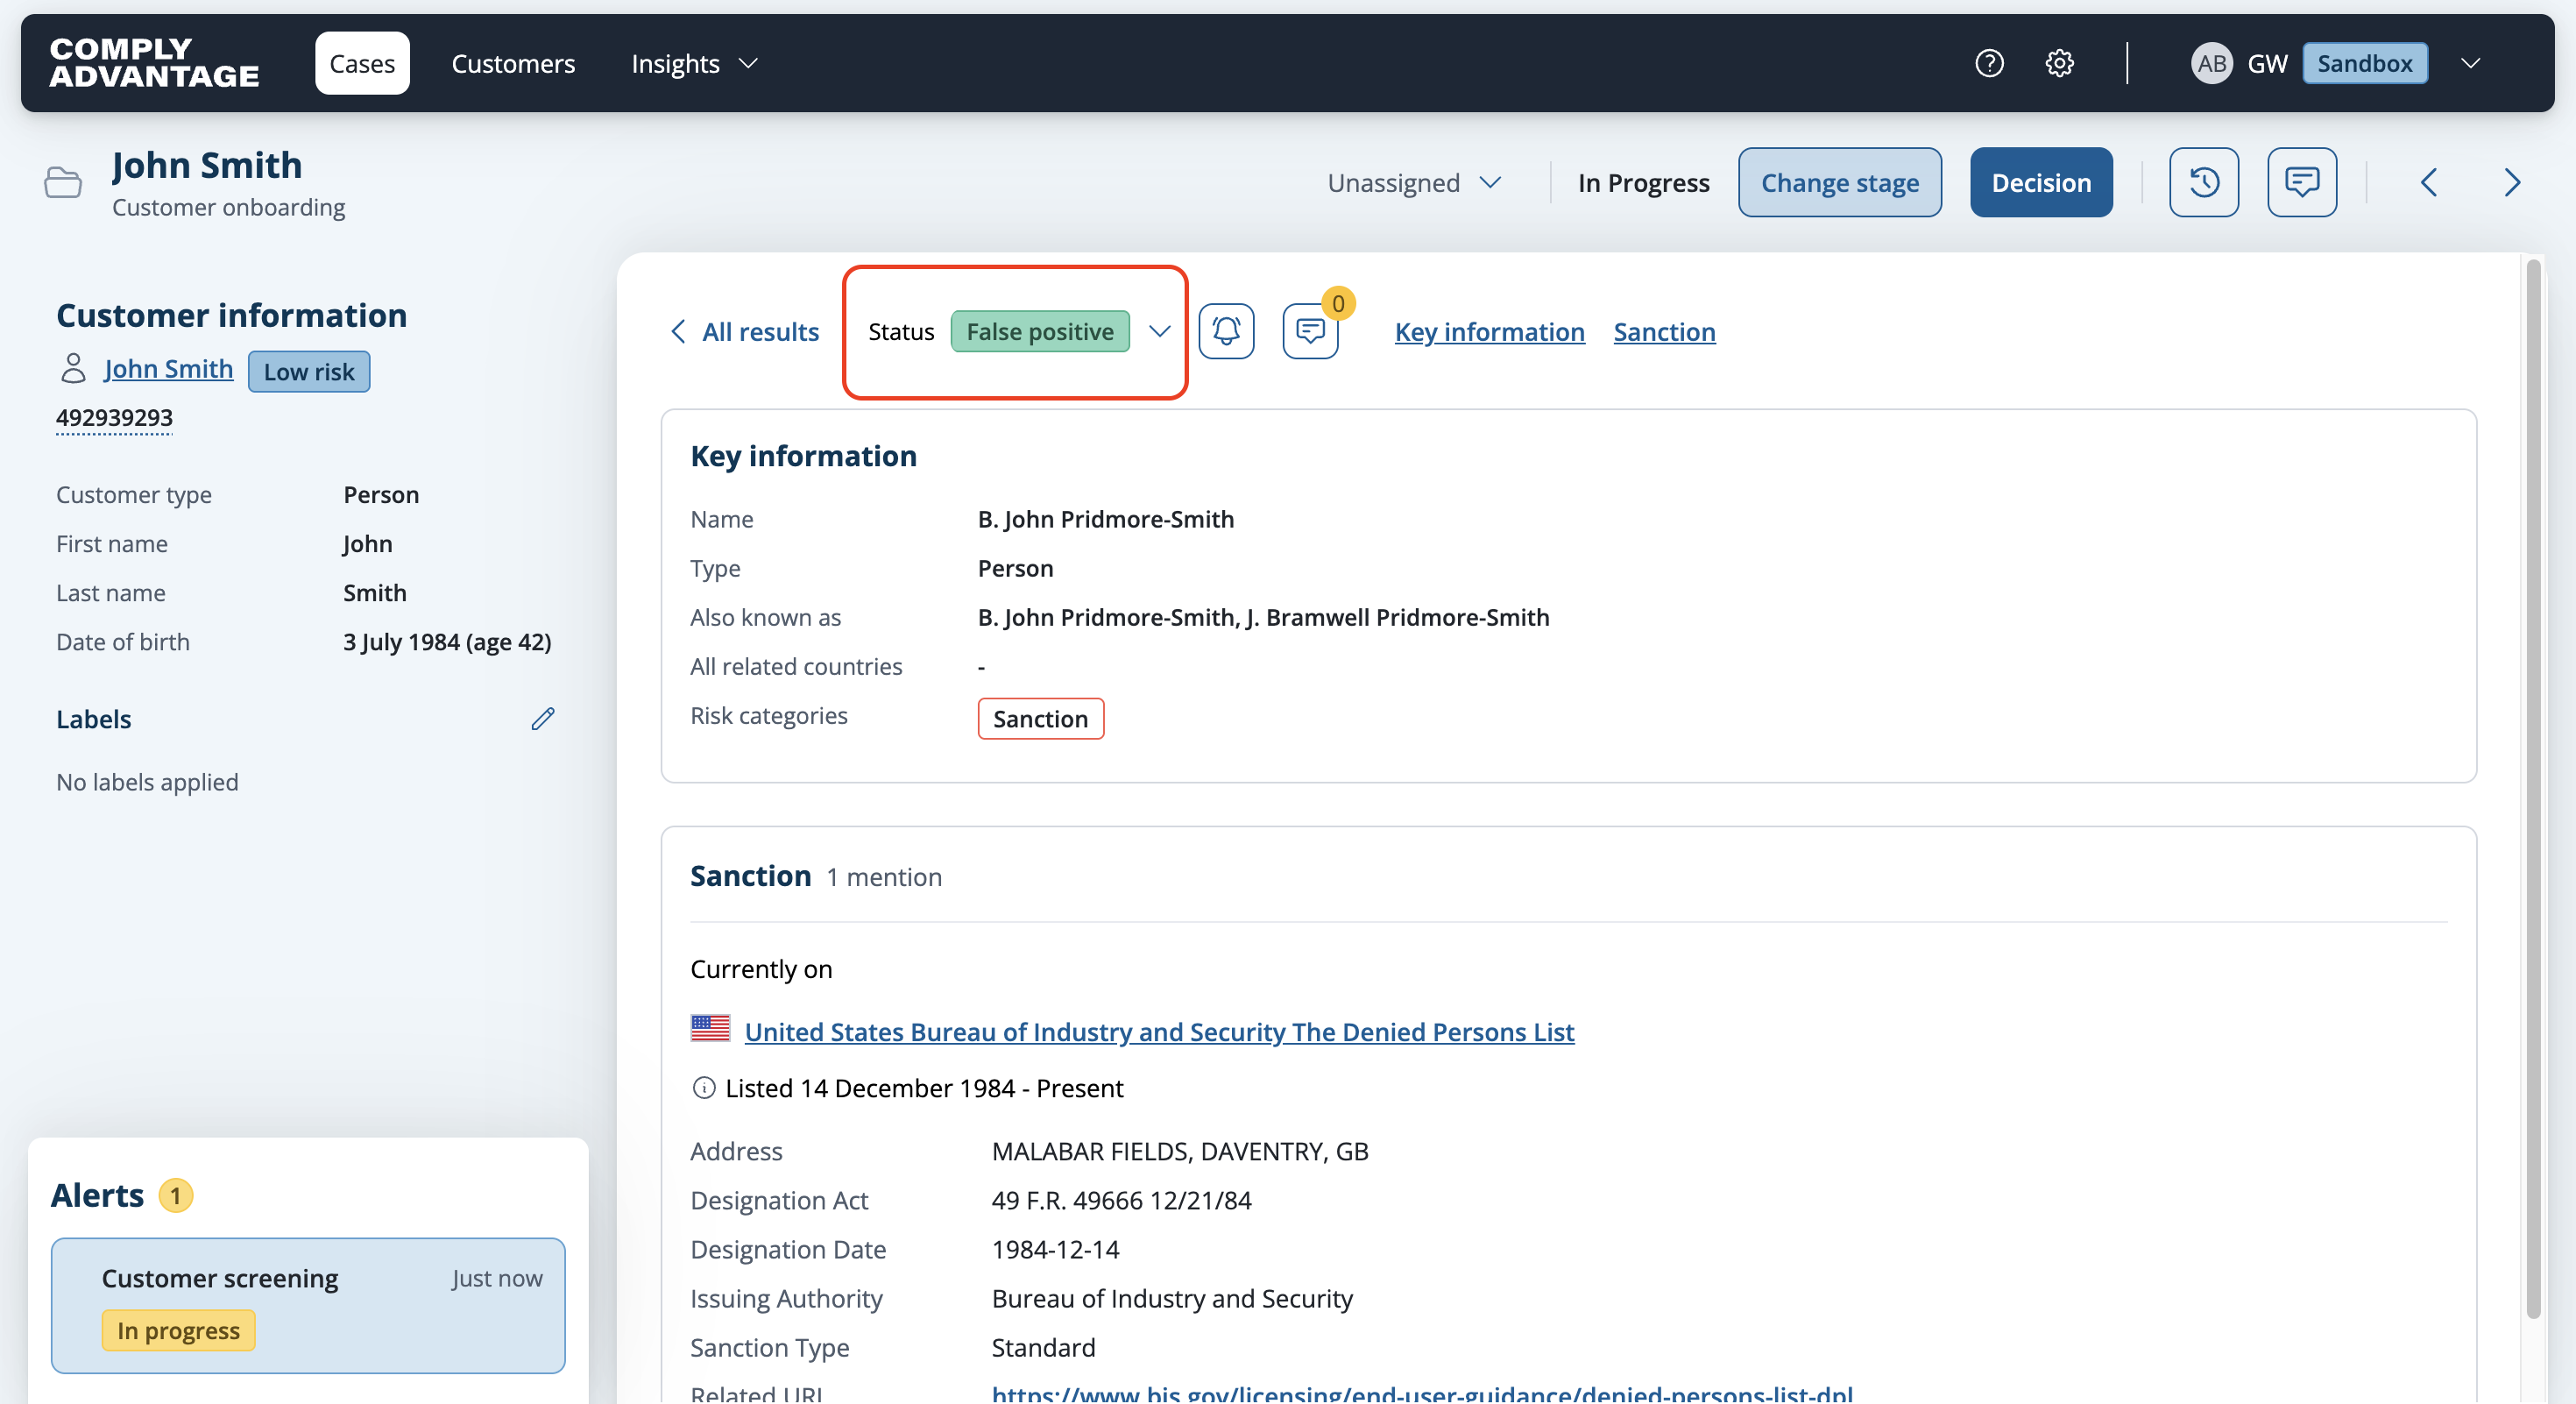
Select an option from the Status dropdown.
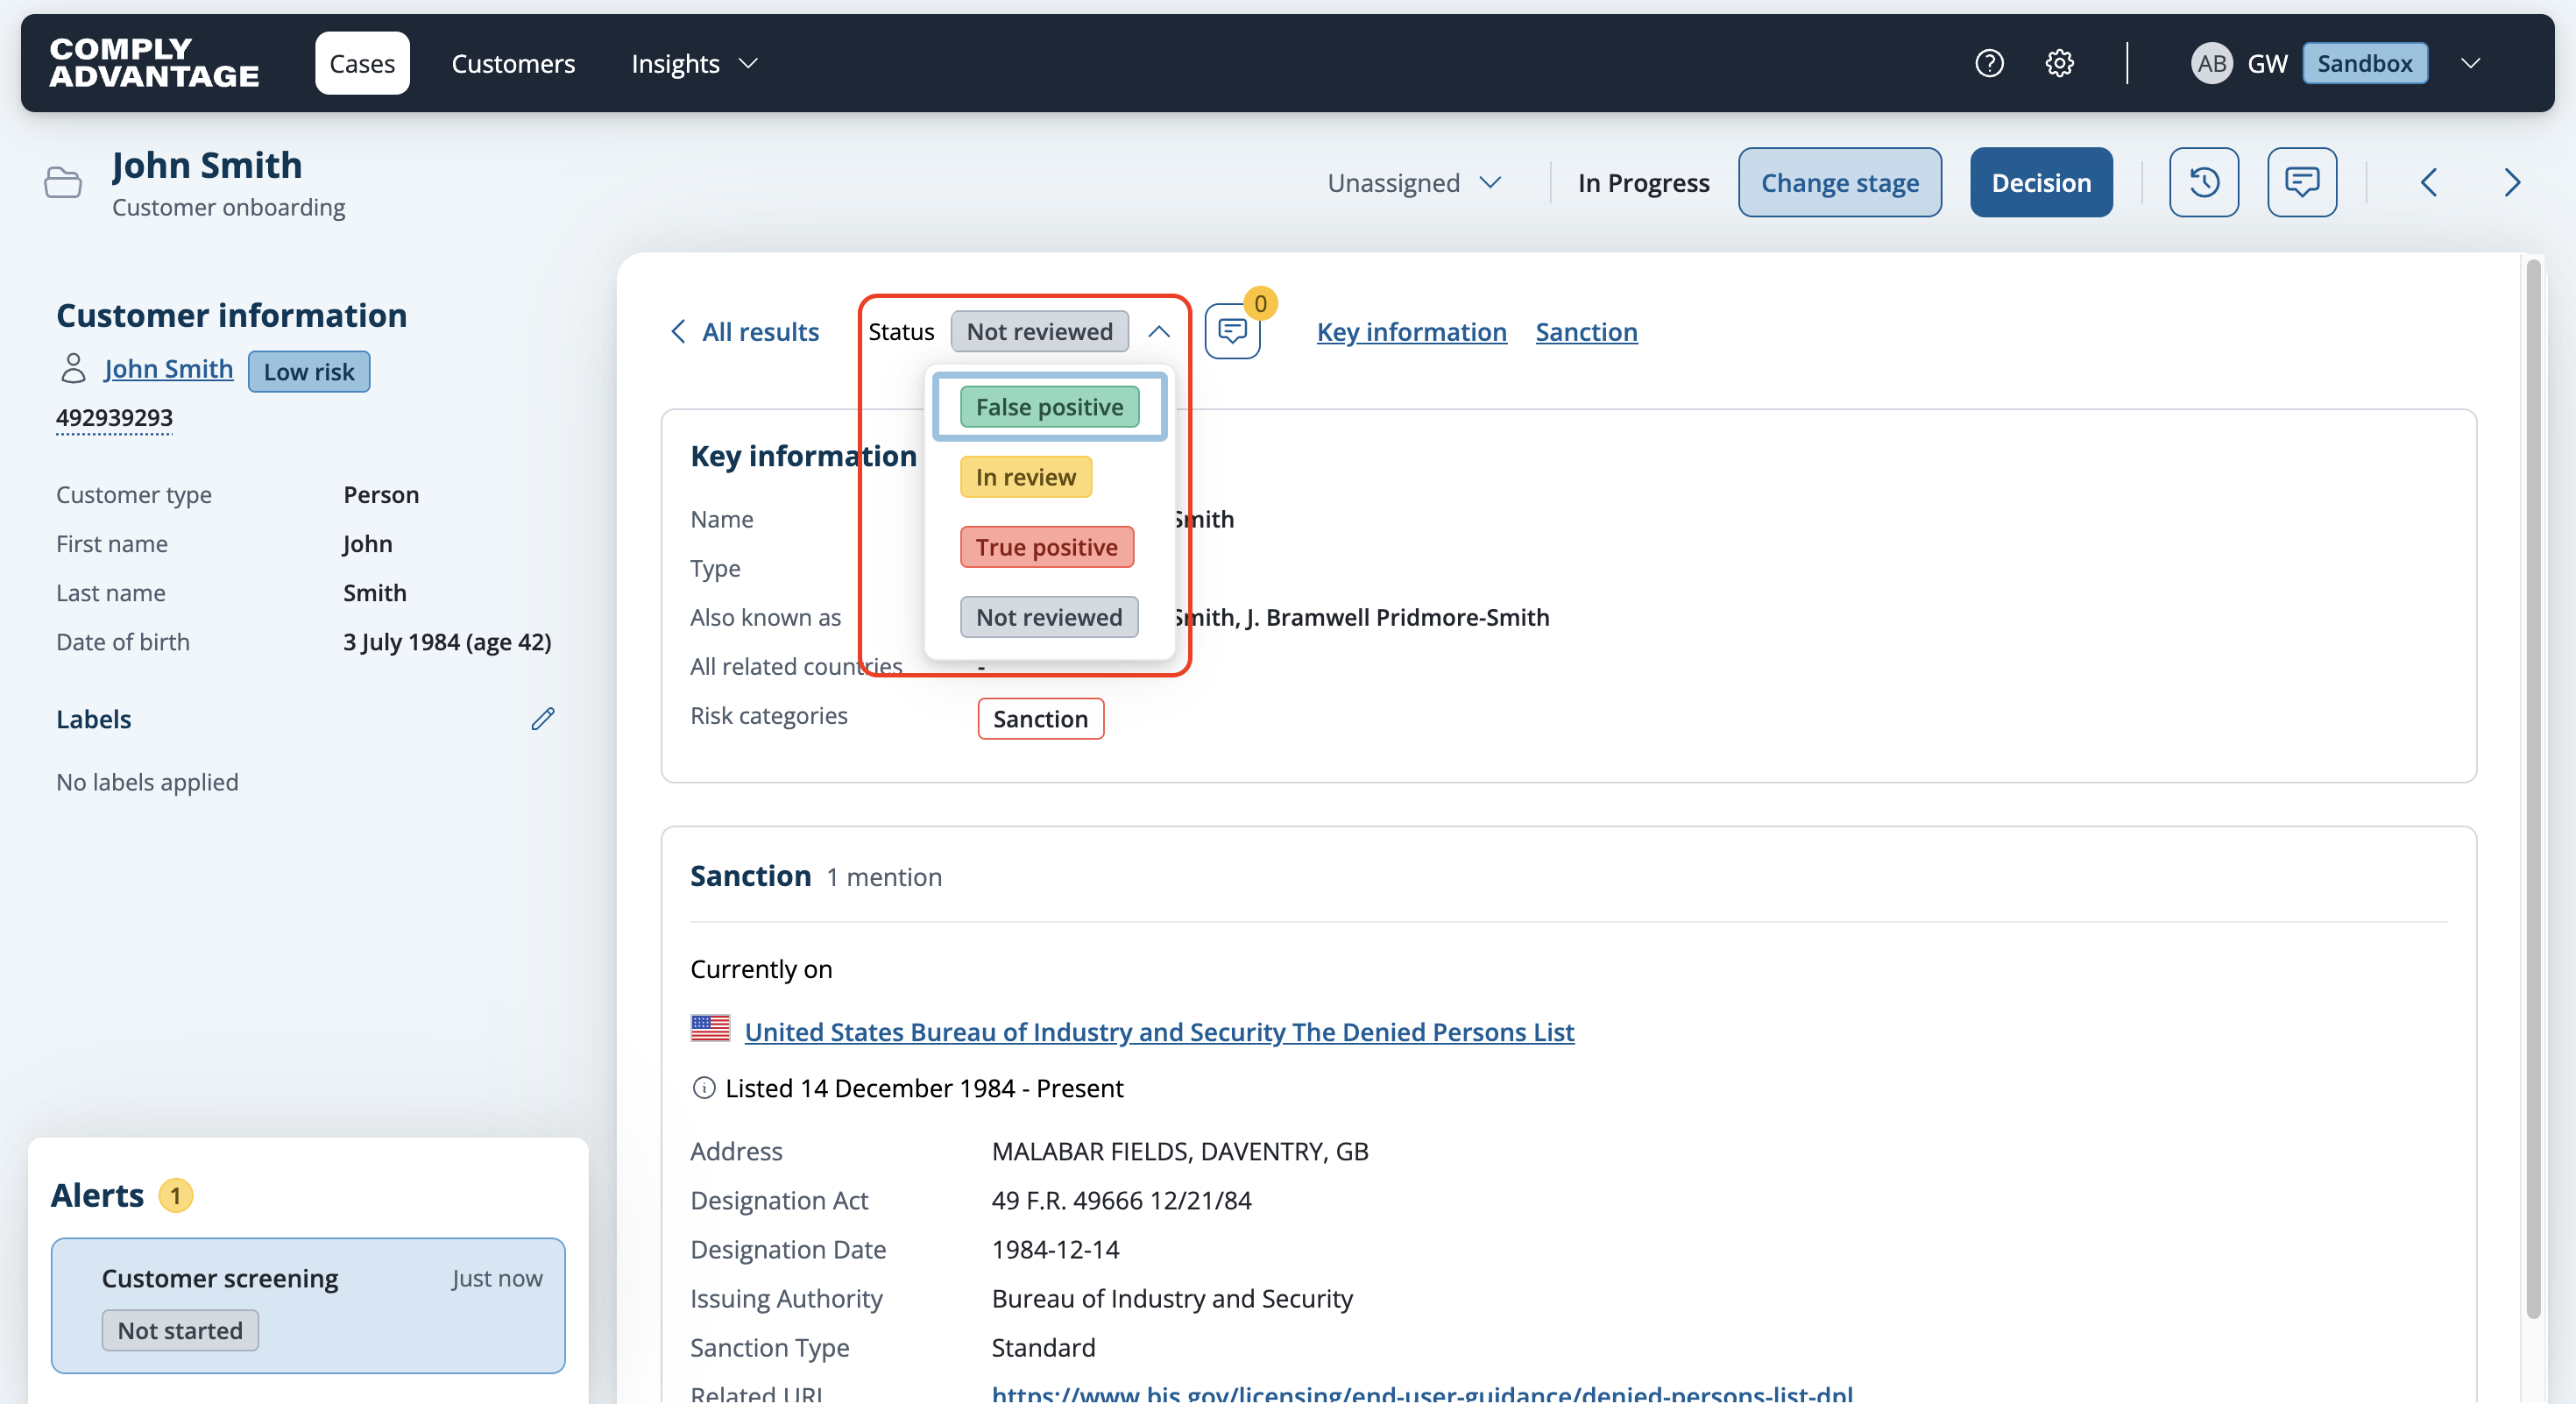
The screening result will be updated with the selected status.
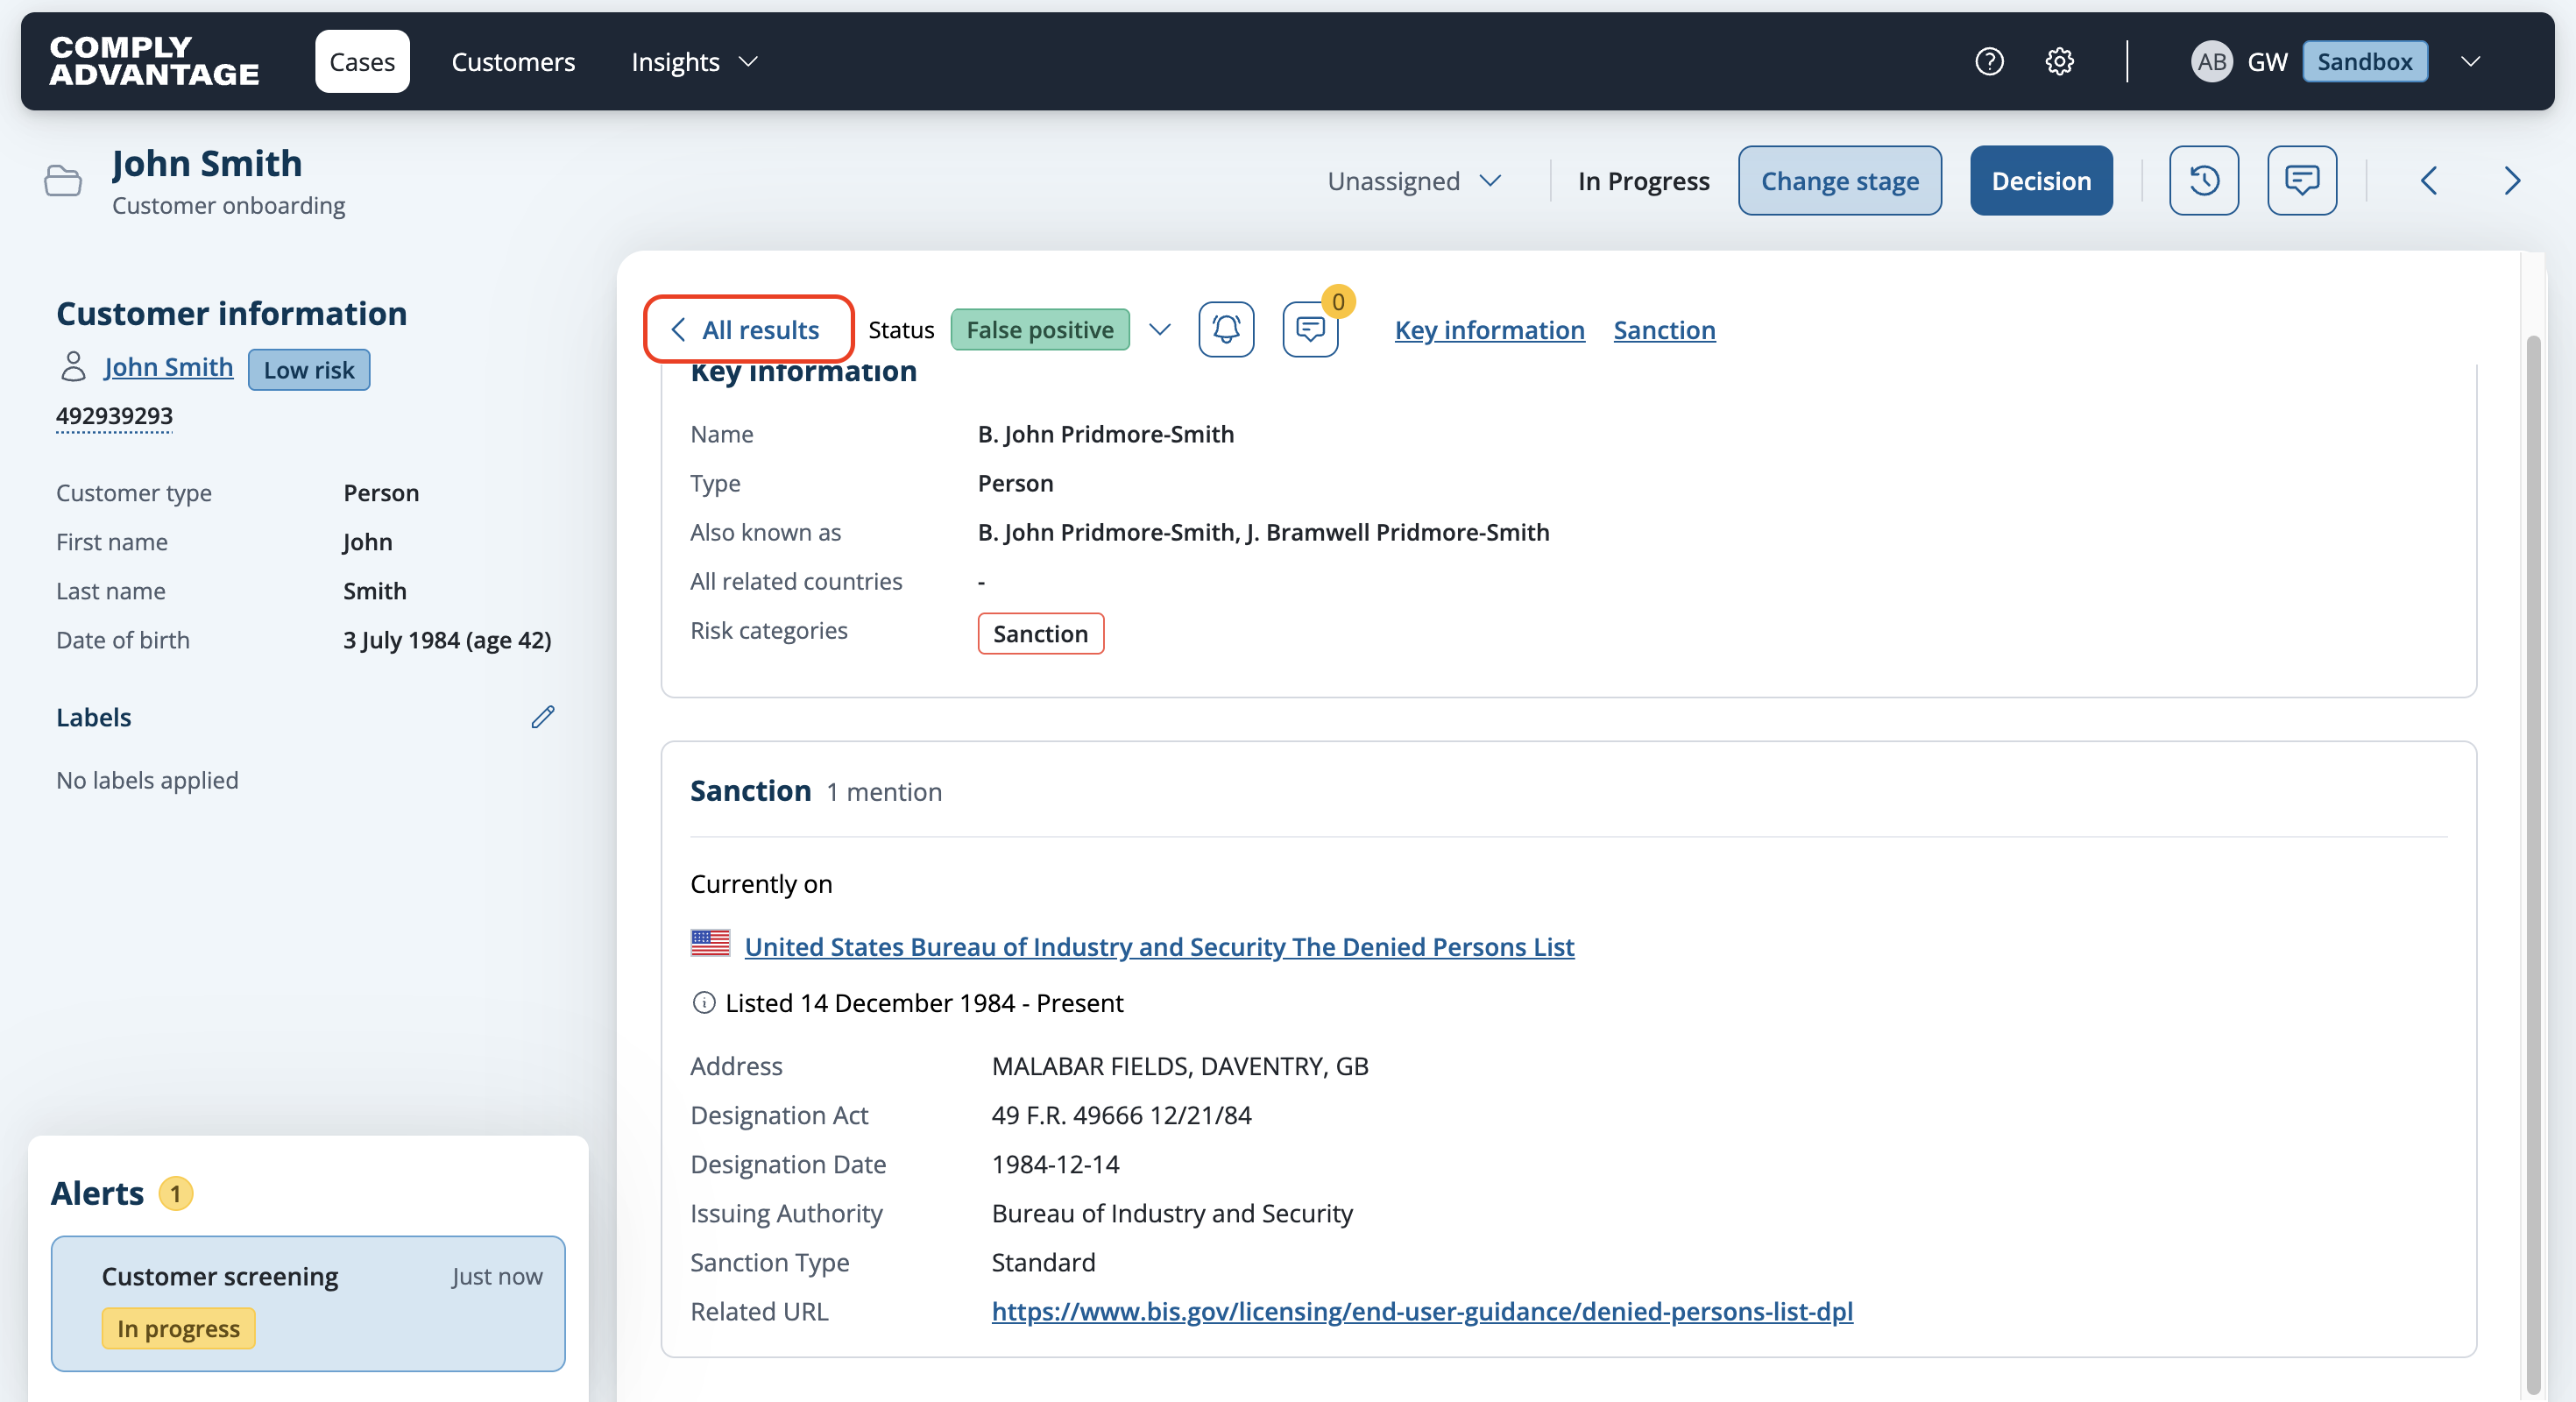
Click All results to navigate back to the case details view and to review further screening results.
Single assign from case details view
We would recommend to assign a status from here if you already reviewed the details of the screening result.
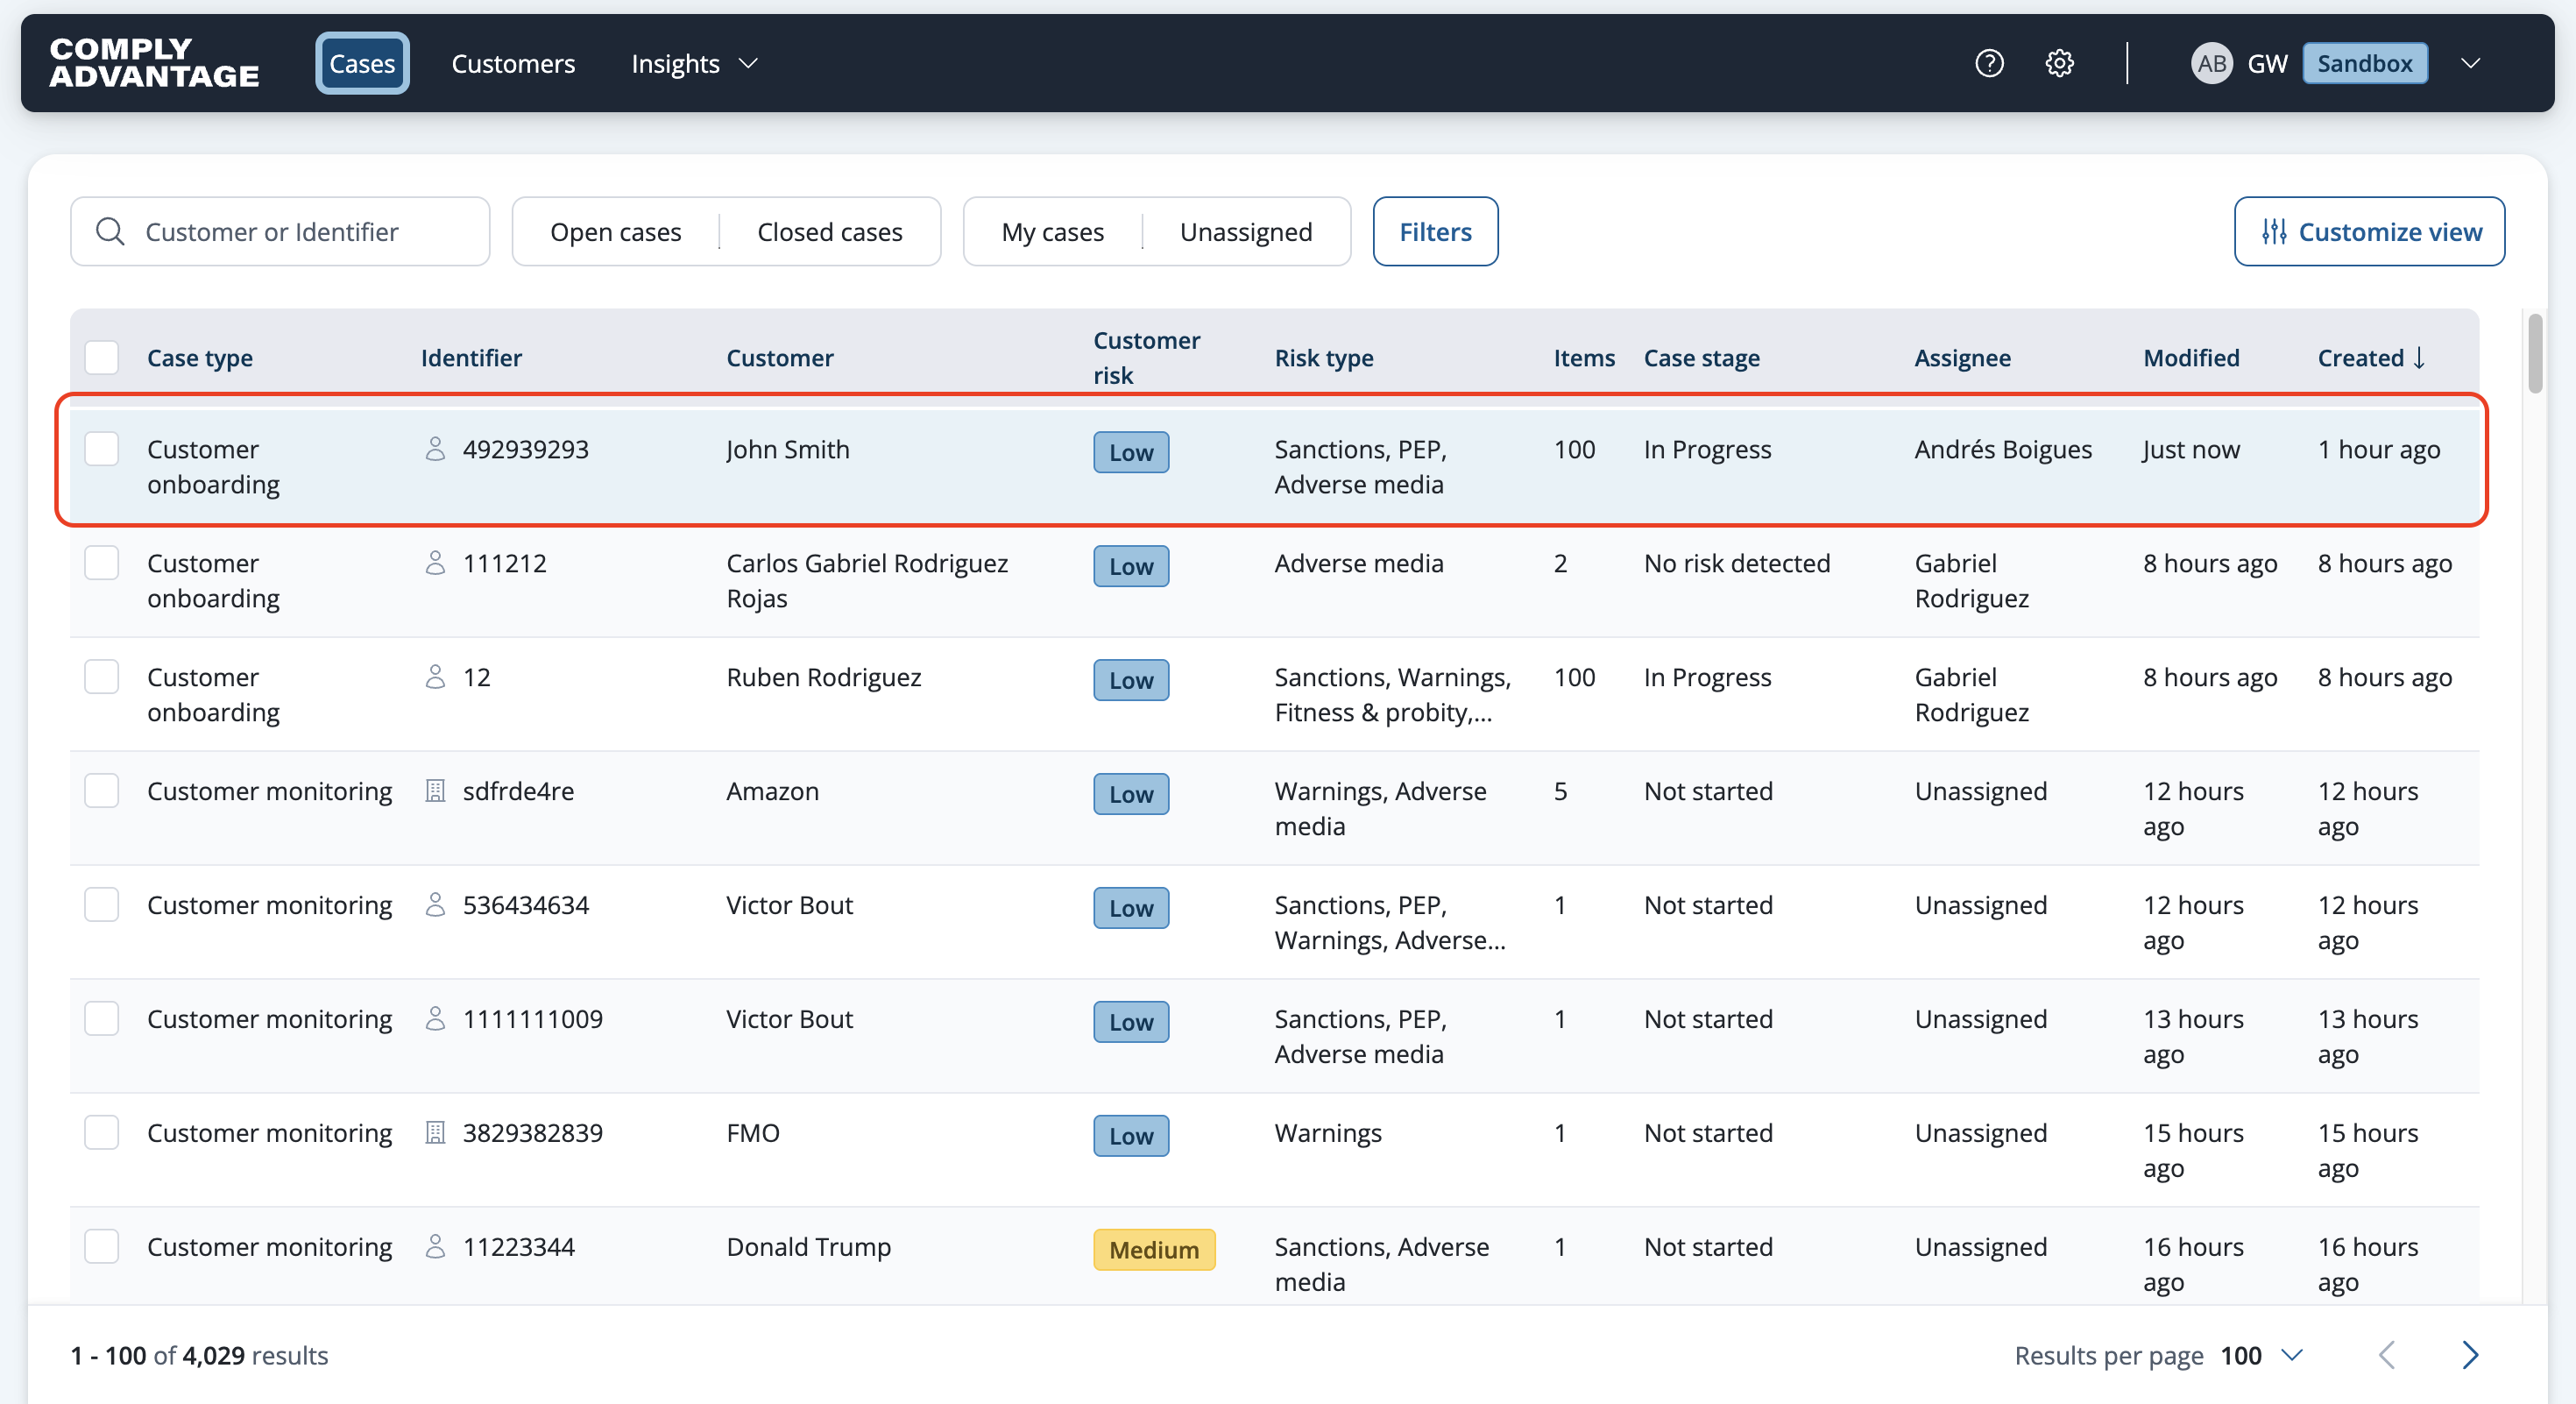
Click on the case you want to review.
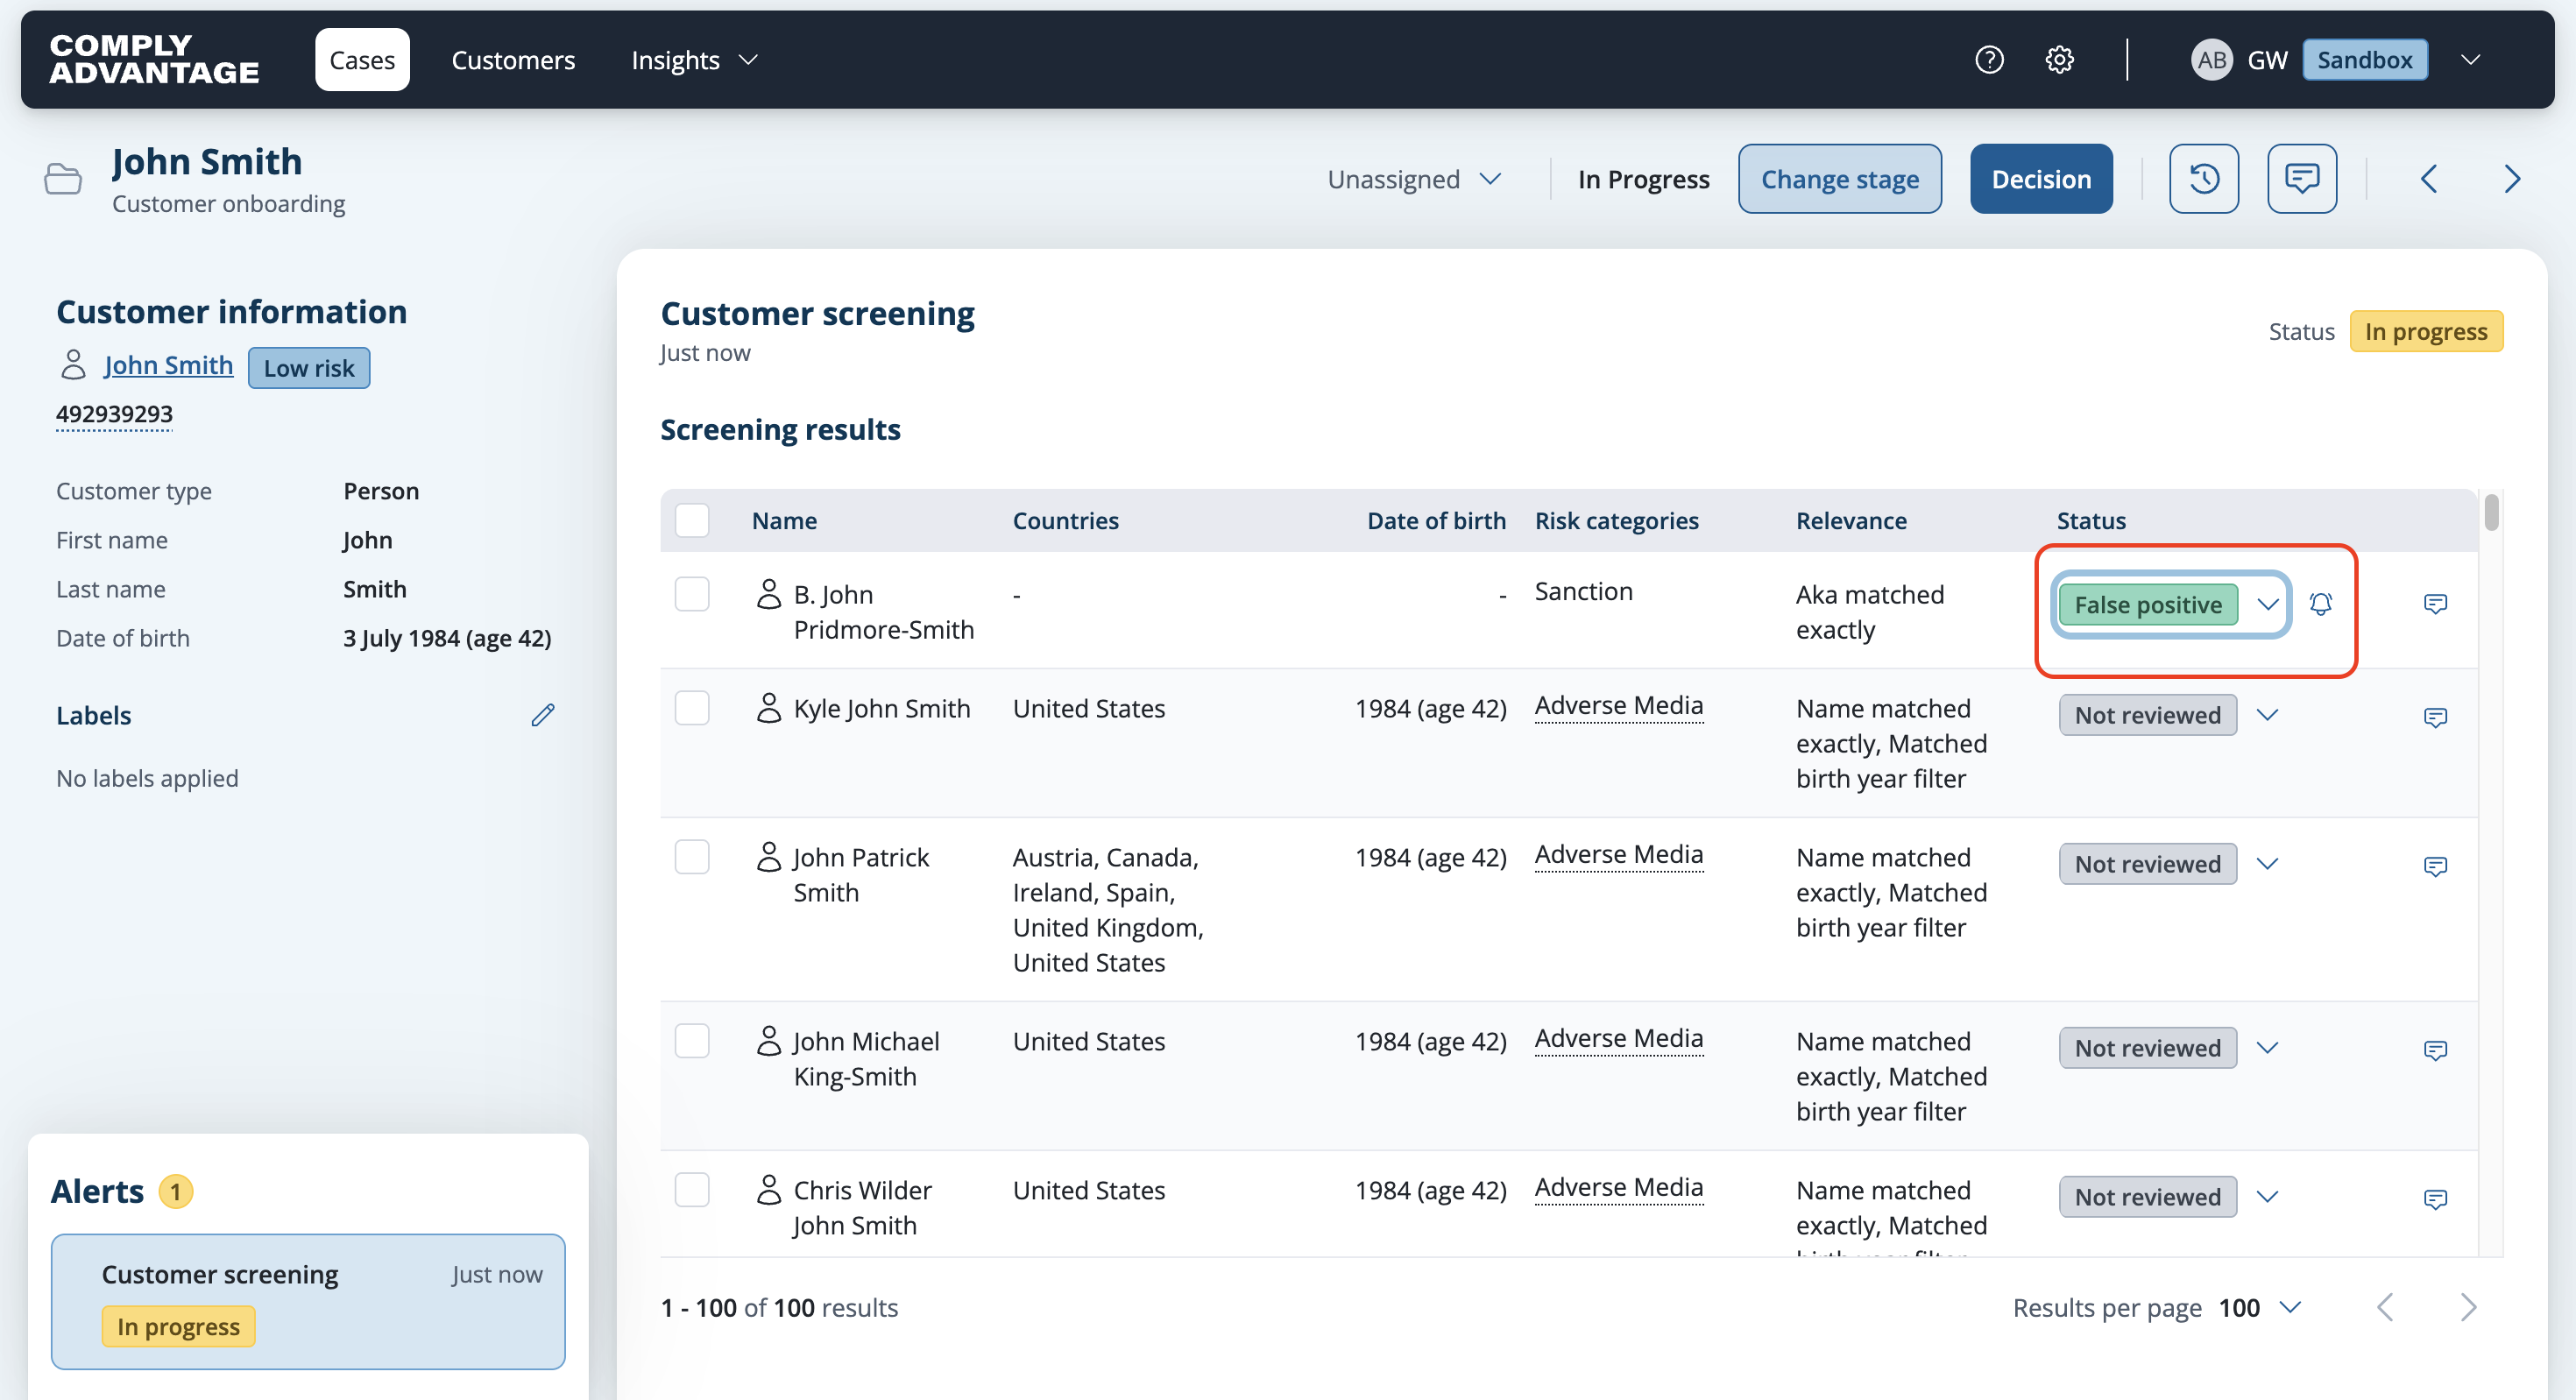
Click the down arrow next to Not reviewed in the Status column for the screening result you want to update the status for.
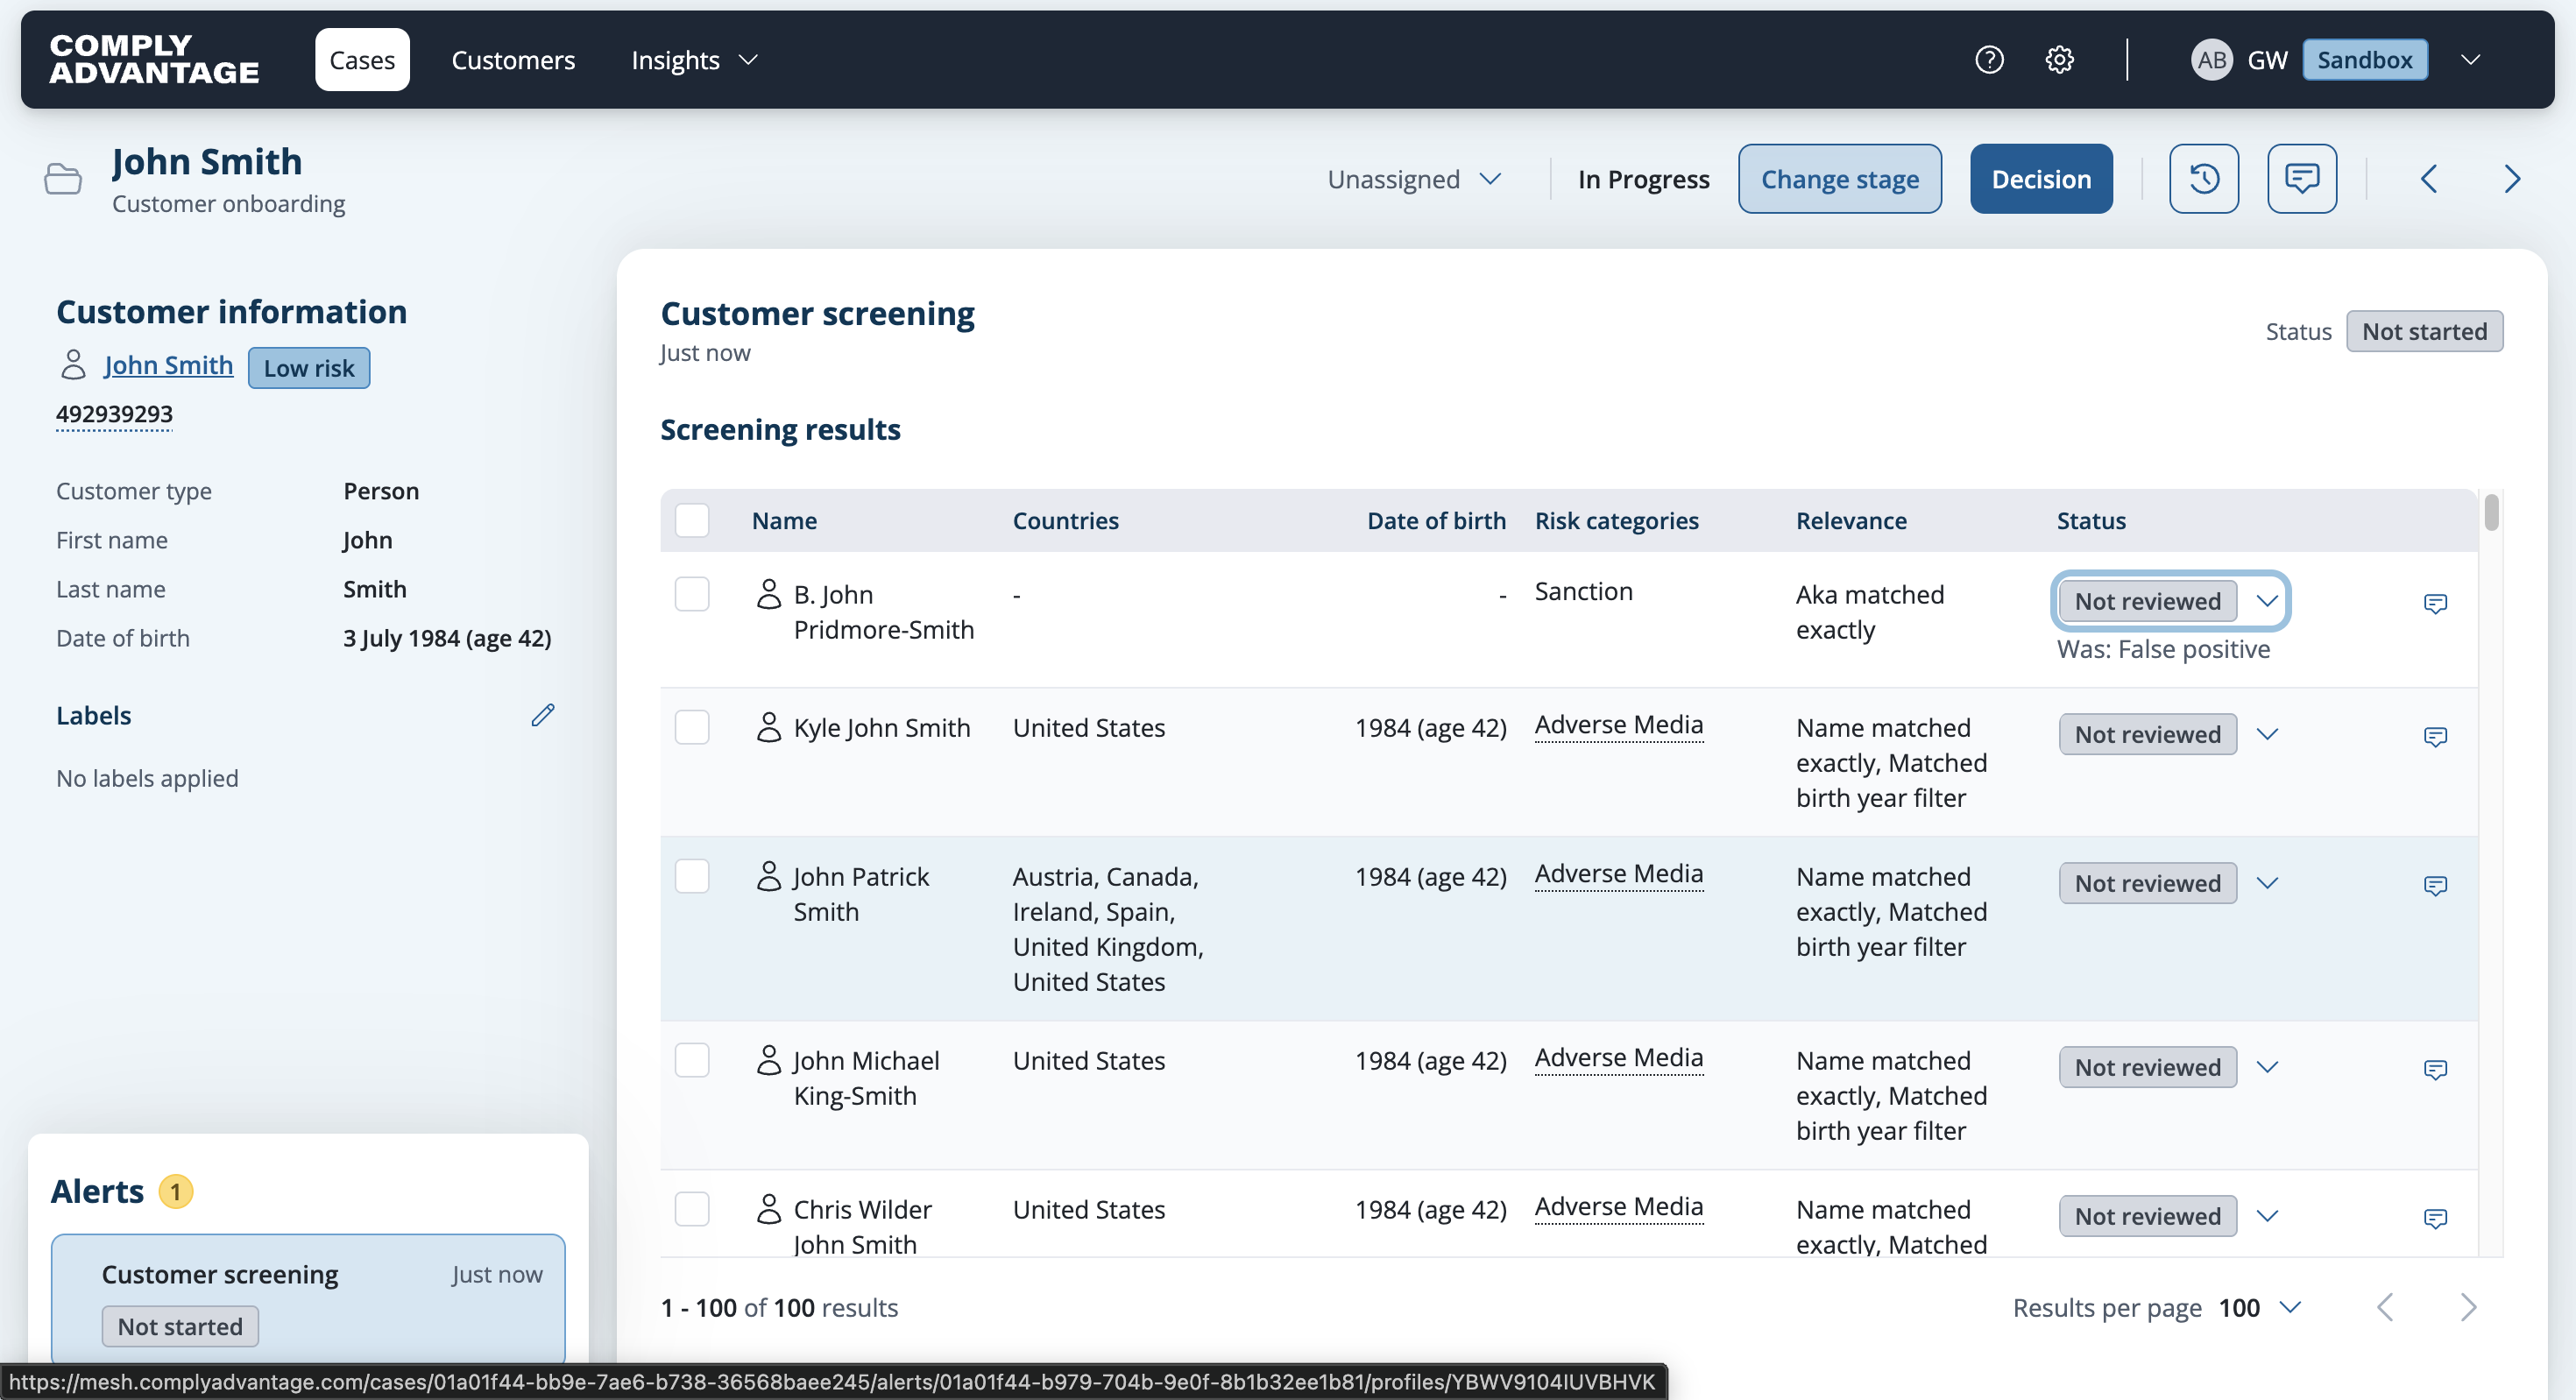
Select a status option from the dropdown.

The result is updated with the selected status in the row.