Video: Case Workflows
Last updated: April 7, 2026
In this guide, you will learn how to navigate the case workflow process efficiently.
When logging in to your account, please ensure you select the correct region, which will be one of the following:
Australia: https://au.mesh.complyadvantage.com/
You can find the link to your region in the onboarding email you received (look for the "Welcome to ComplyAdvantage" email).
If you can’t find the email, don't worry! You can always contact our support team at [email protected].
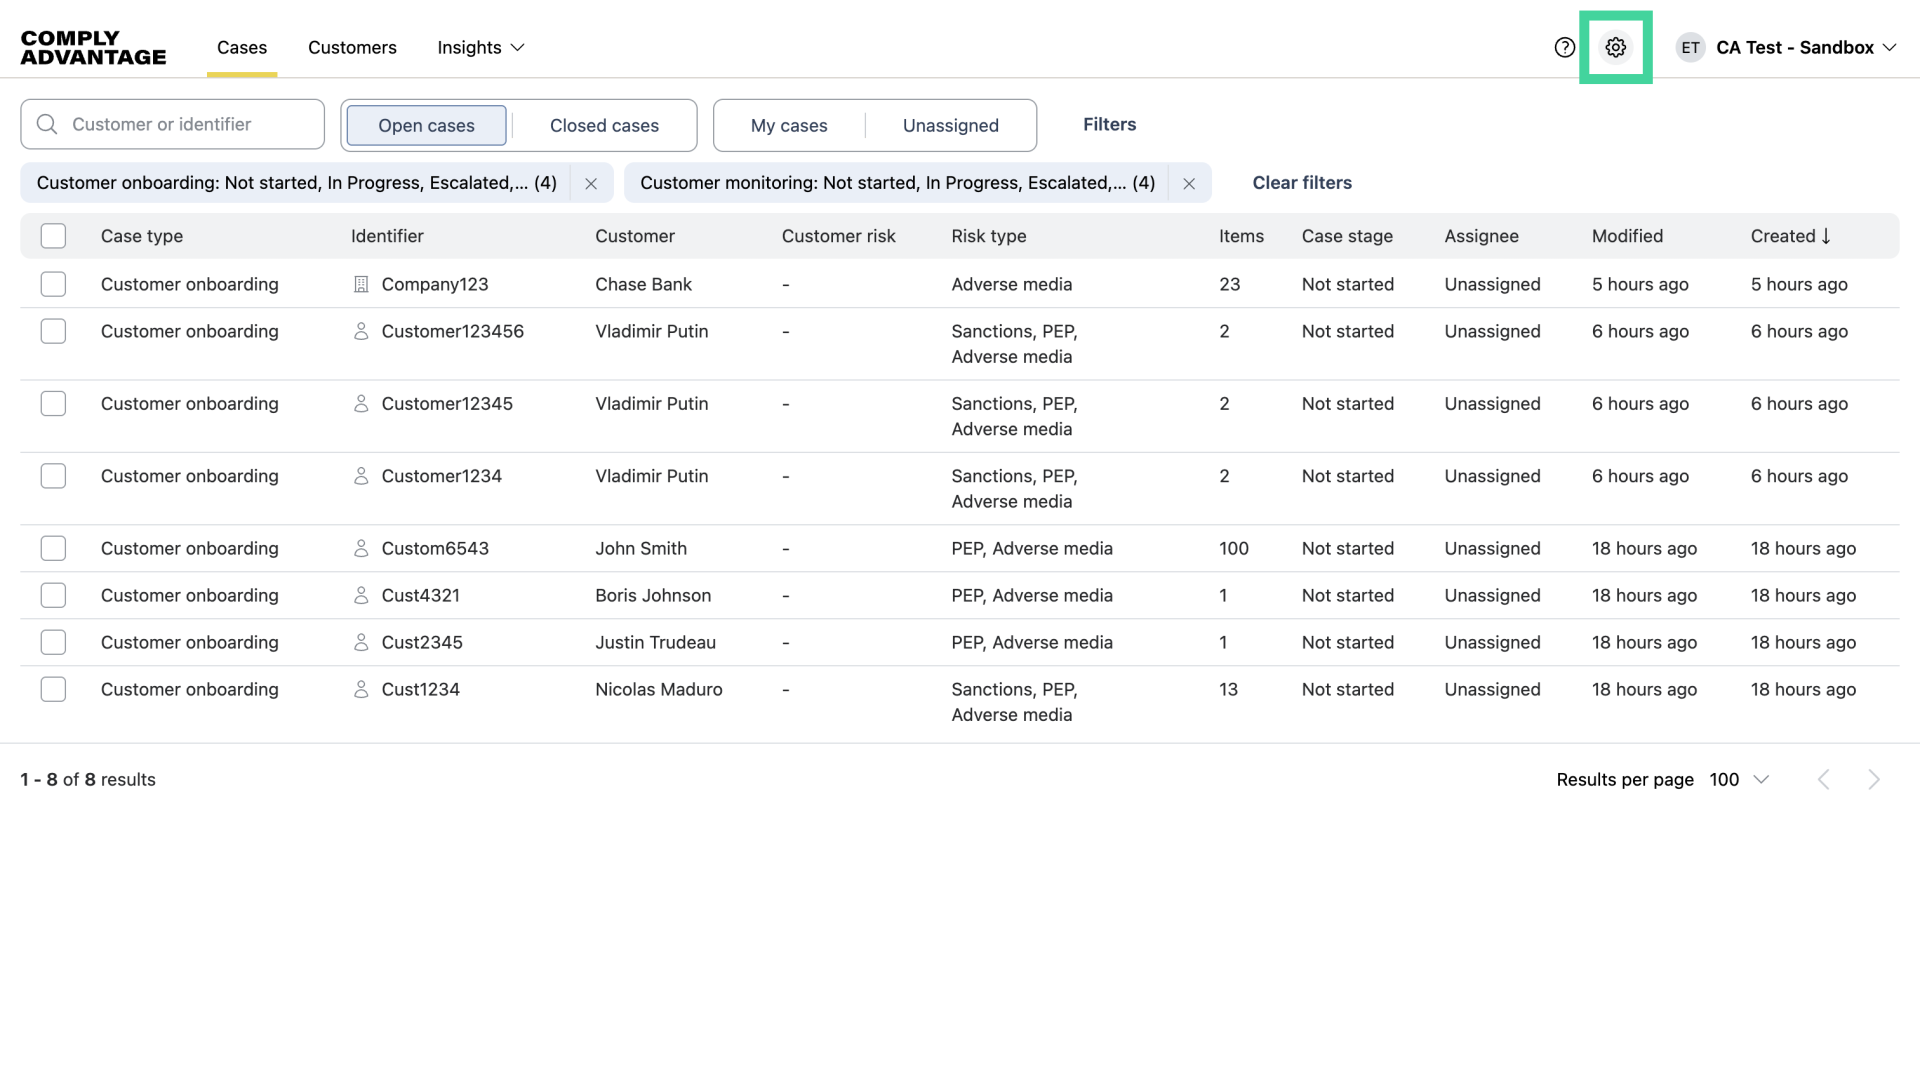
1. Click into Settings
First, to configure a case workflow, select the Settings icon.
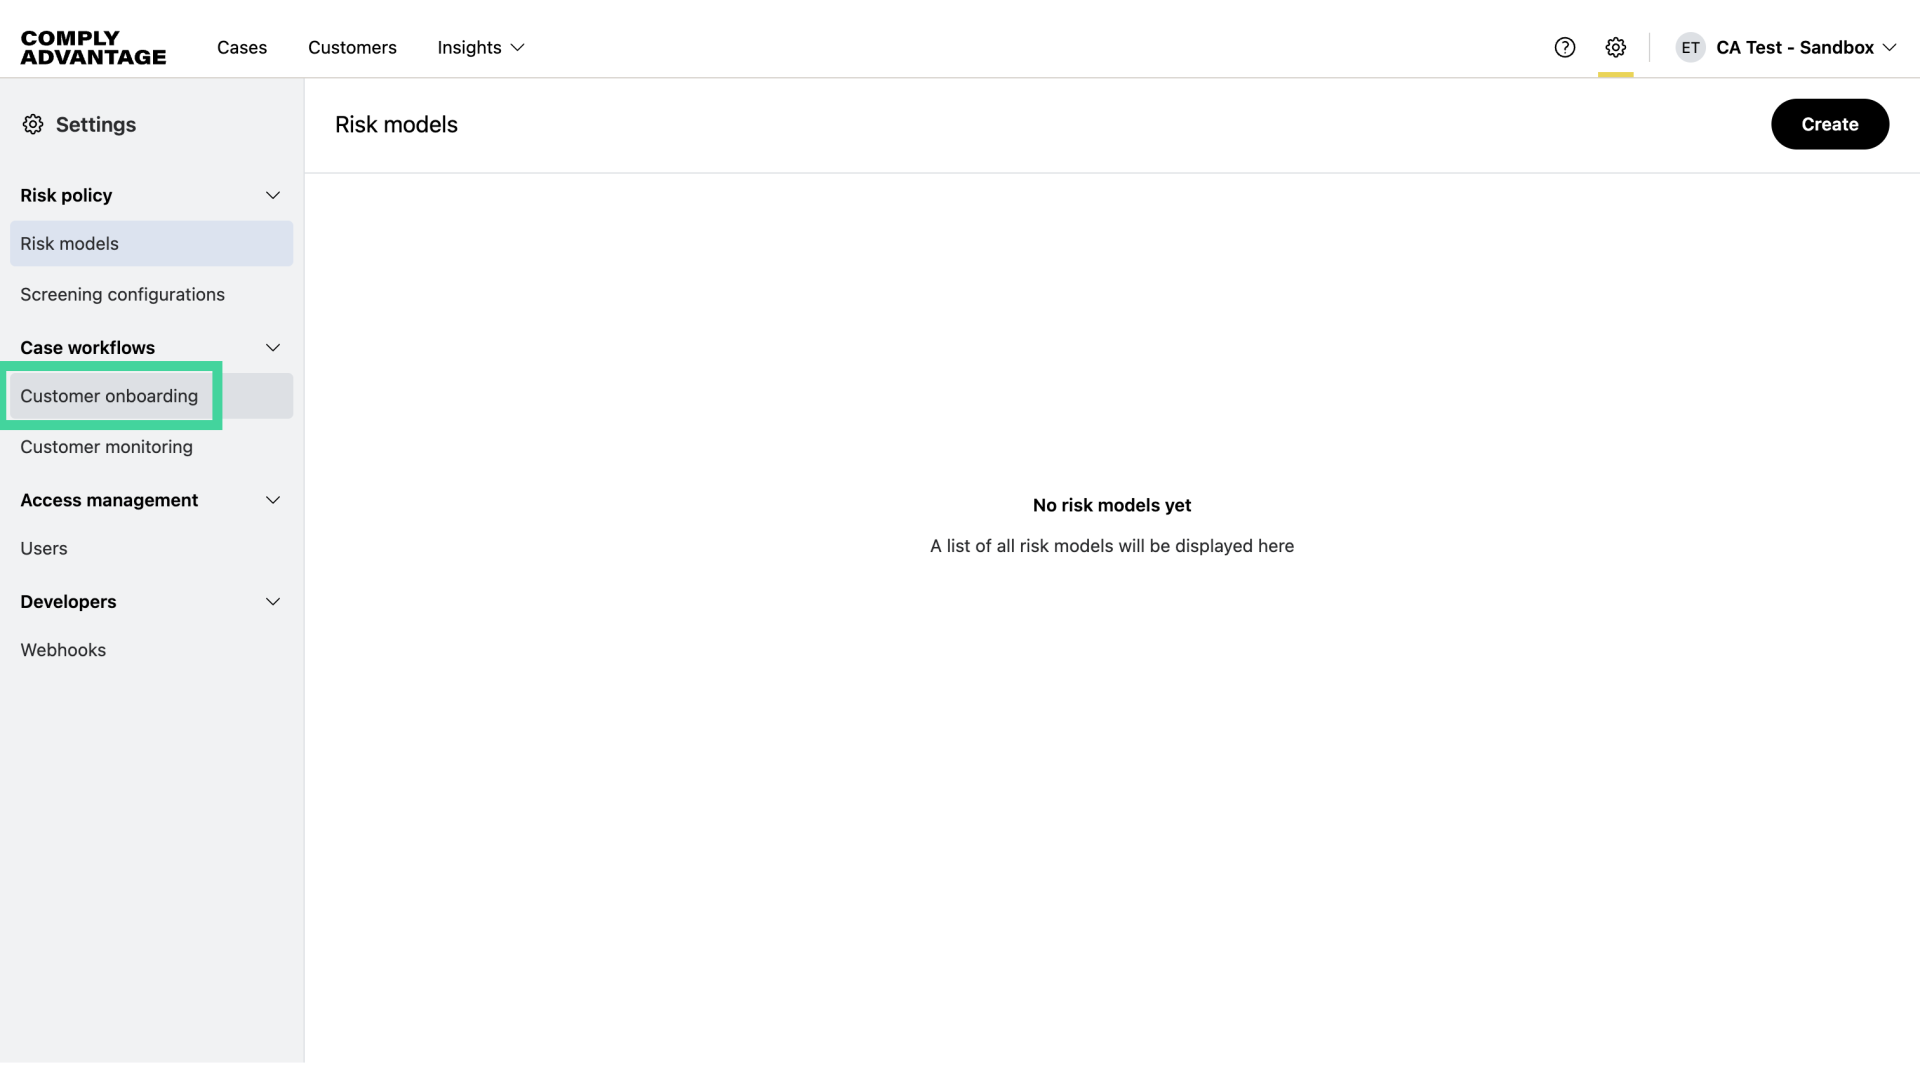
2. Navigate to the "Case workflows" section
Then, navigate to the "Case workflows" section.

3. Click "Customer onboarding"
Click on "Customer Onboarding."
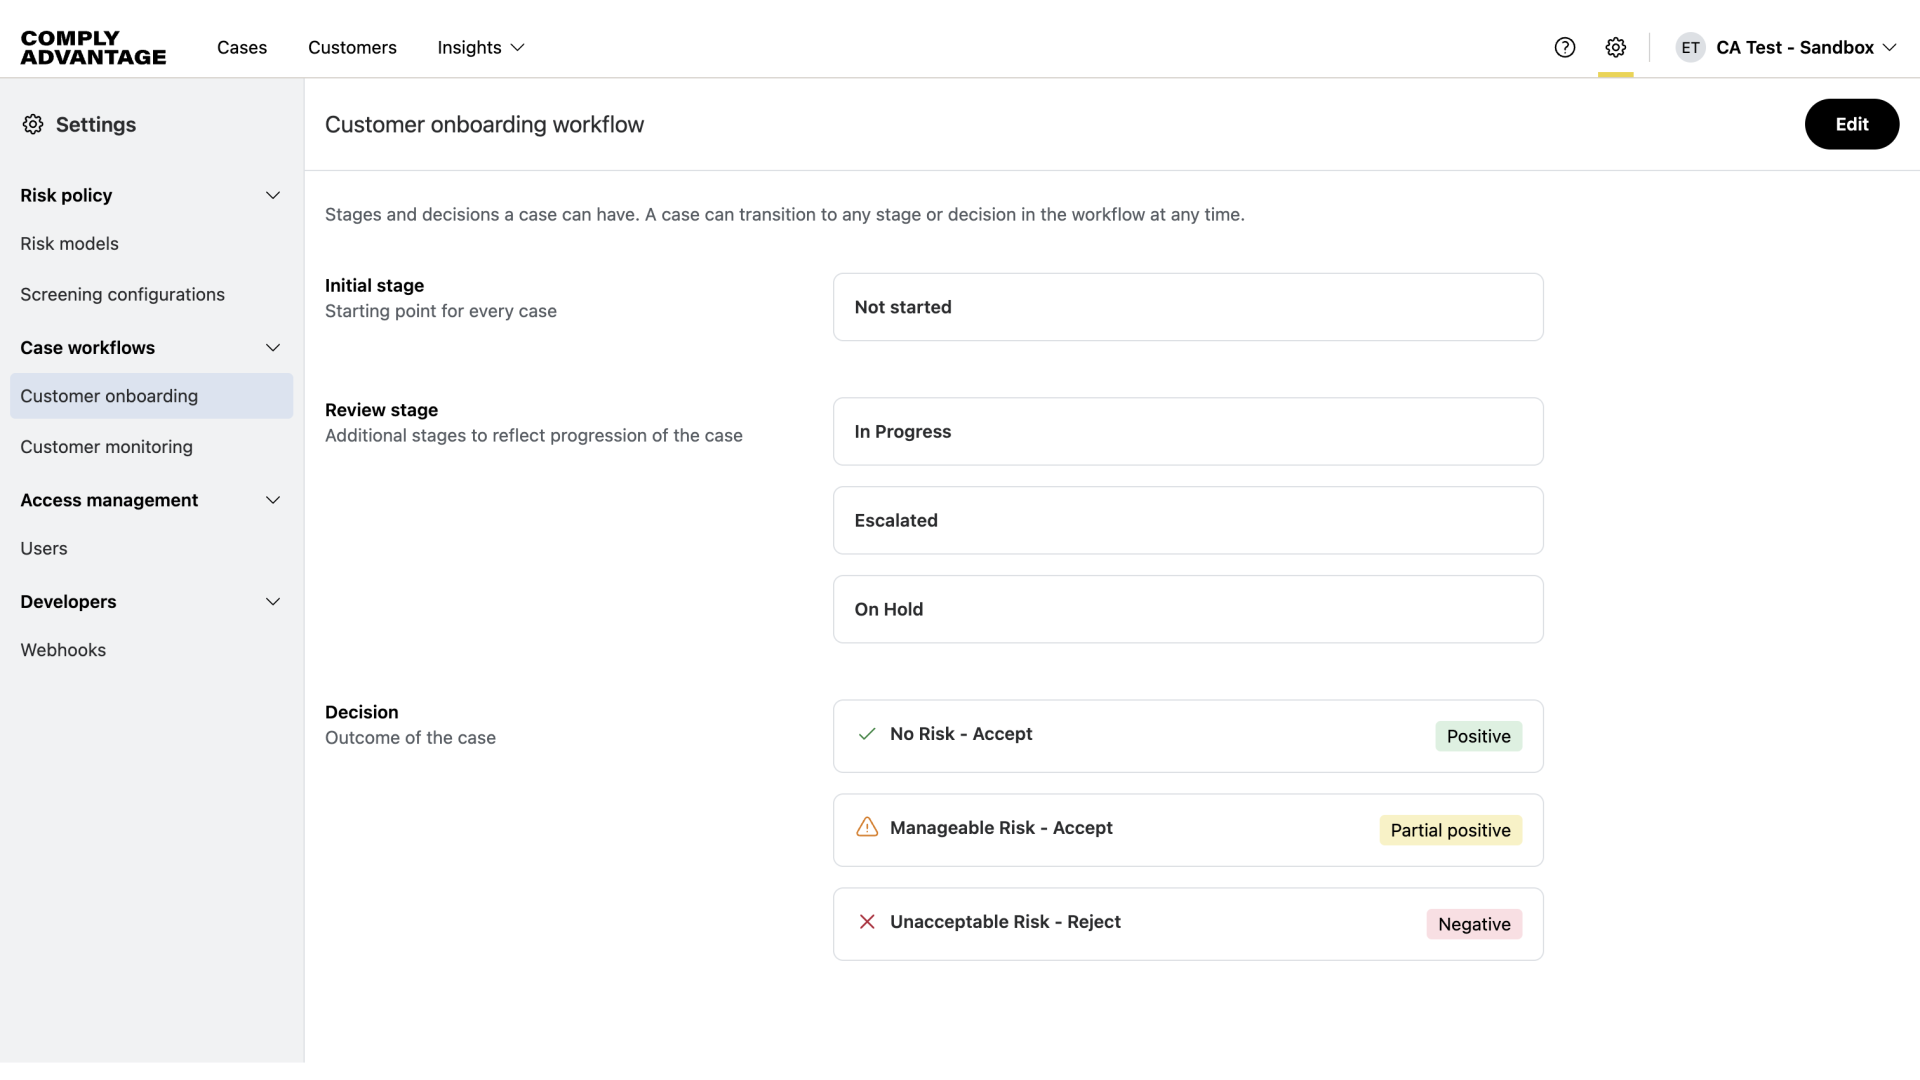
4. Review case stages
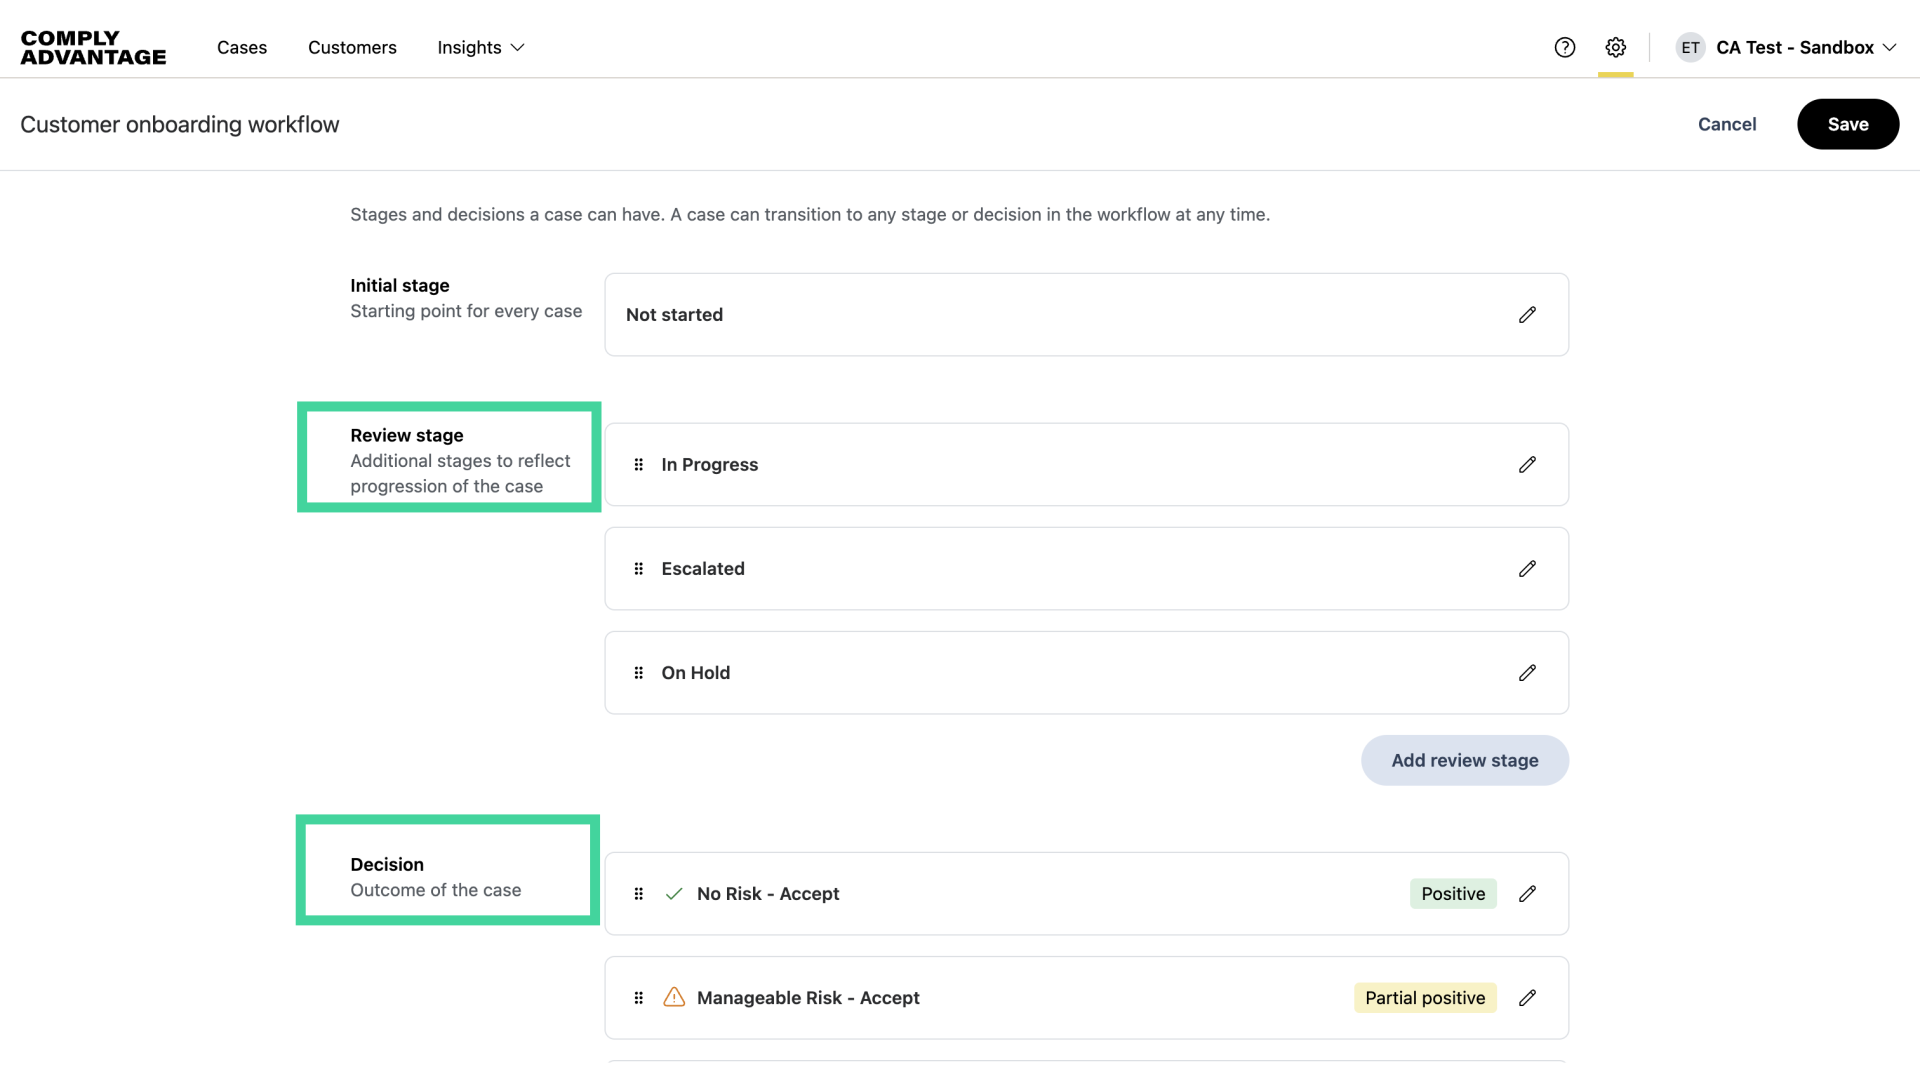
In Mesh, cases progress through three stages: Initial, Review, and Decision.
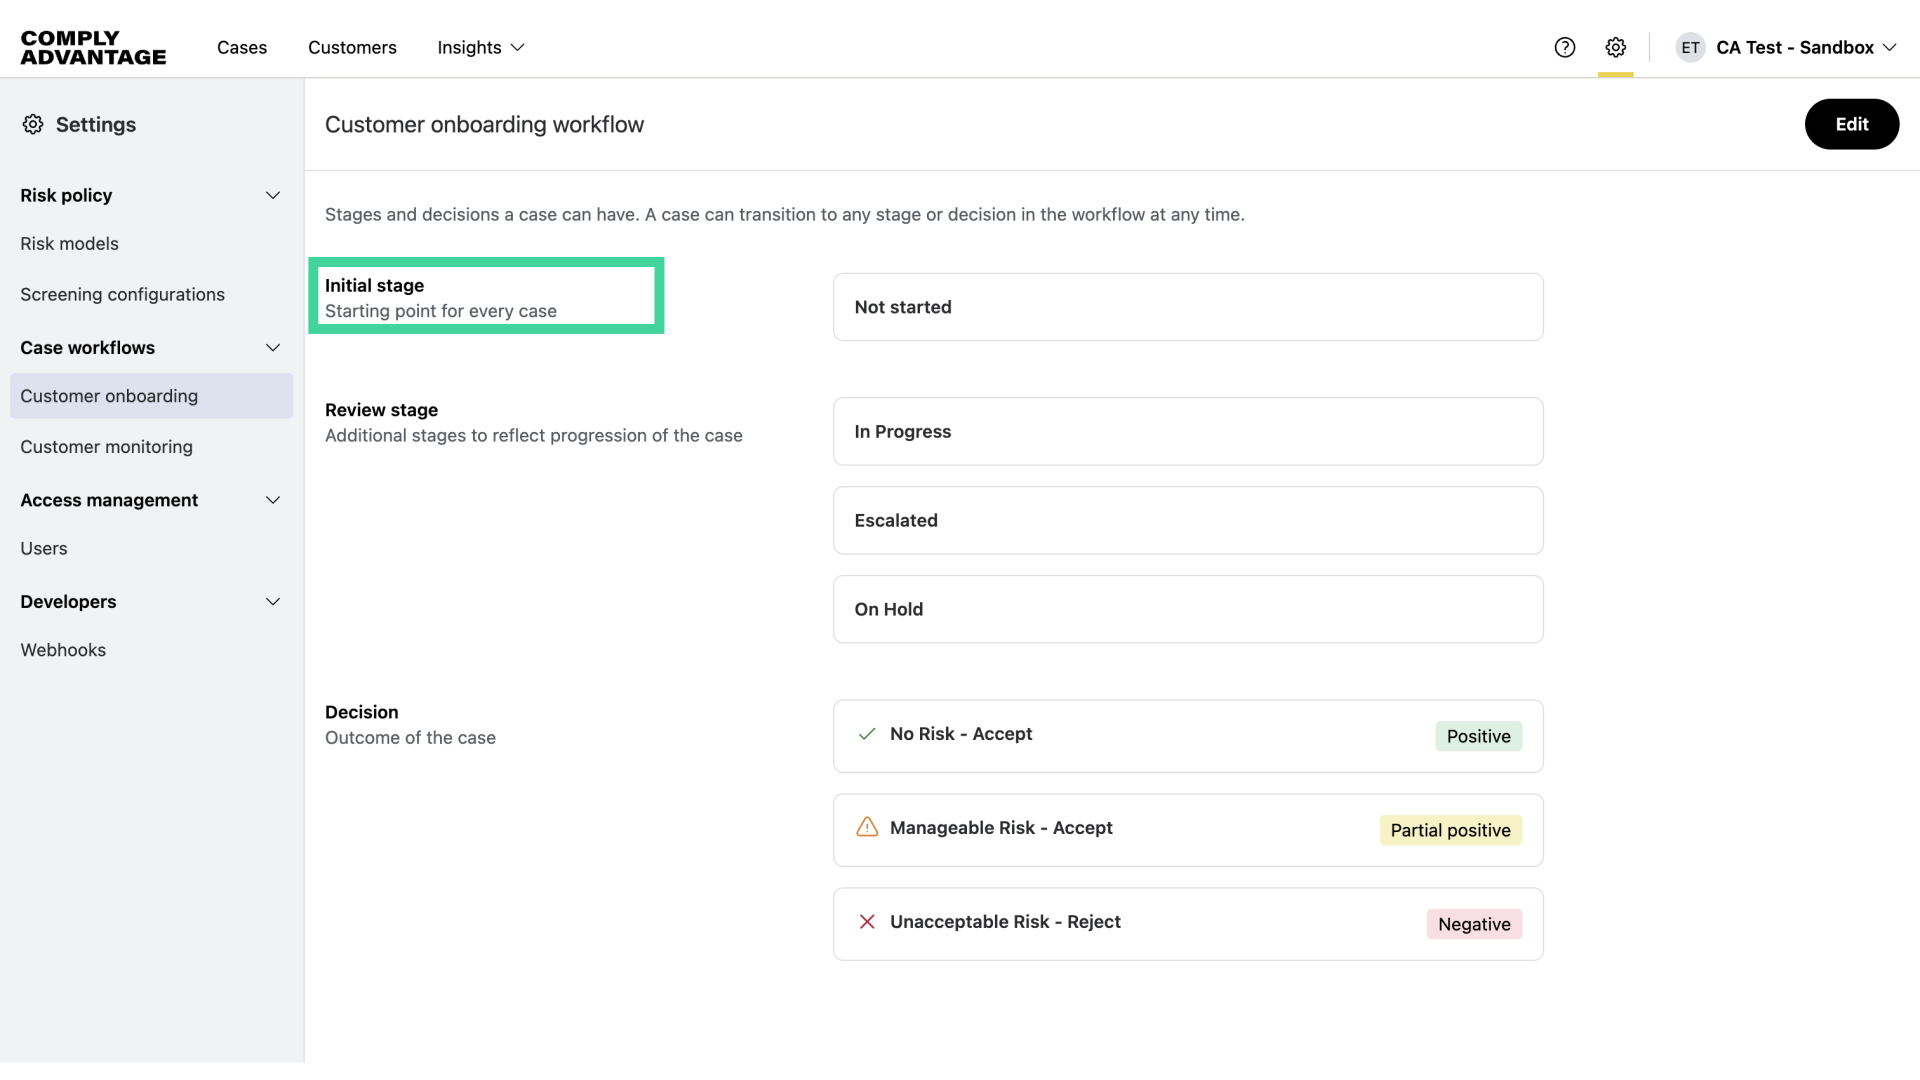
5. Stage 1: Initial Stage
The Initial Stage is where each case begins, with only one initial stage per workflow.
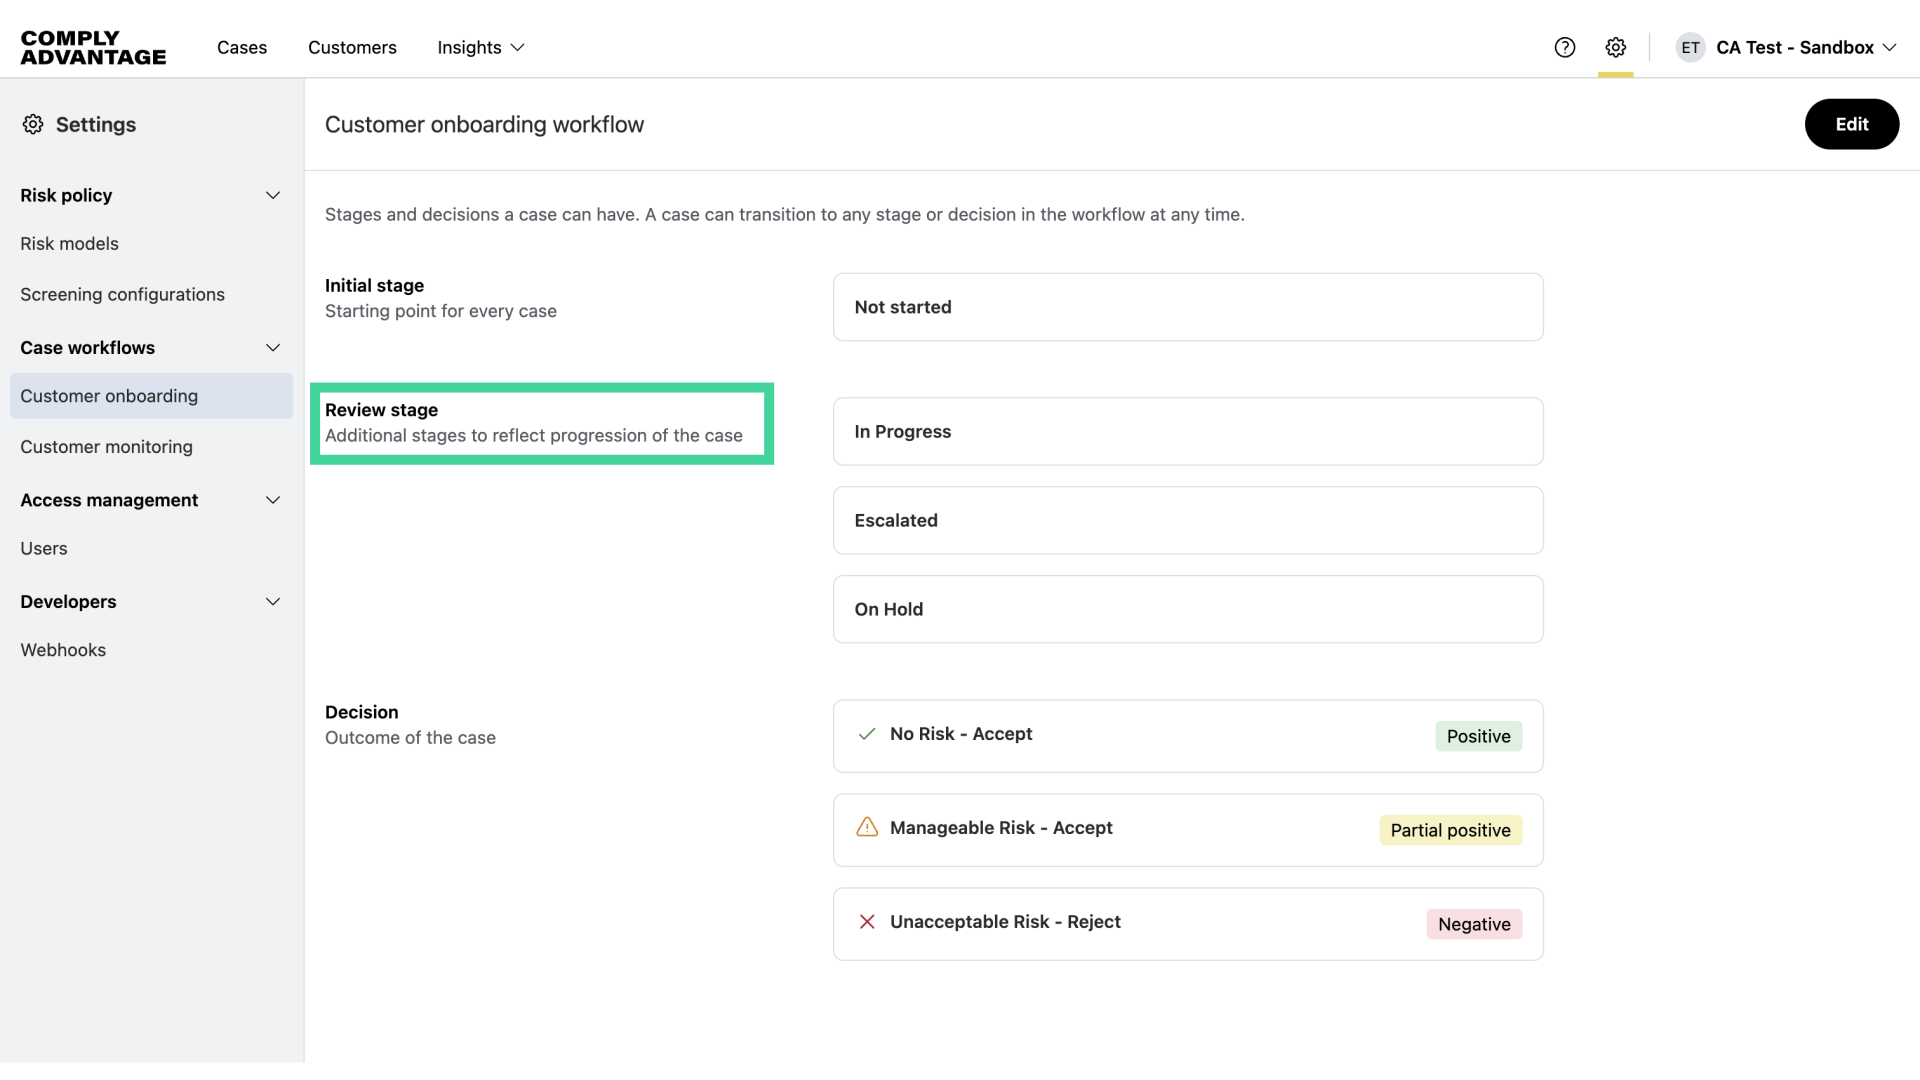
6. Stage 2: Review stage
The Review Stage involves various reviews as the case advances.
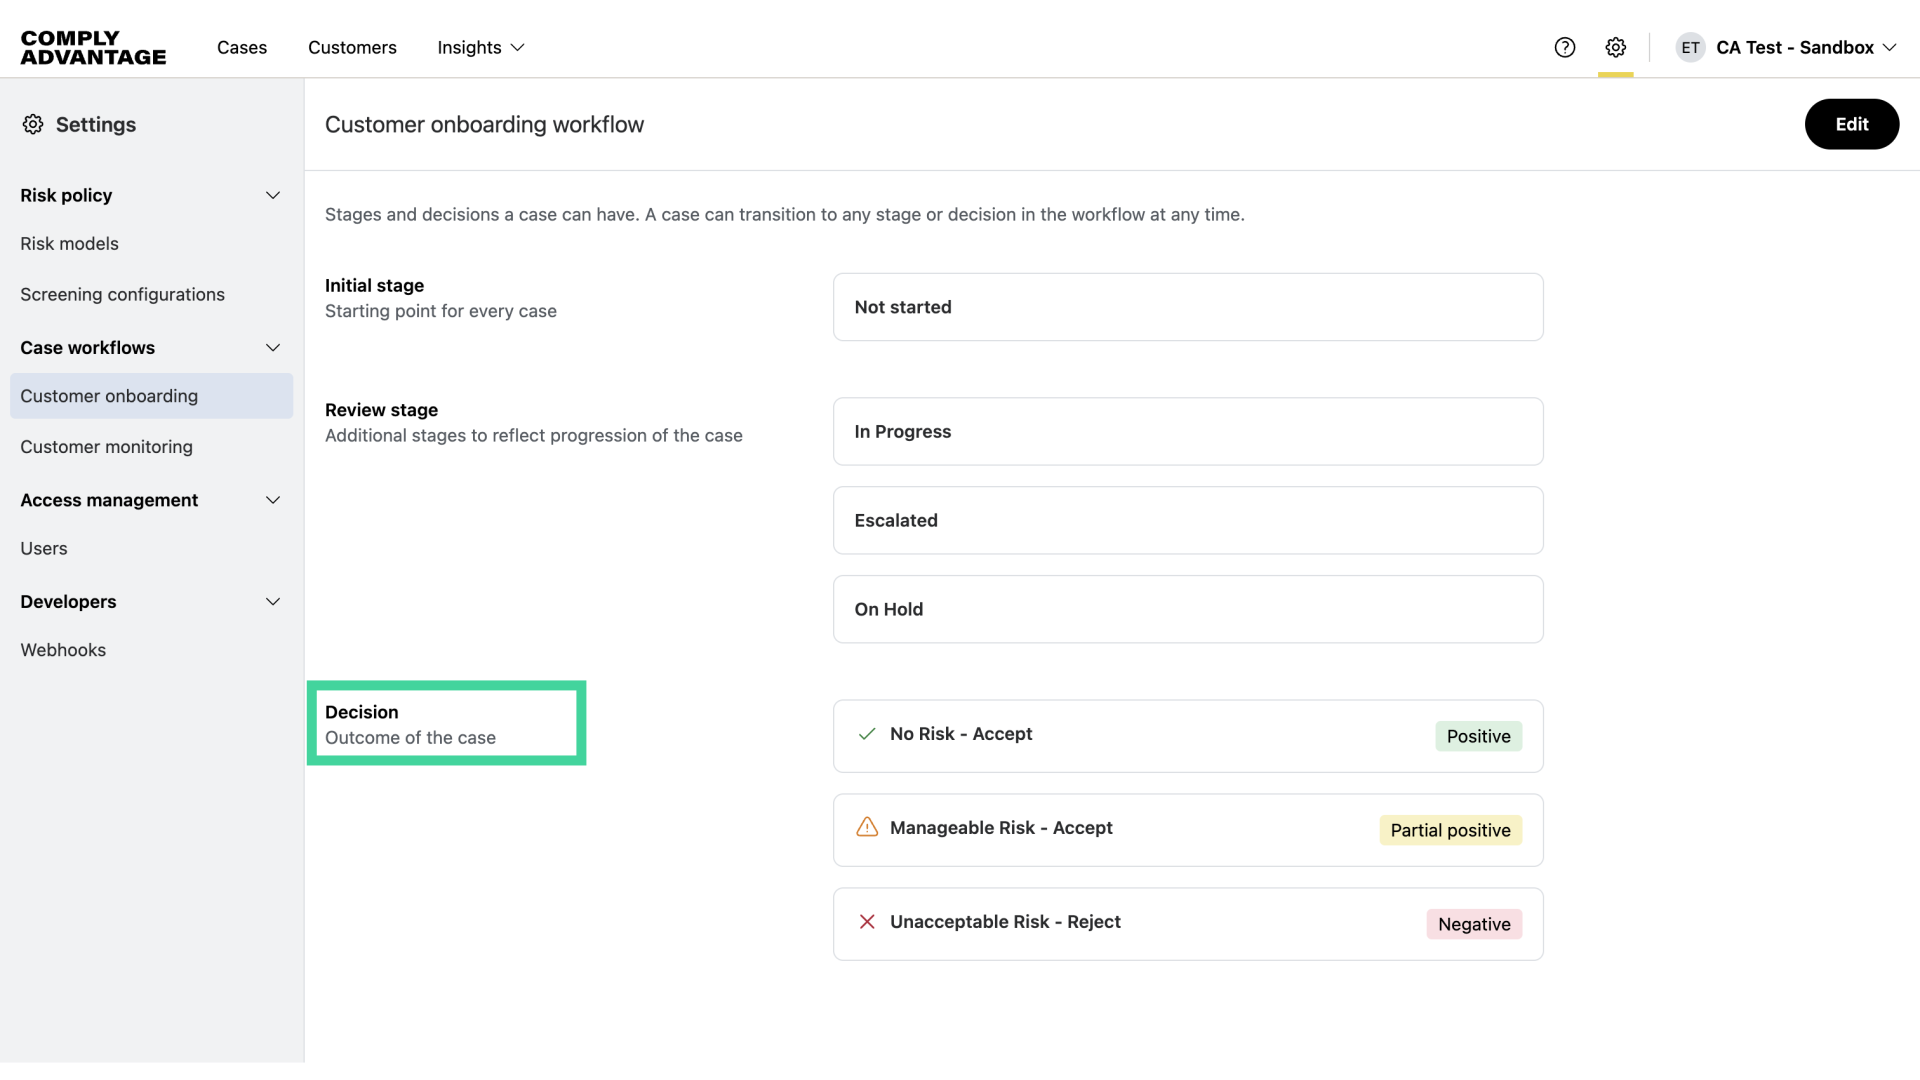
7. Stage 3: Decision
The Decision Stage is the final step, where the case is closed.
8. Review case types
Each case type has its own workflow that can be modified independently. We will now demonstrate how to adjust these stages to meet your needs.

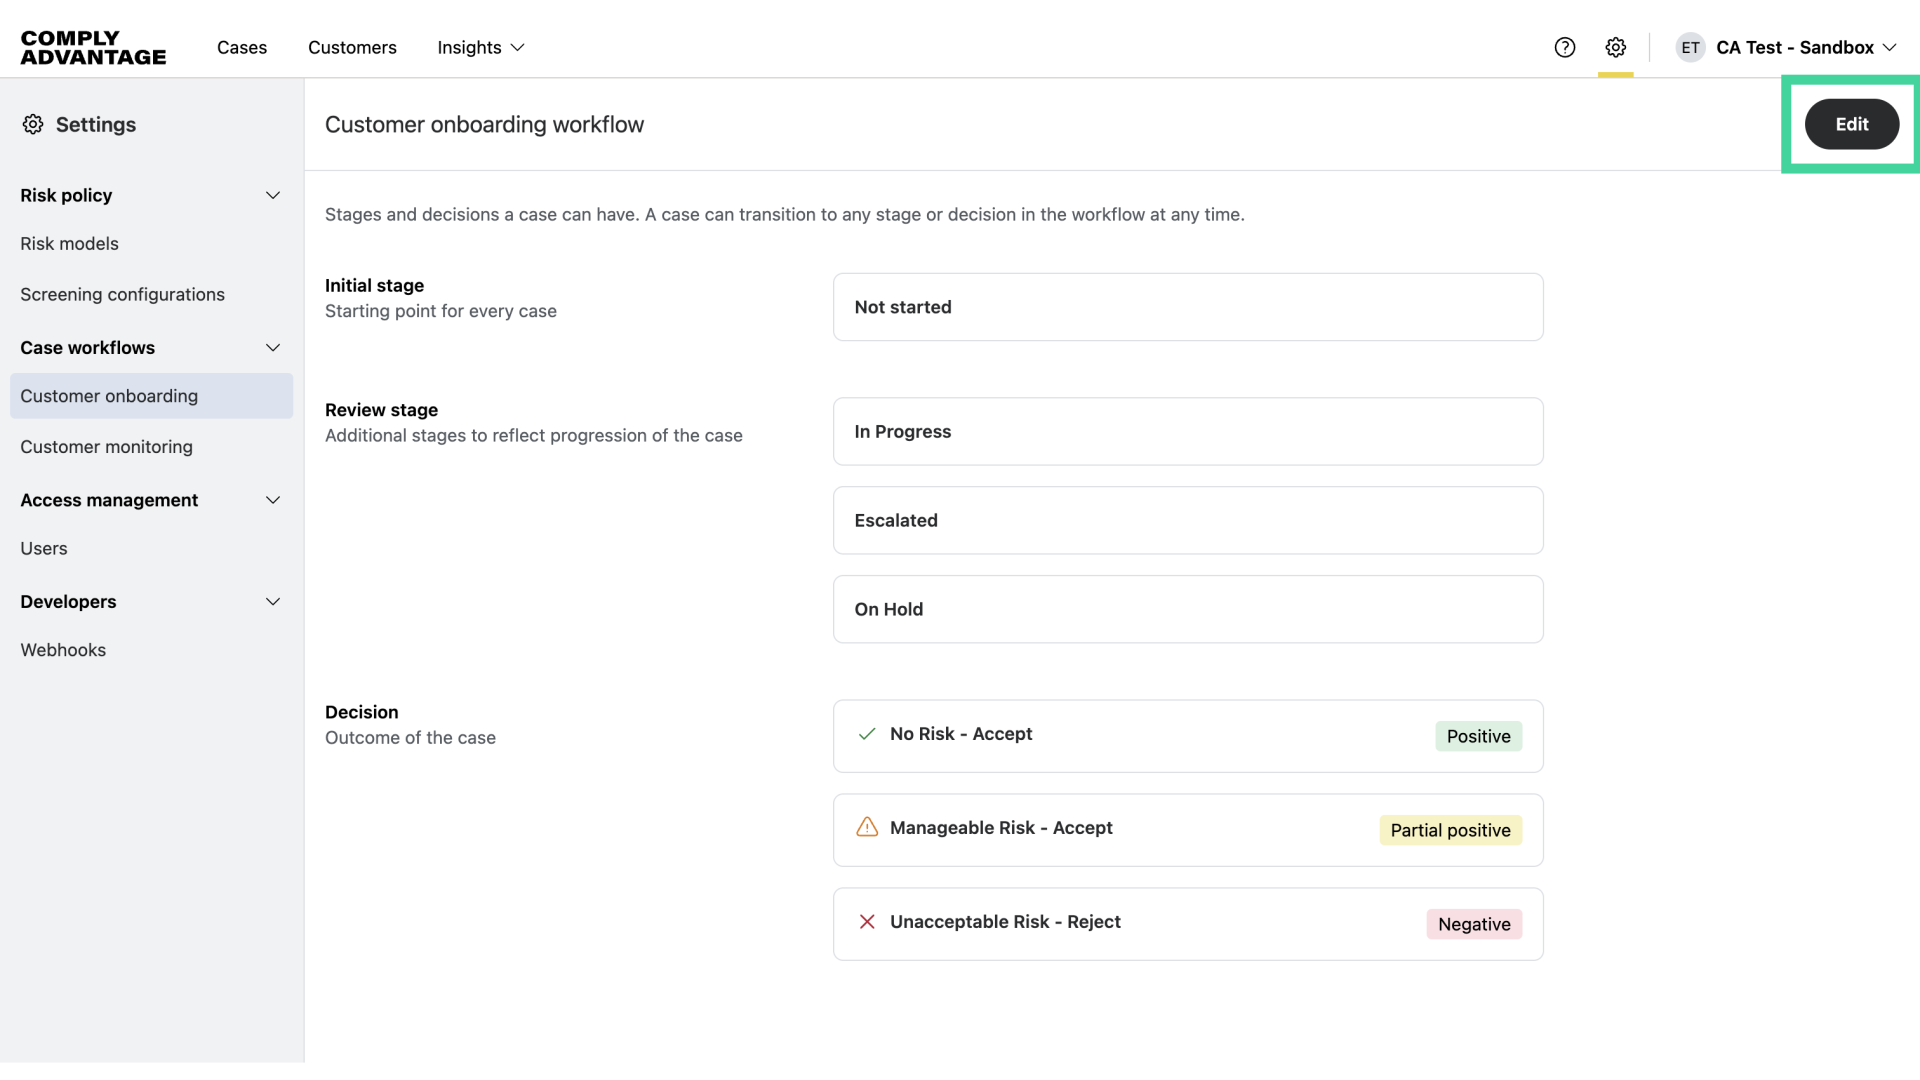
9. Click "Edit"
First, select "Edit.
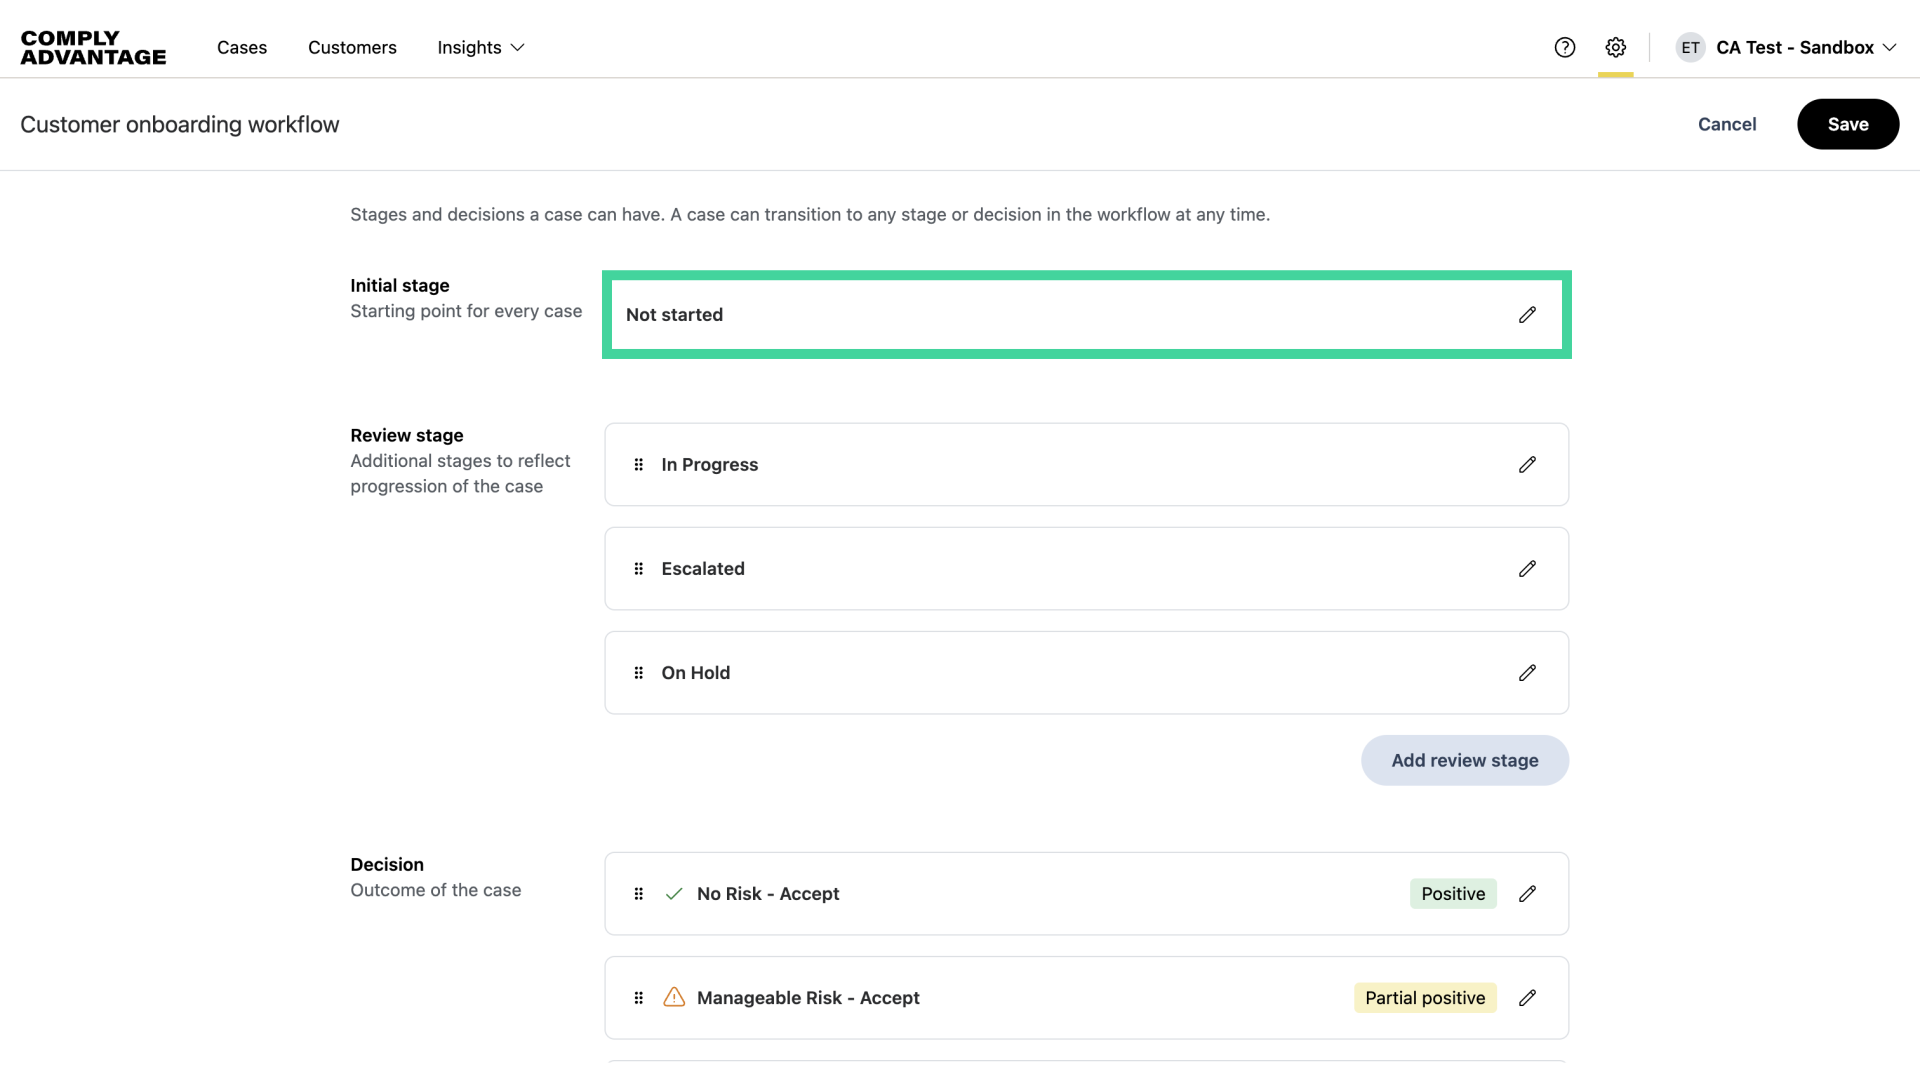
10. Modifying a Stage
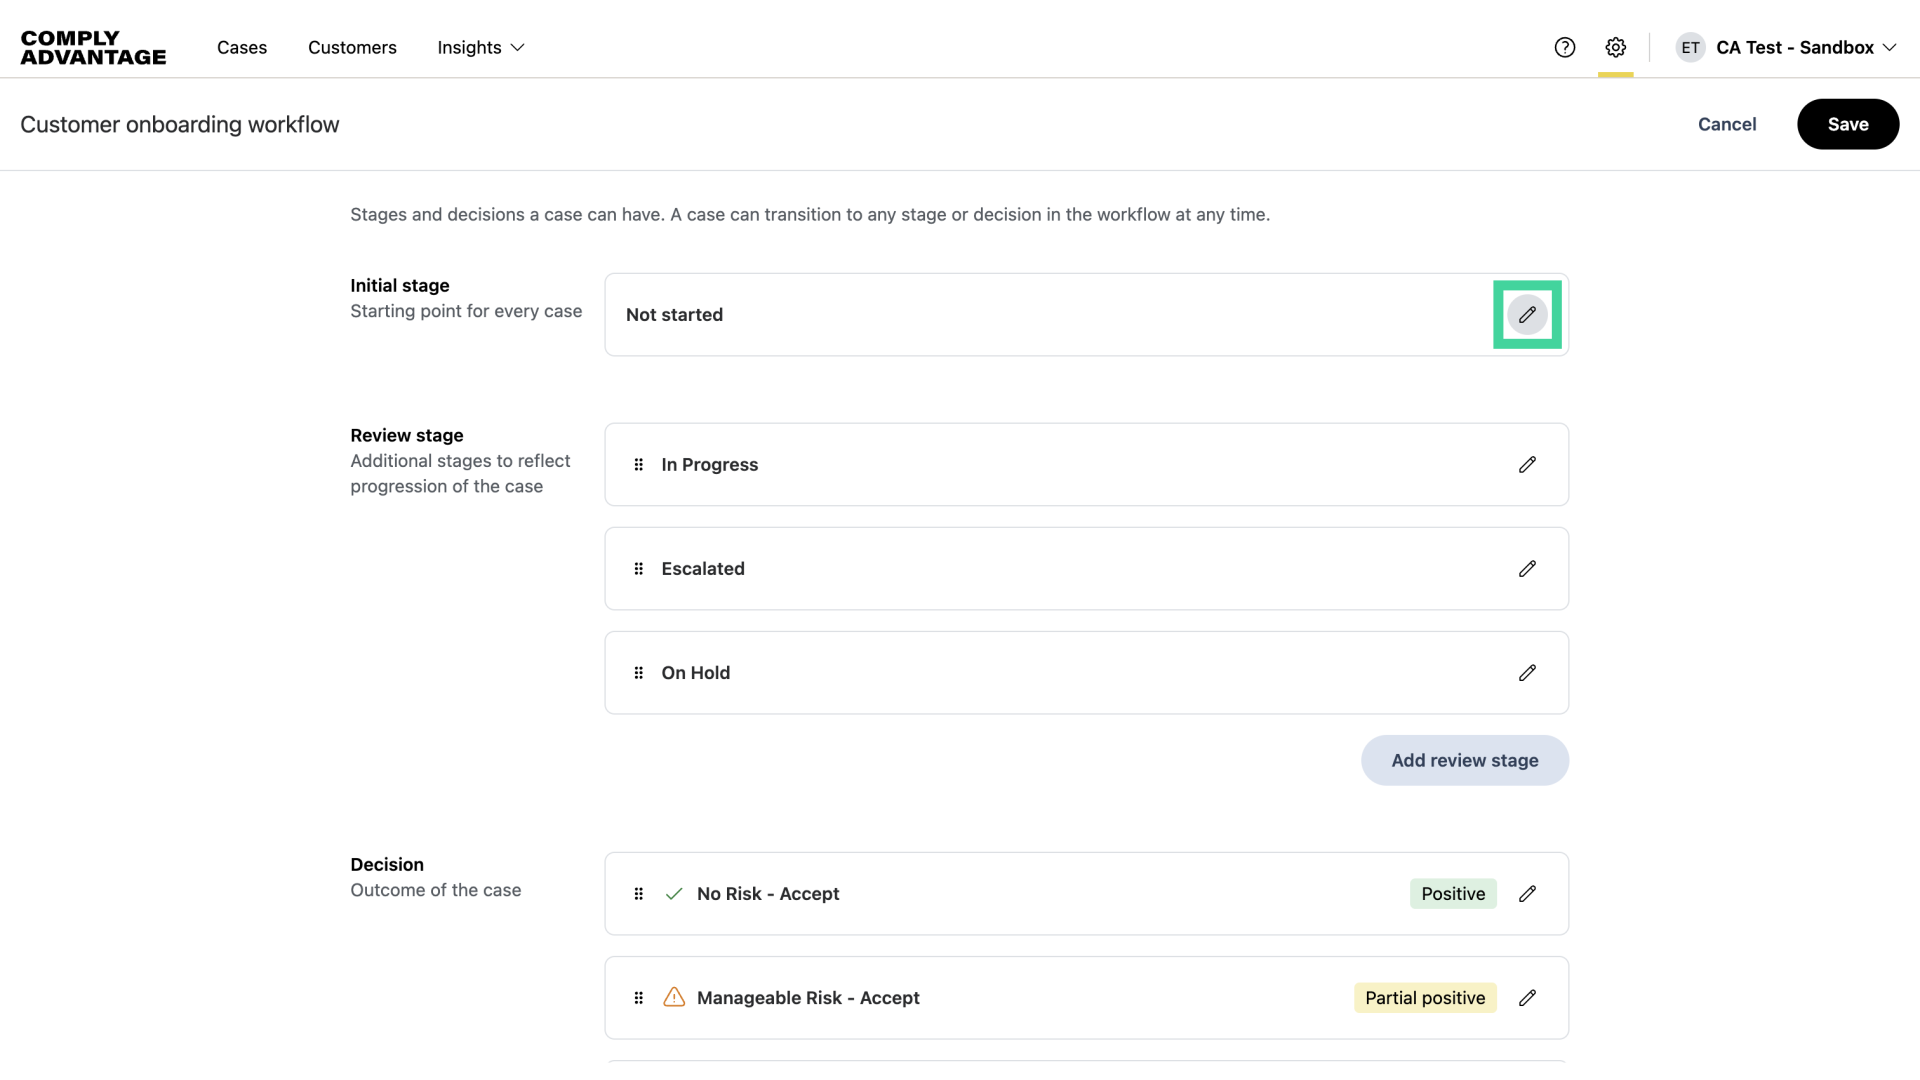
You have the ability to modify the name of the initial stage.
11. Click here
Click on the pencil icon.
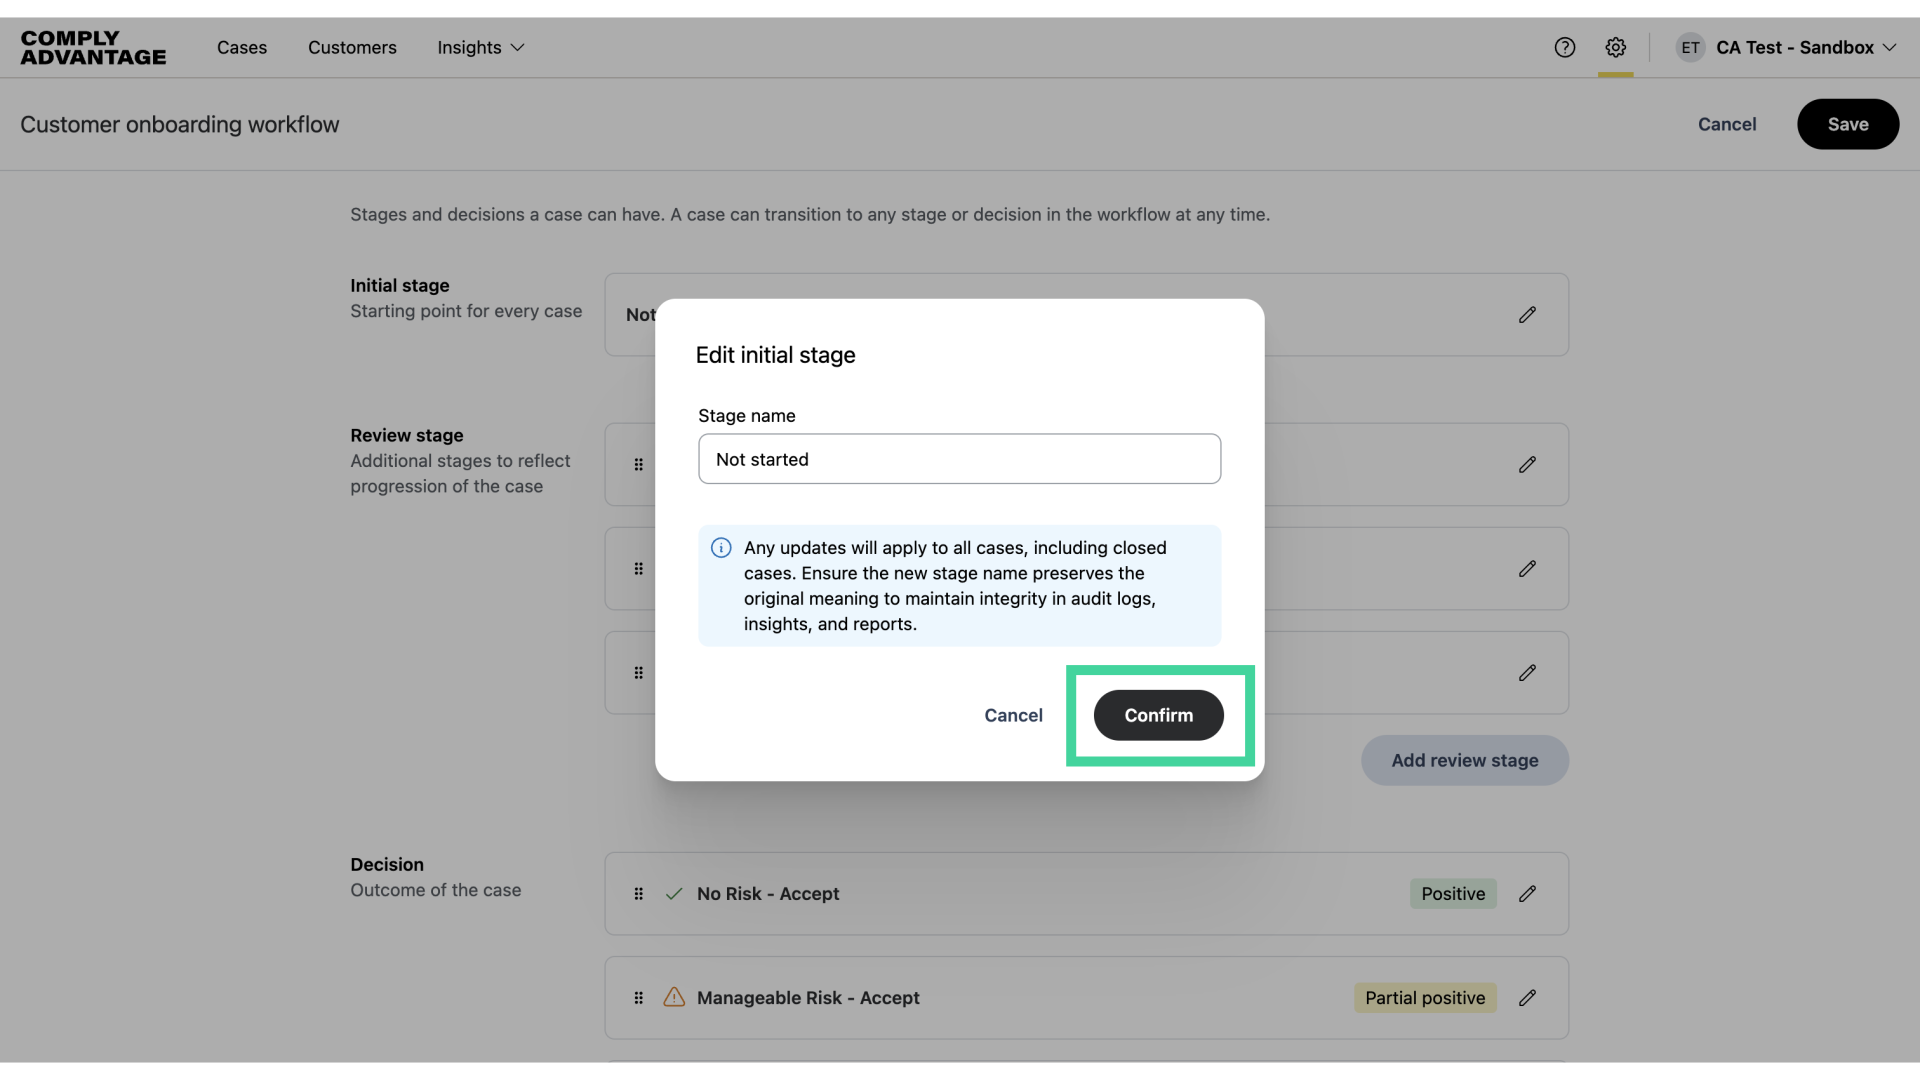
12. Click "Confirm"
After adding a new stage name, click "Confirm."
13. Modifying the Review and Decision stages
You can also modify the Review and Decision Stages in the same way.
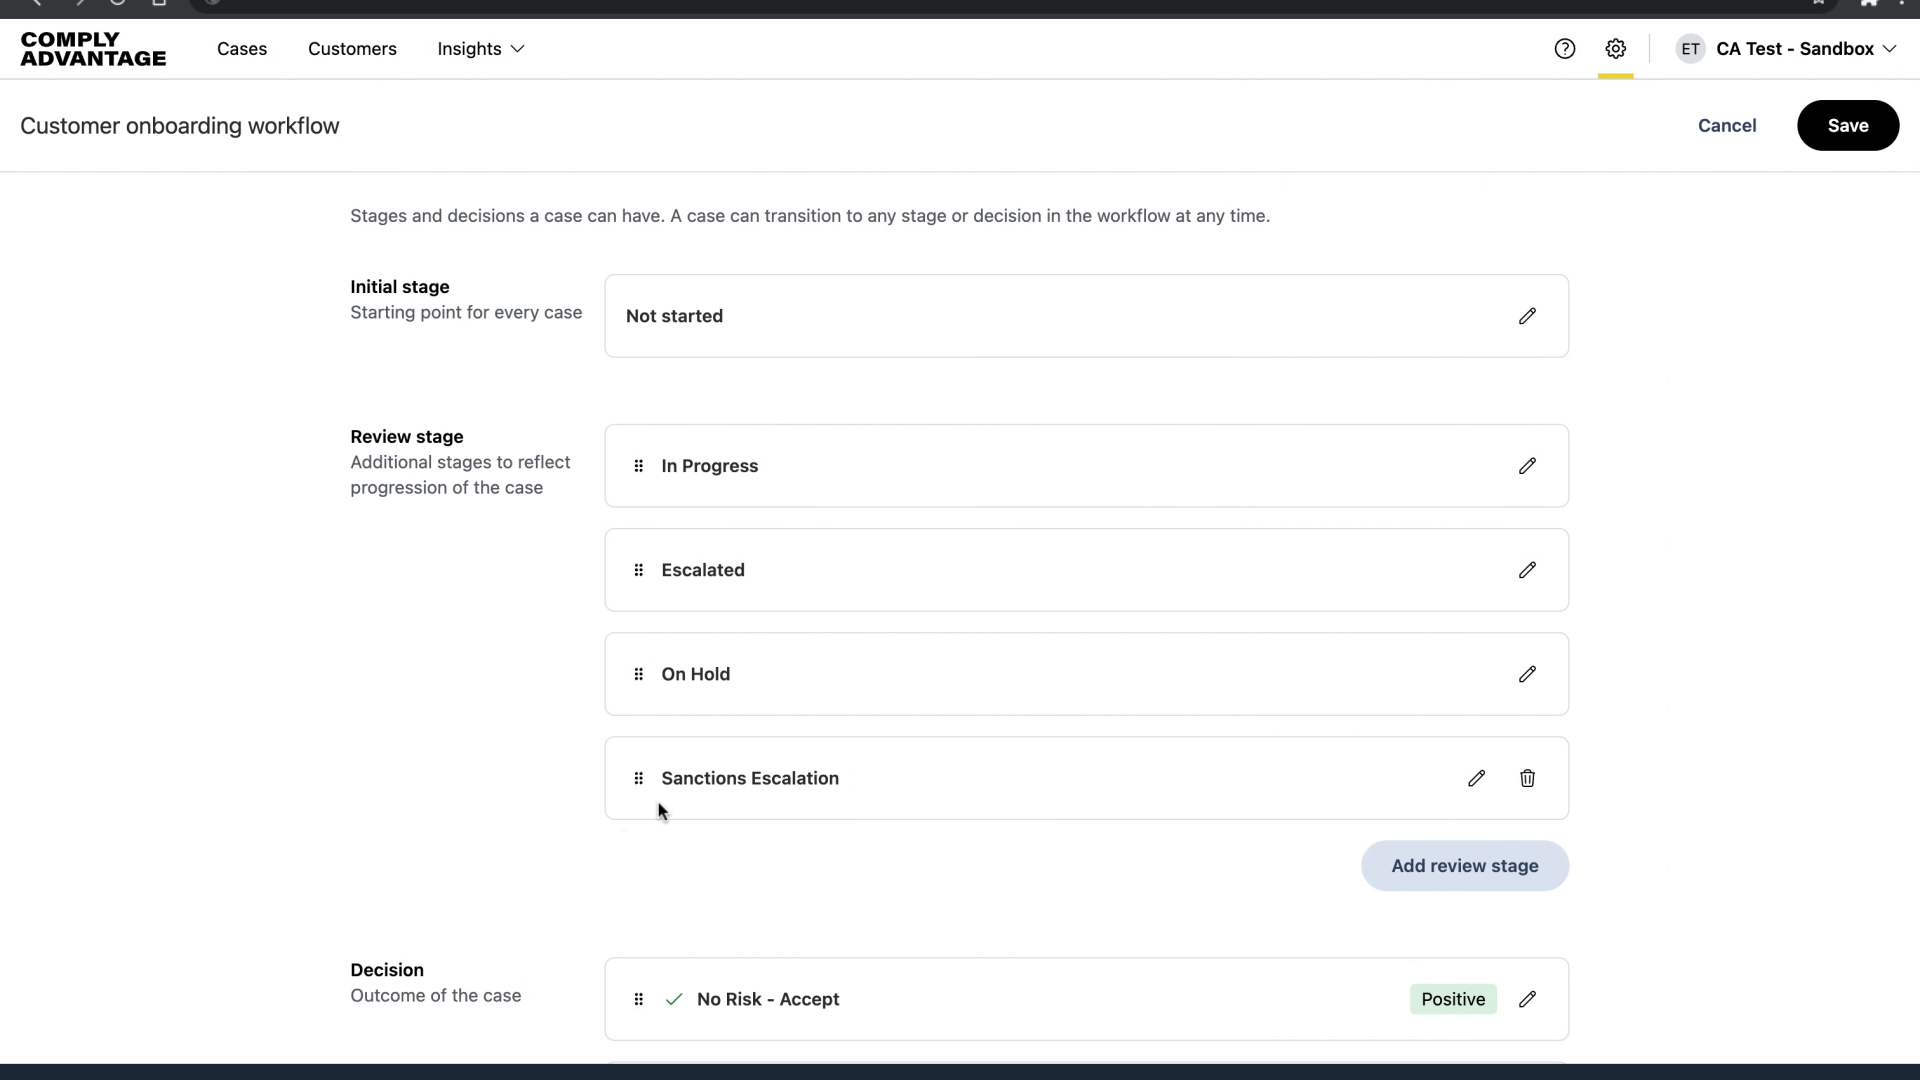
14. Adding a stage
Additionally, you have the ability to add in new stages.
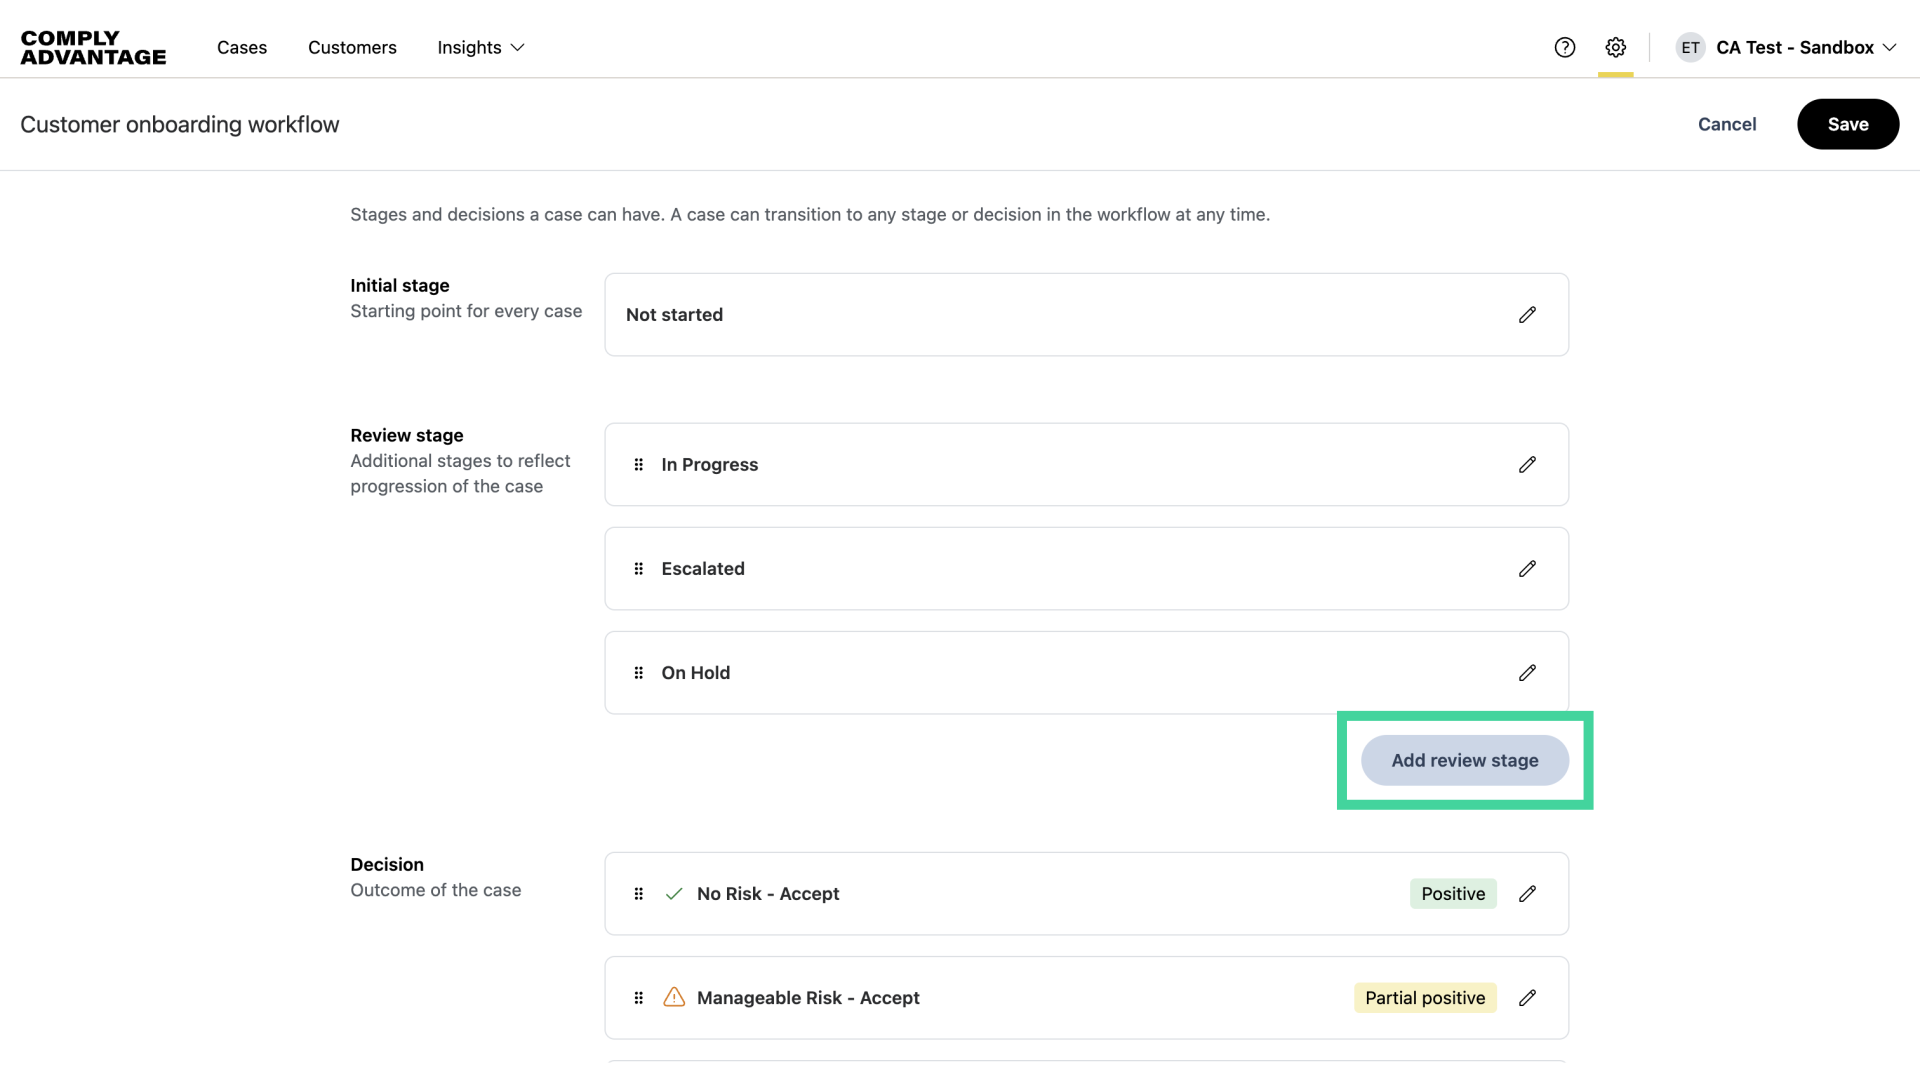
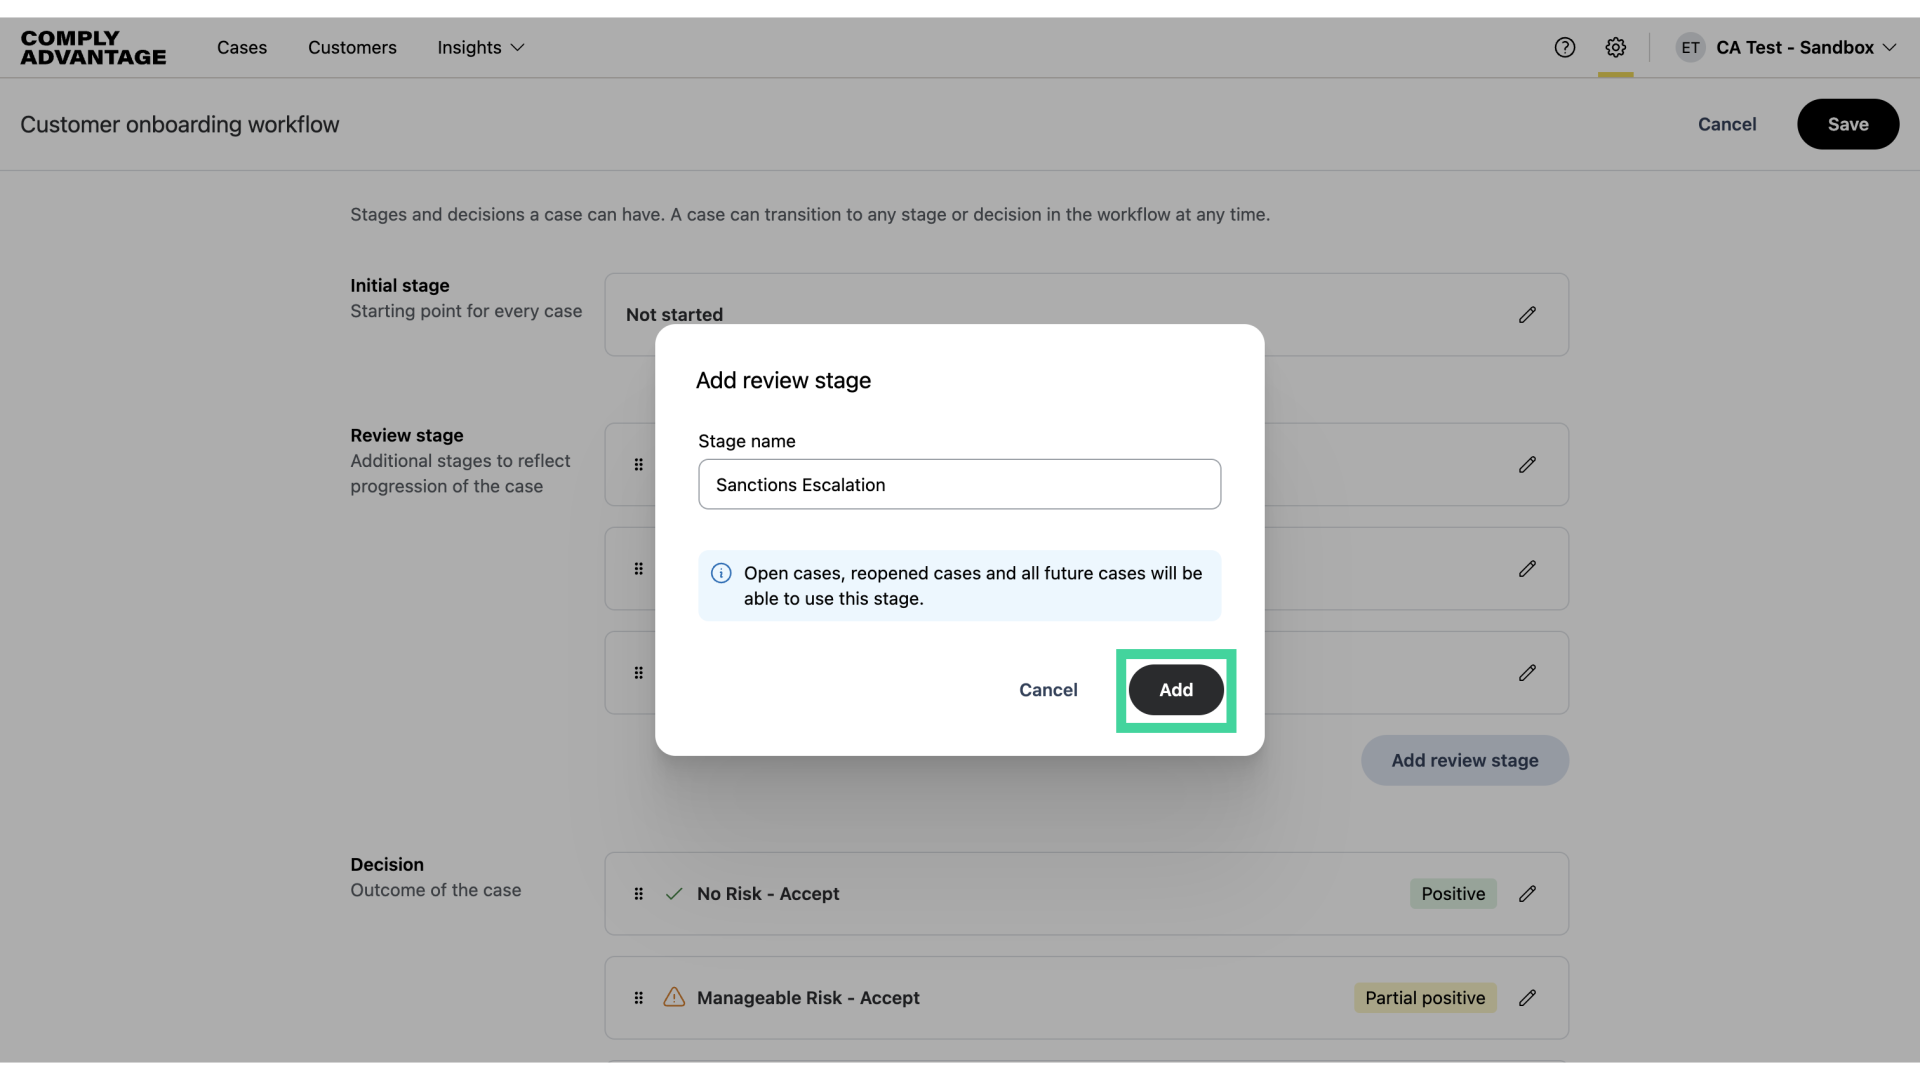
15. Click "Add"
Fill in the name of your new stage and click "Add."
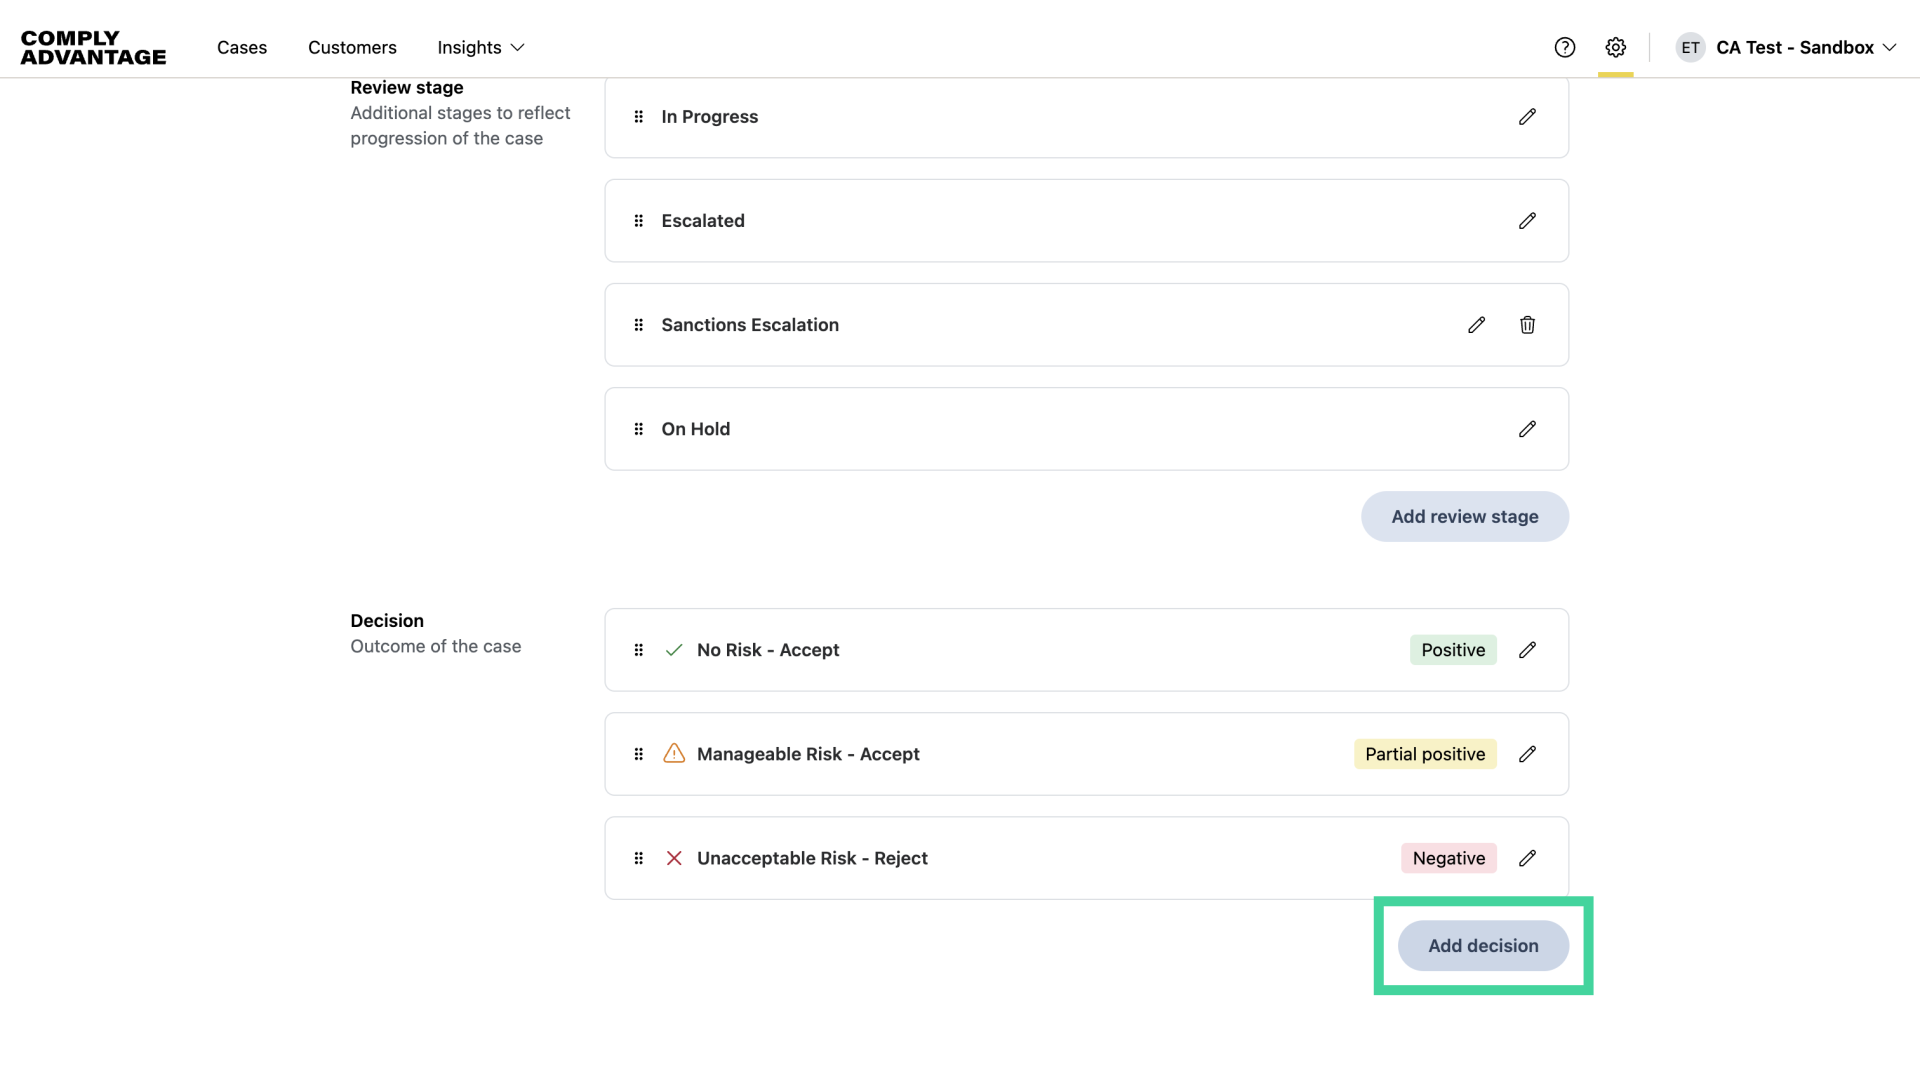
16. Click "Add decision"
You can also add a new decision.
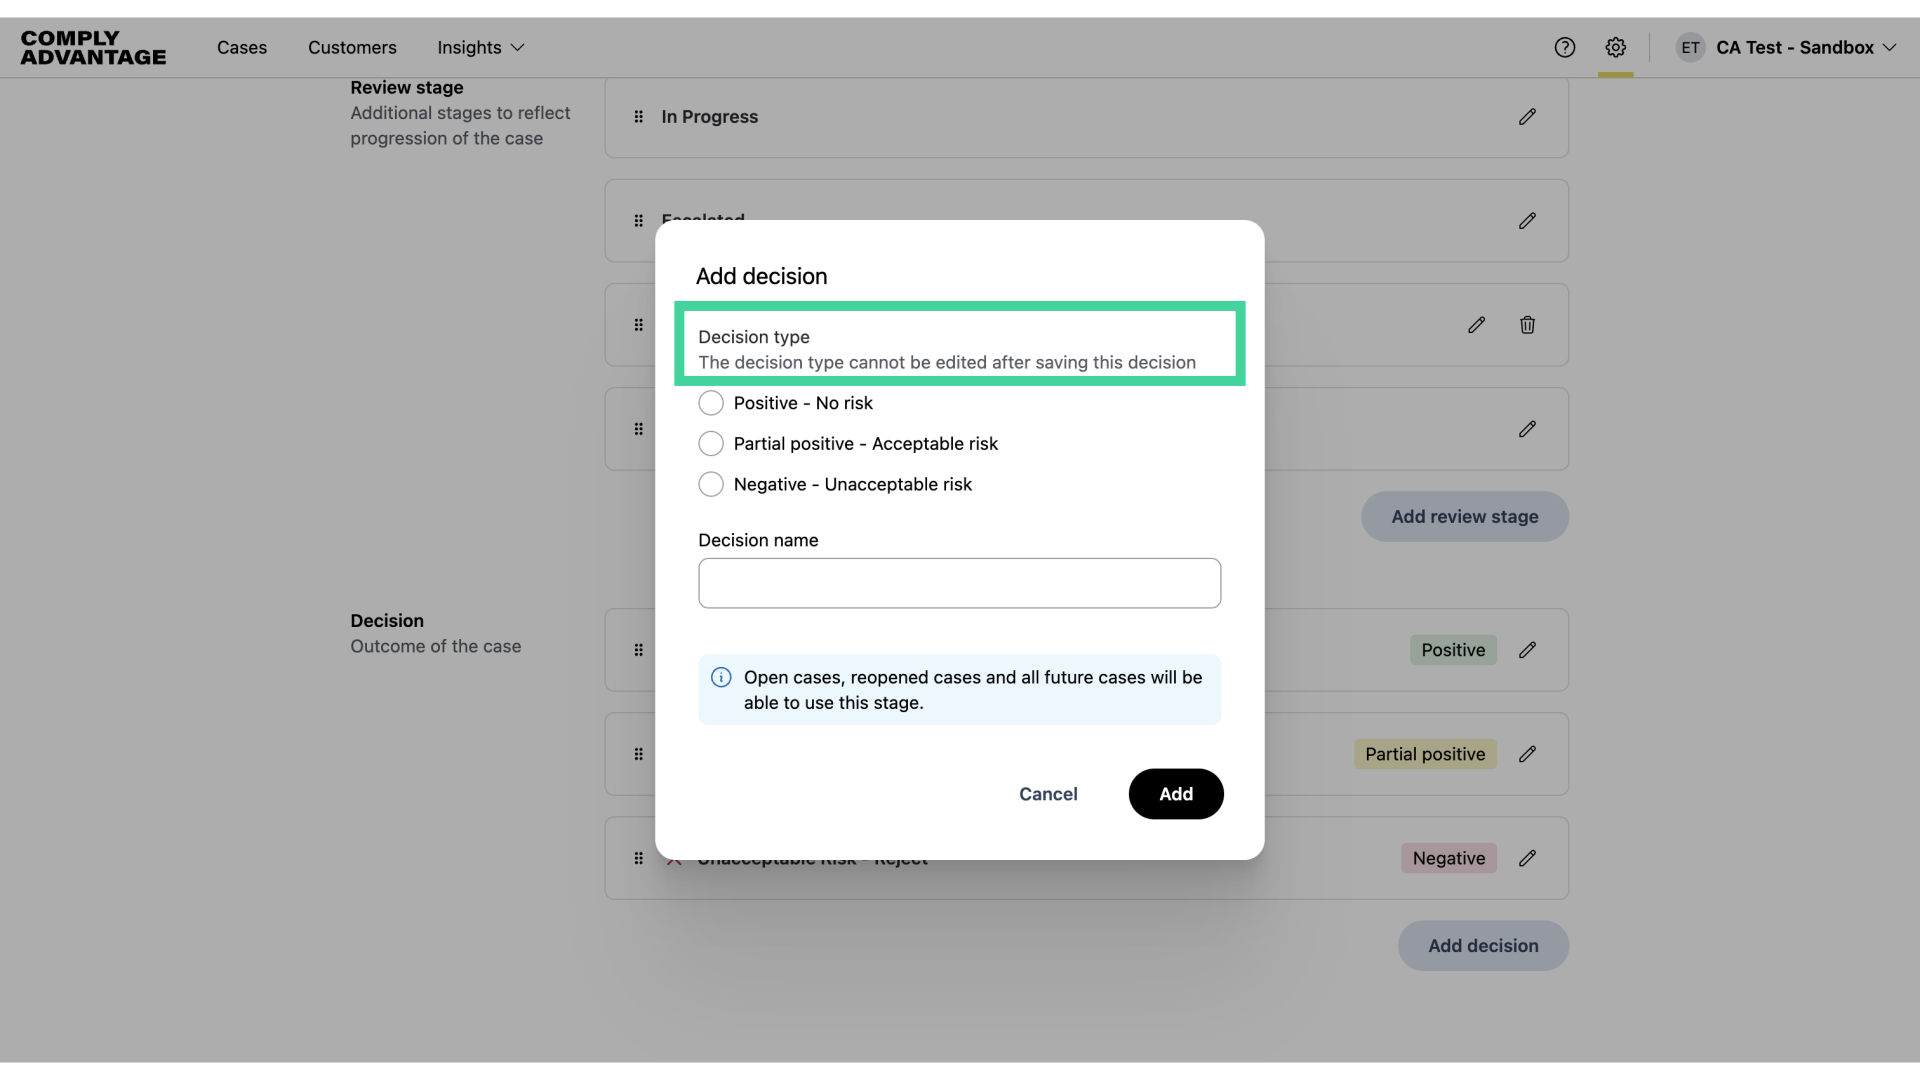
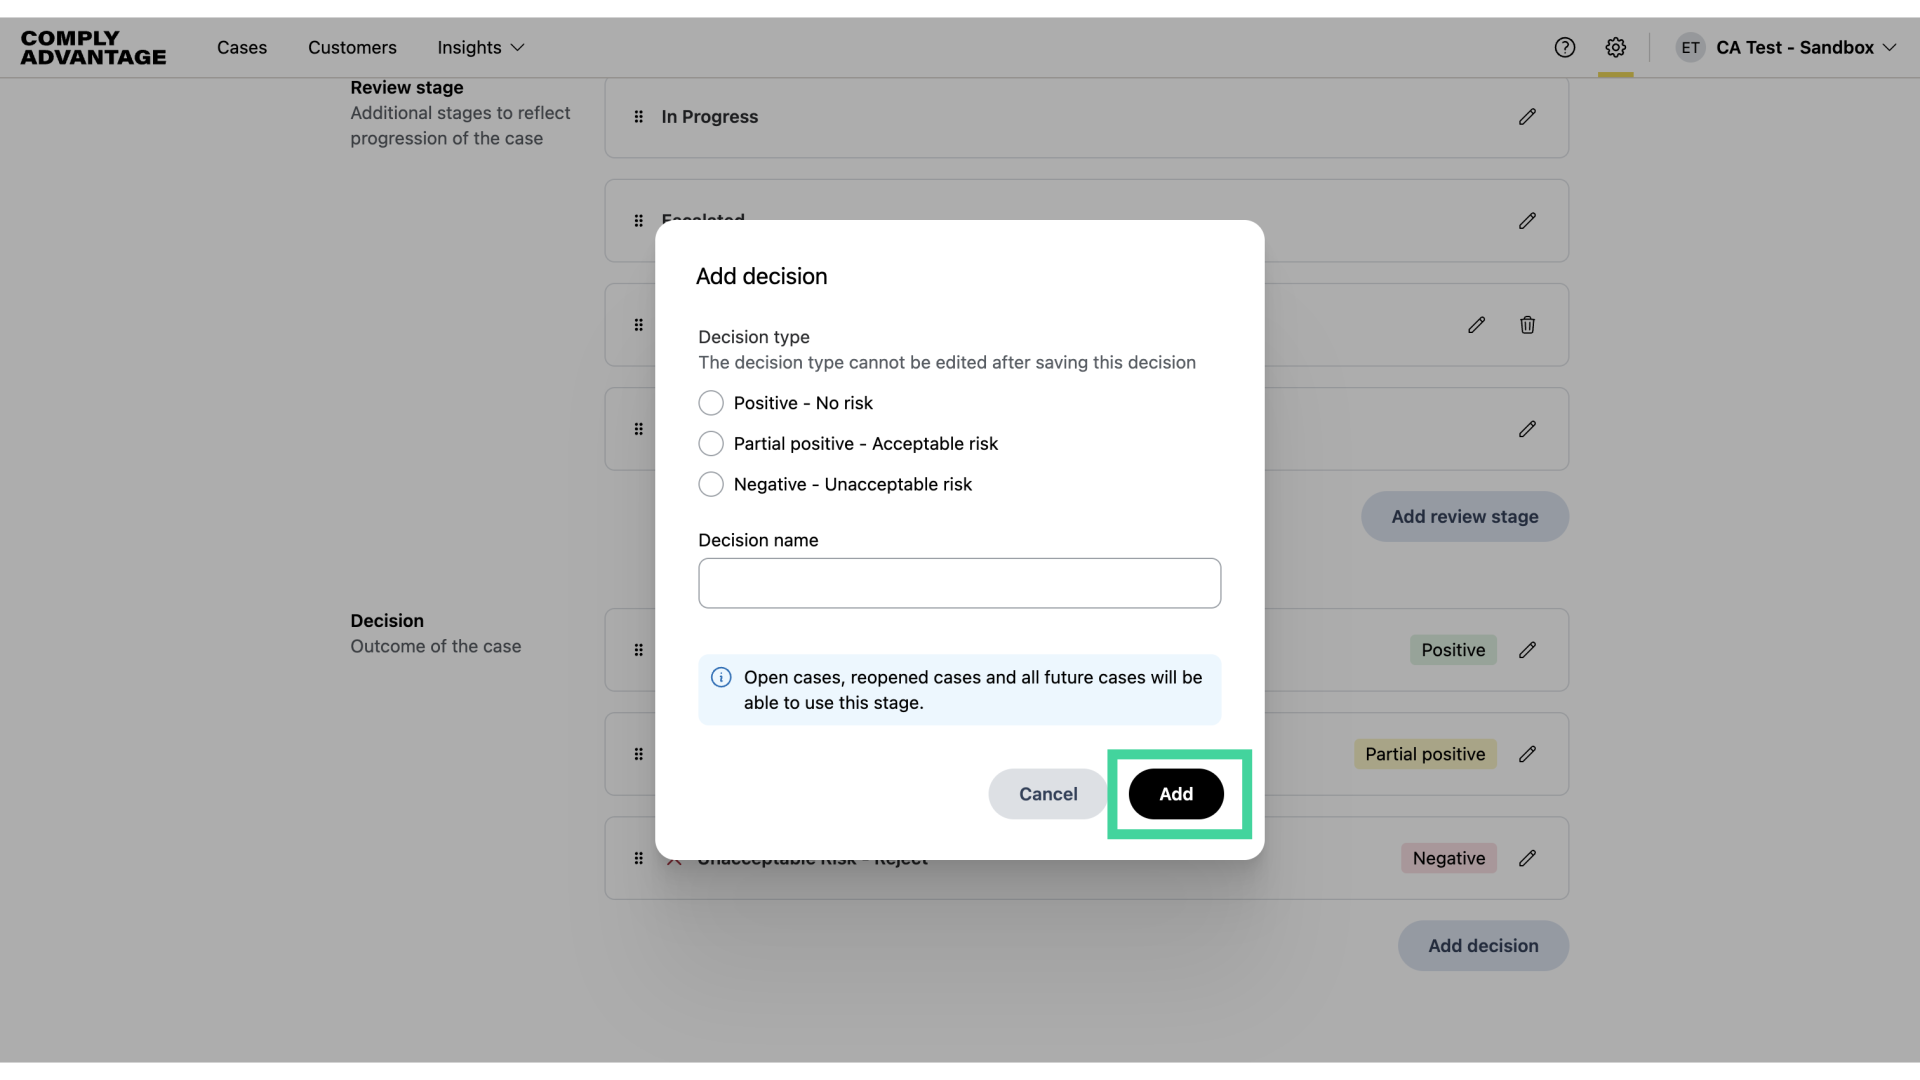
17. New decision
Please note, the decision type cannot be edited after saving the decision.
18. Enter Decision name
Enter the new decision stage name.
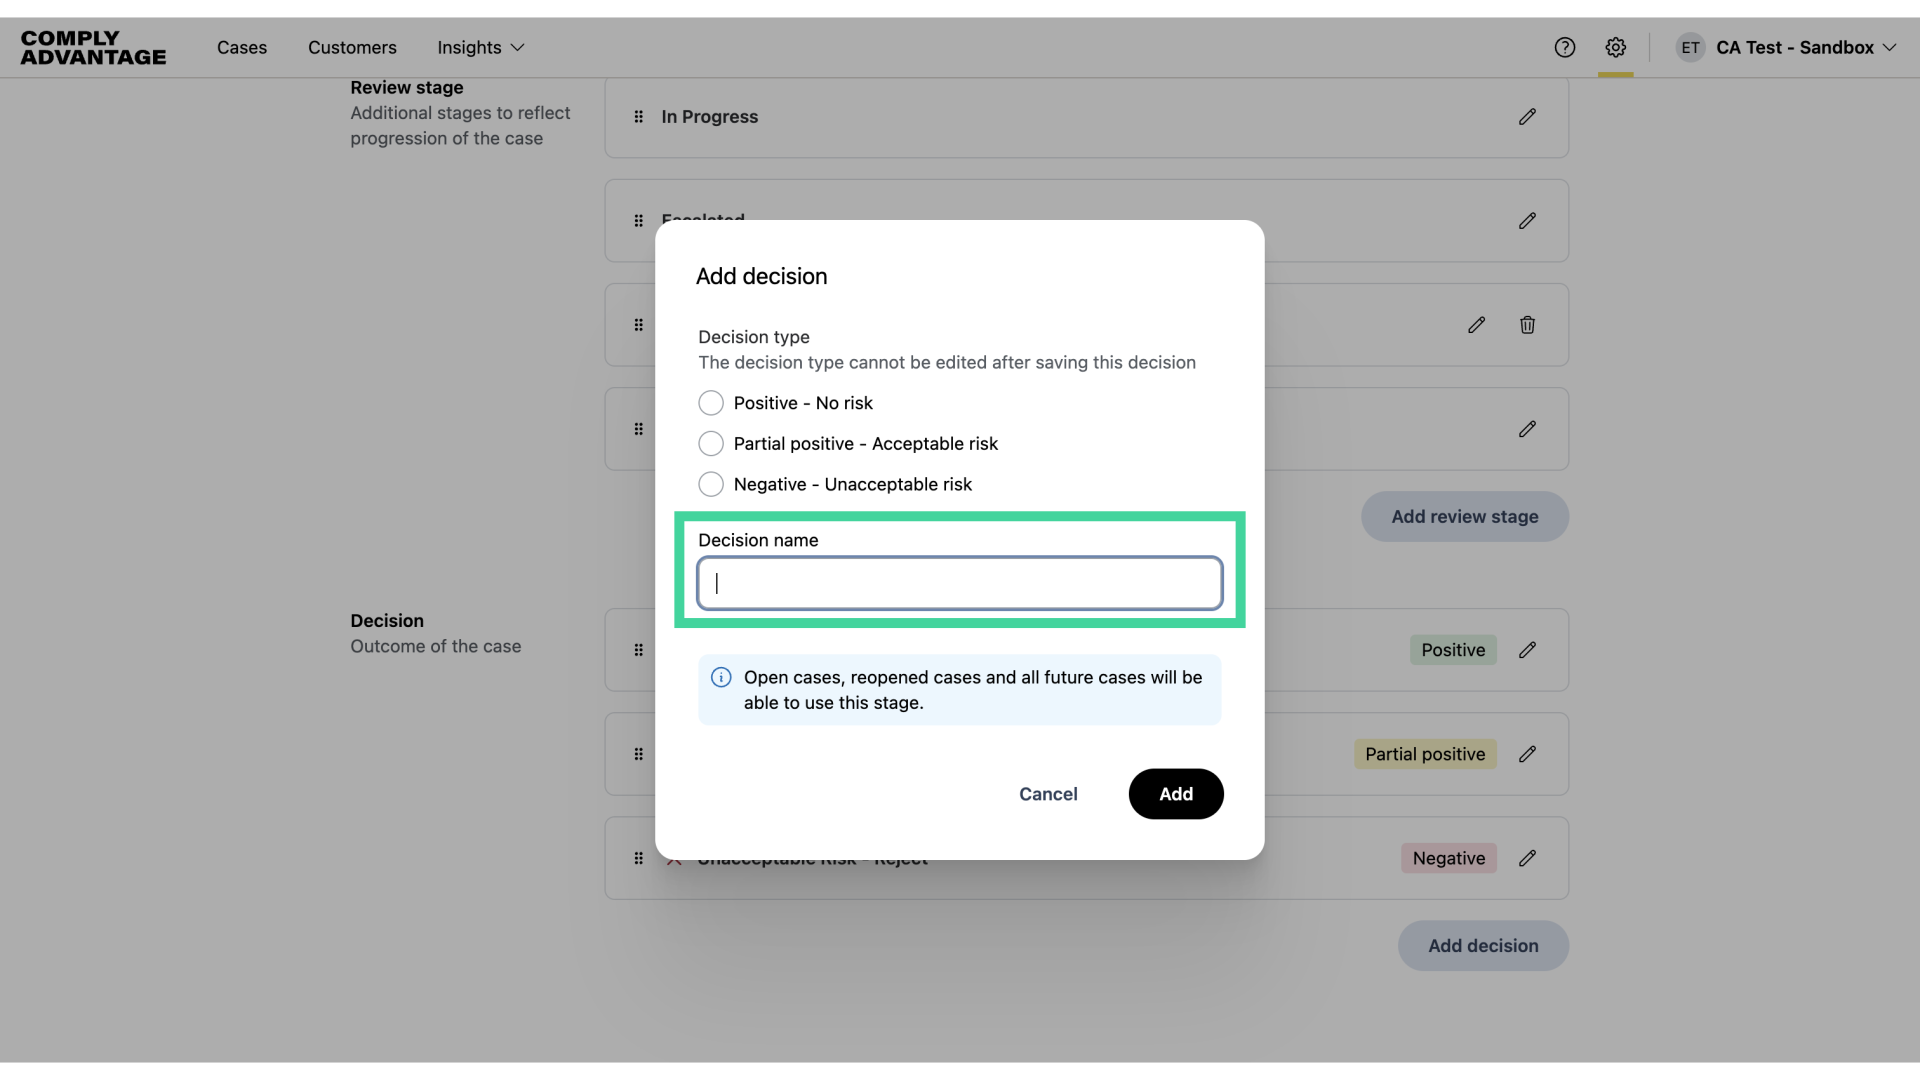
19. Click "Add"
Save your changes.
20. Adjusting the stages
In addition, you can adjust the stage order to fit your workflow needs.
21. Click "Customer monitoring"
Now, let's navigate to "Customer Monitoring."
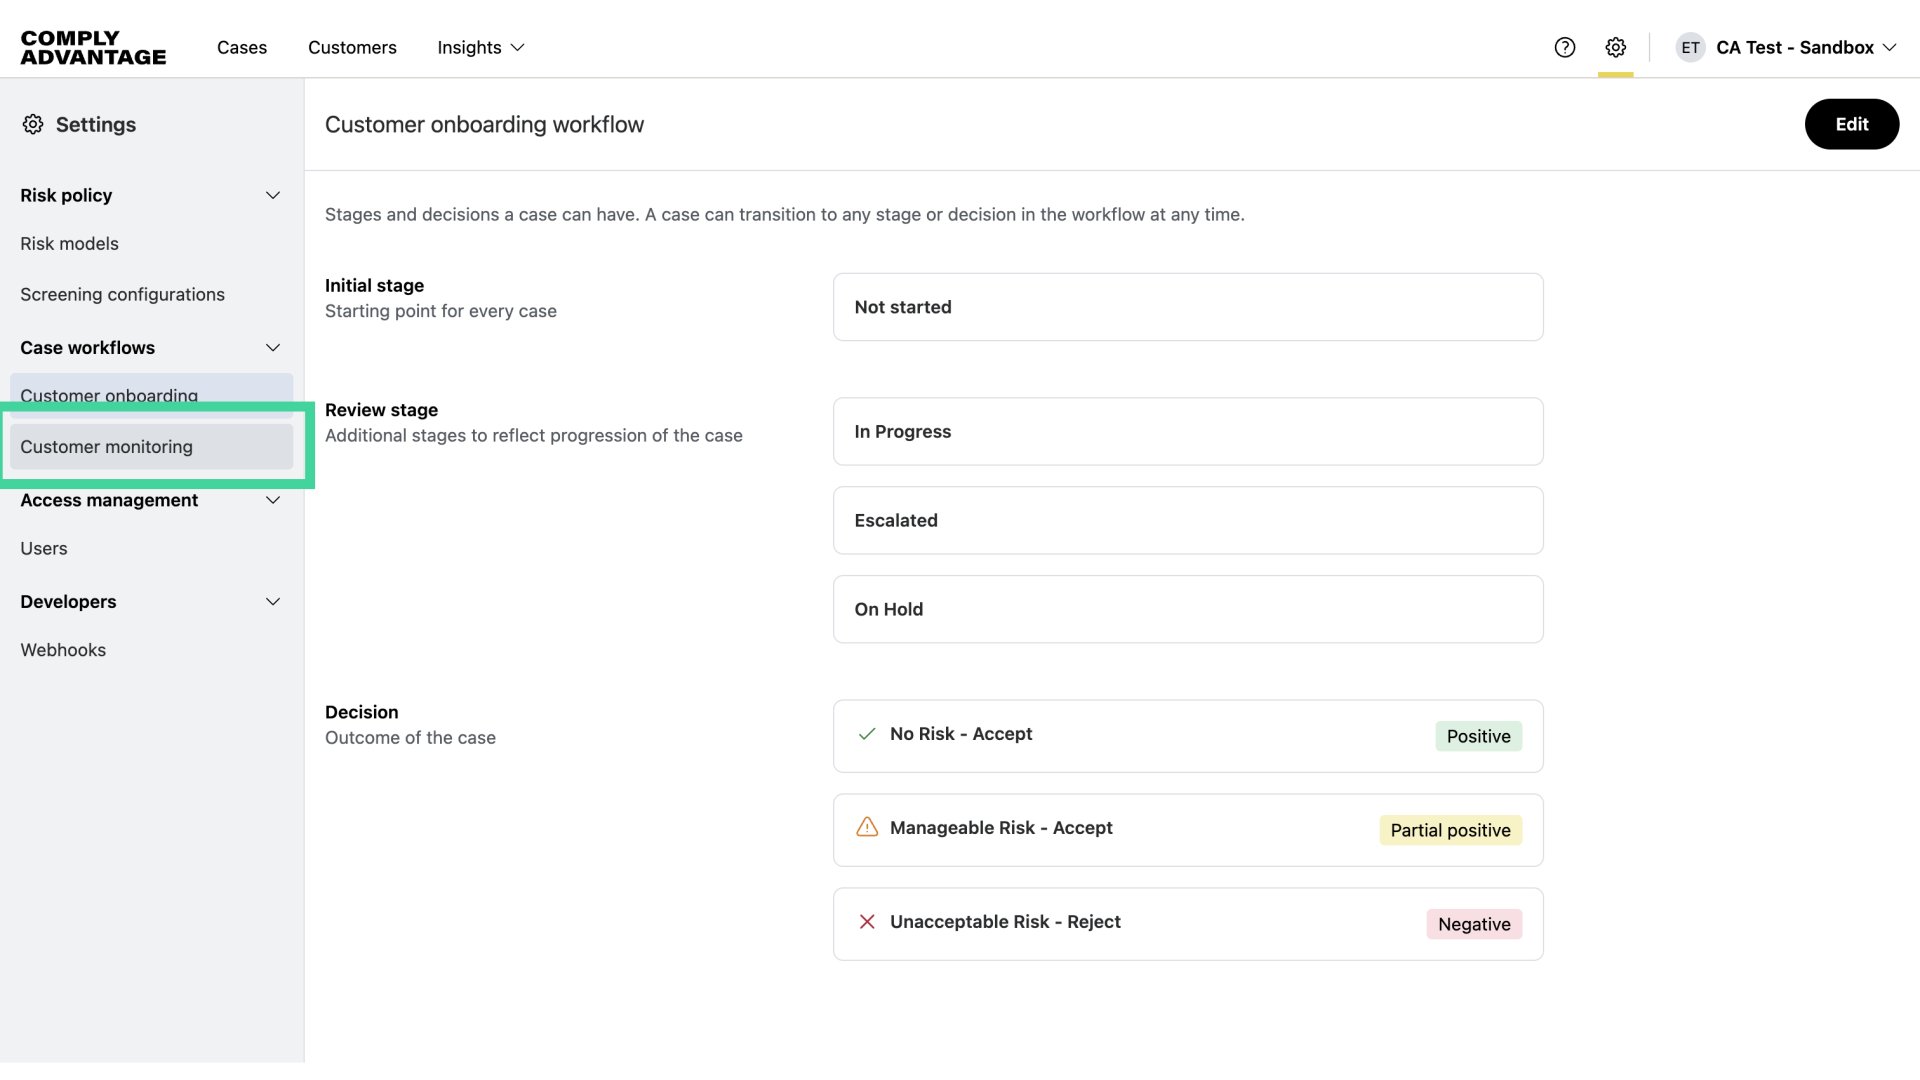
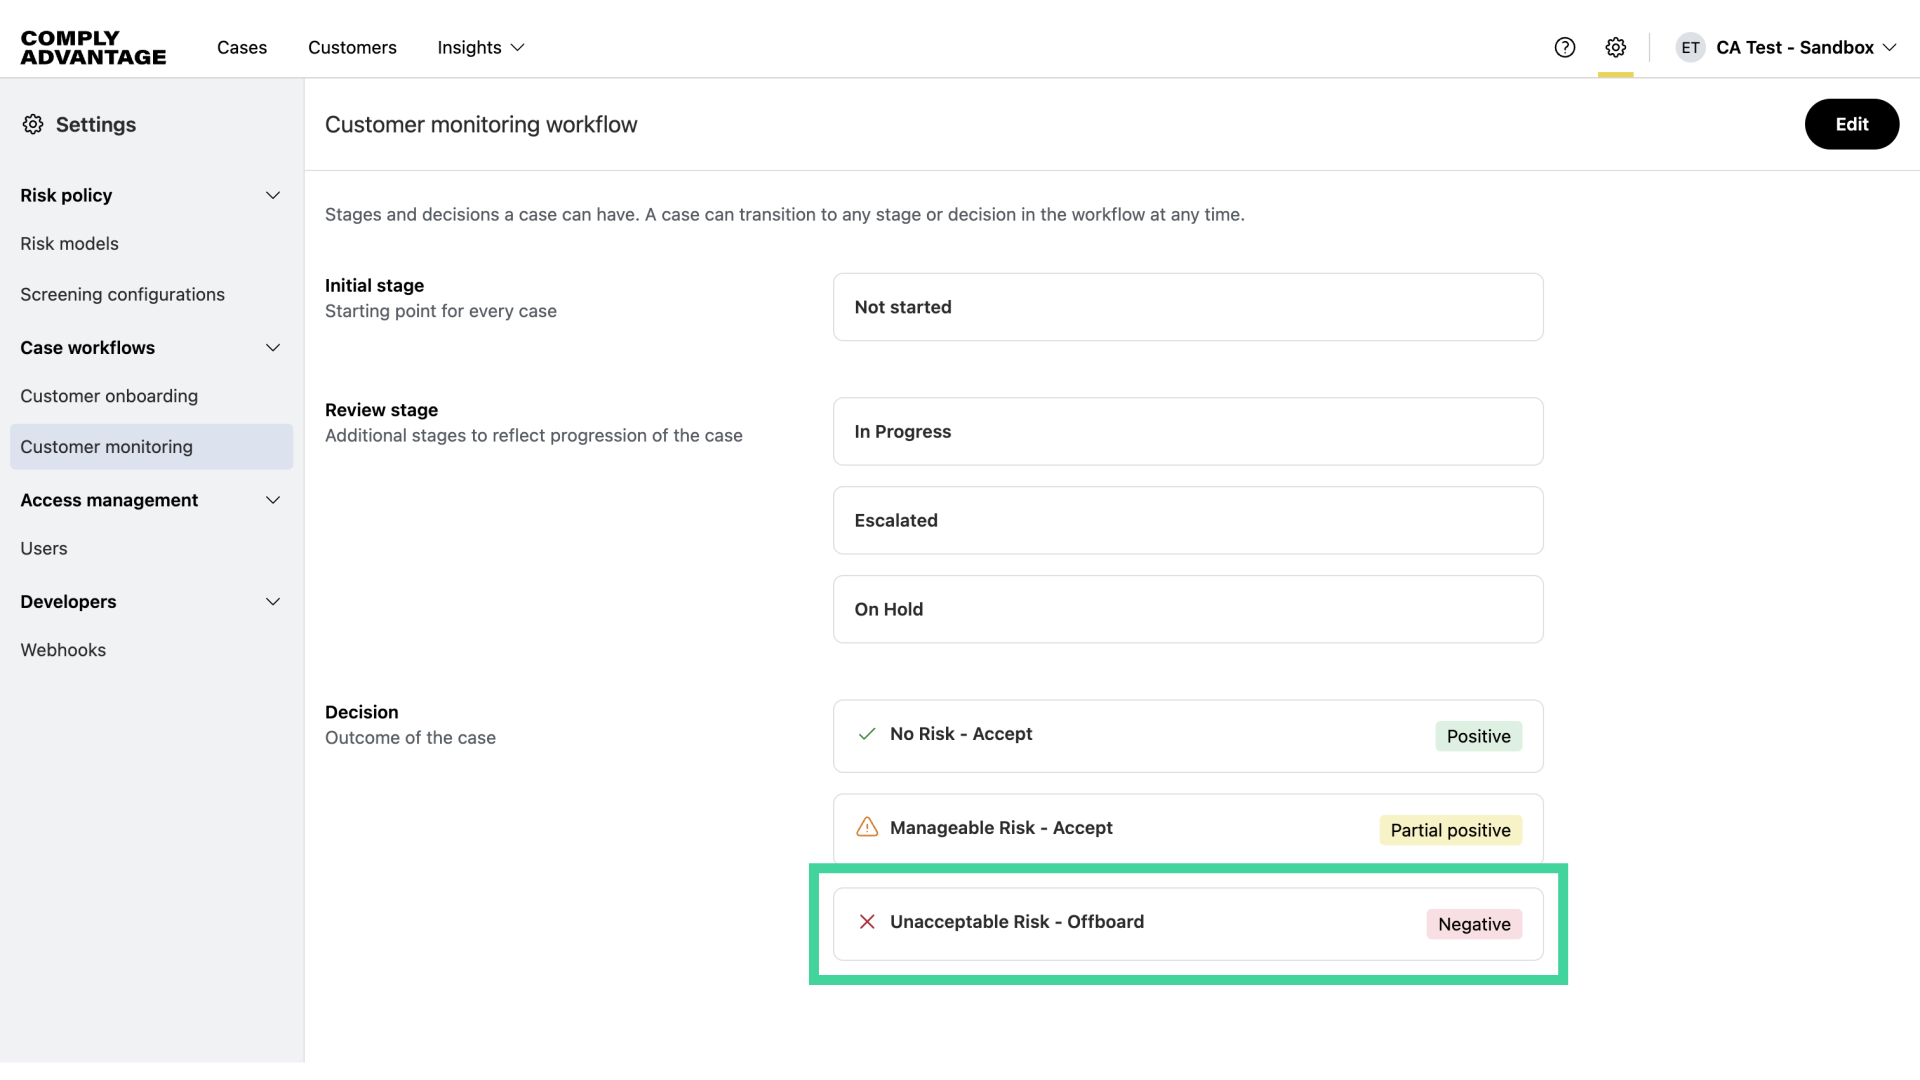
22. Review case stages
Similarly to the customer onboarding workflow, for customer monitoring, cases can progress through various stages.
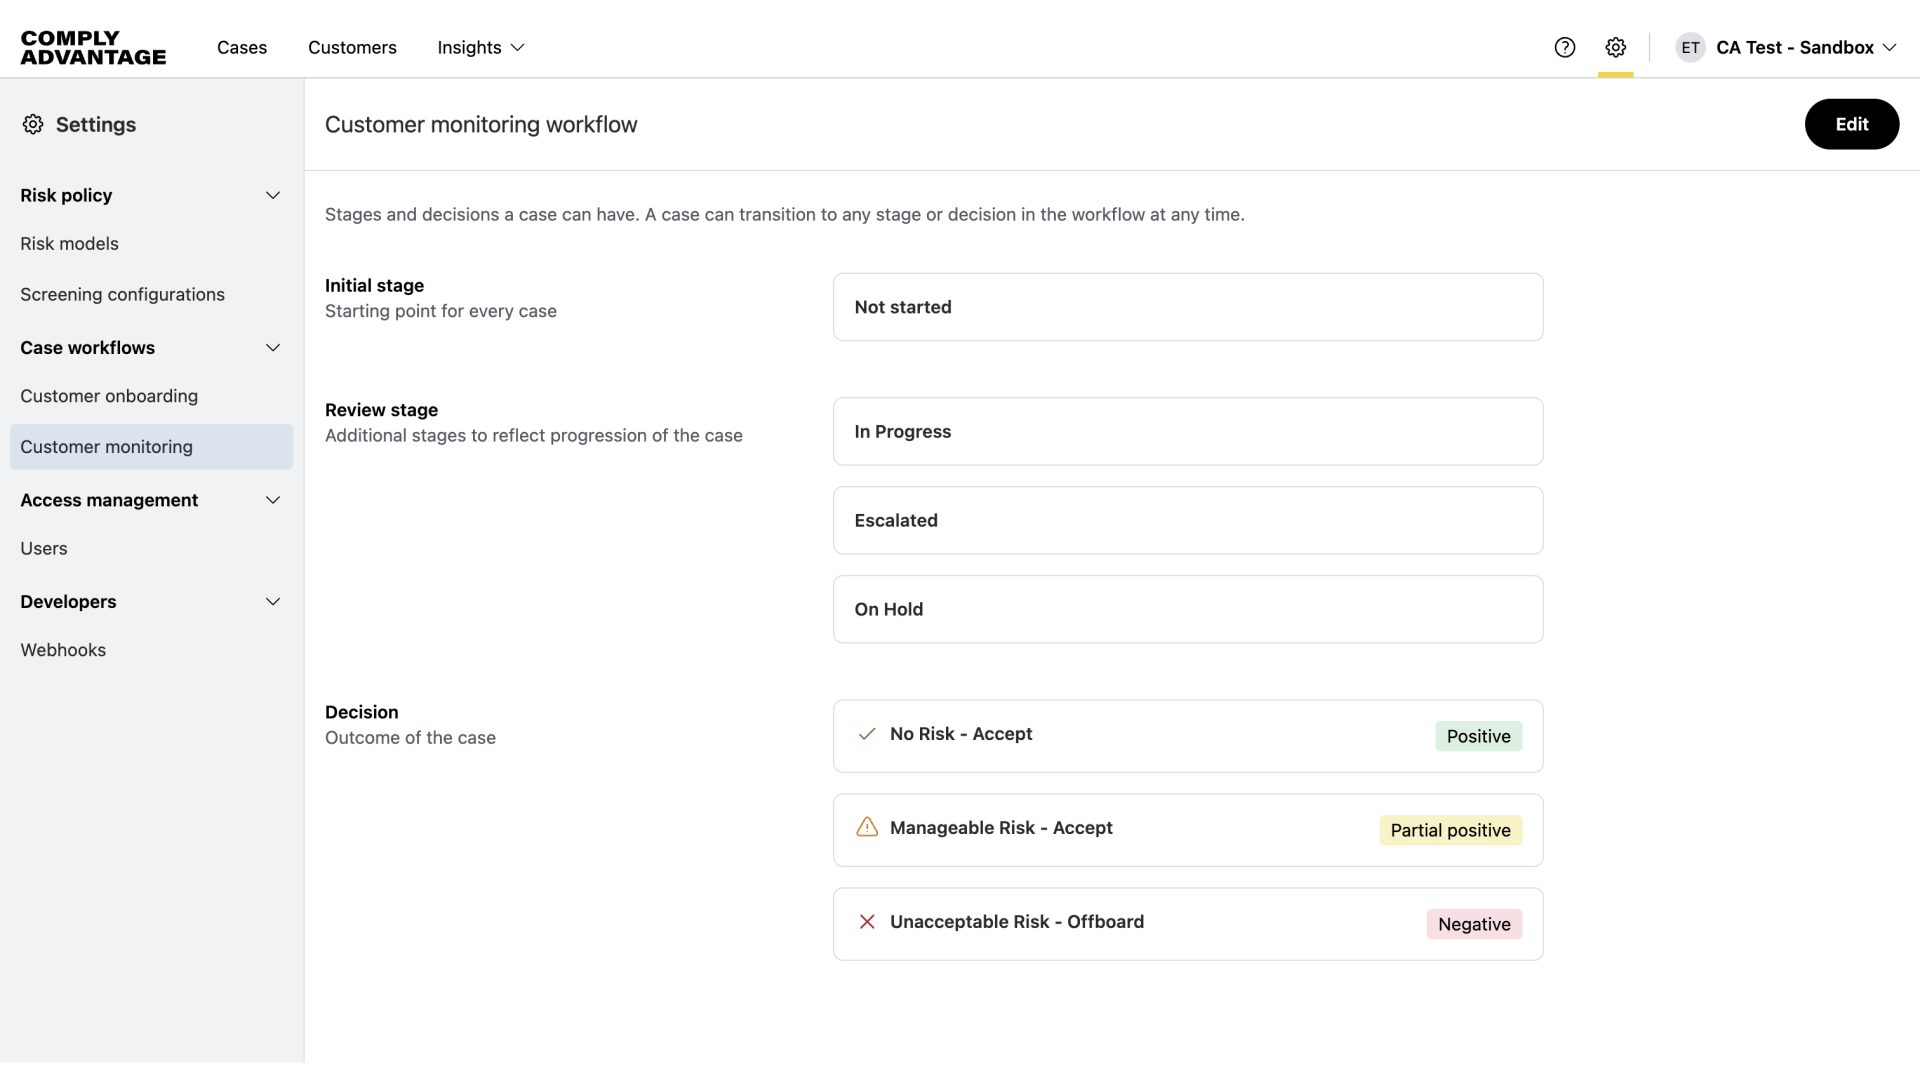
23. Difference between workflow defaults
The only difference you will see here in our default settings is that in the Decision stage, it now says "Offboard" instead of "Reject".
We hope this guide helped you learn how to configure case workflows to meet your customer onboarding and monitoring requirements.