Managing Held Transactions
Last updated: July 2, 2026
When you screen transactions against a Payment Screening Configuration you are placing a Hold outcome on a transaction if it provides possible matches when screened against the set sources. This outcome is a powerful tool that instructs your system not to process a potentially risky payment until it has been manually reviewed.
This guide outlines the end-to-end process for managing these transactions via the web app and API.
1. Find Held Transactions
You can easily find all transactions that are currently being held.
Navigate to the Transactions page from the main navigation menu.
Click Filters, open the Outcome filter, and tick the Hold checkbox. The list will update to show only held transactions.
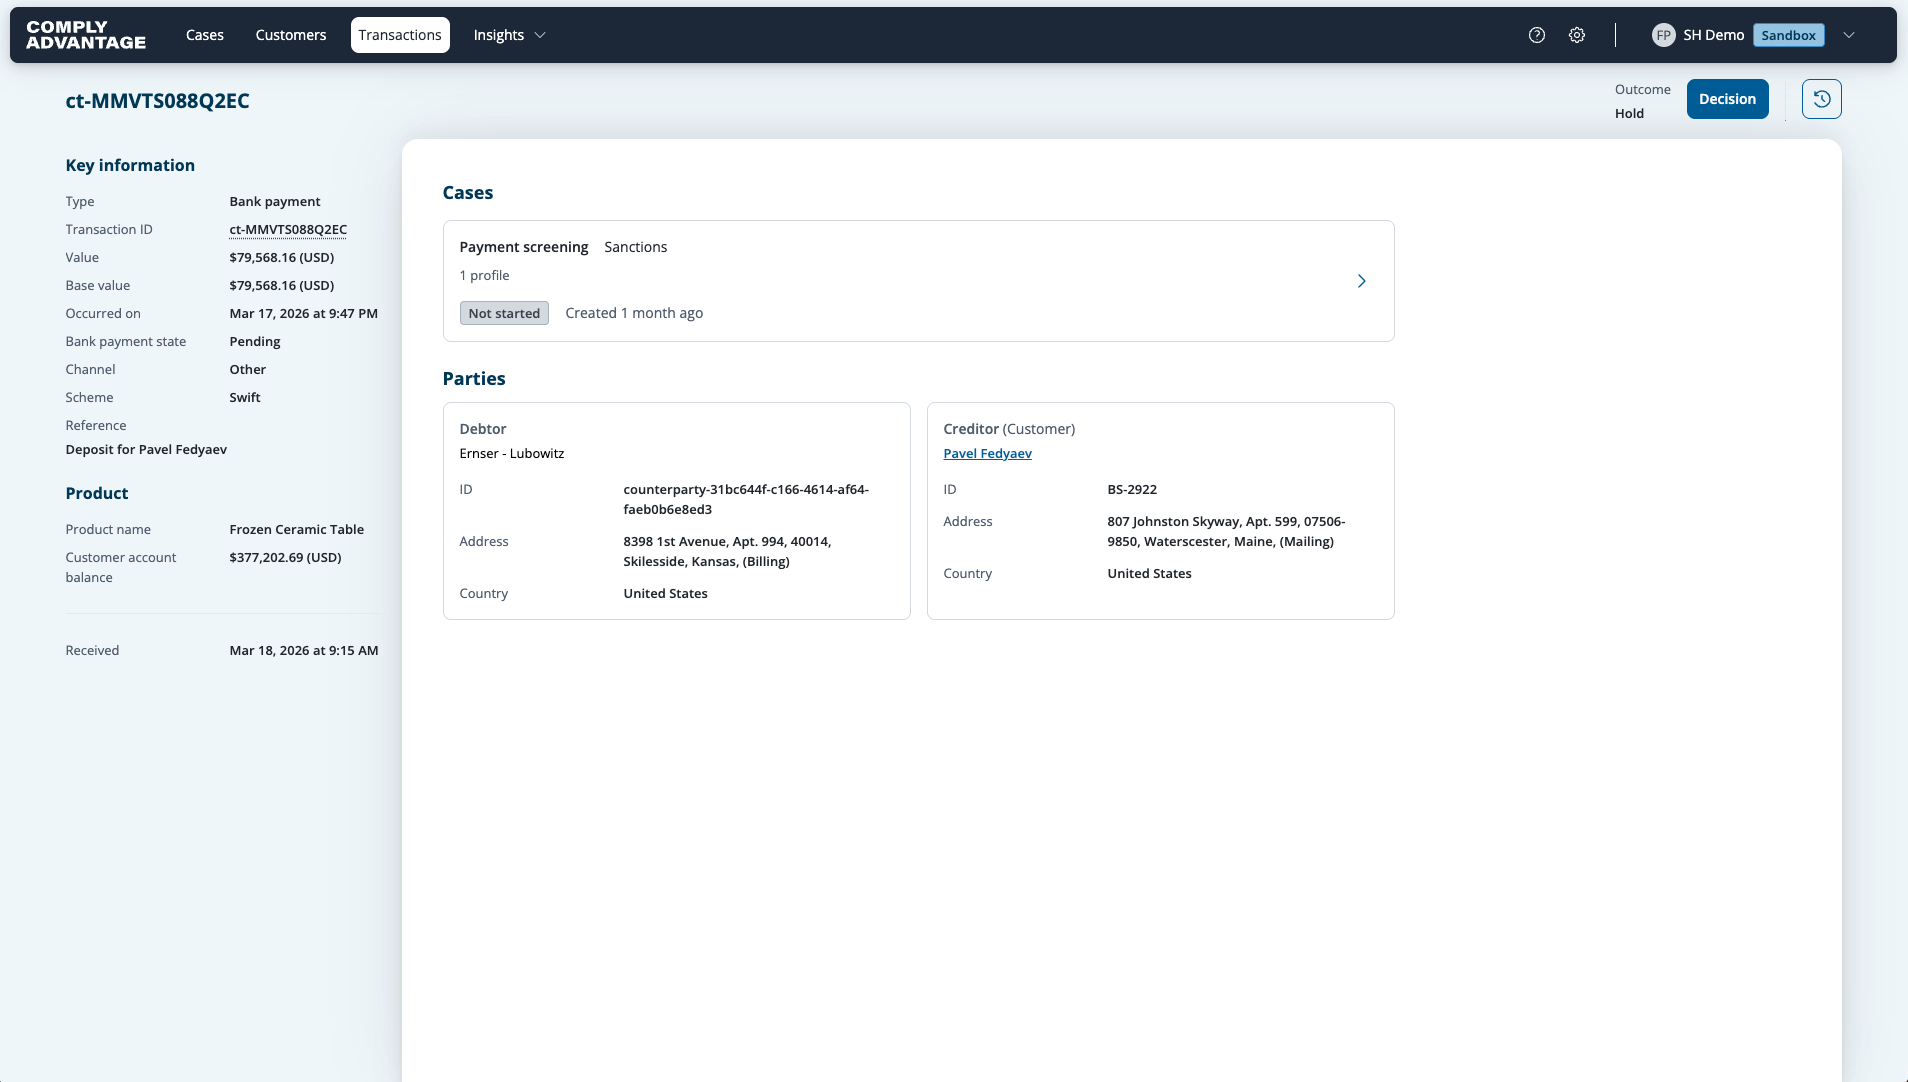
2. Review a Held Transaction
Once a transaction is held, an analyst must make a decision to either release it for processing or reject it.
Via the Web App
From the filtered list, click on a transaction to open its detail page.
In the top-right corner, you will see Outcome: Hold and a Decision button.
Click Decision and select one of the options:
Release: Removes the hold, allowing the payment to be processed.
Reject: Sustains the hold, confirming the payment should not be processed.
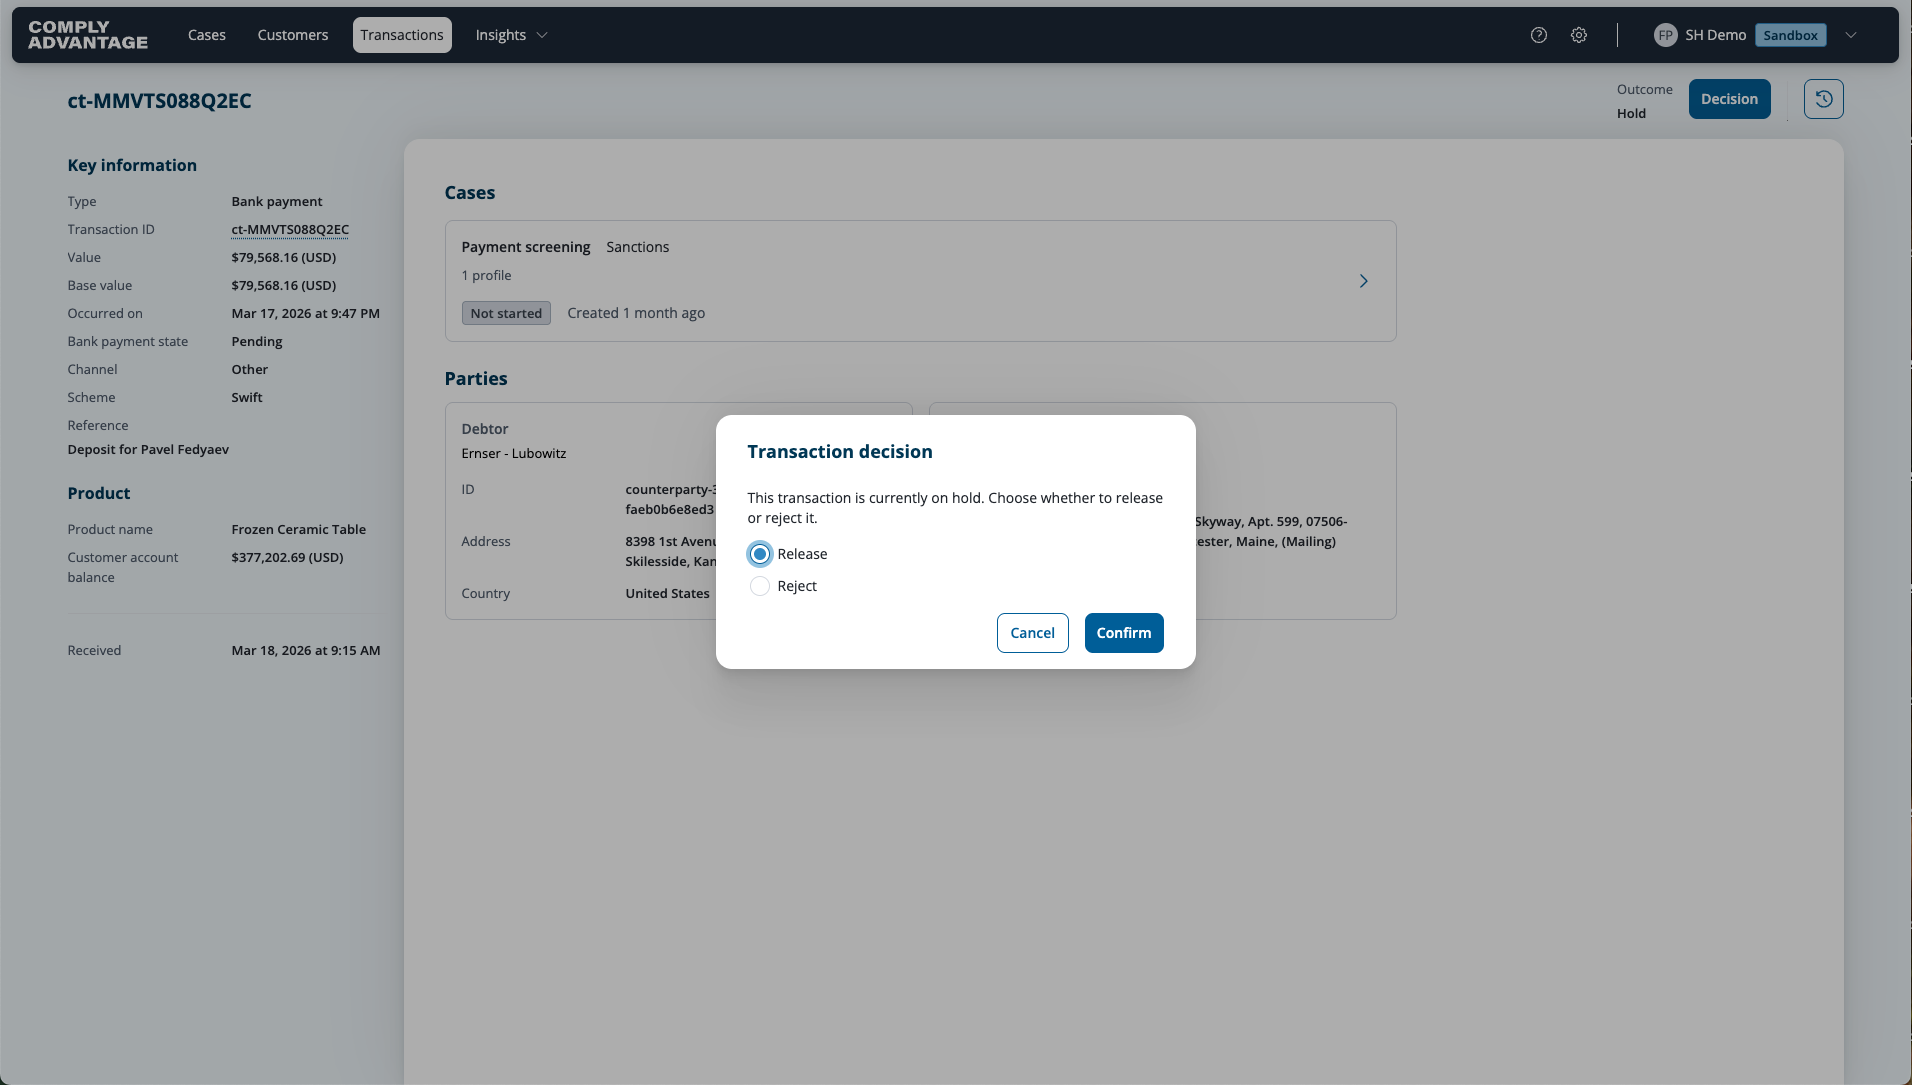
This action sets the Review Decision for the transaction and will trigger a webhook if one is configured.
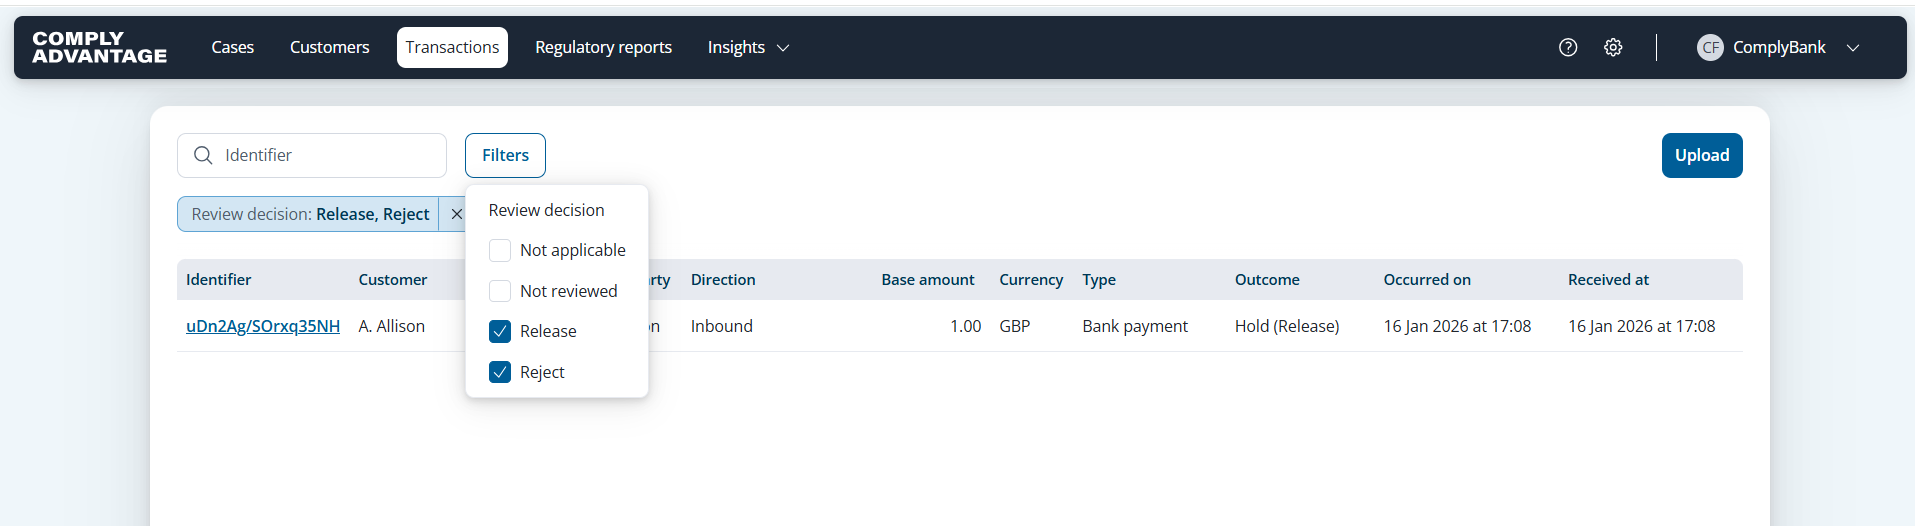
Tip: On the Transactions page, you can filter by Review Decision to find all previously released or rejected transactions.

Via the API
To submit a review decision programmatically, please refer to our API documentation:
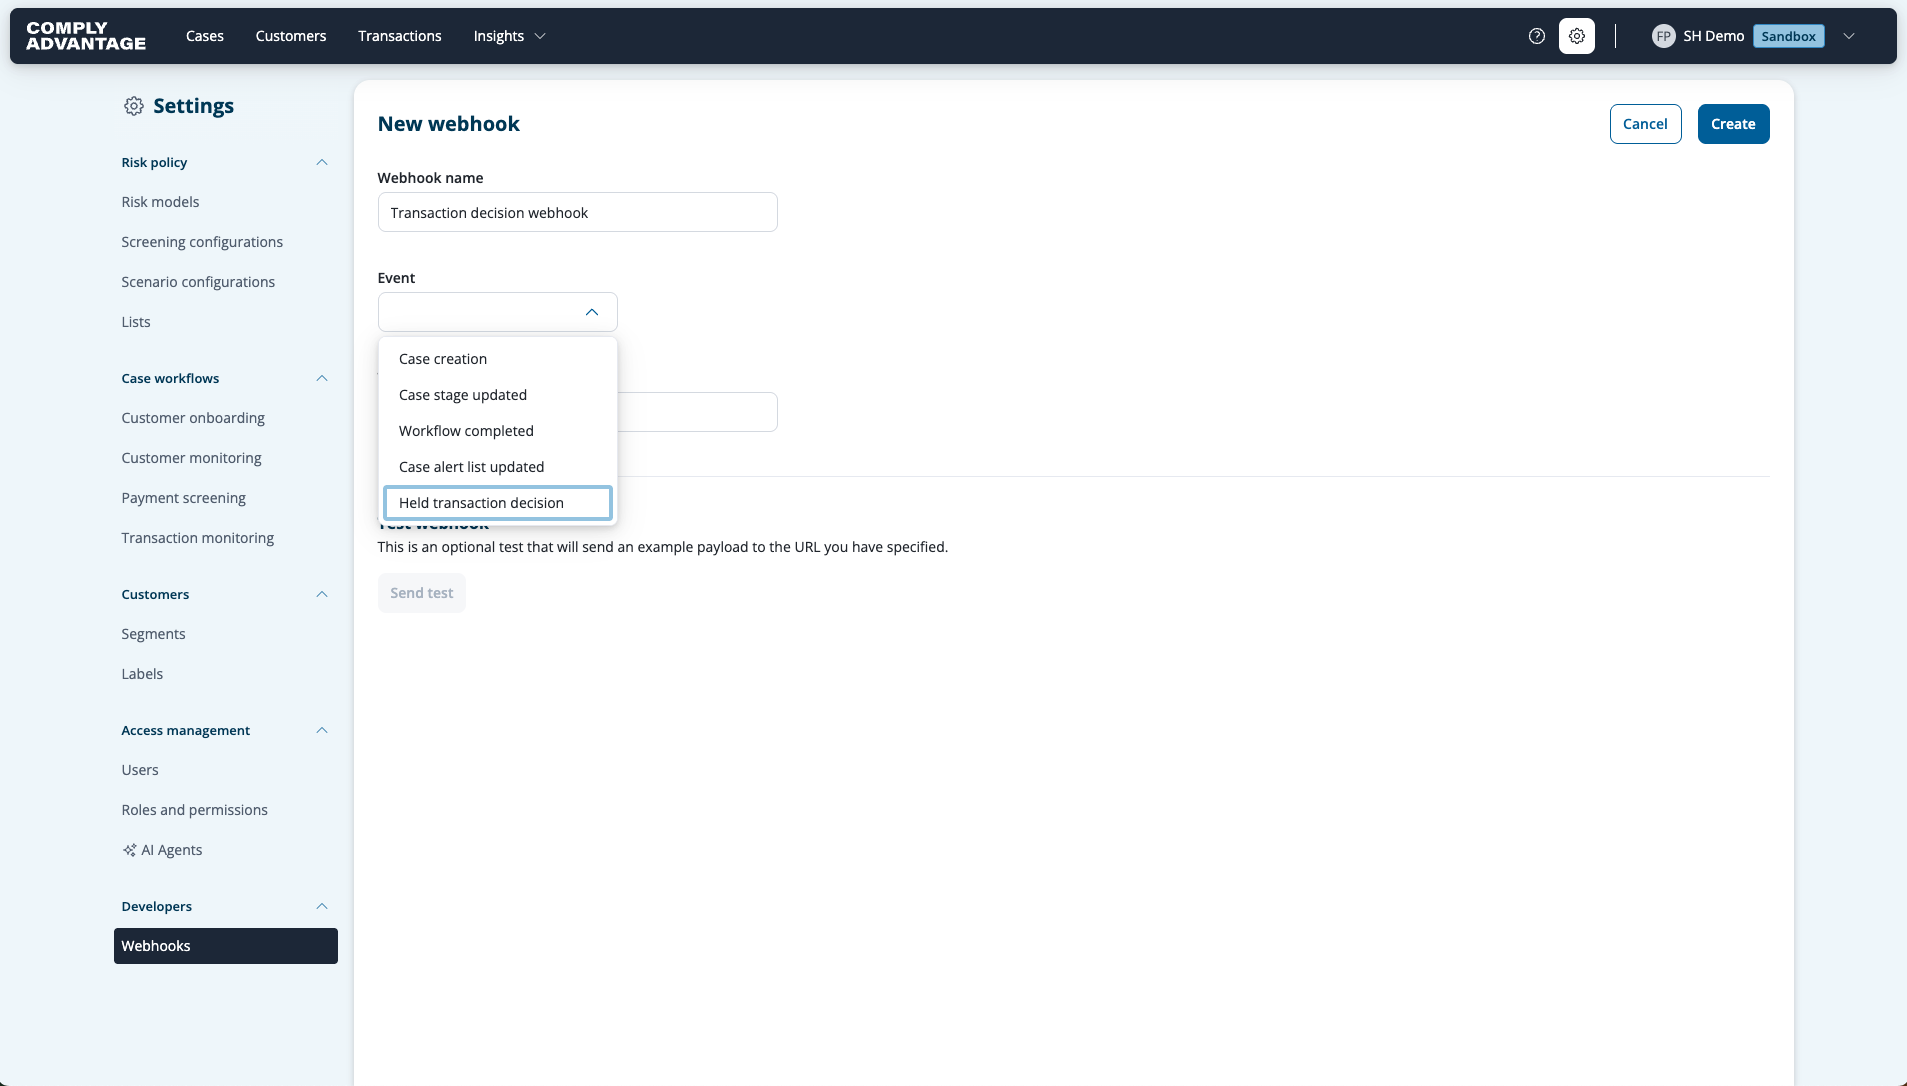
3. Set Up a Webhook for Notifications
To automatically inform your system after a review decision has been made, you should use the TRANSACTION_REVIEWED webhook. This webhook will send a notification every time a user sets a Release or Reject decision on a transaction.
For full details on configuring webhooks, please see our documentation:
General Webhook Information: Webhooks Reference
Creating Webhooks: Create Webhook Endpoint