Managing users
Last updated: November 4, 2026
The user management feature in ComplyAdvantage Mesh lets you create and manage users, and adjust their access level in your accounts.
It allows you to:
View a list of users in the current account.
Create new users
Add existing users from organization to the current account
Update user roles in a given account
Remove users from an account
Perform bulk actions such as updating roles or removing users.
Accessing the user management page
Select Settings from the main navigation.

Under Access Management, select Users. A list of users assigned to the current account will be shown.
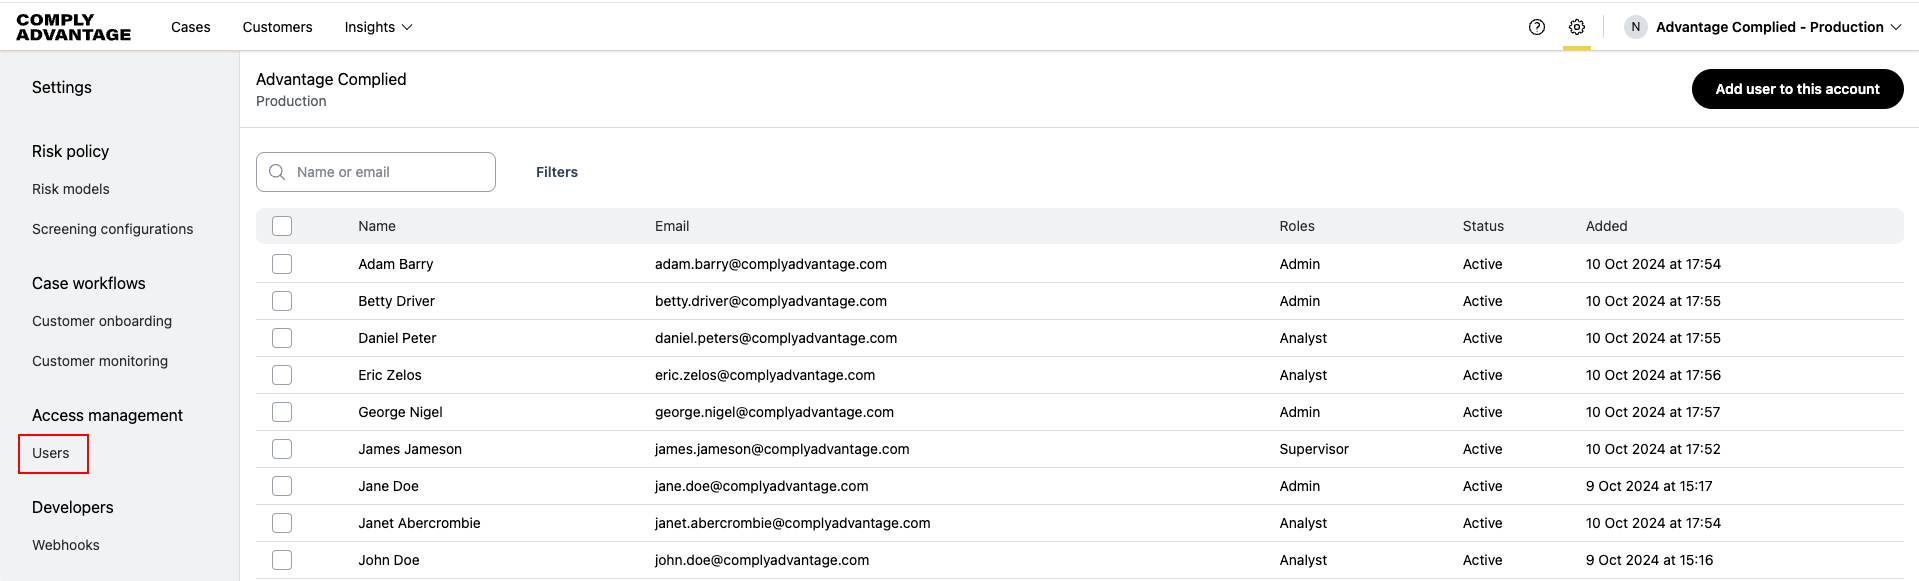
Navigating the user list
Searching:
Use the search box to find users by name or email.

Sorting:
The user list is sorted alphabetically by name, by default.
The list can be sorted by name, email, status, or date added to the account.
To sort, click on the relevant column header once for ascending or twice for descending order.

Filtering:
Use the Filters button to filter users by role or status.

Adding a user to the account
Create a new user
Select Add user to the account in the top right.

Choose New.
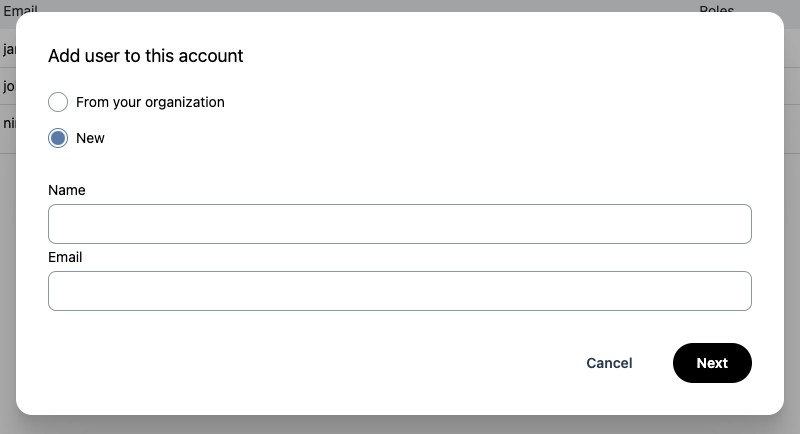
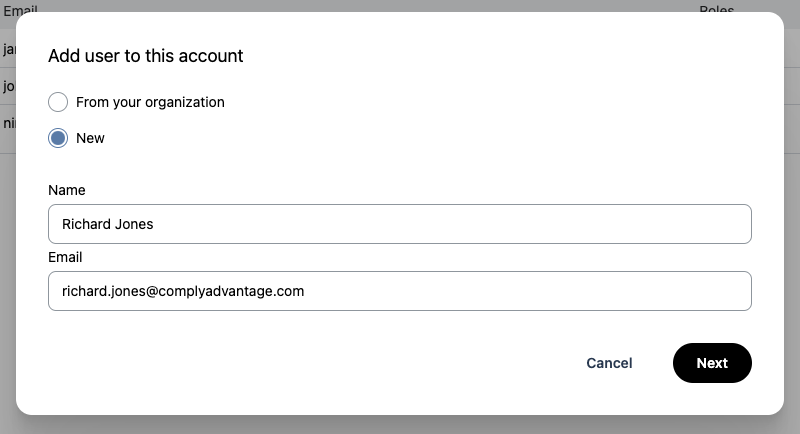
Enter the user's full name and company email address, then click Next.
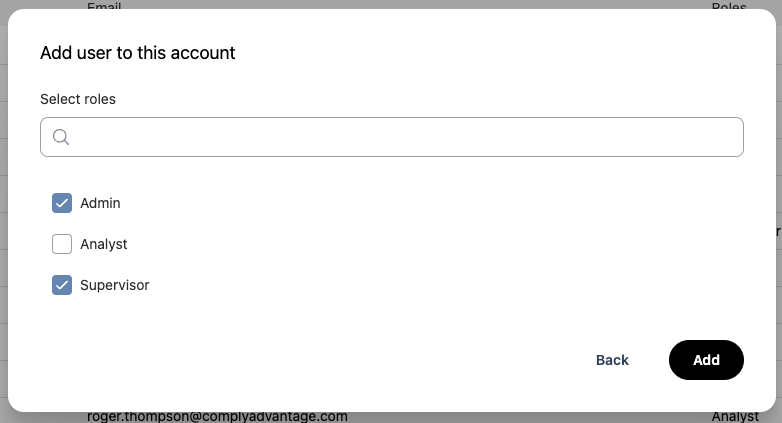
Select at least one role for the user in the current account and click Add.
The user is now created in the current account and can be seen in the user list immediately.
Add an existing user
Select Add user to the account in the top right.
Choose From your organization.
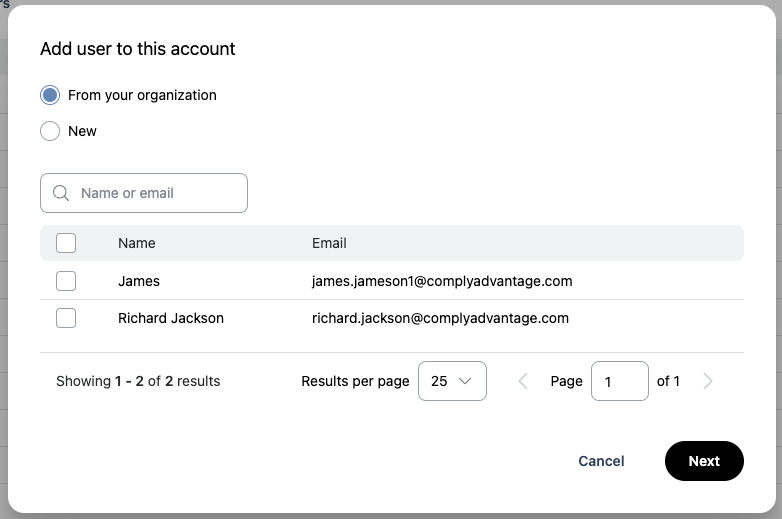
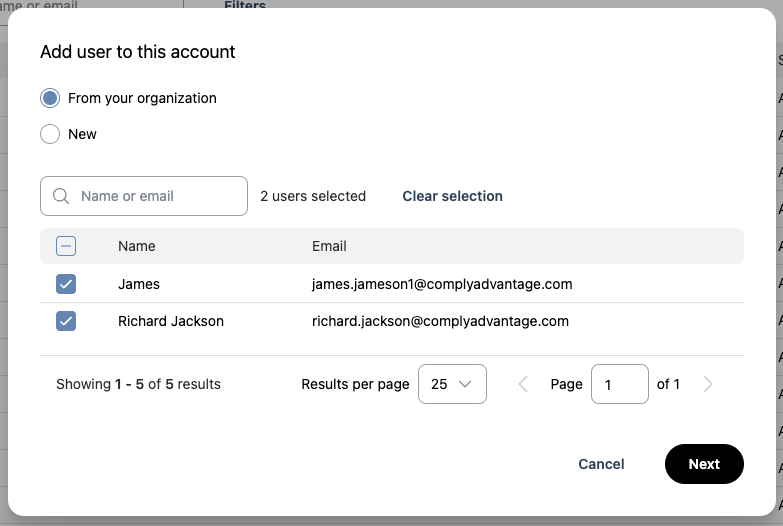
Select one or more users, then click Next.
Select the roles to apply for all the users selected, then select Add.
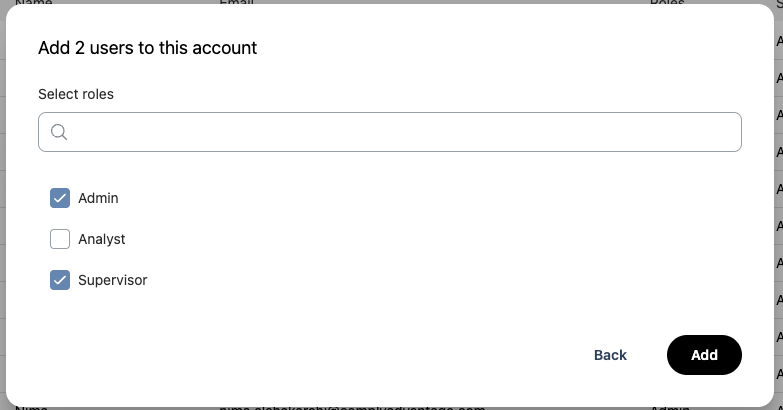
The users will be added to the current account with the selected roles.
Bulk remove users from an account
One or more users can be removed from the current account using the bulk functionality on the user list.
Select the users to be removed from the account.

Click Actions and then select Remove from account.

Click Remove to confirm your selection.
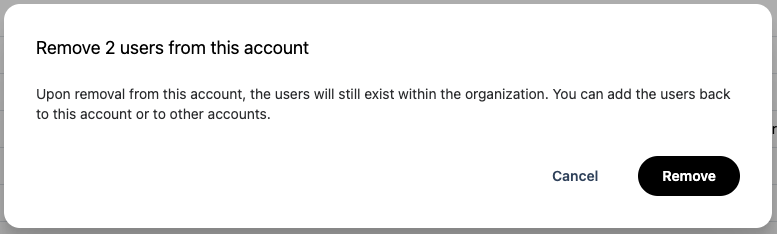
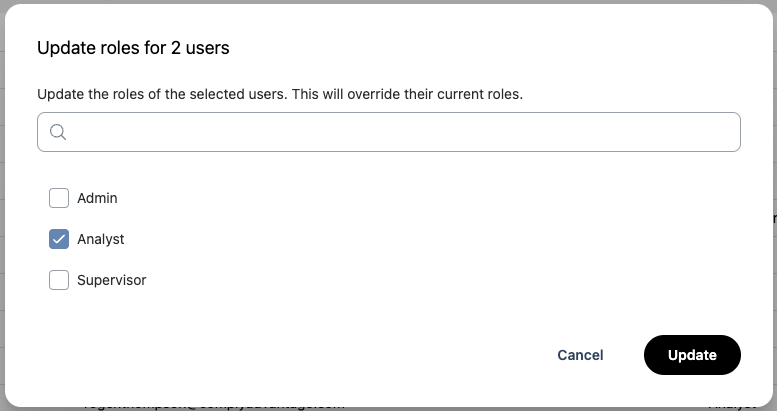
Bulk updating user roles
One or more users can have their roles updated in the current account using the bulk functionality on the user list.
Select the users whose roles need updating.

Select Actions and click Update roles.

Choose new roles and click Update.
Deactivating and renaming users
When a user is deactivated or renamed, they are deactivated or renamed within the entire organization, not only in the accounts they are assigned to.
To deactivate or rename a user, please contact our support team.
For additional assistance, please reach out to our support team at [email protected].